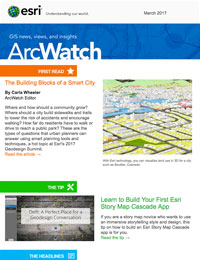
If you are a story map novice who wants to use an immersive storytelling style and design, this tip is for you.
The Esri Story Map Cascade app gives your readers an immersive experience in which maps, 3D scenes, images, video, and other multimedia content pop visually as they completely fill the screen. With tools that let you write your narrative on a photo or map; move the text to the left, right, or middle of the screen; and change the style of your titles and text, you get to be more creative than ever and build a story map that looks fantastic whether you view it on a desktop or mobile device. Your story map will resemble a modern web page that uses an immersive format.
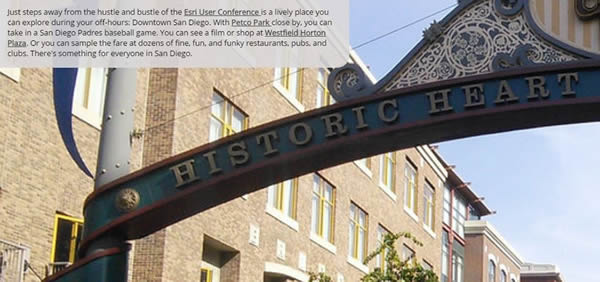
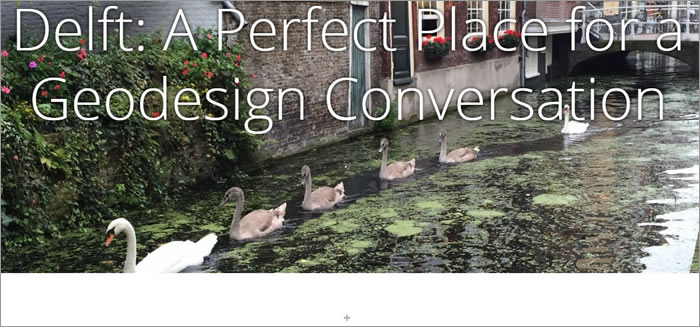
This tip teaches you how to build a Story Map Cascade app using Delft: A Perfect Place for a Geodesign Conversation as an example. This story map was created to promote the 2016 Geodesign Summit Europe, which was held in Delft, the Netherlands, last fall. The photograph below, taken by Shannon McElvaney, was the cover image for the story map, capturing the beauty of the city and adding polish and pizzazz to the map’s look and feel.
After you conceive your story map, collect images to include in it such as this Delft street scene, also shot by McElvaney.
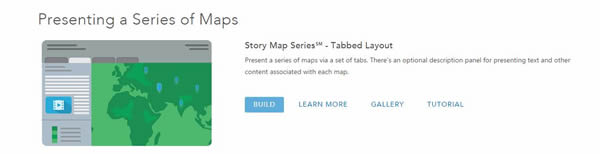
To create a Story Map Cascade app, go to the Story Map Cascade web page and click BUILD A CASCADE STORY in the box highlighted in blue. (You can also go to the main Story Maps web page and click Apps to find Story Map Cascade). Remember, the Story Map Cascade app builder is only supported in Chrome and Safari, but the stories you make and share can be viewed in those two browsers as well as Internet Explorer 11 (and later) and Firefox.
If you are not logged in to your ArcGIS Online account, you will get a notification to sign in.
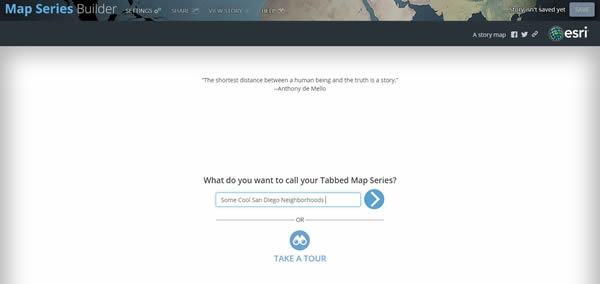
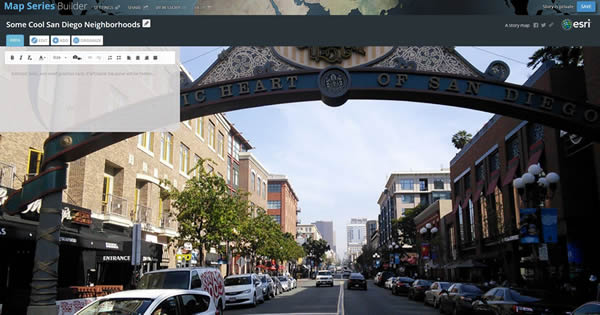
After you click BUILD A CASCADE STORY, you will see an interface like the one below. It’s like an artist’s canvas for you, the story map creator.
Note: You will notice the Cascade Builder panel to the left of the interface. It offers options including Settings, where you can customize your logo, create a logo link, a tagline, a tagline link, and display an optional sharing button if you wish. Settings also is where you can create bookmarks that appear in the header. Cascade Builder also includes tools to Share your story, View Story, Save the story, and create a Health Report that alerts you to issues with your story map such as a broken link to a video.
To start creating your Story Map Cascade app, enter a title for your story. Think carefully about the essence of the message you wish to convey. Avoid cutesy, long, or boring titles.
You can also add a subtitle to your Story Map Cascade app—or not. It’s your choice.

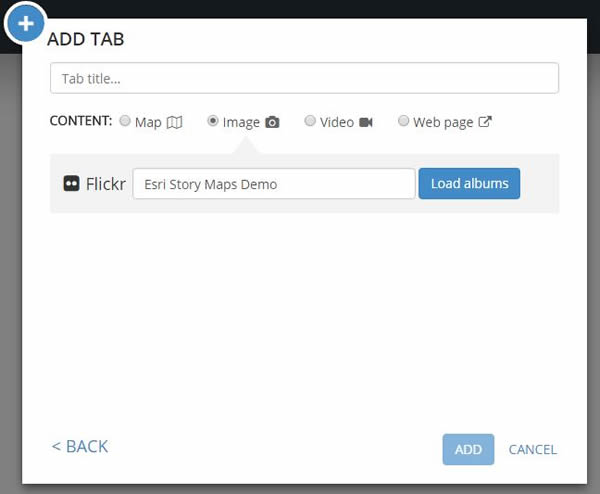
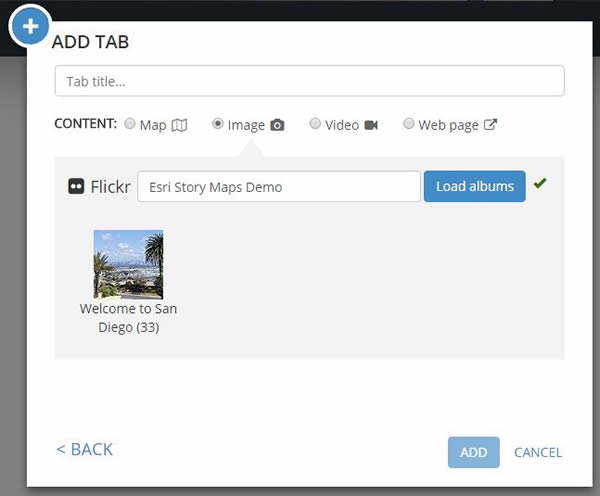
Next, add your image or video. A screen like the one below will appear. You can access content from ArcGIS, Flickr, Google+, and Unsplash; link to an image or video that’s on the web; drop an image in the box (from the selection of images on the screen); or browse for an image and upload it. You can add PNG, JPEG, GIF, and BMP image files only. If you are at a loss as to what images to use for your story map because you do not have your own photos or copyright permissions to use other people’s work, you can search Unsplash. This site contains photographs that are in the public domain, licensed under Creative Commons Zero. You can download and use the photographs for free, even for commercial purposes, and do not need to credit the photographer. No permissions are needed.
If you have your own image or permission to use an image, click Browse for image(s) in your Pictures folder and select one.
In this case, McElvaney’s photo of swans swimming in a Delft channel was added. The Delft: A Perfect Place for a Geodesign Conversation story map was created to pique people’s interest in attending Geodesign Summit Europe, which was held in the architecturally rich city of Delft. The title of the story map–paired below with McElvaney’s photograph that showcases the city’s beauty and design–is meant to draw readers to the spot where he shot the picture. They can imagine themselves there discussing geodesign, which comes to life in the flowers, the bicycles parked on the footbridge, the symmetry of the swans, and the reflection of the brick buildings in the water.
Next, click the pencil in the lower left corner of the screen above. 
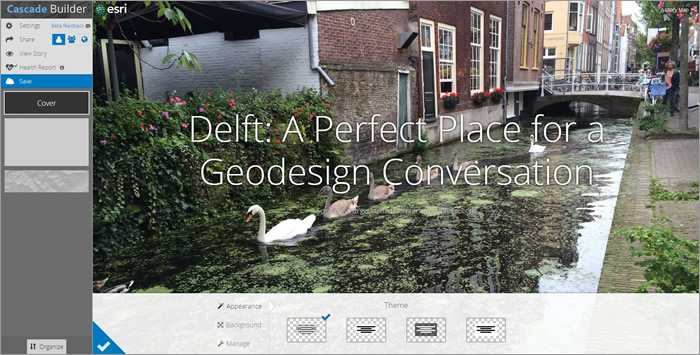
The Appearance, Background, and Manage tools below will appear on the screen. Click Appearance, and experiment with the look of your title by choosing each theme.
Click Save occasionally to protect your work. A white check mark in a blue triangle will appear in place of the pencil.

Click the white check mark and then the pencil to choose another theme.
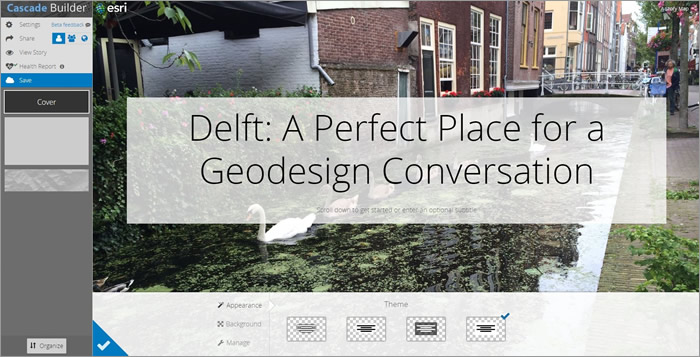
Select an option and click Save. The first option that features the white lettering and no background box was the most stylistically pleasing choice, as it did not block the view of the swimming swans.
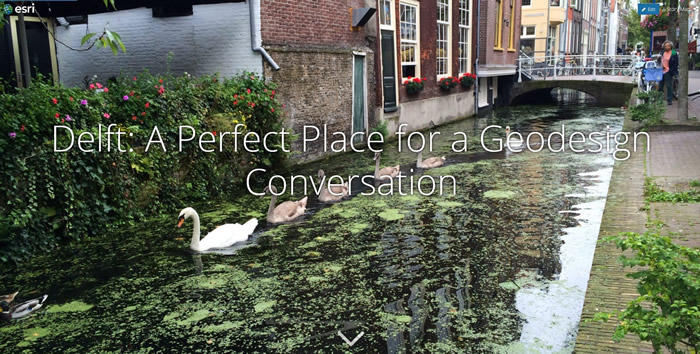
Here is the title and theme with the Cascade Builder panel removed.
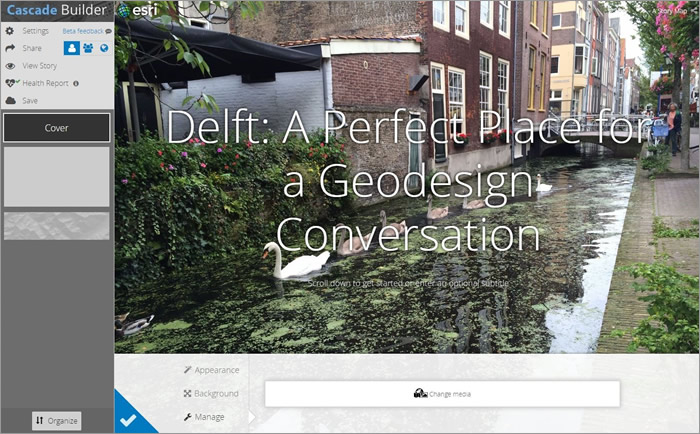
Crop your image for a horizontal and vertical view by using the Background tool. Place your pointer on the blue dot and move it around until the picture is centered on the most important point.

Want to switch to another cover photograph or add a video of Delft instead? Click Manage, then open the Change Media box and add your new content.
Scroll down and click the Plus sign +. You will see it under your title below.
The tools below will display.

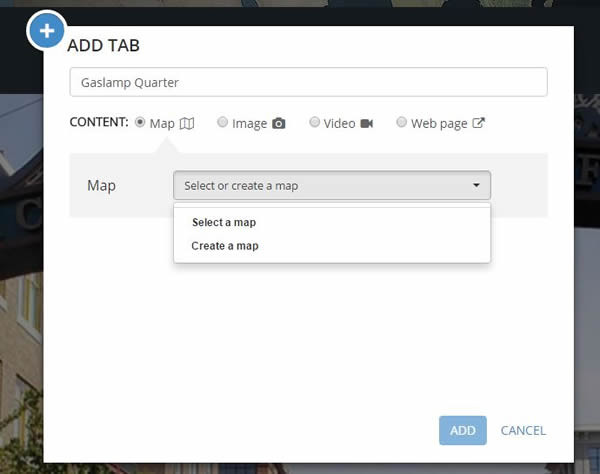
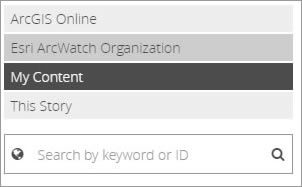
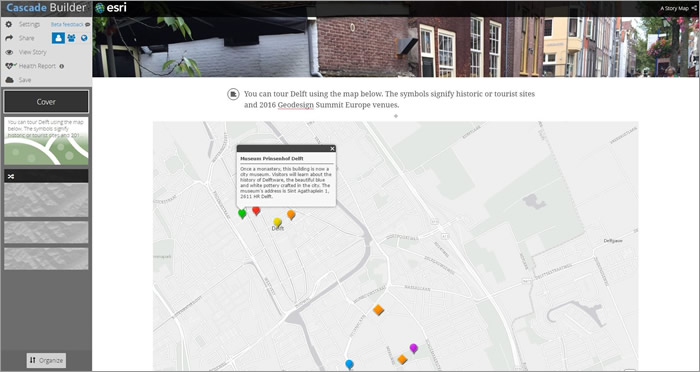
Click Text to write a short introduction. Return to the Plus Sign (+) and click it. Select Media and add a map such as the one of Delft below (authored in ArcGIS Online and saved in My Content).
The map with pop-ups appears below.
Enter a title for the map if desired. The title A Walking Tour of Delft was added. Begin to write your narrative in the black box below, saving often.

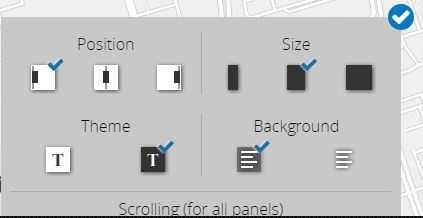
Click the pencil in the upper right side of the black narrative box above.
Below you will find the tools that let you position your text to the left, in the middle, or to the right. You can also change the size of the box, choose a background theme, or change the background to show a box. Click the check mark to apply your changes.
There’s much more you can do with your map. Experiment!
Scroll down and click the Plus Sign (+), then click Media. From a file on your computer (or Flickr, Google+, or Unsplash), add a photo like the one of Delft City Hall below and then click Save.
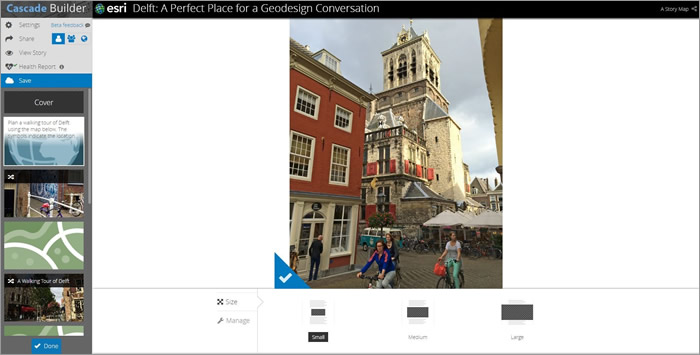
Click the pencil in the lower left-hand corner of the photo. A check mark will appear, along with the Small, Medium, and Large photo sizing tools.

Adjust the photo size using the tools.
Next, use the Immersive Section to continue your story. The Immersive Section lets you be even more creative with your text and media. You can add videos, photos, maps, and 3D scenes that fill the entire screen. You also can create smaller views—maps, photos, videos, or 3D scenes—accompanied by captions or short pieces of text.

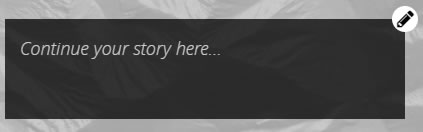
Enter a title and select one of the four themes to style the title. Add a new image and then write more of your narrative in the box that says Continue your story here.
When you click the pencil in the box above, the tools shown below will appear.
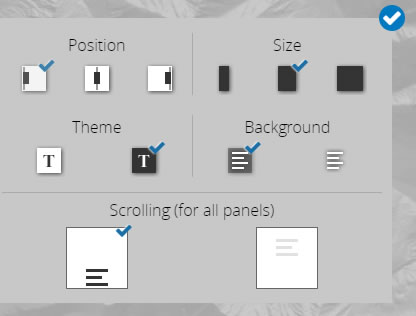
You can do things such as change the type size and the position of where the text appears on the screen.
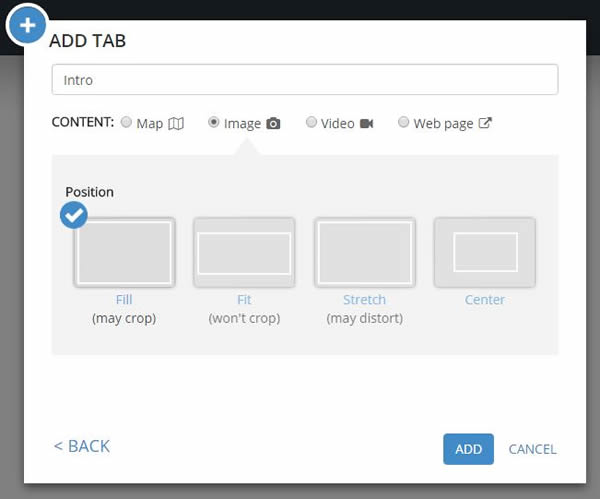
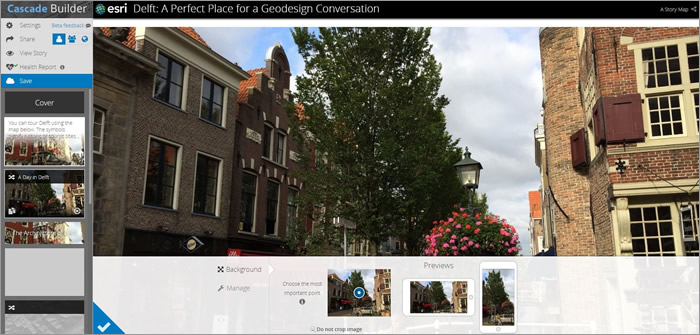
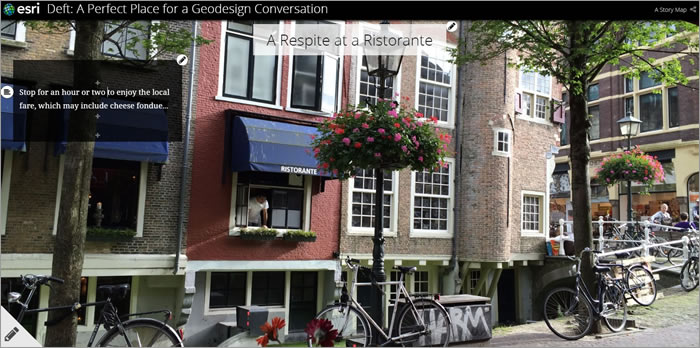
Next, click Media. Add a new image like the one below of a Delft restaurant. Click the pencil again. The following tools will appear. Center your image.
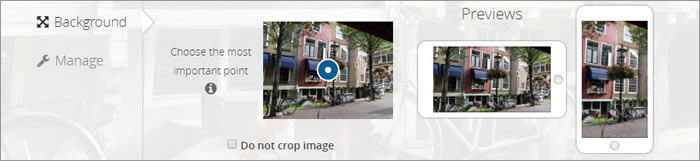
If you check the Do not crop image check box, the Color palette shown below will appear. You can add colors like tan, brown, gray, red, or green to the side panels. Click on each of the nine color options, including beige, green, rose, and gray, and your pair of side panels will appear in the color you choose.

If you keep the Do not crop image check box unchecked, enter a title and select your theme.
Continue working on your narrative in the black box below. Channel your inner Hemmingway or other favorite author.
When you are done, click Credits on the Cascade Builder panel. It’s time to acknowledge all the people and organizations that made the story map possible.

Add the names of the story map authors, mapmakers, photographers, and videographers.

You will find other tools in the Story Map Cascade app. Be bold and experiment.
For more information and tips, read the Story Map Cascade Tutorial and John Nelson’s excellent blog post, “How to Cascade.”