Note: This blog covers the classic Esri Story Maps. Story authors are encouraged to use the new ArcGIS StoryMaps to create stories. However, Esri will continue to maintain the classic templates for your use. For more information, see the Product road map.

Story Maps use photos and images that can be stored in a variety of places. Photos and images you want to use can be stored on your own servers, or using Flickr, Google, and other online repositories. In addition, there are currently five story maps – Story Map Tour, Cascade, Journal, Shortlist, and Series – that enable you to add locally stored photos or images, and host them for use in your story within the story map item.
*
Why we recommend uploading local images
Uploading local images is the recommended way to add images to your story maps, and there are several good reasons for this.
- Your images are stored with your Story Map, and don’t need to be managed as separate items.
- When you upload local images, they are automatically resized and optimized for the web. You don’t need to do any of this extra work.
- The images are not publicly accessible if your Story Map is not publicly accessible. So if your story is intended for internal use within your organization, your photos also stay private with the Story Map.
- It’s easy!
Here’s how to use these story maps to add photos or images from your local drives.
*
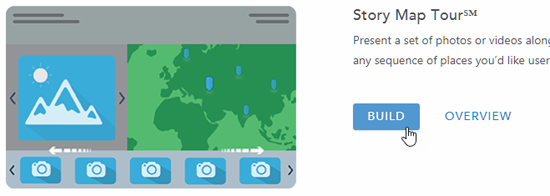
Story Map Tour
Story Map Tour presents a set of photos or videos along with captions which are linked to an interactive map. It’s ideal for walking tours or any sequence of places you’d like users to follow in order, with room for exploration.
To add locally stored photos or images you must have Publisher or equivalent privileges. Follow these steps to add and host your photos.
Step 1. Sign in to your ArcGIS account.
Go to the Story Maps website at storymaps.arcgis.com. Sign in using your credentials.

Step 2. Launch the Story Map Tour builder.
One way to launch the Map Tour builder is to click the Apps tab at the top of the page, scroll down to find Story Map Tour, then click Build.
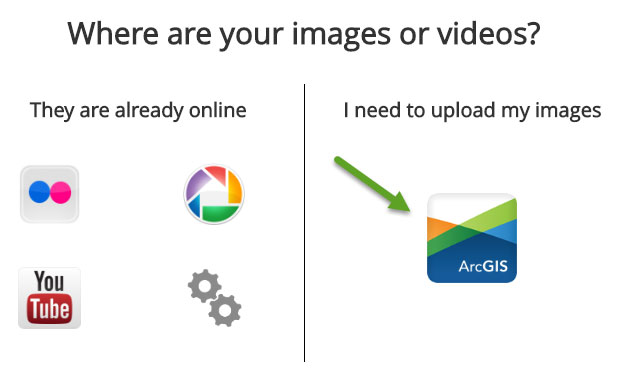
Step 3: Choose ArcGIS to upload your images.
You will be prompted to specify a feature layer name. Enter the Layer name, then click Create the layer:
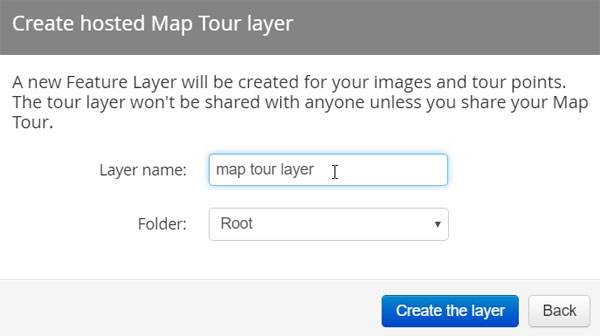
Note: You must be a Publisher or in another role with privileges to publish hosted Feature Layers. Please contact your ArcGIS administrator if you do not have these privileges. This option is also unavailable for those using a public account.
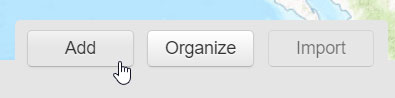
Step 5: Add your photos.
In the lower middle section of the Map Tour builder, click Add:
Then drag and drop a local image, or click Select or drop picture to browse and select it.

Your images will be optimized and automatically stored as attachments for each point in your tour, one for the featured image and another for the thumbnail.
*
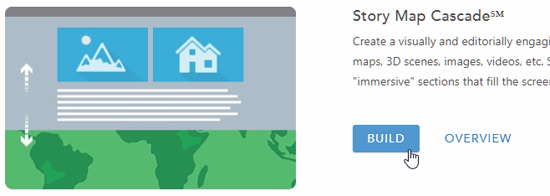
Story Map Cascade
Story Map Cascade enables you to create an engaging full-screen scrolling experience for your audience blending narrative text, maps, 3D scenes, images, videos, and more. To add locally stored photos you do not need special privileges (because of the way the images are stored). Follow these steps to add and host photos for use in Cascade.
Step 1. Sign in to your ArcGIS account.
Go to the Story Maps website at storymaps.arcgis.com. Sign in using your credentials.
Step 2: Launch the Story Map Cascade builder.
One way to launch the Cascade builder is to click the Apps tab at the top of the page, then scroll down and look for Story Map Cascade, then click Build.
Step 3: Add a title to your Cascade cover section, then Save.
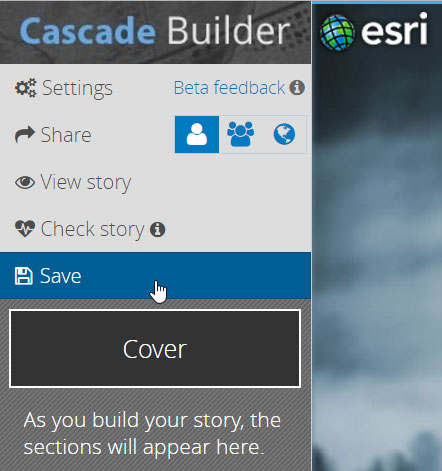
Once your story map has been saved, you will be able to add locally stored photos.
Step 4: Add photos.
Once you’ve saved your Story Map Cascade, an item is created in your account. Anywhere you can add photos, such as in media or immersive sections, you’ll see the following option box:
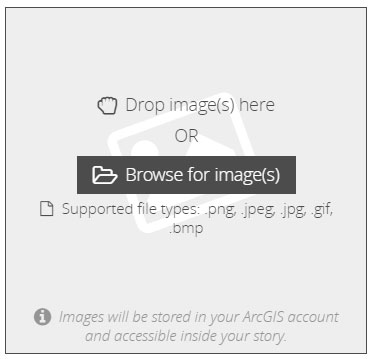
To add local images, drag and drop them onto the box, or click Browse for image(s) to locate and add them. Images are automatically optimized and stored with your Story Map Cascade. No special privileges are needed, and this option also works for public account users.
*
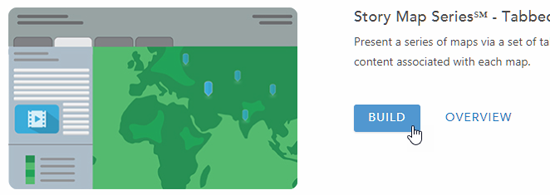
Story Map Series
Story Map Series presents a series of maps and accompanying text and media via tabs, bullets, or a side accordion. To add locally stored photos you do not need special privileges. Follow these steps to add and host photos for use in Series. For this example we are using the Story Map Series Tabbed layout, similar steps exist if you are using the Bulleted or Side Accordion layouts.
Step 1. Sign in to your ArcGIS account.
Go to the Story Maps website at storymaps.arcgis.com. Sign in using your credentials.
Step 2: Launch the Story Map Series builder.
One way to launch the Series builder is to click the Apps tab at the top of the page, then scroll down and look for Story Map Series, then click Build.
Step 3: Add a title to your Story Map Series, then click the arrow to advance.

Step 4: Add photos.
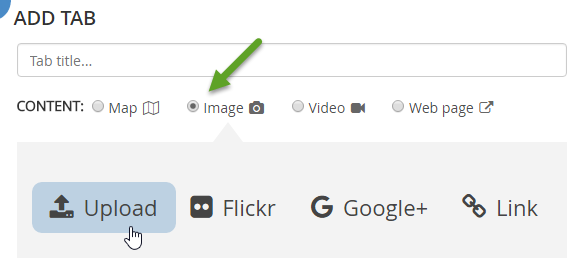
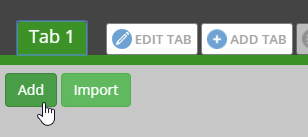
Anywhere you can add images, you’ll be able to upload local files. For example, when you add a Tab, choose Image and then click Upload.
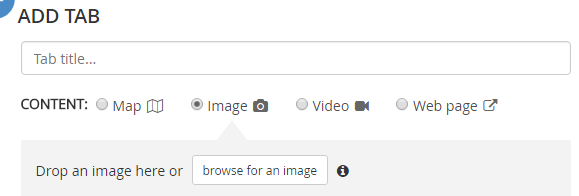
To add local images, drag and drop them onto the box, or click browse for image to locate and add them.
Images are automatically optimized and stored with your Story Map Series. No special privileges are needed, and this option also works for public account users.
*
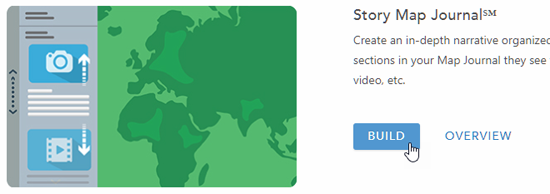
Story Map Journal
Story Map Journal enables you to create an in-depth narrative organized into sections presented in a scrolling side panel.
Step 1. Sign in to your ArcGIS account.
Go to the Story Maps website at storymaps.arcgis.com. Sign in using your credentials.
Step 2: Launch the Story Map Journal builder.
One way to launch the Journal builder is to click the Apps tab at the top of the page, then scroll down and look for Story Map Journal, then click Build.
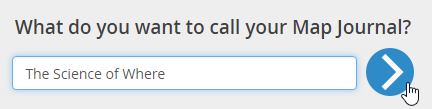
Step 3: Choose a layout (Side Panel or Floating Panel), add a title to your Story Map Journal, then click the arrow to advance.
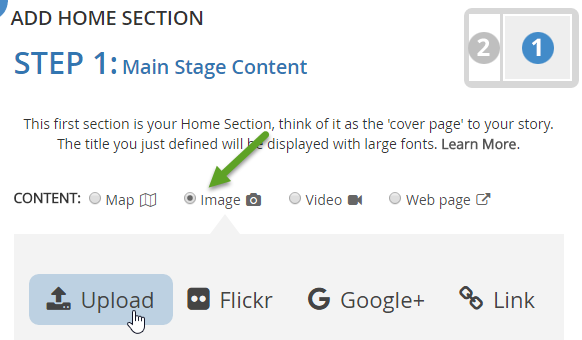
Step 4: Add photos.
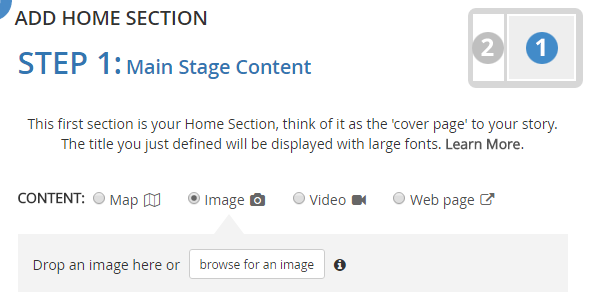
Anywhere you can add images, you’ll be able to upload local files. For example, when you add Main Stage Content, choose Image and then click Upload.
To add local images, drag and drop them onto the box, or click browse for image to locate and add them.
Images are automatically optimized and stored with your Story Map Series. No special privileges are needed, and this option also works for public account users.
*
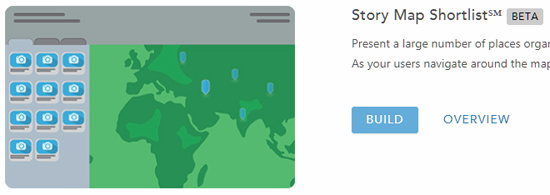
Story Map Shortlist
Story Map Shortlist enables you to present a large number of places organized into tabs based on themes, for example, food, hotels, and attractions. As your users navigate around the map, the tabs update to show them just the places in their current map extent.
Step 1. Sign in to your ArcGIS account.
Go to the Story Maps website at storymaps.arcgis.com. Sign in using your credentials.
Step 2: Launch the Story Map Shortlist builder.
One way to launch the Shortlist builder is to click the Apps tab at the top of the page, then scroll down and look for Story Map Cascade, then click Build.
Step 3: Add a title to your Story Map Shortlist, then click the arrow to advance.

Step 4: In this mode, you can either Add or Import images to be placed on the map. Click Add.
Step 5: Click to browse, or just drag and drop to add a local image.

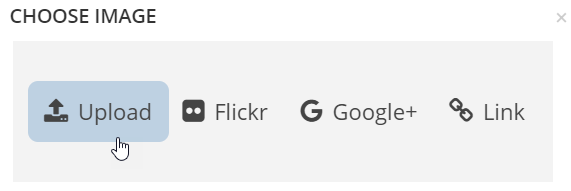
If you click to browse, choose Upload to add your image.
Images are automatically optimized and stored with your Story Map Shortlist. No special privileges are needed, and this option also works for public account users. When editing an existing Shortlist, you can follow the same general procedure to add local images.
*
For more information
- Story Map Tour overview
- Story Map Tour tutorial
- Story Map Cascade overview
- Story Map Cascade tutorial
- Story Map Series overview
- Story Map Series tutorial
- Story Map Journal overview
- Story Map Journal tutorial
- Story Map Shortlist overview
- Story Map Shortlist tutorial
This post was originally published on October 31, 2016, and has been updated.

Article Discussion: