With the latest update to the scene viewer, you can now create local scenes from within your web browser. Local scenes allow you to display your 3D data in a projected coordinate system. In the blog post covering the latest enhancements to the scene viewer I went over some steps on how you can prepare your data for local scenes. Here, I’ll show you how to create local scenes which will include removing the basemap and clipping your scenes extent.
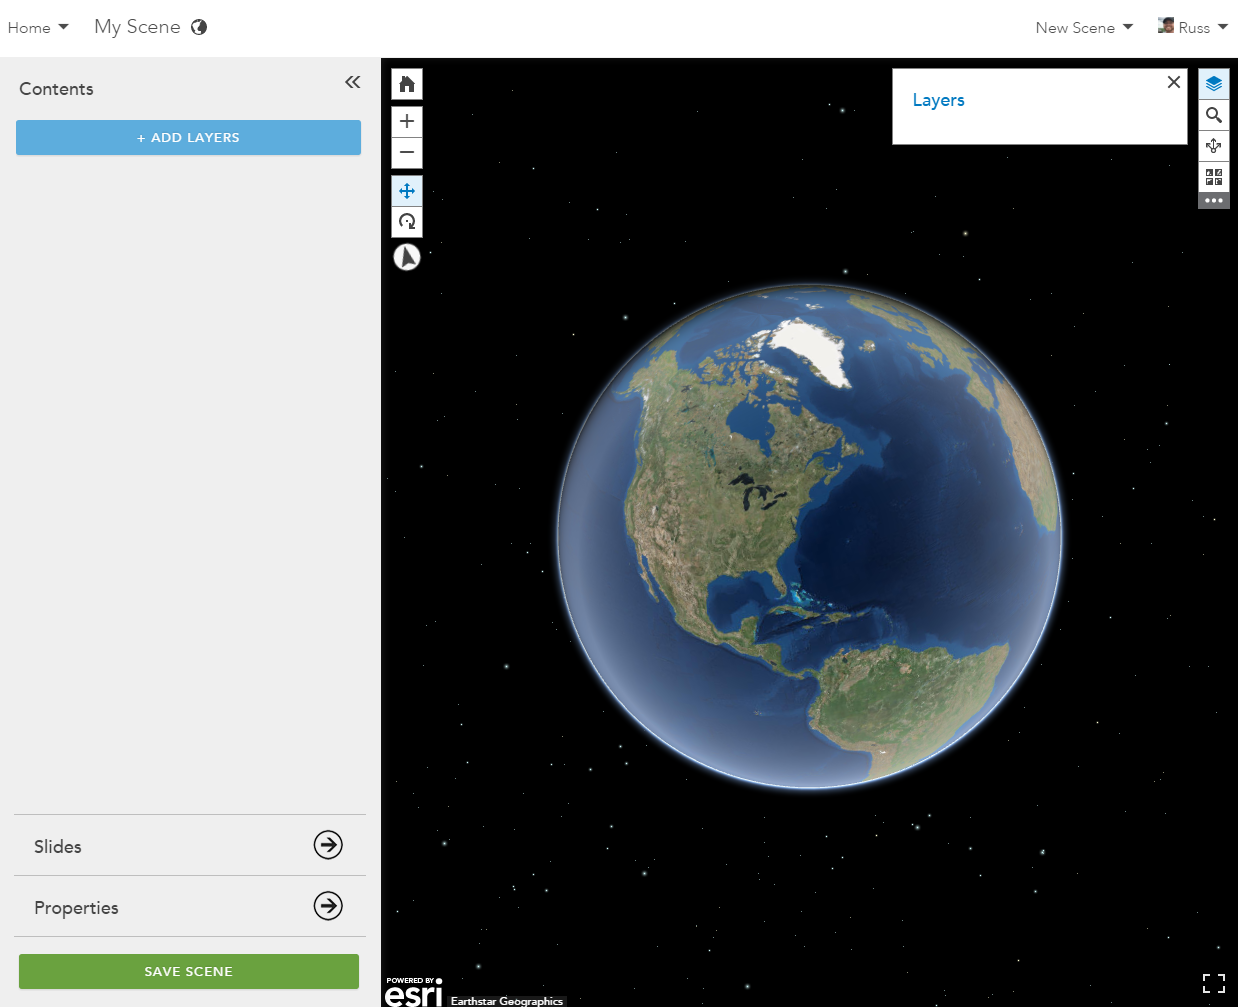
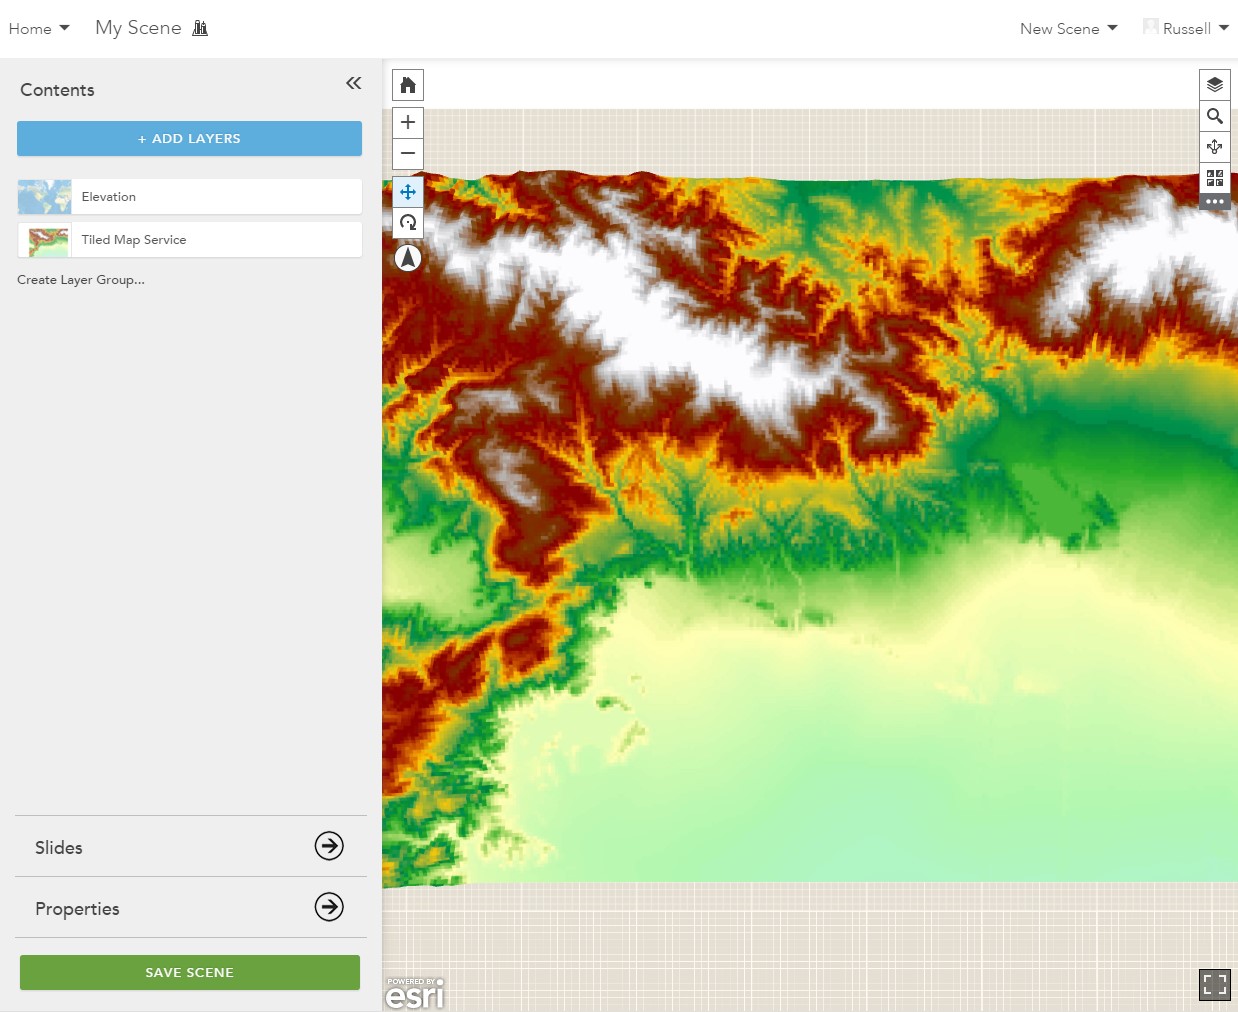
To create a local scene first open the scene viewer. Depending on the default basemap you have configured in your organization it will open in a global or local scene. In my organization the default basemap is setup to use Esri’s World Imagery basemap. This basemap is in Web Mercator spatial reference and ArcGIS Online tiling scheme and will therefore open in a global scene.
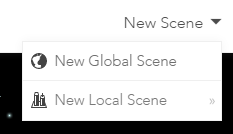
To get a local scene started, go to the top right hand corner of the scene viewer and click on New Scene then click on New Local Scene.
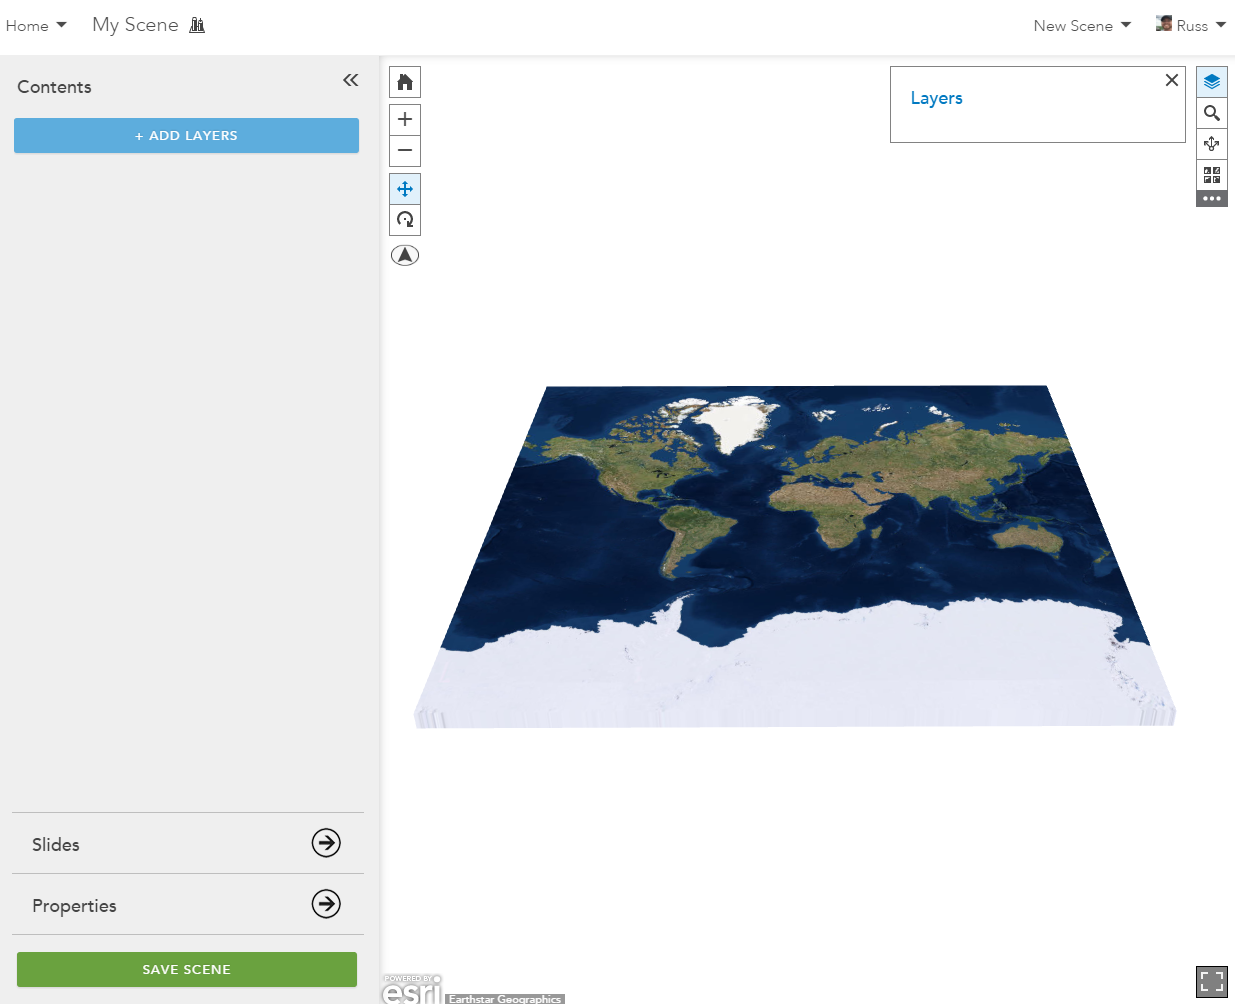
This will load a local scene with the default basemap setup in your organization.
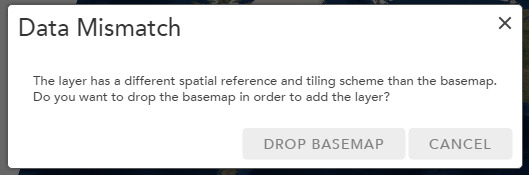
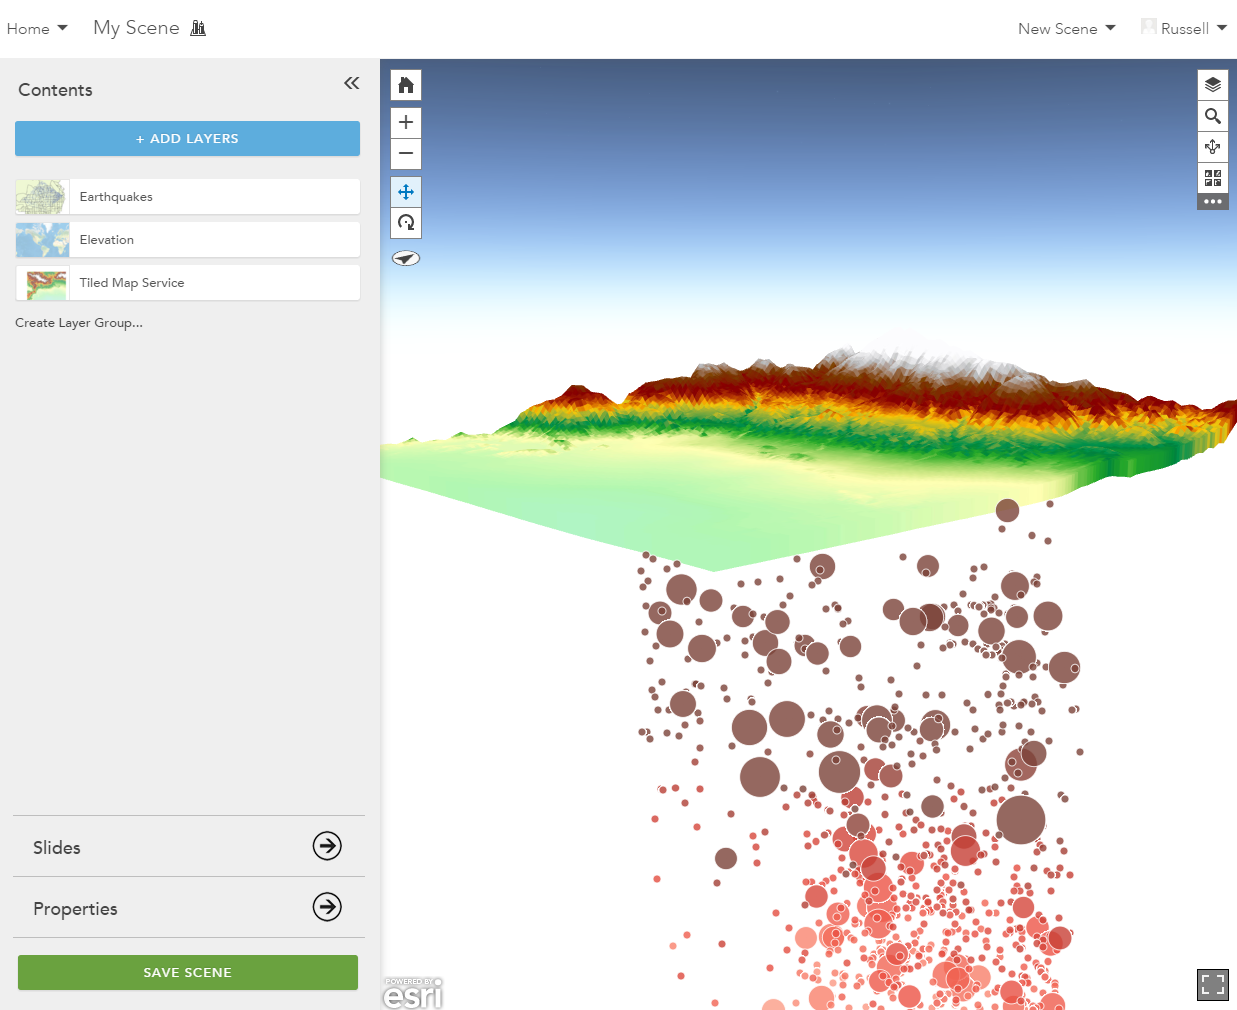
If you want to bring in your own content that is in a different projected coordinate system than the basemap, you will need to add that data to your scene first so that the scene editor will change the coordinate system of the scene to match your data. Your own content could include cached data such as a tiled layer or an elevation image layer. Add data by selecting Add Layers and pick layers available to your account or you can add the services under the Add Layers pane with the service URLS. When you bring in this data into the local scene you will be notified that you can drop the basemap and add in your cached data that does not match the same projection and tiling scheme. When you click Drop Basemap the scene will add the new layer in and remove the basemap. The spatial reference of the scene will now match the added data.
Because local scenes require that all projected data be in the same coordinate system, when you change the projection, both the basemap and the default Esri elevation layer will be removed from the scene. You can add your own elevation image services to the local scene as well but it must match the same spatial reference and tiling scheme as the other cached layers.
In local scenes you can clip the extent of your scene to restrict the content within your view. First you will need to zoom to the extent you would like to clip within your local scene. Then under Properties which is located at the bottom of the left hand pane you can switch on clipped extents. This extent can be refreshed at any time. So if you pick a new extent you can click the refresh icon and that will instantly update the scenes extent.

You can close the properties pane and interact with the scene. You can add in other layers at any time during this authoring process. To complete this scene I added a feature layer for points located below the tiled map service layer.
You can create your own local scene with the same data I used to create in this blog here or under the Add Layers pane you can search for sceneviewerblog in the scene viewer and the 3 layers used to create this scene will be displayed.
Please post your comments and questions below.
Cheers,
Russ

Hello,
thank you for the article. How do I create a Local Scene on ArcGIS Portal 11.3?