This blog article was originally published on August 14, 2013, and has been updated. The last previous update was January 3, 2020.
Geotagged photos store the location location of where the photo was taken, which can be used to place it on a map. The lat/long location is stored in the image file’s Exchangeable Image Format (EXIF) data; the metadata for the image which can contain other details like the make and model of the camera, lens information, and more.
There are many ways to geotag photos; you can capture the location when you take the photo using GPS-enabled cameras, you can use the location capabilities of your device, and you can use tools like those found in Flickr and other online apps to geotag photos after they’ve been captured.
While you can’t drag and drop or otherwise add geotagged photos directly to your web map, here are a few ways to add geotagged photos using a few simple intermediate steps.
Use a ZIP file
Geotagged photos can be added to a map by publishing them as a hosted feature layer. To create the feature layer, add the photos to a compressed file (.zip file) and upload the file from your computer.
A point feature layer is created based on the location stored in each photo, with the photos themselves being stored as an attachment to the point. Points are not created for non-geotagged photos. The resulting feature layer can be added to any web map, and photo attachments can be viewed from the pop-up.
To publish a feature layer with geotagged photos, follow these steps. You can start at Step 2 by downloading the sample ZIP file from its item page.
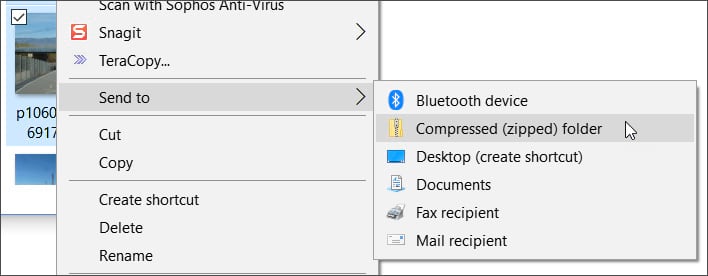
Step 1 — Create a ZIP file containing the geotagged photos. In Windows select the photos, right click, then Send to a compressed folder.
Step 2 — In My Content, click New Item.

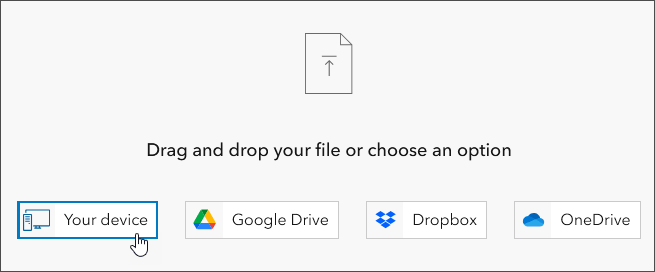
Step 3 — Drag and drop the ZIP file onto the pane, or click Your device and navigate to the file location and select it.
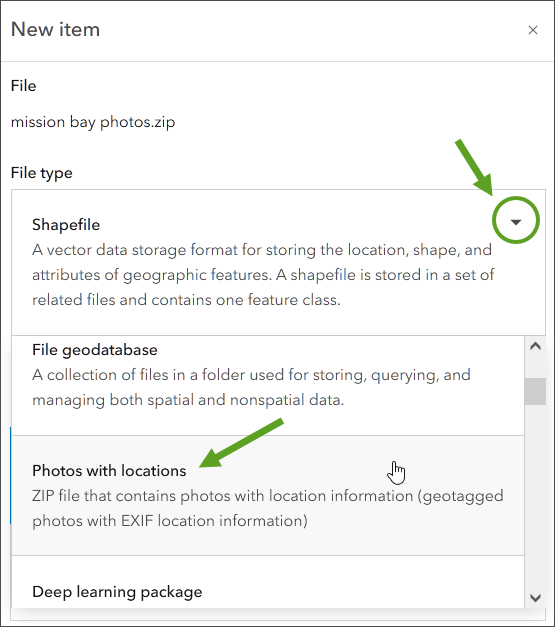
Step 4 — From the File type drop-down, choose Photos with locations.
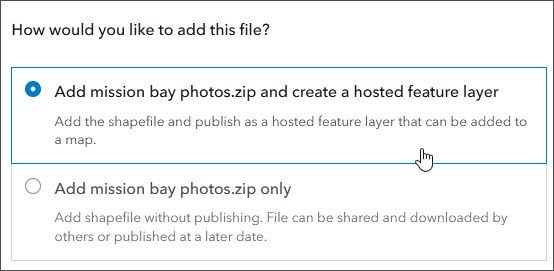
Step 5 — Ensure that create a hosted feature layer is selected.
Step 6 — Enter other item information, then click Save.

Step 7 — Complete the rest of the item details as needed.
It’s a best practice to complete the item description and update the thumbnail, summary, and details as needed. Note that there are two items that have been created; the hosted feature layer and the image collection (the uploaded .zip file).

Step 7 — Add the layer to a web map.
The feature layer created in Step 6 can be added to a web map and configured as desired just like any other layer. You can open the layer in a new map from the item pages:
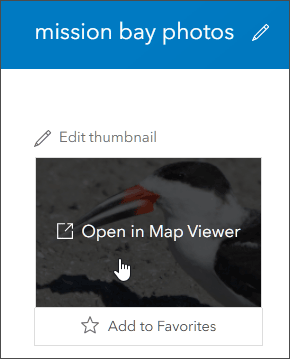
Or add the layer to any map via Add:
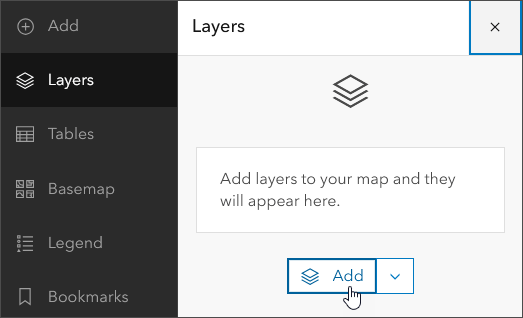
To view the photos, click any feature to open its pop-up. The photos are automatically added as feature attachments and displayed in the pop-up. You can configure the pop-up with additional elements to enhance the presentation. Click the photo to open a larger image in a new window or tab.
Make an app
Using ArcGIS Instant Apps, you can quickly configure an app to view your map. Since the geotagged images are stored as attachments, Attachment Viewer is a good choice for viewing them.
View the map using Attachment Viewer
Other ways to add geotagged photos to a map
There are other alternatives you can explore to include geotagged photos on a map. Here are several options.
Use ArcGIS Pro
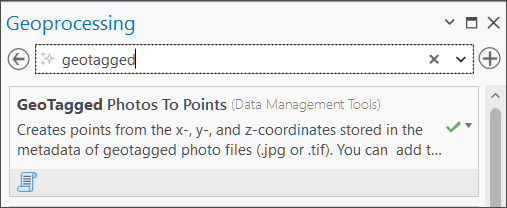
Using ArcGIS Pro, you can import geotagged photos using the GeoTagged Photos to Points tool. The map or layer can be published to ArcGIS Online.
Use ArcGIS StoryMaps
The Map tour block accepts geotagged photos to create a tour. Just drag and drop the geotagged photos to create the tour, then choose from several different layout options. View example story.

Use a CSV with links to photos
Another way to add geotagged photos is to create a CSV file containing the extracted X,Y locations (from the Exif) of the photos, along with the locations of where the photo is hosted. Once you’ve created the CSV, you can publish a feature layer using it as the source.
Once added to your map, the layer pop-up can be configured to display each photo. You can host your photos in ArcGIS Online, however it’s best to add your photos to an online storage solution (such as Dropbox, OneDrive, Google Drive, or others) and use the permalink URL from the location to add to the CSV file and subsequently configure the pop-up.
Use Flickr and KML
If you use Flickr to manage and showcase photos, you can download the geotagged photos and use the .zip file method discussed at the beginning of this article.
Another way is to create a KML file pointing to your Flickr photos. At one time Flickr provided the ability to export geotagged photos to KML, but it no longer supports this. However, using 3rd-party tools you find via web search, you can create a KML that shows the location of each photo on the map (using the photo as the symbol), and points to the Flickr source for displaying larger versions of the photo.
Depending on the tool you use, the photos appear as symbols and the pop-up includes a thumbnail of the photo, title and description (if present), and links to the owner and original photo in Flickr.
The photos appear as symbols, and the pop-up includes a thumbnail of the photo, title and description (if present), and links to the owner and original photo in Flickr. View the map.
More information
For more information, see the following:

Commenting is not enabled for this article.