Categories are a useful, structured way to organize content in your organization or in a group. Content categories make it easier to discover content such as maps, scenes, apps, and layers. Categories can be configured using standard category sets from ArcGIS, the International Organization for Standardization (ISO), or INSPIRE as a starting point, or can be entirely custom.
Categories can be used to filter and easily find and use content. Click Content, then select My Contents, My Favorites, My Organization, or Living Atlas. Categories can be found along the left side of each of these tabs.

Even when starting with a standard template like ISO or ArcGIS, you can add your own custom categories. Categories can be edited, added, or deleted at any time and items can be assigned to multiple categories or subcategories. These characteristics make categories a very flexible way to organize content and make it more discoverable.
Custom categories can be useful if you want more control over your organization’s content. For example, you could create organization (or group) categories for temporary or ongoing projects, such as Redlands Boulevard Widening Project, Brookside Park Upgrades, San Timoteo Canyon Flood Control, or Utility Upgrades. These can be deleted when the project is finished and new project categories can be added.
You can also use more permanent custom categories, such as Planning Department, Permitting, or Law Enforcement to organize content for easy discovery and member use.
Organization vs. group categories
Categories can be established for content across the organization. Groups can also be configured with categories, but group categories are unique to the group (though can use the same templates). The category configuration pane is the same for each. Once configured, group categories appear along with other filters that can be used to find specific content.
From within a group, you can only filter content based on group categories. However when using the group in the Gallery Instant App (see section below), you can choose whether to use group or organization categories.
Note that organization categories can not be used to filter content outside your organization, even when used in the Gallery app template. However group categories can be used as filters in public Gallery apps.
Configure organization categories
In order to manage categories, your account must be a member of the default administrator role or a custom role assigned privileges to manage categories. To configure categories navigate to My organization or My content. Look for the Categories section down along the left side and follow these steps.
Step 1 — click Set up content categories.
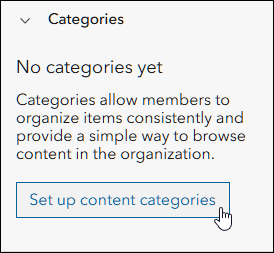
Step 2 — Choose a category templates. Available templates are:
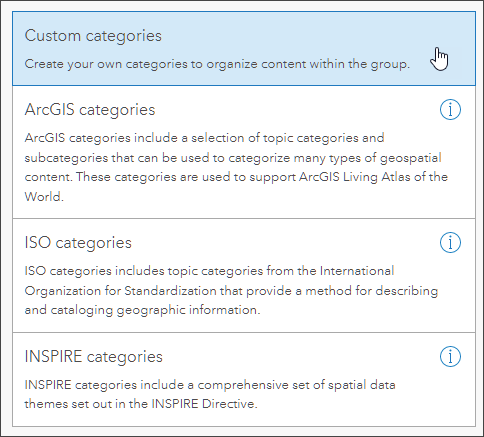
- Custom categories (create your own categories)
- ArcGIS categories
- ISO categories
- INSPIRE categories
Custom categories are used for this blog article.
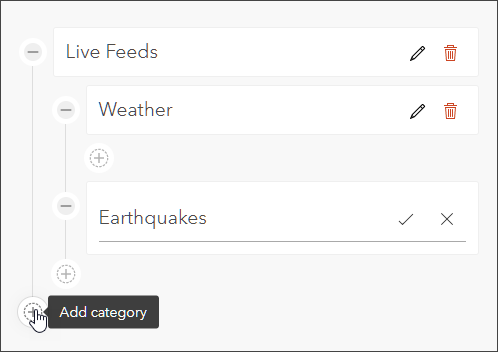
Step 3 — Begin by entering the first category in the input box and click the checkbox when finished. Add new categories and subcategories by clicking the (+) button, or edit and delete existing categories as desired. You can drag and drop categories to arrange them. Once established, categories can be edited at any time.
Step 4 — Click Finish setup in the lower right when done.
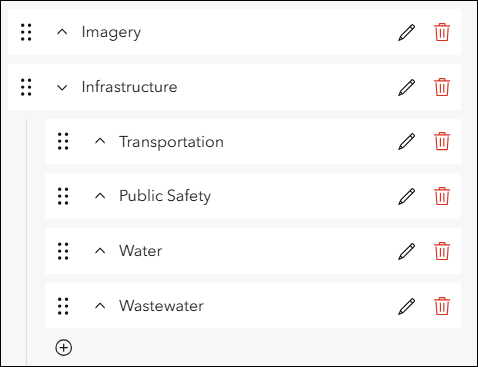
Step 5 — Assign content to categories.
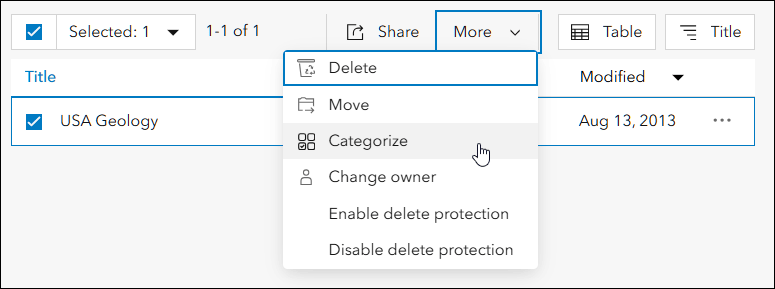
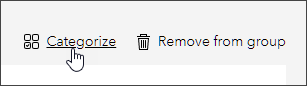
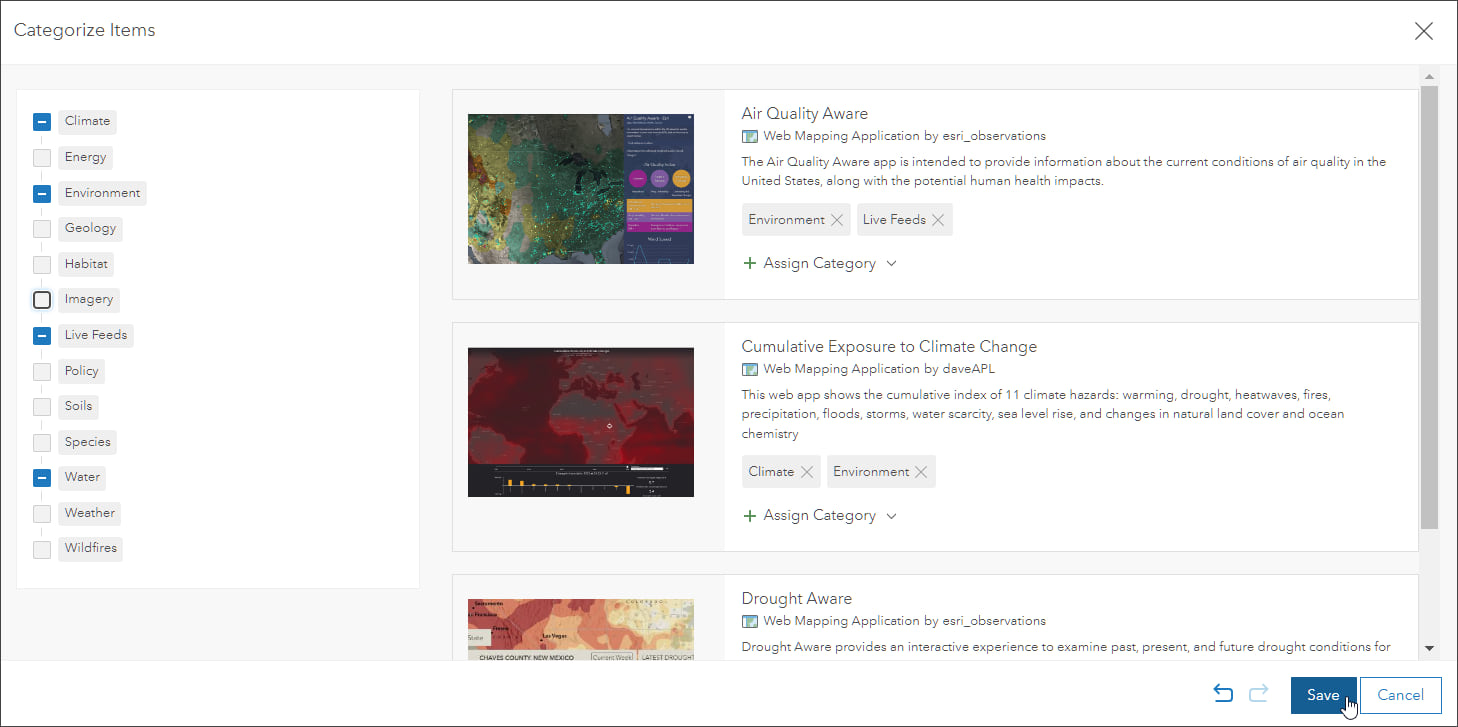
Select one or more items and choose Categorize, which can be found in the More drop-down list.
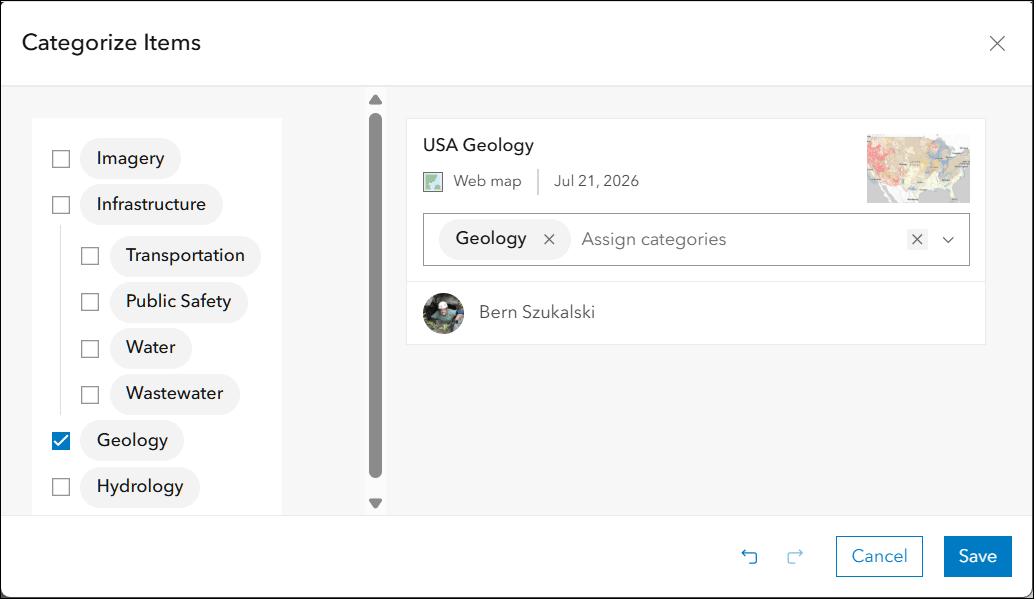
Step 6 — Choose one or more categories for the item, click Save when finished. Repeat for other items you want to categorize.
Configure group categories
In order to configure group categories, you must be the group owner, group manager, organization administrator, or with a custom role with appropriate privileges.
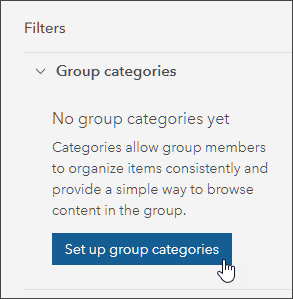
Look for Group categories in the Filters section along the left side of the group Content page.
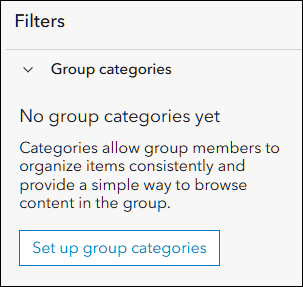
Click Set up group categories then follow Steps 2 through Step 6 in the Configure organization categories section above. Once items have been assigned categories, the group category filter can be used to view specific content.
Use the Gallery Instant App template
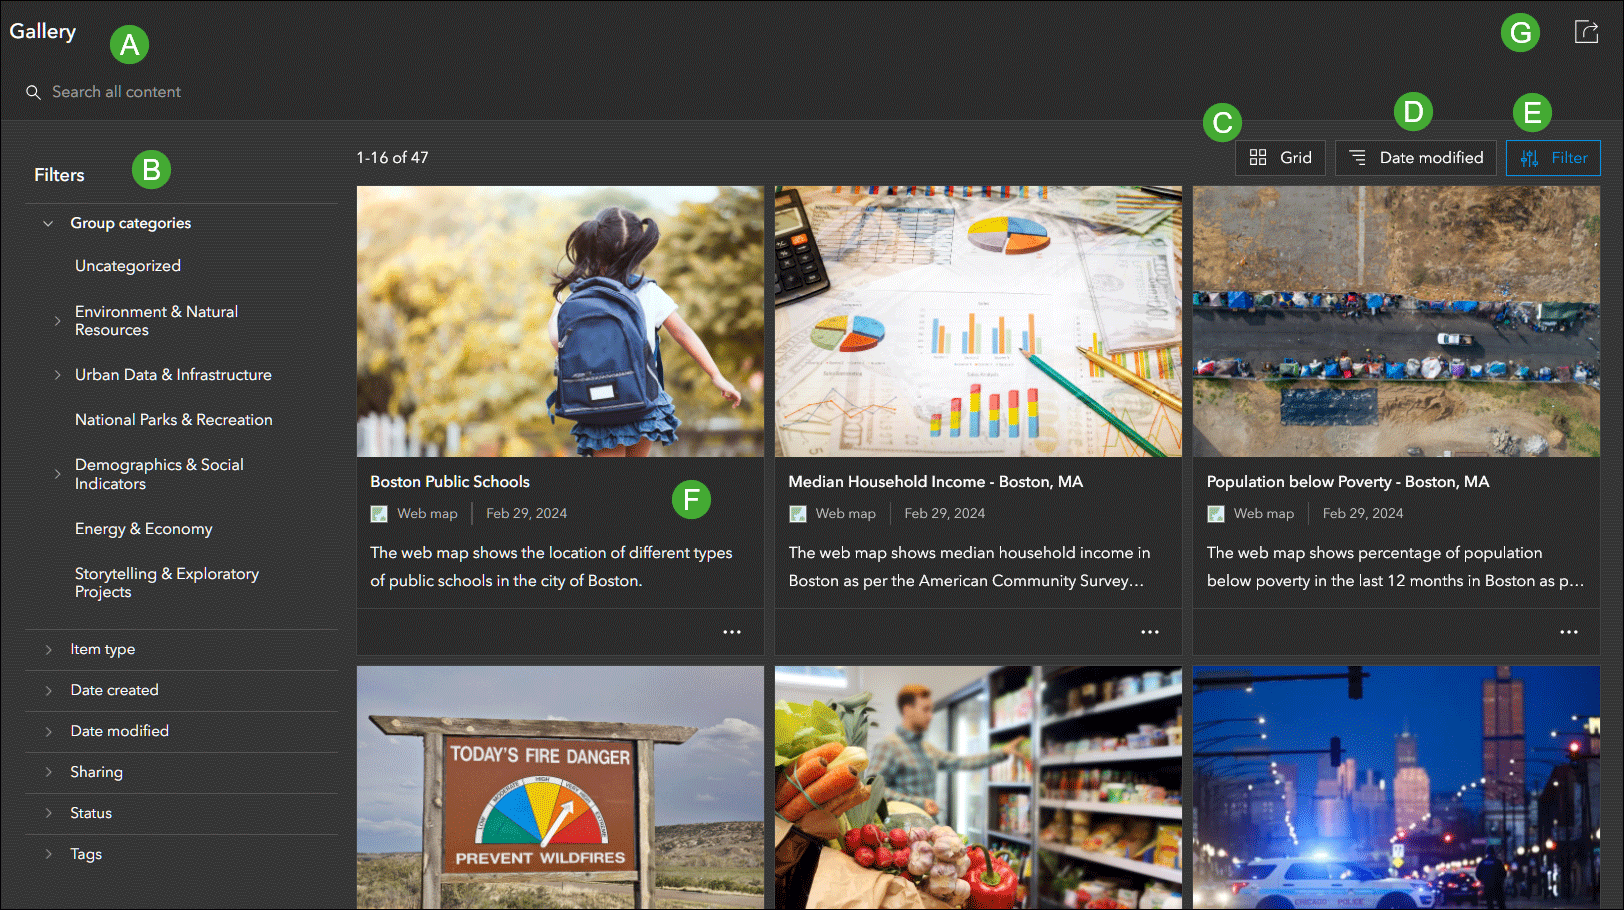
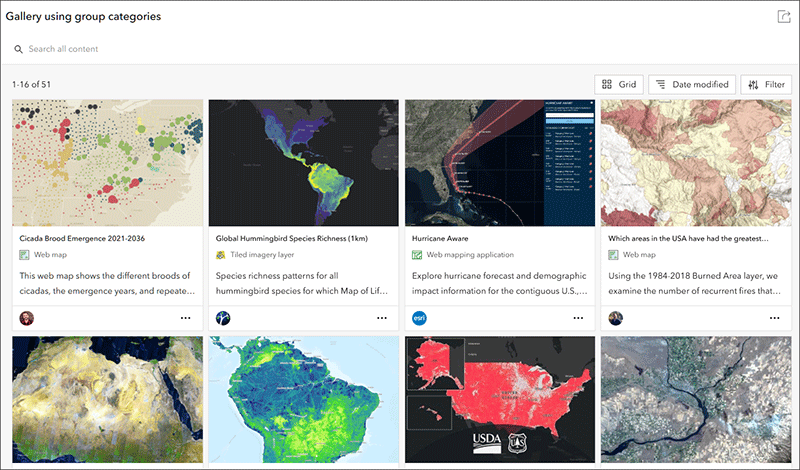
Gallery is a responsive, group-based Instant App that allows you to display all of the items from a group in a searchable and filterable grid, table, or list. You can view items using a variety of criteria, including group or organization categories, type, date, status, and more.
Viewers can open the items directly from the configurable display card. The unique capability of Gallery is that it enables filtering on organization or group categories and can be used to enable group category filtering by users when the app is public.
Gallery setting
Gallery includes a number of easy-to-configure settings, including the following:
A — Title.
B — Configurable filters, including by category, type, tags, status, and more.
C — Grid or list display for group contents.
D — Sort order.
E — Hide or show filters.
F — Configurable item card.
G — Share app with current filters.
Create a Gallery app using group categories
Follow these steps to configure and share your own Gallery Instant App. Group categories will be used in this tutorial, however the same steps apply if you want to set up and use organization categories, though only group categories can be used in public Gallery apps outside your organization.
Prior to following the steps below, you should create a group and add content. See the Group with categories (example) group and Gallery using group categories (example) Instant App to follow along.
Step 1 — If you’ve not done so already, create a group and add the content you want to the group. As a best practice, ensure that your group and the items within it have a good thumbnail, summary, and description.
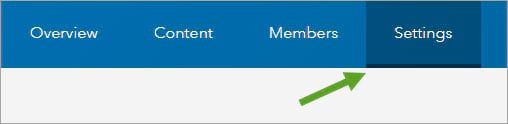
Step 2 — Review the group sharing and default filters. Open the group Settings tab.
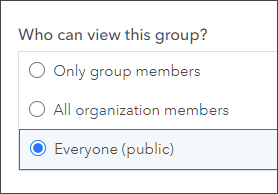
Review Who can view this group? For public access, ensure that the group and its contents are shared publicly. Use other settings for use within your organization, or for group members only.
Note that content within the group may have different access permissions than the group itself. Review permissions for group content prior to configuring the app.
Step 3 — Add categories to the group. Open the group’s Content tab, then click Set up group categories.
Step 4 — Choose one of the existing category templates, or choose Custom categories to start from scratch. For more information, see Content categories.
Step 5 — Add new categories and subcategories, or edit and delete existing categories, as desired. Once established, categories can be edited at any time.
Step 6 — Assign content to categories. Select one or more items, then click Categorize.
Step 7 — Choose one or more categories or subcategories for the selected items. Click Save when finished. Items can be recategorized at any time.
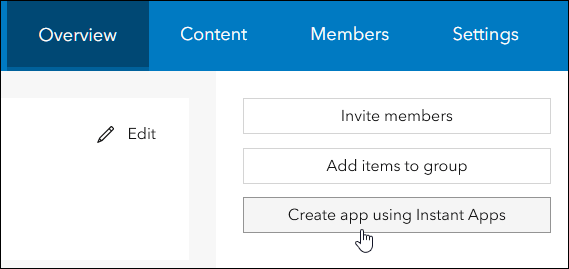
Step 8 — Open the group Overview tab, click Create app using Instant Apps.
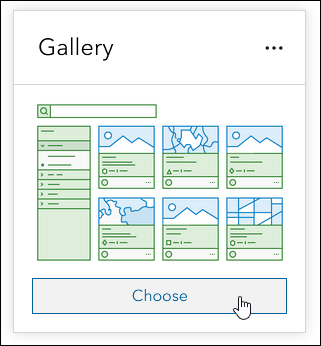
Step 9 — Choose Gallery from the Instant Apps home page.
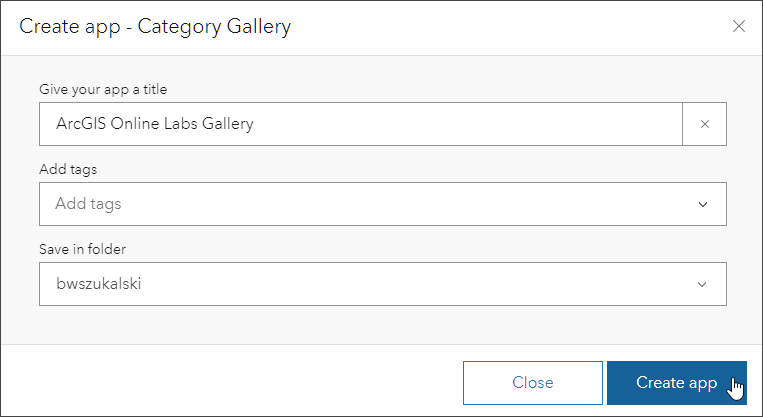
Step 9 — Enter a title for your app and tags (optional). Click Create app when finished.
Step 10 — Configure the app. Express setup delivers the quickest way to change settings. The Gallery app example was configured using the default settings.
You can optionally change other settings as desired. For example, you may want to omit some filters, or have the filters appear when the app is opened, configure the content card, and so forth. When finished, click Publish.
Summary
Categories are a useful, structured way to organize content in your organization or in a group. Content categories make it easier to discover content such as maps, scenes, apps, and layers. Categories can be configured using standard category sets from ArcGIS, the International Organization for Standardization (ISO), or INSPIRE as a starting point, or can be entirely custom.
Gallery is an ArcGIS Instant Apps template that allows you to display all of the items from a group in a searchable and filterable grid or list. It’s ideal for providing an easy-to-browse gallery of content that users can filter in a variety of ways, including using organization or group categories.
More information
For more information see:

Commenting is not enabled for this article.