This post was originally published on June 9, 2021, and has been updated.
Your profile contains basic information about you, including your name, profile graphic, and biographical information. Your profile page also includes a list of groups you belong to, the number of items you own, and, depending on your profile visibility, a customizable gallery of your shared items.
Your user profile can inform others who you are, what organization you represent, and your role. Profiles can also be created on behalf of an organization and can provide additional details about the organization.
Profiles can be easily accessed from any item by clicking the owner name, which can be found in the list or grid view of search results, or on the Overview tab of the item page.
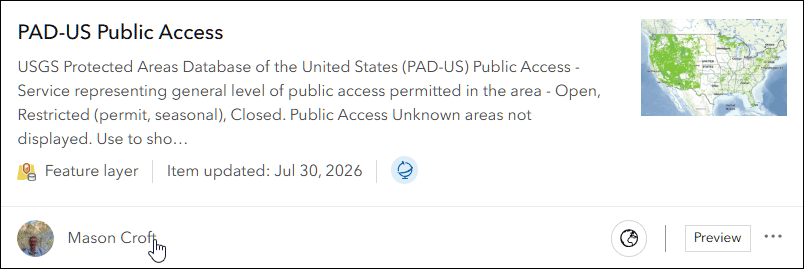
Click Profile to view the owner profile.
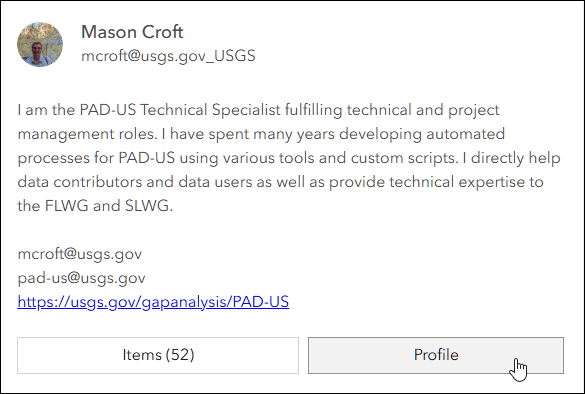
When clicked, you will see the owner profile along with a gallery of items. By default, the gallery includes the top 12 items by relevance, taking into account item quality, the number of views it has, and whether or not it has been marked as authoritative.
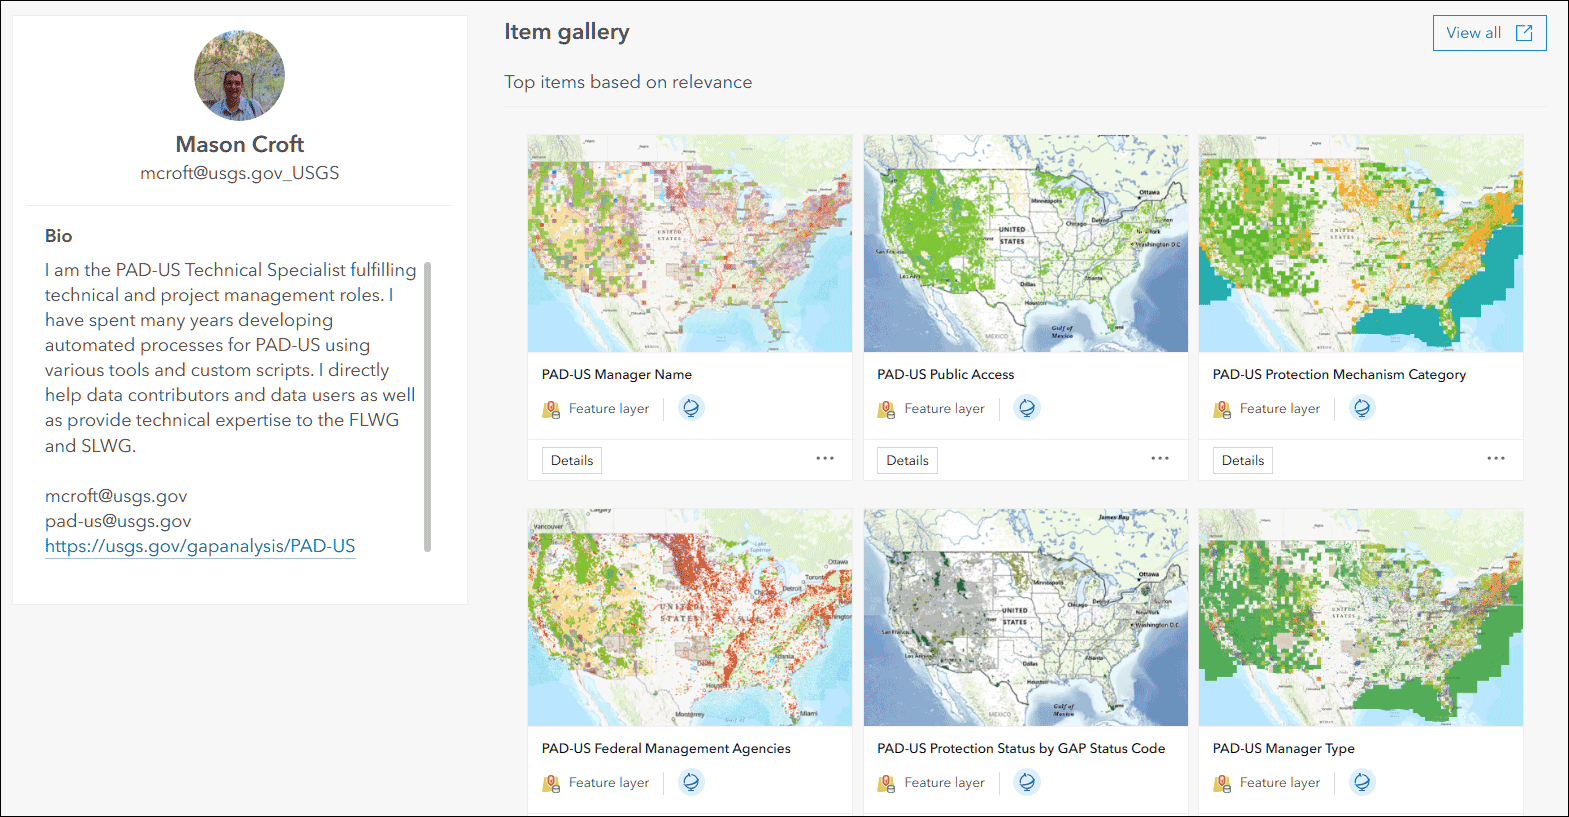
Customize your gallery
You can change the default and create a custom profile item gallery to suit your needs and likes. You can highlight your work, showcase popular applications, or provide easy access to resources. Follow these steps to customize your gallery.
Note: The ability to create a custom gallery for your profile depends upon the visibility of your profile as well as organization settings for managing your profile. If your profile visibility is set to Private, no item gallery is displayed or available for configuration. If it is set to Organization or Public, then your items are visible (based on sharing) and you can configure an item gallery.
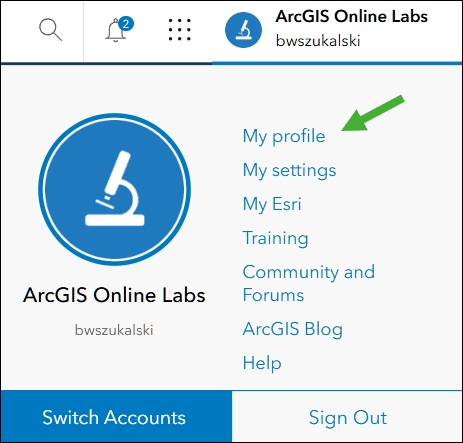
Step 1 – Sign in to your account, click your name, then click My profile.
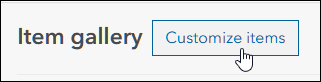
Step 2 – At the top of your gallery, click Customize items.
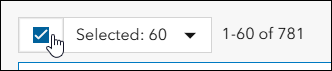
Step 3 – Uncheck to remove all of your current gallery selections.
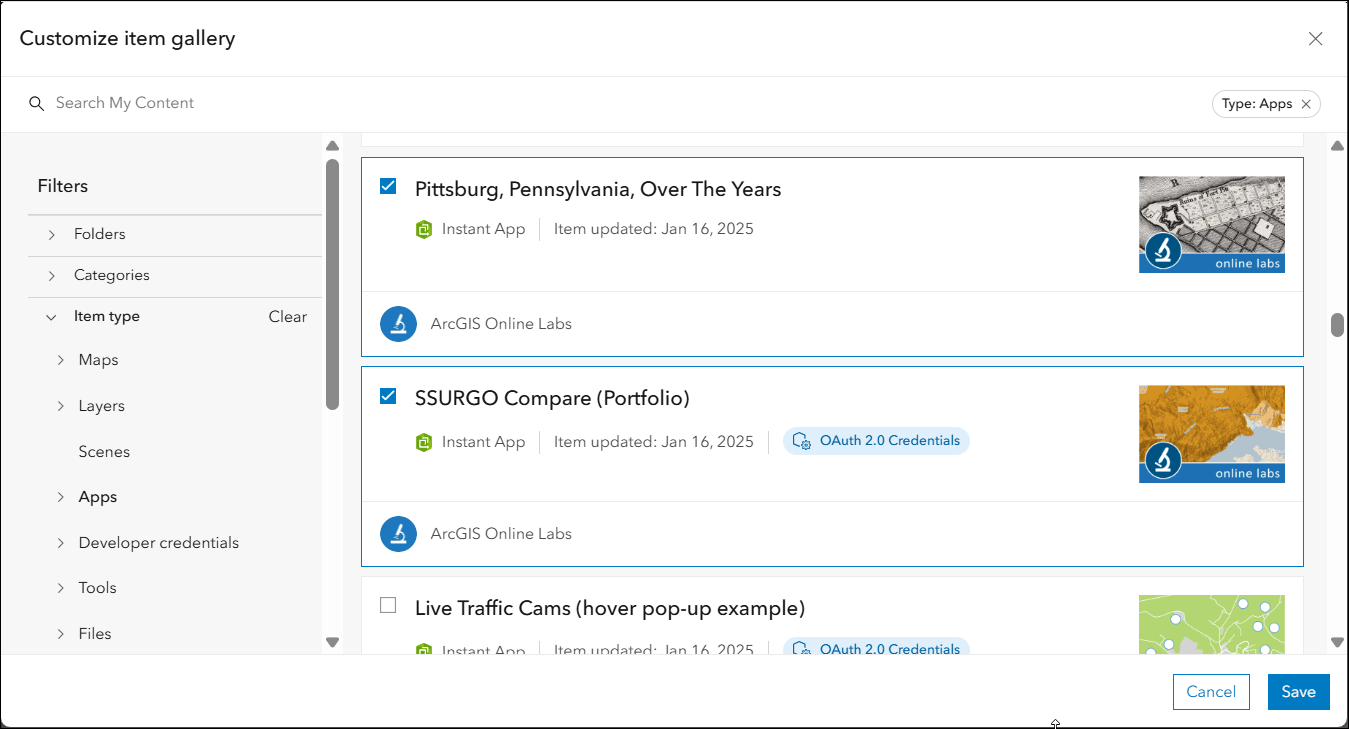
Step 4 – Browse for items you want to include in your gallery. Use filters and sort to help you locate items, then check the box to select items for your custom gallery.
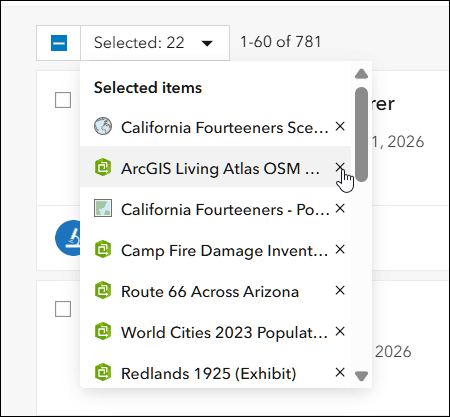
Step 5 – Refine your selections. From the Customize item gallery pane, you can view a list of currently selected items. Using the drop-down, click the x to remove an item.
Step 6 – When finished, click Save in the lower right to save your changes.
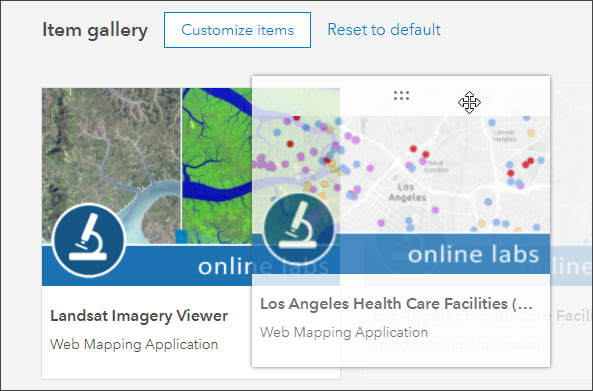
Step 7 – To change the order of items, hover over the thumbnail and click the bar above the image. Grab and drag the item and drop it into a new position.
You can update your item gallery at any time, or revert back to the default.
Verified organization item gallery
Organizations verified by Esri can designate items they have shared with everyone (public) as authoritative. They are also boosted in search results and are returned when the Authoritative Status filter is applied.
If you have verified your organization, you will display a different profile card than the default. The gallery that will display with your verified organization profile card will be the same as the gallery shown when the Gallery tab is clicked in the header of your home page.
For example, this is the profile card for the City of Sandy Springs.
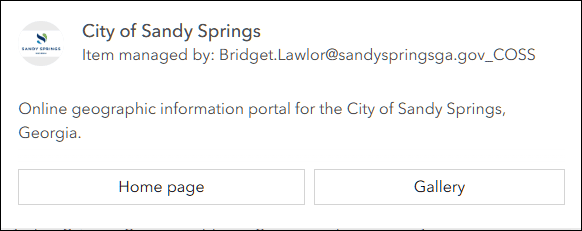
When Home Page is clicked, the home page for the organization is opened. When Gallery is clicked, the group that is configured into the Gallery tab of the organization will open and display the group items. Below is the gallery displayed for the City of Sandy Springs, Georgia.
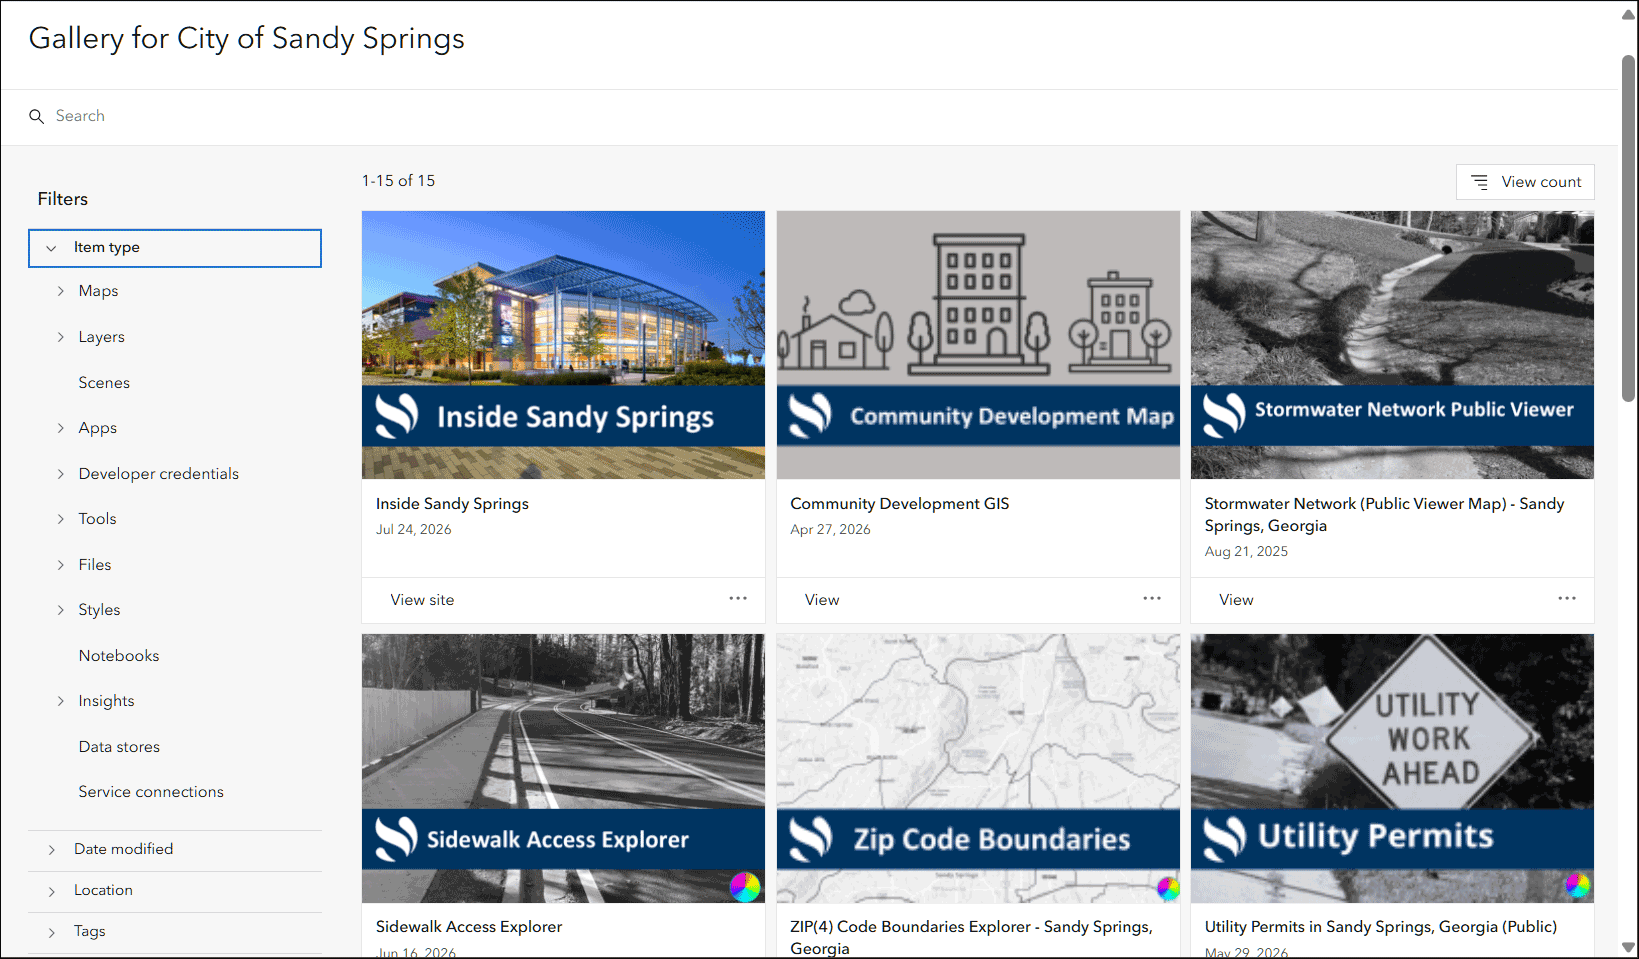
To change the items that are shown, edit the contents of the group that populates the home page gallery. For more information, see Organization verification and Configure gallery.
More information
For more information, see:
- Create a great profile (Blog)
- Manage profile and settings (Help)
- Set up an ArcGIS organization (Tutorial)

Commenting is not enabled for this article.