The integration of ArcGIS CityEngine with ArcGIS Urban allows you to do the following:
- Import ArcGIS Urban plans (spaces, existing buildings, zoning and overlay boundaries, and scenarios) in ArcGIS CityEngine as scenes.
- Edit the imported parcel layers and save the changes to ArcGIS Urban.
- Publish CityEngine models as scene layers to ArcGIS Online and link them to a scenario in an ArcGIS Urban plan
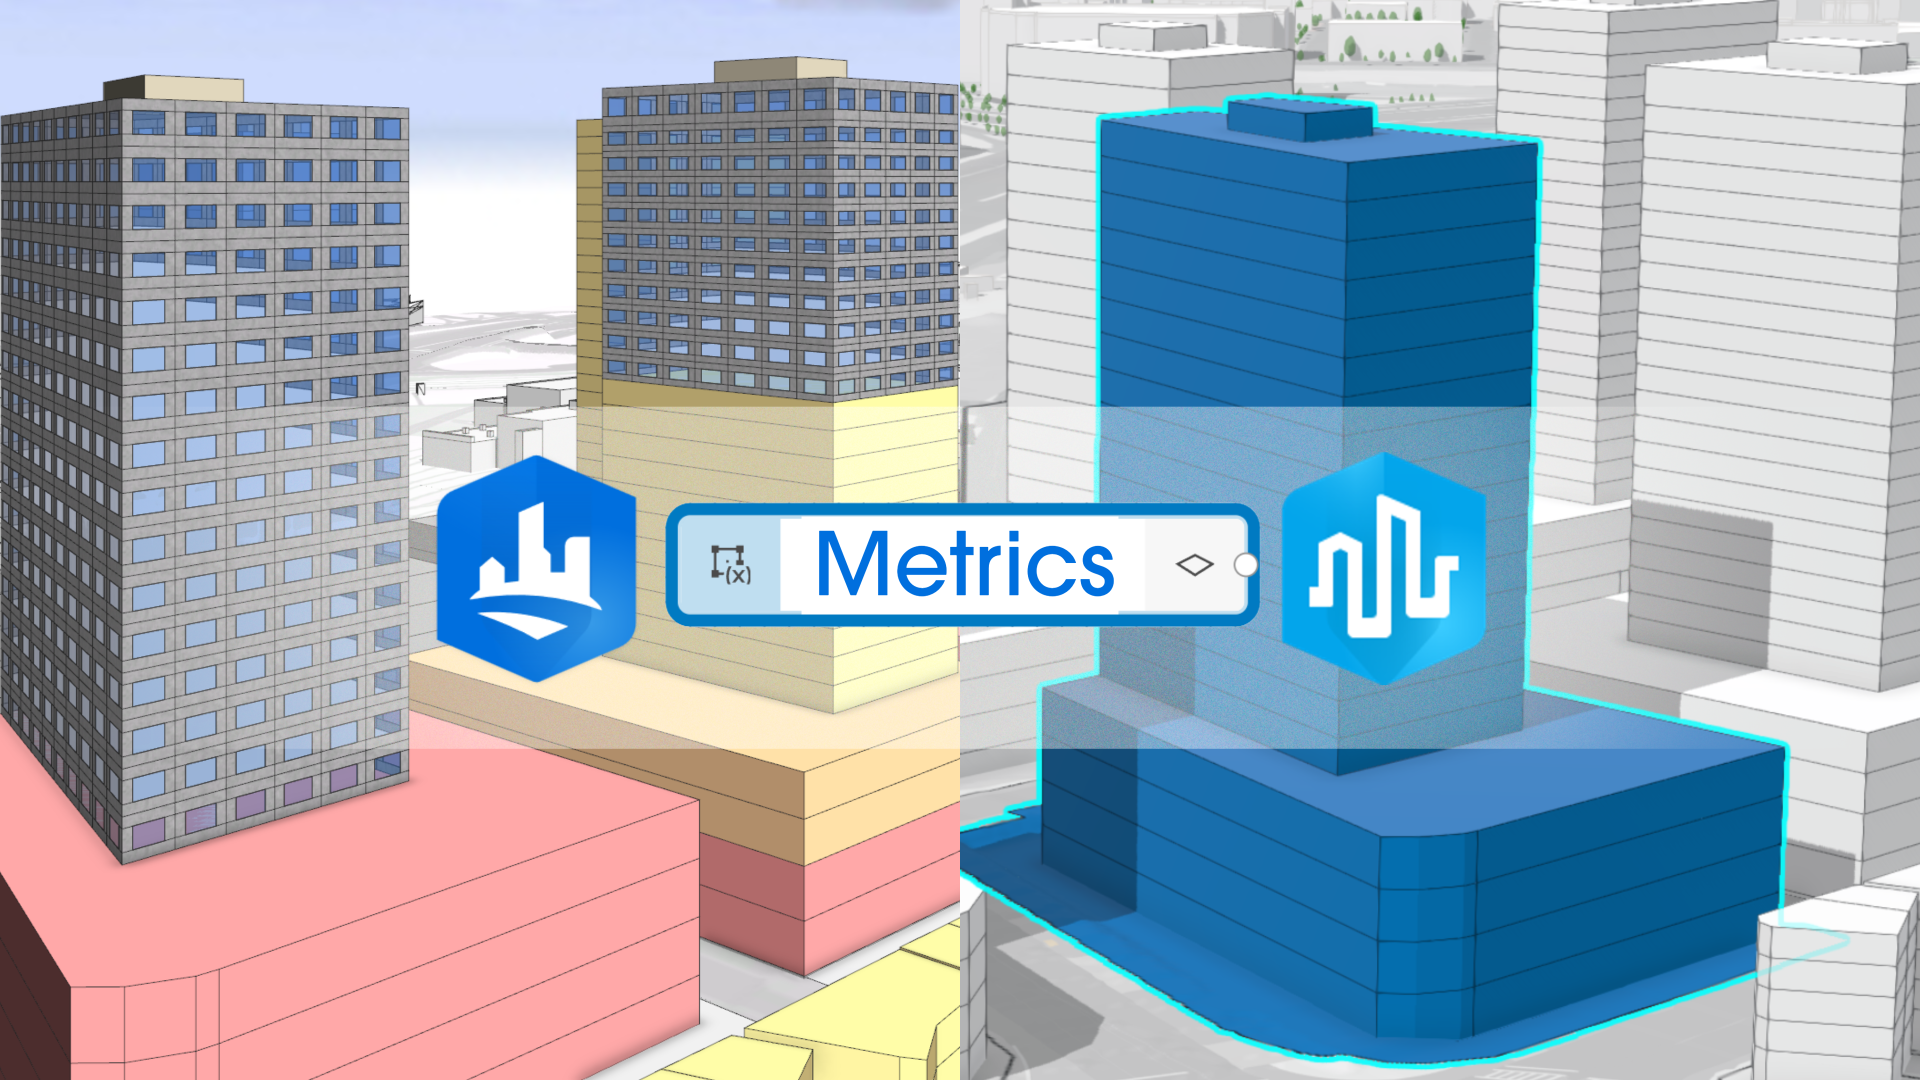
In this example project for ArcGIS CityEngine 2026.0 you learn how to use our new Python 3 capabilities to extend the ArcGIS Urban integration in a specific way: computing and publishing custom metrics to ArcGIS Urban and then view them in the Urban metrics dashboard. The custom metrics are derived from CGA reports on space shapes (i.e. floor plates).
Please note that this example is intended for users who are already familiar with the ArcGIS Planning System and its terminology. Please reference our ArcGIS Urban Integration documentation and What is ArcGIS Urban for more information.
How to run the example
ArcGIS Account Requirements
- This example requires both ArcGIS CityEngine and ArcGIS Urban licenses, this means a user type of “Professional Plus” is required.
- To create an ArcGIS Urban API key, the account must also have these additional developer privileges. This is typically done through custom member roles.
- General privileges > Content > Generate API keys
- General privileges > Content > Assign privileges to OAuth 2.0 applications
Initial Setup in ArcGIS Urban

In this setup phase we create a write-able private copy of the public “Boston” example of ArcGIS Urban:
- Sign-in to ArcGIS Urban and select “Open Example”
- Select “Plans” and open “South Boston Dot Ave”
- Select “Create a copy” and choose a unique name (we will reference it later). Leave “Save plan to another Urban Model” unchecked.
- Patience please: copying the plan takes a few minutes …
- Open the ArcGIS item for your new plan: go to “Configure plan” in the plan drop-down menu
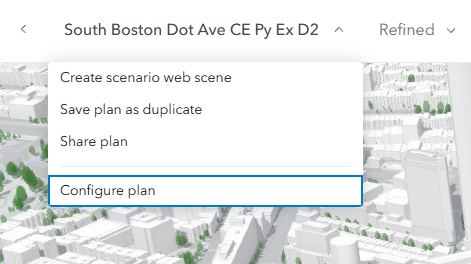
6. Select “Open item detail page”

7. Review the details page, by opening this you will get to the Urban Design Database item in ArcGIS Online. Later, you will reference it in the code and you will preview it from within CityEngine.

8. On ArcGIS.com, use “New item” > “Developer credentials” to create a new API key for your Urban Design Database item as described in this tutorial.

7. Store the API Key in a secure location for later use.
Initial Setup in ArcGIS CityEngine

We import the private copy of the “Boston” plan into ArcGIS CityEngine and configure the example script:
- In ArcGIS CityEngine, go to the Urban Navigator and search for your new Plan/Urban Database item by name.
- Select “File Preview” on the plan and copy/paste the “Design Database ID” into the corresponding field at the top of “/Example_Python_03_Urban_Metric/scripts/main.py”.
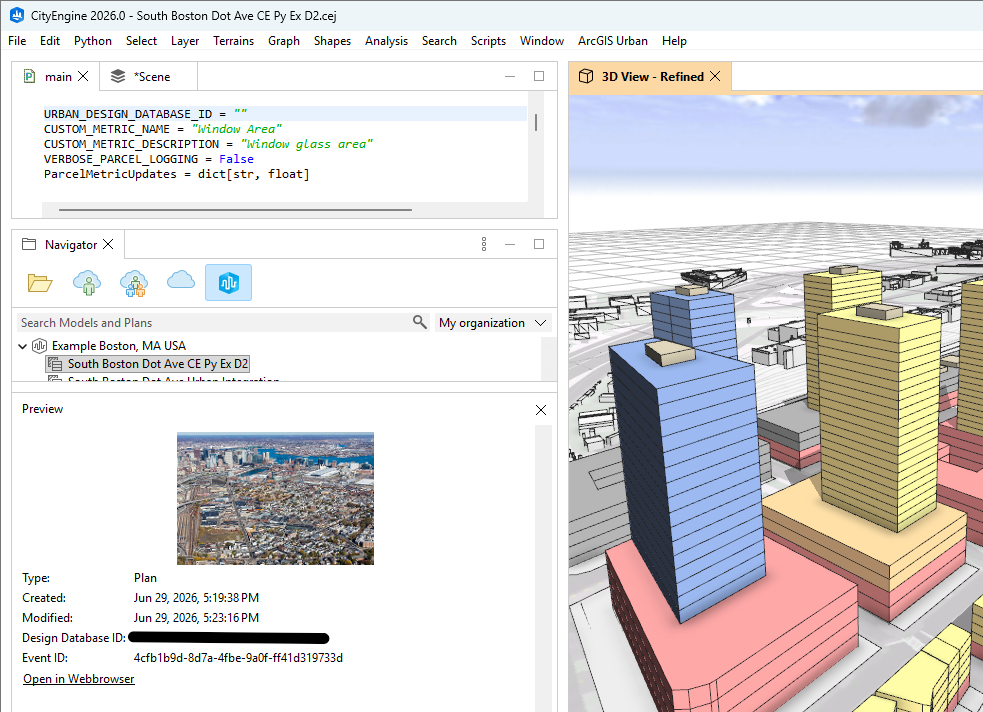
3. From the RMB context menu, run “Import as new scene” to create a new CityEngine scene with the Plan/Urban Database item.
4. Patience please: importing the plan takes 5–15 minutes …
5. Switch the scene to the “Refined” scenario.
6. Optionally hide the “Zoning” layer group to make it easier to select Spaces.
Publishing CGA-based metrics for Spaces
The main work flow consists of assigning CGA rules to Spaces, using reports to compute metrics, and then publishing those metrics to ArcGIS Urban. Here is how to use the bundled CGA rules to report the window glass area to ArcGIS Urban:
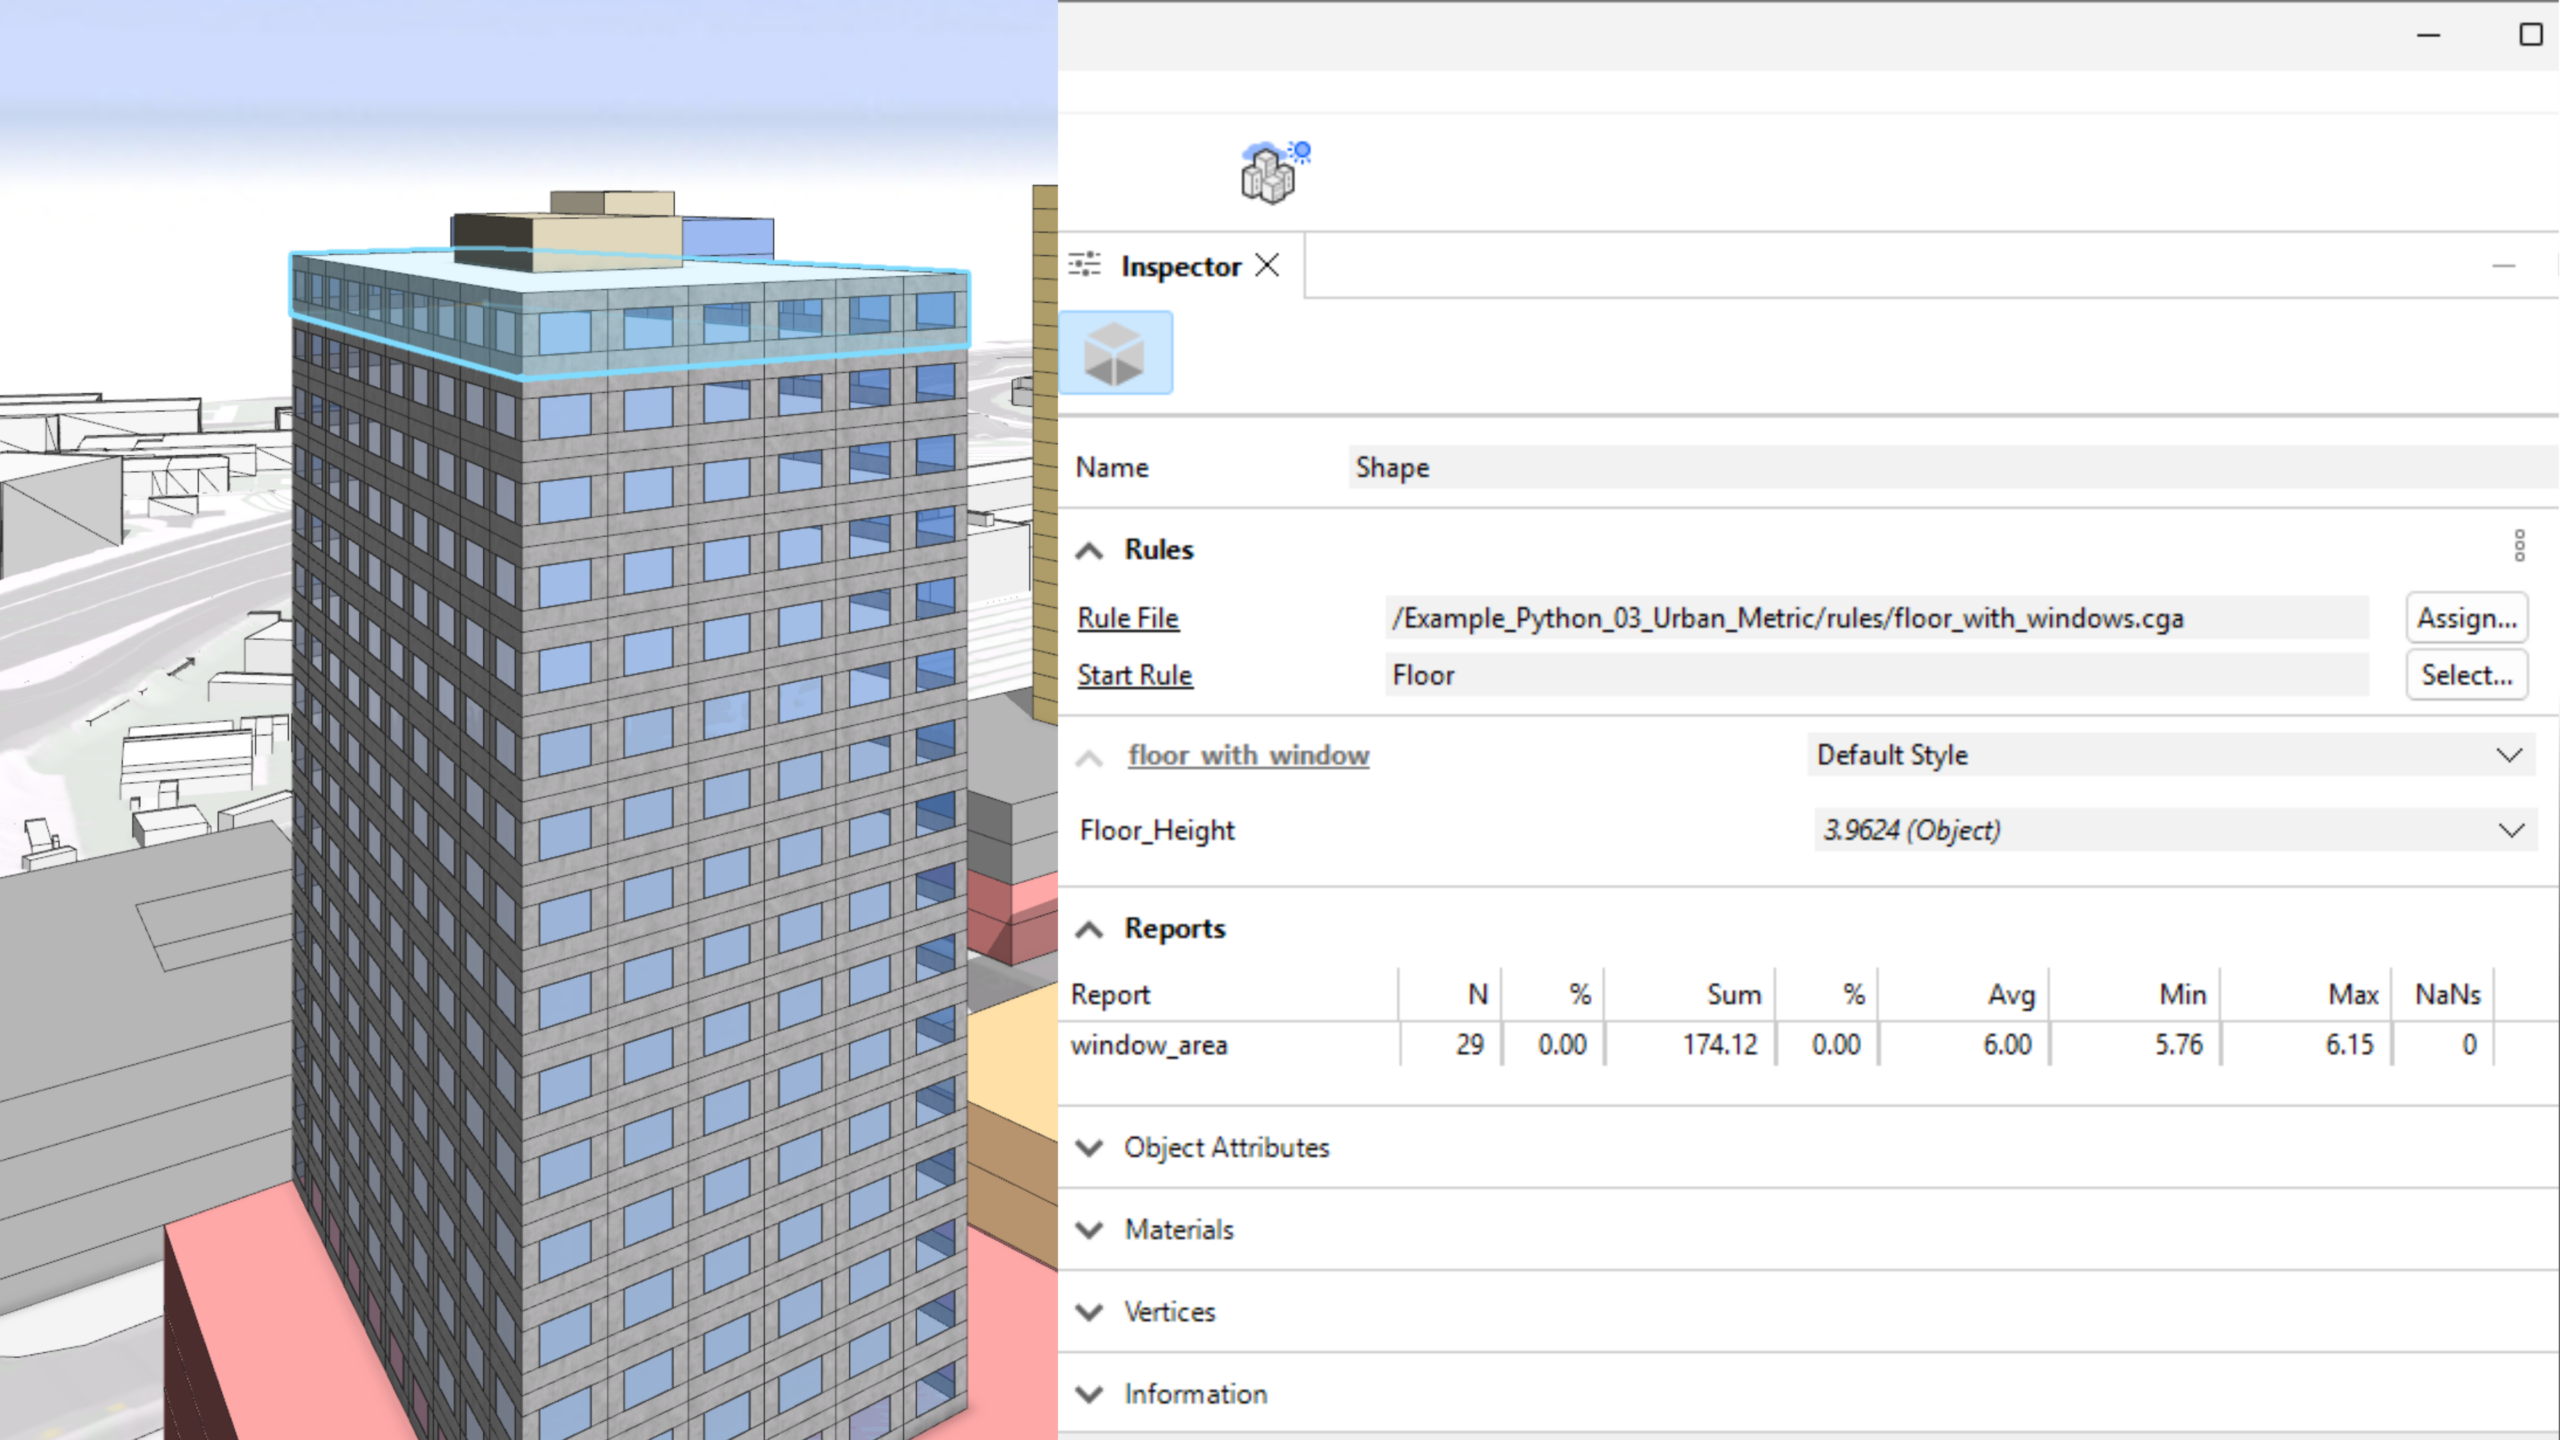
- In the CityEngine scene, select one or more Urban Spaces (floor shapes) and assign the rule “/Example_Python_03_Urban_Metric__2026_0/rules/floor_with_windows.cga”. This very simple rule has the main purpose of reporting the window glass pane area per floor.

2. Click to Select and see the reported “window_area” in Inspector/Reports for each floor.
3. To publish the “window_area” for a parcel, select one or more space shapes (floors) and run “/Example_Python_03_Urban_Metric__2026_0/scripts/main.py”. Optionally, you can open the Python console to see the script status progress.
Connecting the CityEngine and Urban Python APIs
This examples makes use of a few key capabilities enabled or simplified by Python 3. Let’s look at a few key code locations in the example:
Scripted export to collect CGA reports
In our simple CGA rule “/Example_Python_03_Urban_Metric__2026_0/rules/floor_with_windows.cga” we setup a report “window_area”. In function “get_cga_reports_by_parcel”, we trigger a scripted export (use of “ScriptExportModelSettings”) to collect the CGA report values in a JSON file.
The callbacks in the co-export script “extract_reports.py” simply look for the “window_area” CGA report.
We then sum the CGA report values over all shapes and group them by parcel:
Calling the Urban API via object model
With Python 3, you can now directly fetch and generate the Urban API GraphQL object model as convenient Python module, see the pre-generated file at “/Example_Python_03_Urban_Metric__2026_0/scripts/urban_metric/urban/api.py”.
This allows us to compactly write the summed up report values (“metric_value”) to the receiving container (“metric_id”) for each parcel (“parcel_id”):
Secure API key storage
Last but not least, your API key must be kept secure. It is recommended practice to use the keyring module for API key storage. Here is a handy pattern to ask the user for the API key at first run and then securely store it:
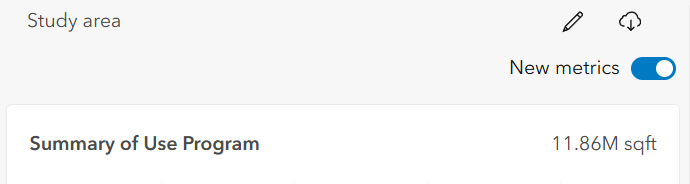
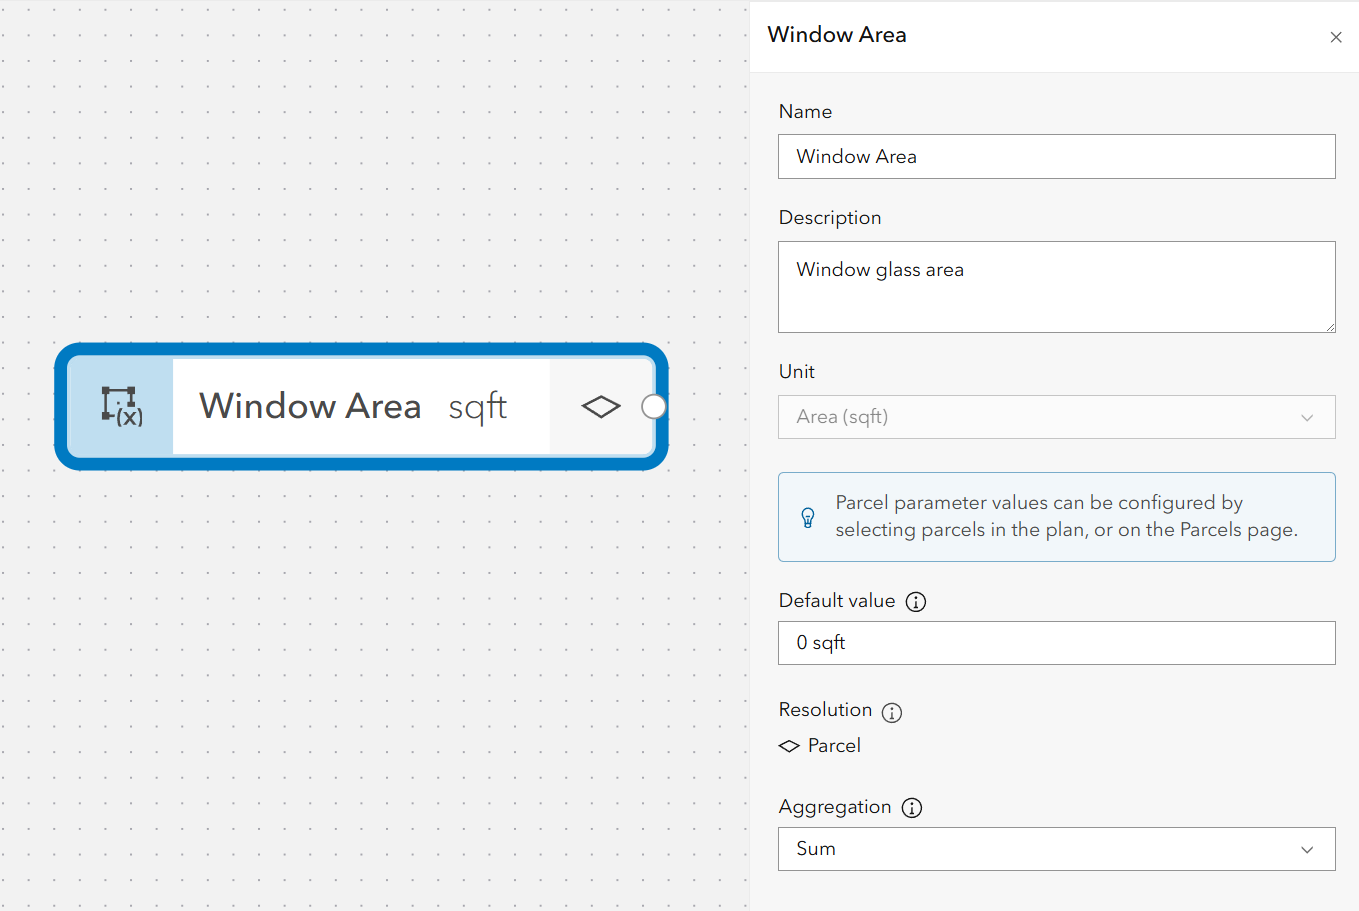
After the script finishes, open the plan in the ArcGIS Urban application to see the result and click to expand the Dashboard tab in the right panel. If you scroll down you will see the Window Area metric that you created in CityEngine.
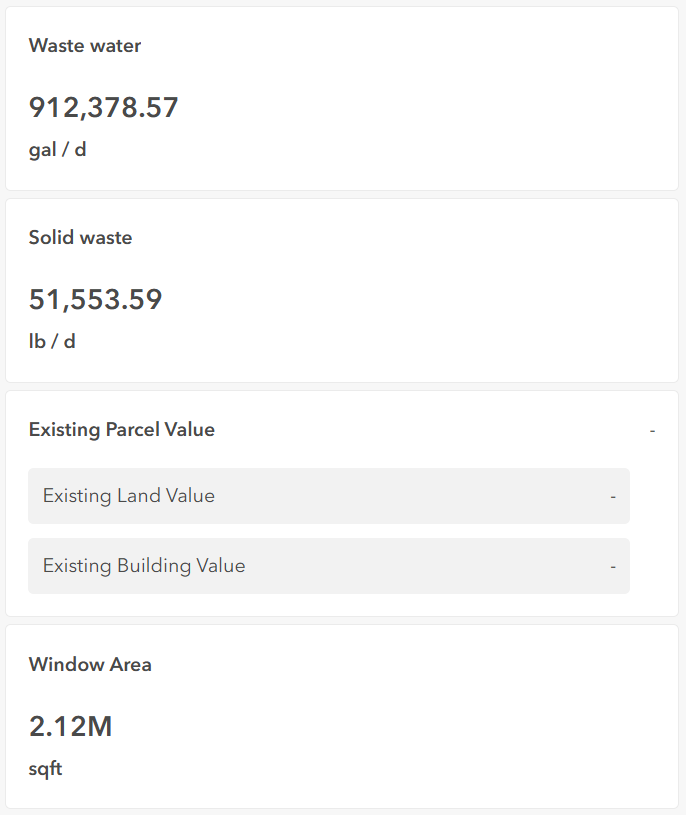
The published Window Area value is stored as a parcel parameter in ArcGIS Urban. Now, click on the metric to see the visualization update!
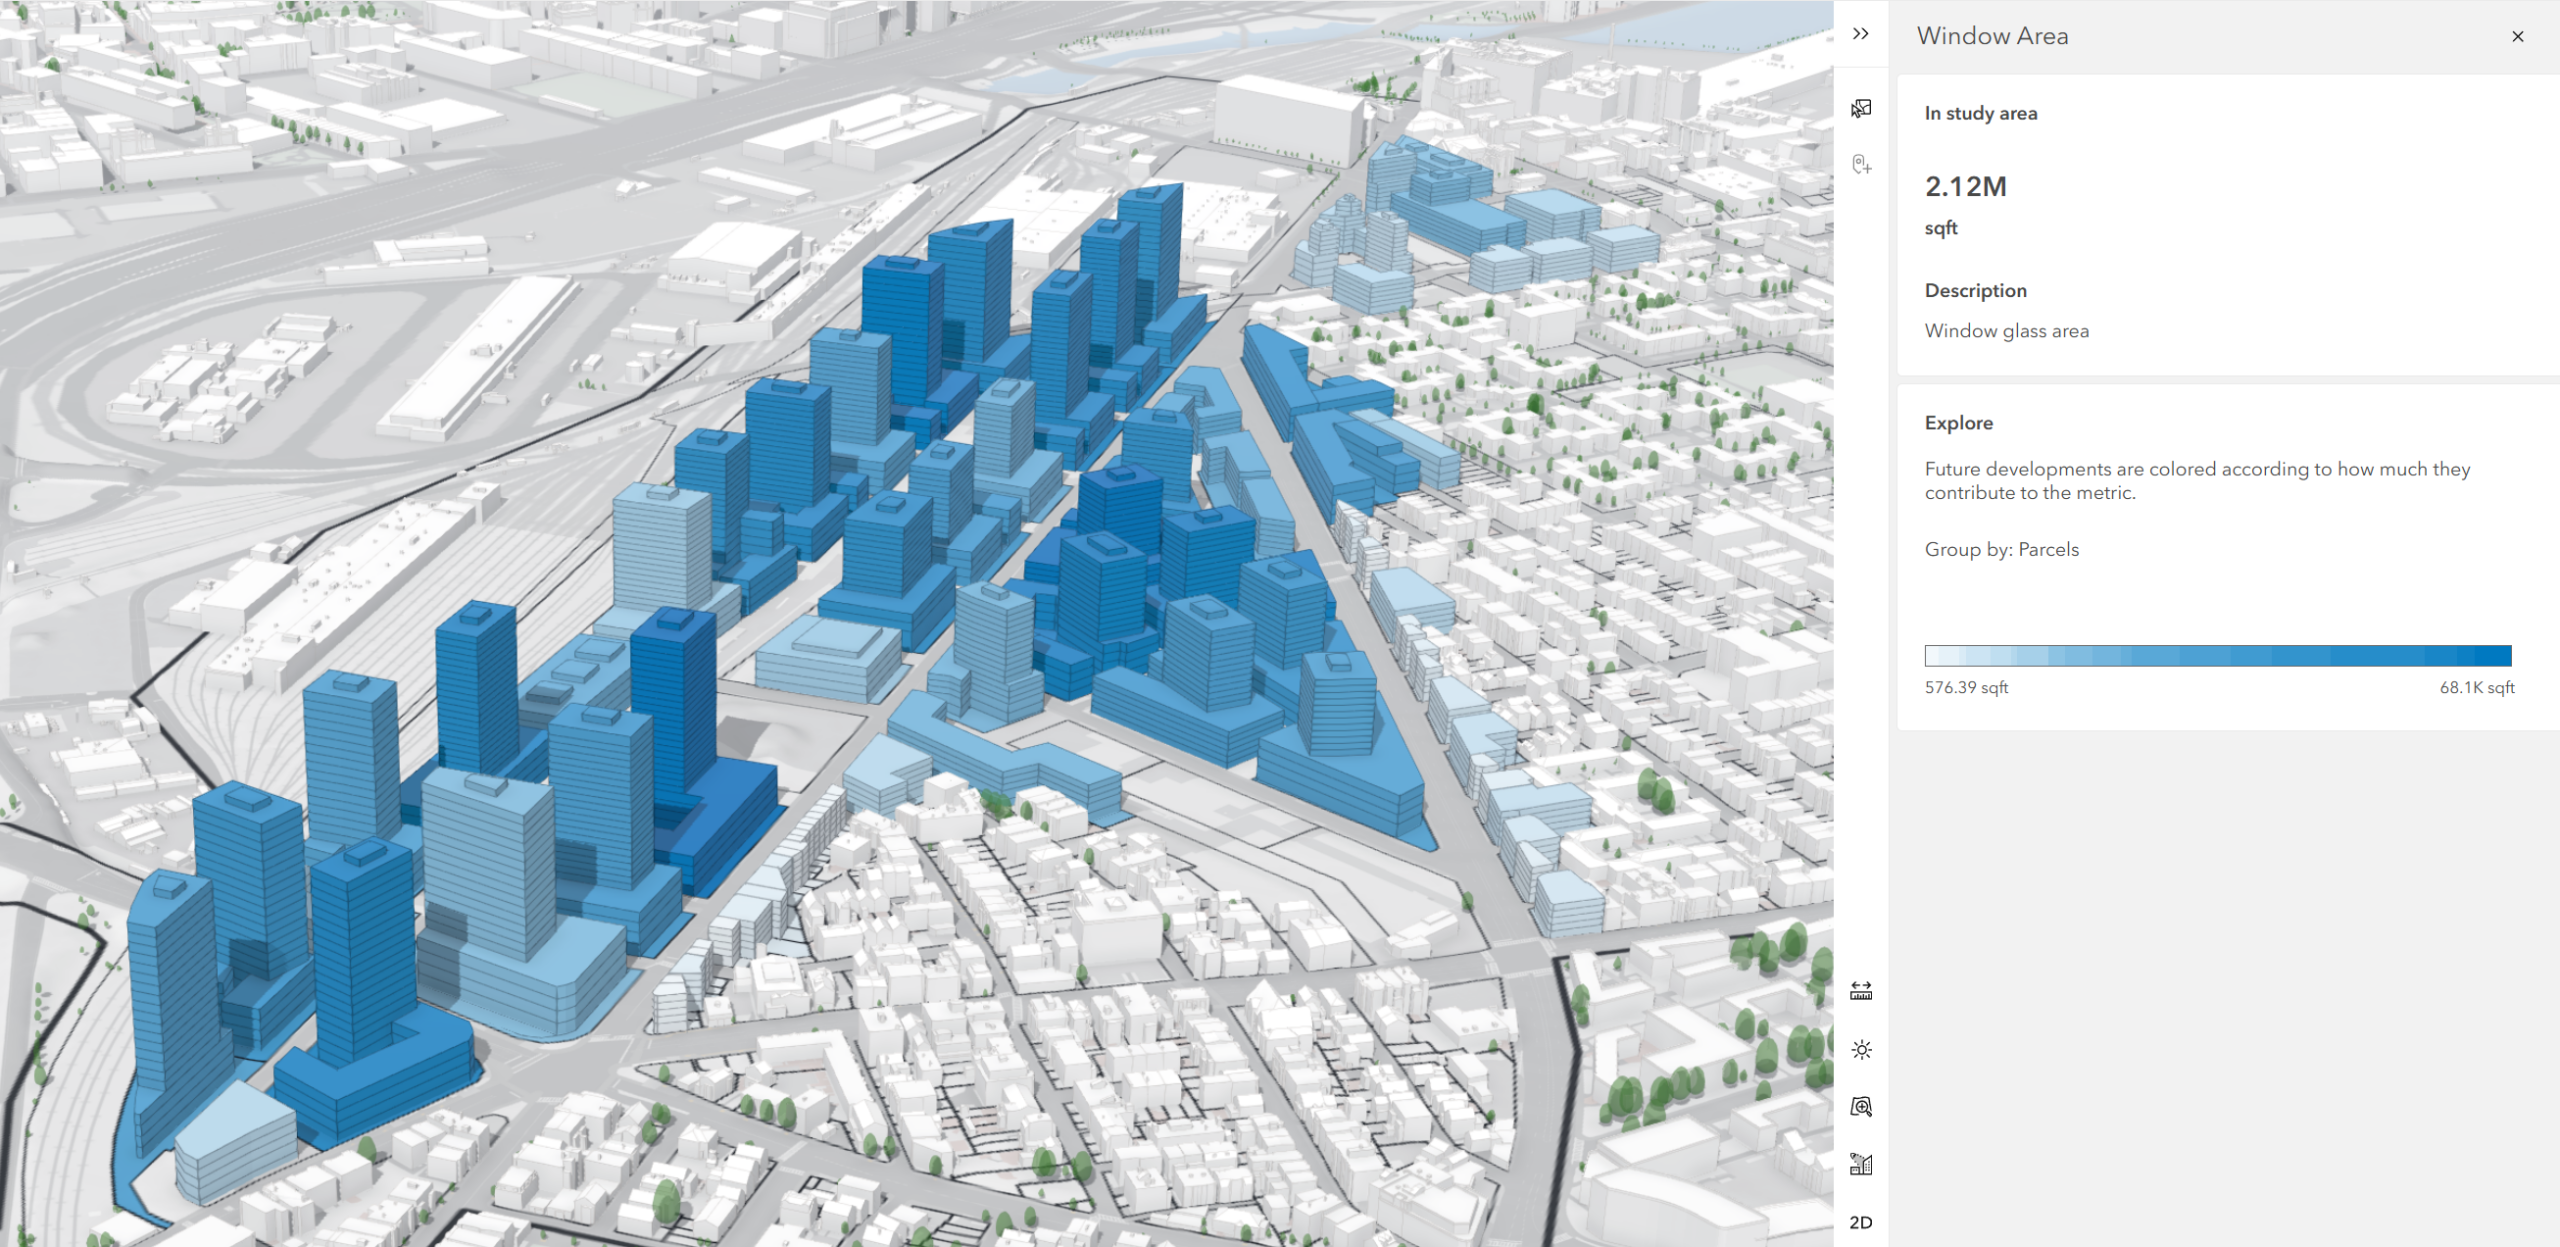
Parcel parameters can be inspected for individual parcels and are included in dashboard views: see parcel parameters.
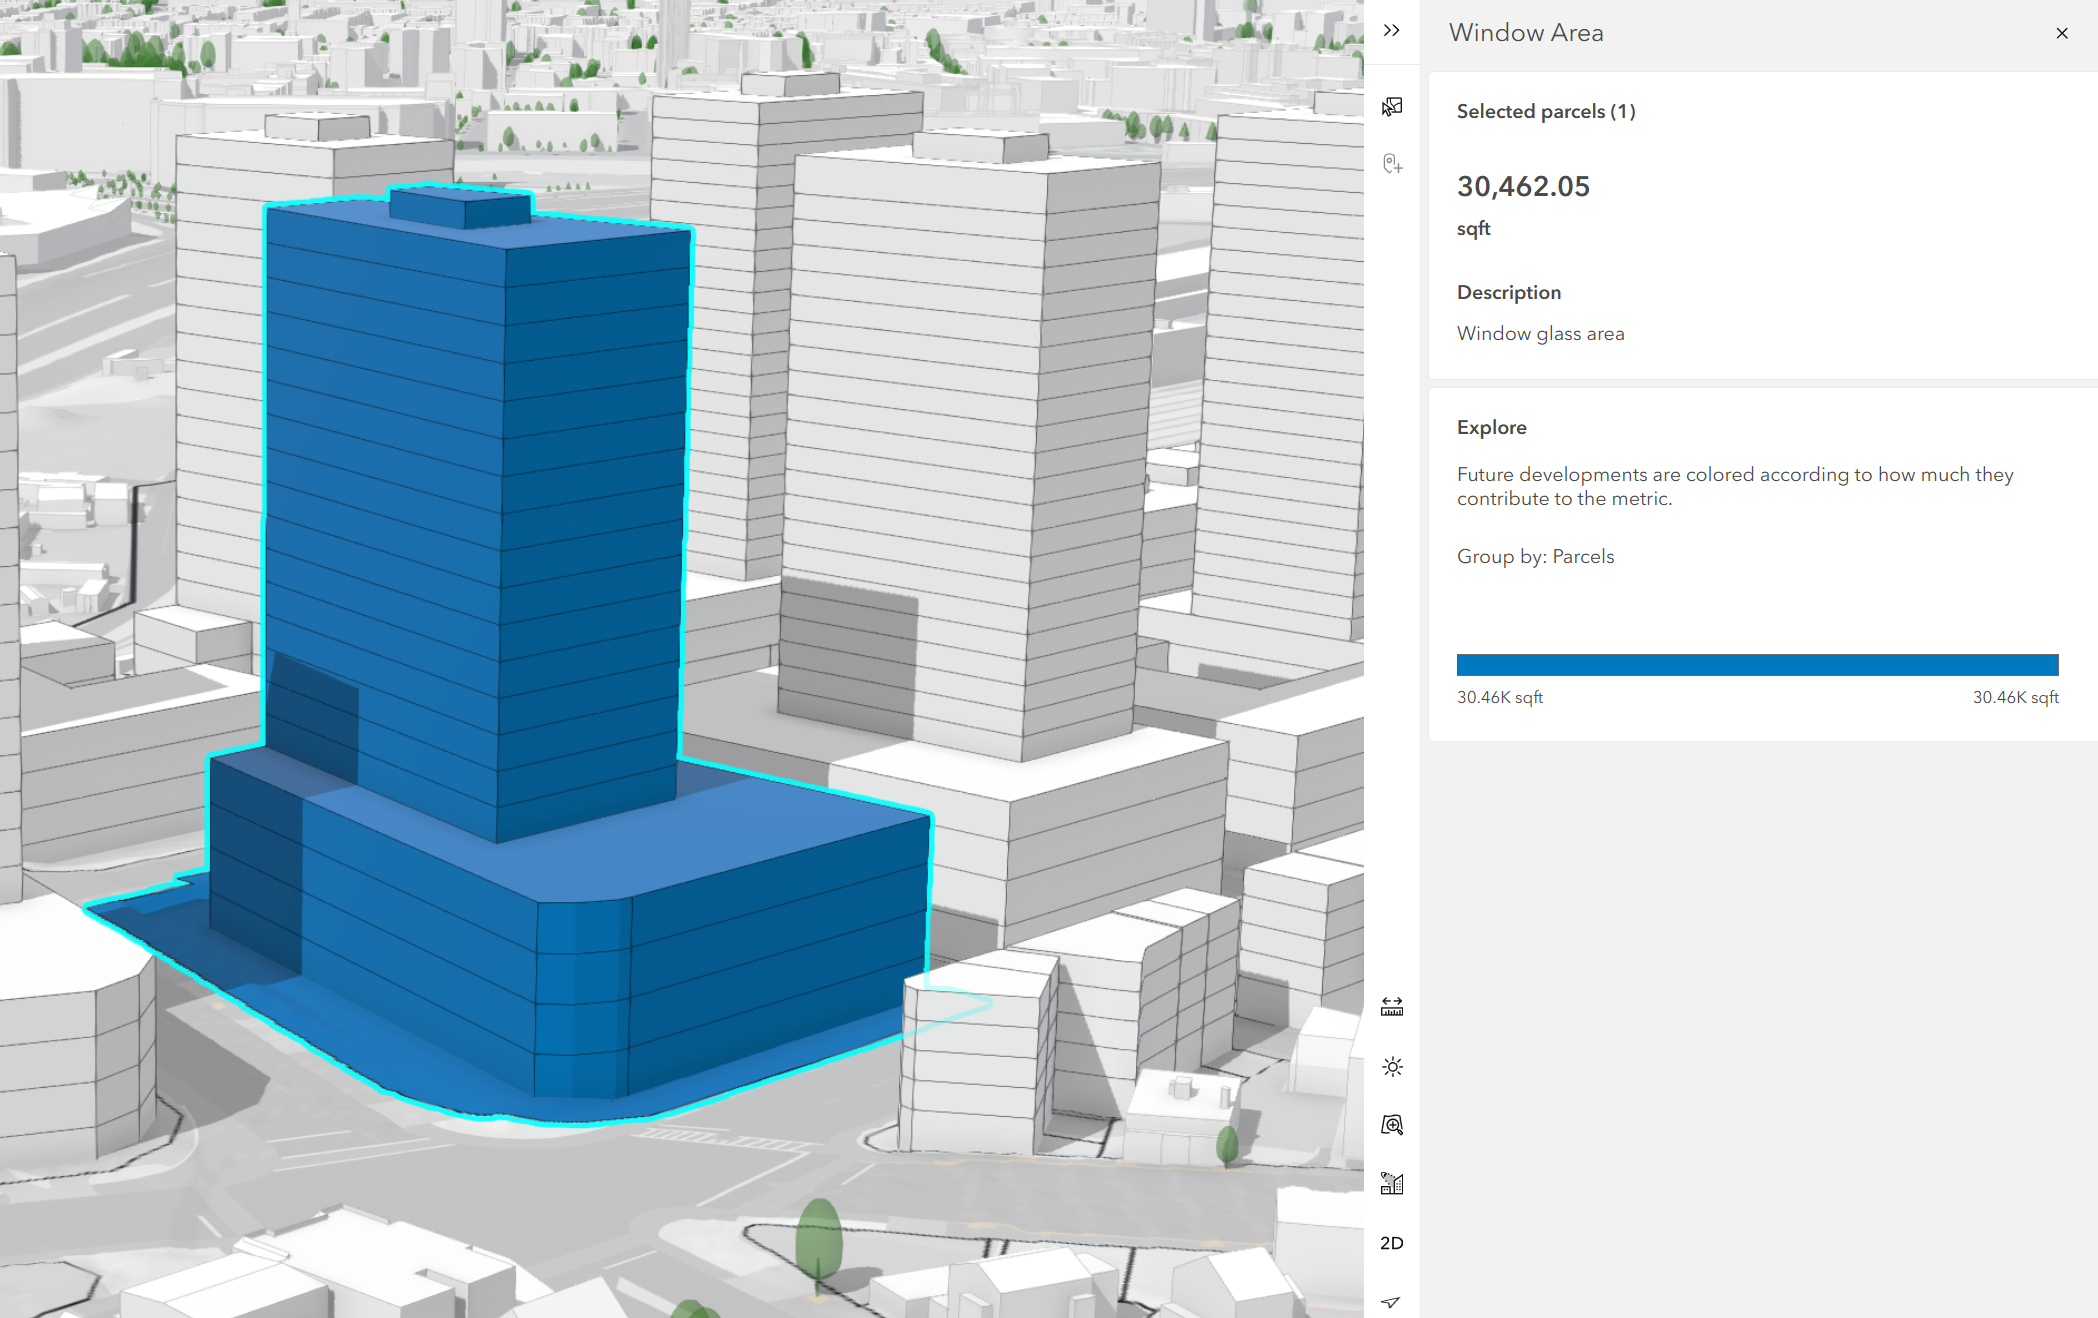
In the new metrics view, ArcGIS Urban automatically creates a metric node for that parcel parameter. This lets you use the published value as an input when authoring metrics. For background on parcel parameter metrics, see Work with the dashboard.
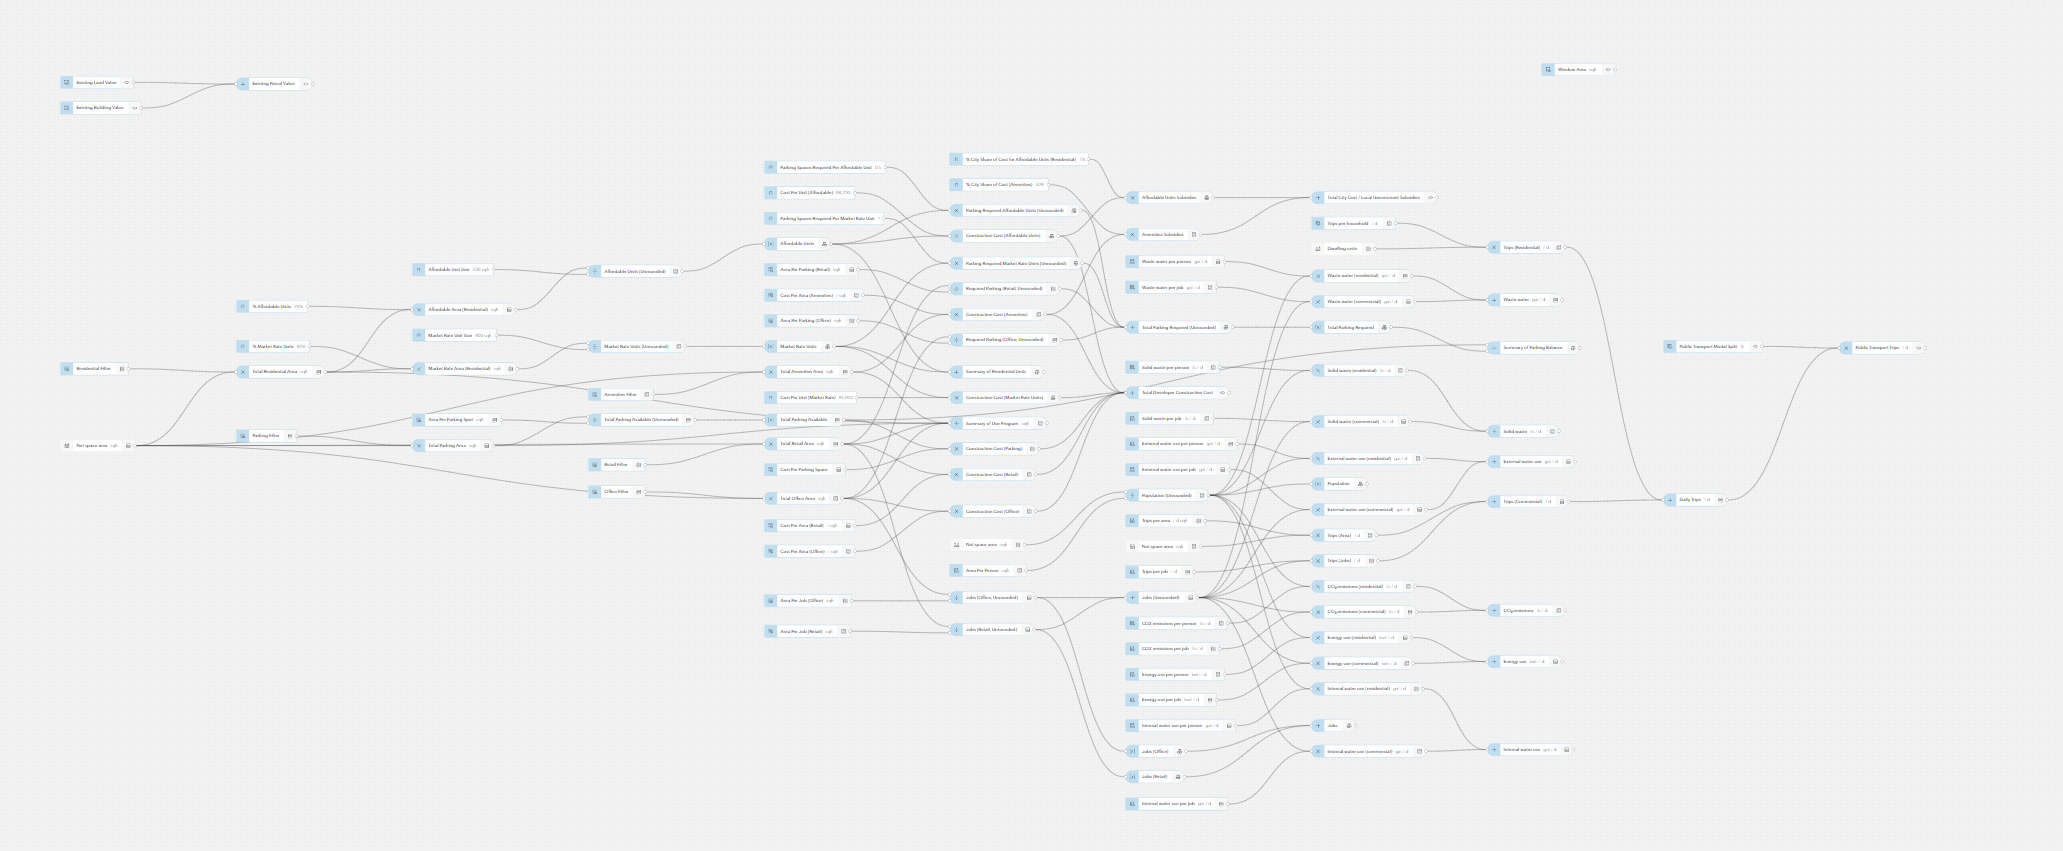
This can be aggregated with the other data in the metrics providing summarized statistics to consider in your design.
The final step is to apply this to your urban planning and design workflows. You now have the power to create and share calculated metrics as a result of your detailed work in CityEngine using the Python API.


Commenting is not enabled for this article.