Out of the box, ArcGIS Pro is ready to go. It has great default settings, and the “most frequently used” tools and functionality at your fingertips. However, we know that every ArcGIS Pro user is different. As much as we try to predict exactly what you’ll need, the defaults might not be quite right for you.
There are a million ways to customize ArcGIS Pro (especially with the ArcGIS Pro SDK), but if you’re not a developer, here are a few of the quickest ways to get the application set up just the way you want it.
Rearrange windows and panes
Moving, floating, and adjusting the size of windows and panes is the easiest way to customize the UI.
As you work with different maps, views, and panes, you’ll open and close panes that you need for specific tasks. You can reposition or minimize them to make room for maps and other views. Grab the title bar of any view or pane to drag it to a target or let it float.
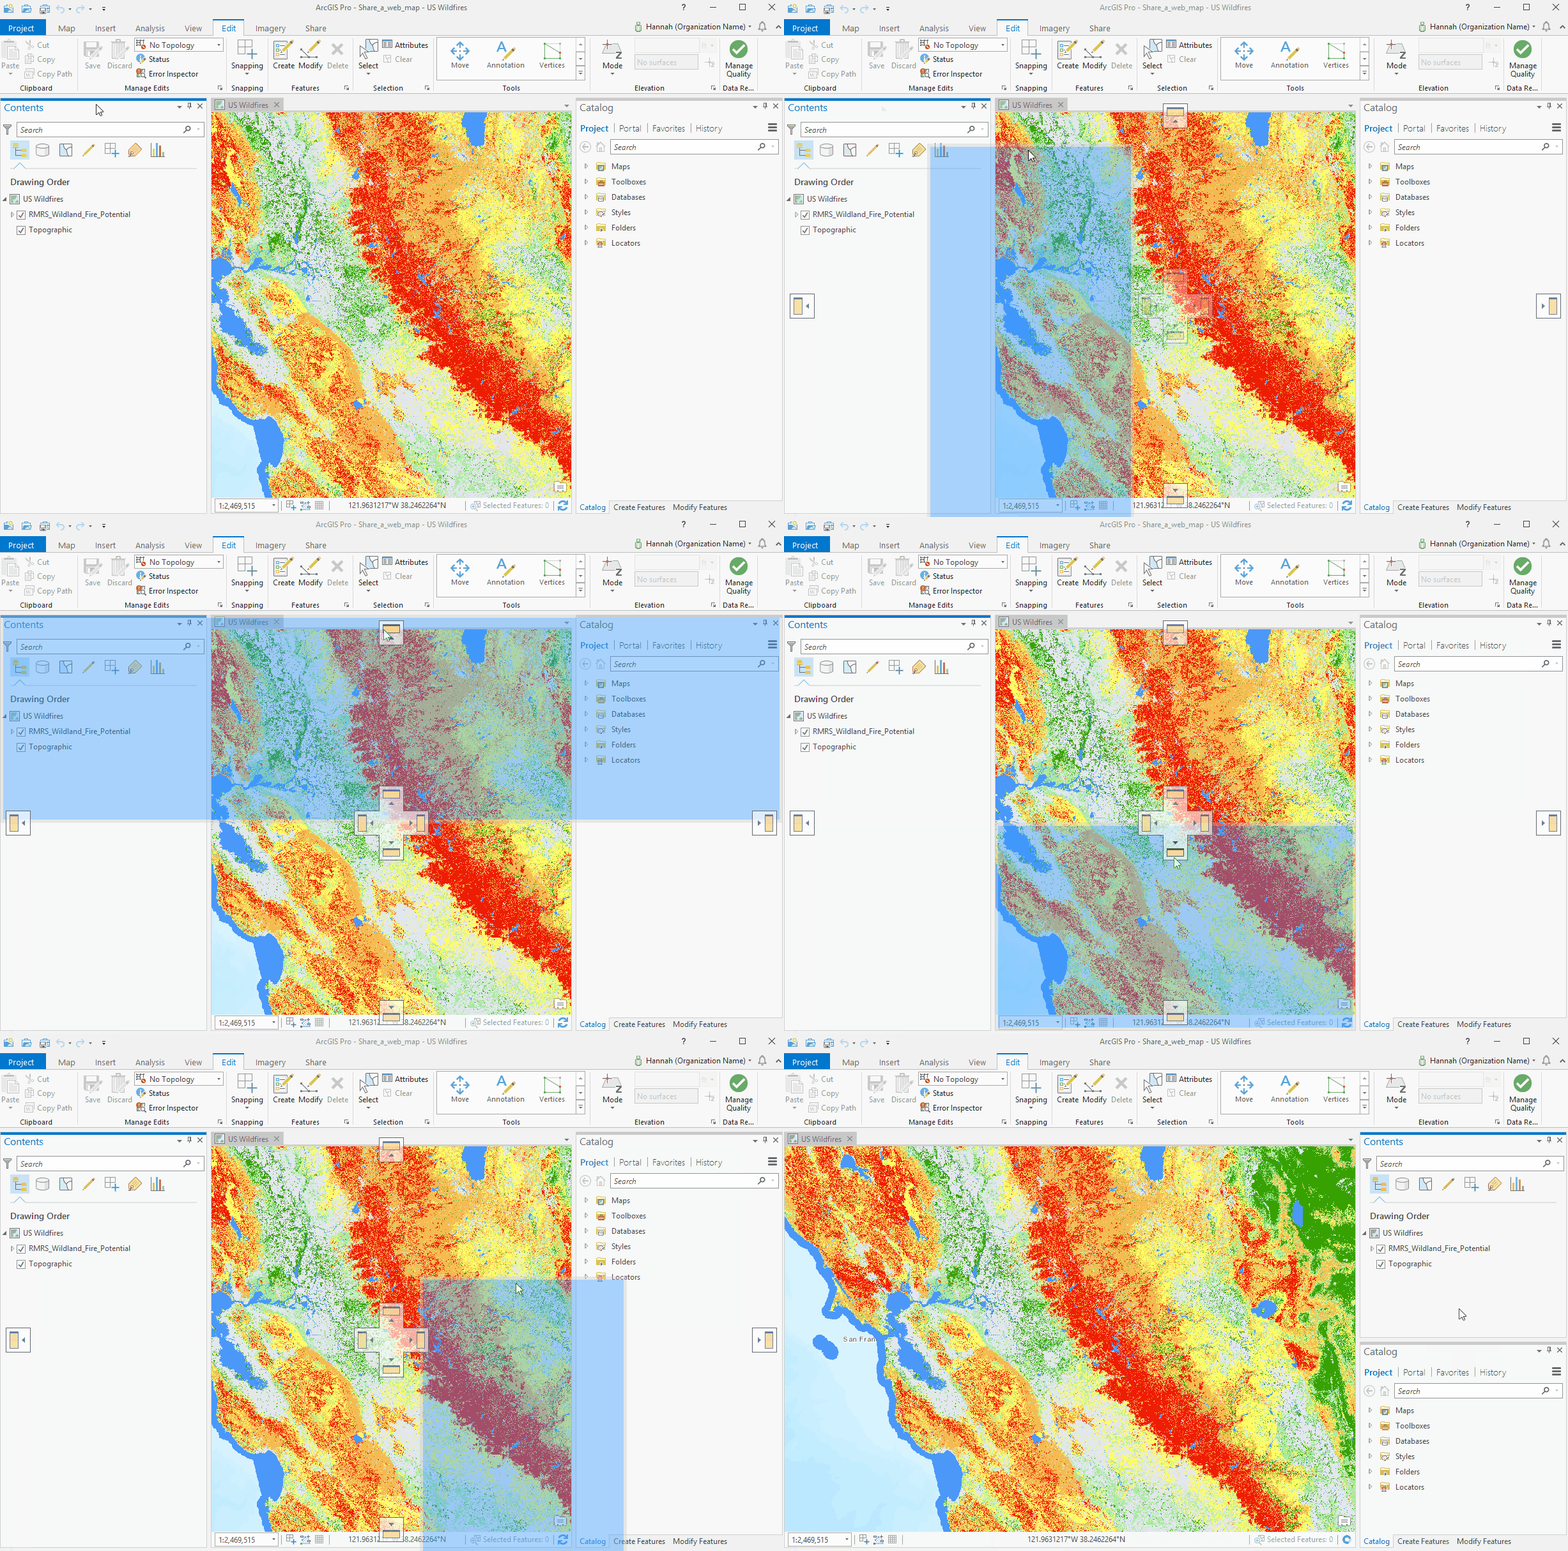
A couple of the most common panes you’ll have open are the Catalog and the Contents pane. If you accidentally close these, you can reopen them from the View tab on the ribbon. You can also show or hide panes with the Auto-Hide button.
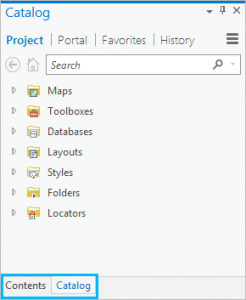
To save more space, you can stack panes on top of one another, and then switch between them by clicking the pane tab at the bottom of the stacked panes. To separate a pane from the stack, just grab the pane name at the bottom, drag it, and drop it where you want it.
Add tools to the Quick Access Toolbar
This tip is handy if you only use a few tools very frequently. The Quick Access Toolbar is always shown at the top of ArcGIS Pro, and it has a few tools by default, but you can add your favorite tools from the ribbon.
Right-click any tool on the ribbon and click Add to Quick Access Toolbar.
Change the theme
If you’re working in a darker environment, or spending long hours staring at a screen, you might want to work in an application that’s a little easier on your eyes.
Switching to dark theme might alleviate some of your pain. Click Project > Options, and click the General tab. Under Personalize, set the Theme to Dark, and restart ArcGIS Pro to see the change.
Customize the tools on the ribbon
Without knowing a single line of code, you can add and remove tools from the ribbon. You can do this from the Options dialog box.
Click Project > Options, and click the Customize the Ribbon tab. On the left, you’ll see a list of all available tools, and the right will show a list of the tabs and tools that are currently in the application.
To add a command to the ribbon, click a tool in the list on the left, then select the tab on the right that you want to add it to. Click the Add button.
To remove a command from the ribbon, select it in the column on the right, and click Remove.
Tip: Coming in version 2.1 of ArcGIS Pro, you’ll be able to add custom keyboard shortcuts from this page of the Options dialog box as well!
Create new tabs and groups on the ribbon
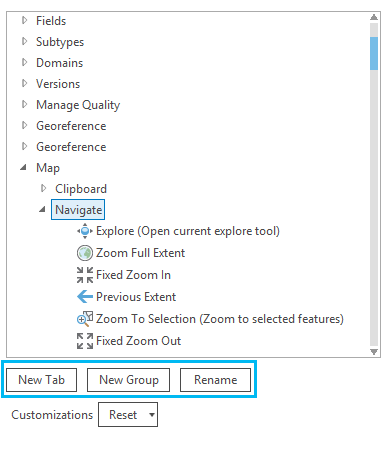
On the same tab of the Options dialog box where you can customize the tools, you can create new tabs and groups to add tools into.
Under the column on the right, you can click New Tab, New Group, or Rename to edit and work with new tabs.
Add your favorite tools to galleries
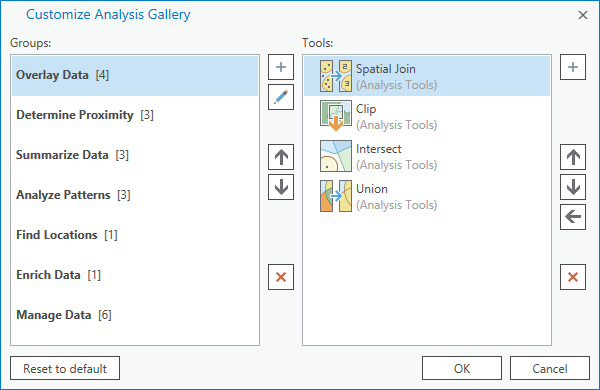
Both the Analysis tab and the Edit tab have tool galleries for quick access to your favorite tools. You can customize both of these galleries.
To customize the Analysis gallery, click the drop-down menu in the corner of the gallery, and click Customize Analysis Gallery.
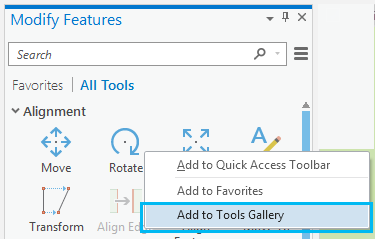
To add tools to the Edit gallery, click the drop-down menu in the corner of the gallery and click More Tools. In the list of tools, right-click any tool and click Add to Tools Gallery.
If you do a lot of editing, check out this blog I wrote with more editing tips.
If you need more…
The ArcGIS Pro SDK is really what you’ll need to go above and beyond this basic customization. Add-ins are great for extending the functionality of ArcGIS Pro.
If you require even more heavy-duty customization, or even your own app, check out ArcGIS Solutions.



Article Discussion: