Group filters are new with ArcGIS Enterprise 11.3, developer edition 1.14, and the February 2024 update of ArcGIS Online. I’ll show you how to use them in the out-of-the-box version of Experience Builder.
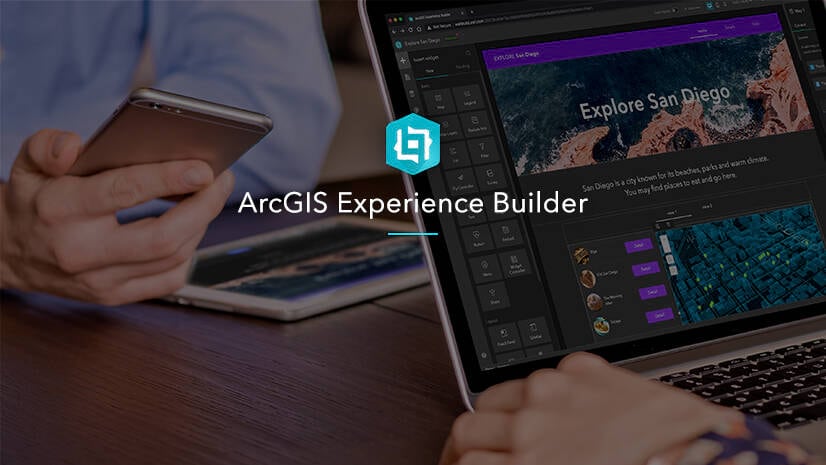
If you want to learn more about Experience Builder, I recommend this tutorial series: Design a layout in ArcGIS Experience Builder.
- Background
- Create an app from a template
- Add group filters
- Make the filters pan and zoom the map
- Save and preview
Background
HONG KONG, CHINA – The summer of 2023 was Hong Kong’s hottest summer ever. Extreme heat can be dangerous and even fatal. To help residents and visitors stay safe during hot weather, city officials often provide tips and resources, such as lists of air-conditioned public places.
Imagine you’re a geospatial analyst working for the Hong Kong Office of the Government Chief Information Officer. The city is creating a resource page for heat emergencies, and you are tasked with creating informative and interactive resources. You know you have access to location and attribute data for municipal facilities all over the city.
The application above is a simple tool that you could include in your resource page. It lets users view water recreation facilities (pools, beaches, and water sport centers) in each of Hong Kong’s 18 districts. Importantly, it lets users filter all four layers in the app at the same time. I’ll show you how to make that happen.
The materials for this tutorial are the following:
- Try group filters (Template)
- Beaches in Hong Kong (Feature Layer)
- Swimming Pools in Hong Kong (Feature Layer)
- Water Sport Centres in Hong Kong (Feature Layer)
- Hong Kong 18 Districts (Feature Layer)
All data used in this tutorial comes from the data.gov.hk open data pool. Esri China (HK) utilizes public data from the pool to create layers and web maps for Esri users.
Create an app from a template
1. Start Experience Builder.
Sign-in to ArcGIS or create a free trial account. Go to experience.arcgis.com.
2. Click Create new in the top right corner.

3. Select a template from the template gallery
Browse to the ArcGIS Online tab. Search for Try group filters and click Create.

This is a fixed page template with a Map widget and a Widget Controller widget. The controller contains a Map Layers widget, a Legend widget, a Text widget, and, for now, a Placeholder widget.

Add group filters
1. Add a Filter widget
a. Click the widget labeled Filter by District.
For the sake of this tutorial, this is a Fixed Panel widget that contains a Placeholder widget. You could instead add a Filter widget directly to the Widget Controller widget.
b. Click Add widget.
c. Select the Filter widget. It replaces the Placeholder widget.

2. Add a group filter
a. If necessary, click the Filter widget to open its settings on the right.
b. Click the drop-down arrow then click + New group. The Create new group panel appears.
c. Click Select data, expand the Water Recreation in Hong Kong web map, then select all four layers.
d. Under Label, delete Group 1 and type Central & Western. You’ll make one group filter for each district.
e. Optionally, remove the Icon.

3. Write a group SQL expression
The Filter widget evaluates the connected data using logical expressions. Those expressions are written in Structured Query Language (SQL). You can learn more about how Experience Builder uses SQL in Experience Builder documentation.
a. Click Group SQL Expression Builder. The expression builder window appears.

b. Using the drop-down menus under Main field, choose Districts | Default and Name.
The group filter works by filtering data sources based on common values. All four layers have an attribute field that contains district names.
c. Under Operator & Values, choose is for the operator and CENTRAL & WESTERN for the value. The widget is not case sensitive.
d. Using the drop-down menus under All fields, select the attribute field for each layer that contains district names.
| Layer | Attribute field with district names |
|---|---|
| Swimming Pools | District |
| Water Sports Centres | DISTRICT |
| Beaches | District |
e. Click OK.

4. Add more group filters
a. You can duplicate the first filter to create the rest. Click Duplicate on your Central & Western filter.

b. Click the new filter to open its Create new group panel. Type Eastern for the label.
c. In the Group SQL Expression Builder, change the value to EASTERN.
d. Repeat steps 4a through 4c to create group filters for all 18 districts.
e. None of the features are in multiple districts, so you should change the AND operator to OR.

f. To arrange the filters like the filters in the example, select Horizontal for the arrangement style. Turn on Wrap items. Select Button for the activation style.
g. Optionally, turn on the Reset all filters tool.

5. Fix a data problem
a. Turn on Live view and activate the Central & Western filter. Only the district polygon appears. If you turn off the filter, you will see that there are two swimming pools in the Central & Western district that the filter is not recognizing.
The Filter widget is not case sensitive, so that’s not the issue. If you select those swimming pools on the map and view their attributes, you will see that the value in their district field is CENTRAL AND WESTERN instead of CENTRAL & WESTERN. That’s a different string. You can fix this by using a different operator.
b. If necessary, click the Filter widget to open its settings on the right.
c. Click the Central & Western filter.
d. Open the expression builder.
e. Change the operator to contains and type Central for the value.

Both CENTRAL AND WESTERN and CENTRAL & WESTERN contain CENTRAL, so this expression returns both values. Additionally, this solution works because no other district name contains CENTRAL. If there was a district named Grand Central, then you would need a different fix, such as contains WESTERN.
f. Click OK.
g. Test the filter again. The swimming pools appear as expected.
Make the filters pan and zoom the map
Since the Map widget and Filter widget are both connected to the Water Recreation in Hong Kong web map (and specifically the same four feature layers), the filters affect the map.
You can further connect the Map and Filter widgets using message actions. Next, you’ll make your filters trigger the map to automatically zoom and pan to the filter result.
1. Add a Zoom to action
a. If necessary, click the Filter widget to open its settings on the right.
b. Click the Action tab.
c. Click Add a trigger and select Data filtering changes.
d. Select Map as the target.
e. Select Zoom to.
f. Optionally, set a custom zoom scale.

2. Add a Pan to action
a. Under the Data filtering changes trigger, click + Add action.
c. Select Map as the target widget.
c. Select Pan to.

Save and preview
Click Live view to test out your filters or click Preview to open the app in a new tab.
More information
- ArcGIS Experience Builder Documentation: What’s new
- ArcGIS Experience Builder Documentation: Filter widget

Do you have any thoughts about our new Experience Builder features? Let us know on Esri Community.


Article Discussion: