While you are probably aware that you can collect high-accuracy data with Collector, most people focus on the features that can be collected, such as hydrants, valves, and pipelines. But you can also use Collector to turn your imagery into high-accuracy imagery using Drone2Map.
Before you collect your imagery, you need to place targets and collect ground control points (GCPs). These are locations that are easily identified in your imagery, and with Collector you’ll map the locations of the targets with sub-meter accuracy. You can purchase targets, or you can even create your own using lids from a pail or flooring tiles. The key is to use contrasted patterns where the mapped location can be easily identified within the imagery flown.
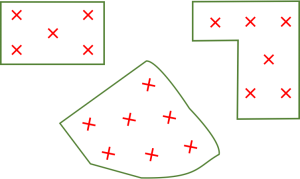
You’ll need a minimum of three targets, but to maintain high accuracy it is recommended that 5 control points are captured for a site of any size. For sites larger than 20 acres (8 hectares), it is recommended that you capture one GCP for each subsequent 15 acres (6 hectares). If flying a rectangular area, you will want to distribute your targets evenly. Place one near each corner (but not on the edge) and one near the center. Simply add more targets for elongated areas.
Here are some sample GCP layouts:
With your targets laid, collect their locations. Remember that processed imagery can only be as accurate as the original ground control position—this is where Collector adds value. Traditional methods include hiring a survey crew to capture the control points, but with Collector you can quickly pair to an external GPS receiver and capture positions under 1-2 cm if desired.
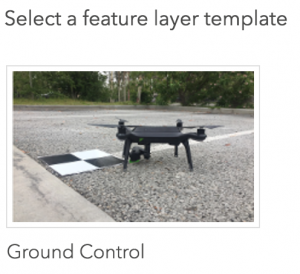
 With the June release of ArcGIS Online, a new Ground Control template was added that you can use to quickly create a new hosted layer to store your GCPs. If you check the option to capture GPS receiver information, the control points you capture will include accuracy metadata from the receiver that you can map to elevation and accuracy when importing the control points with Drone2Map.
Fly your area of interest. Make sure your flight path goes on at least two sides of all your targets. To plan your flight path, use the mission planning application for your drone.
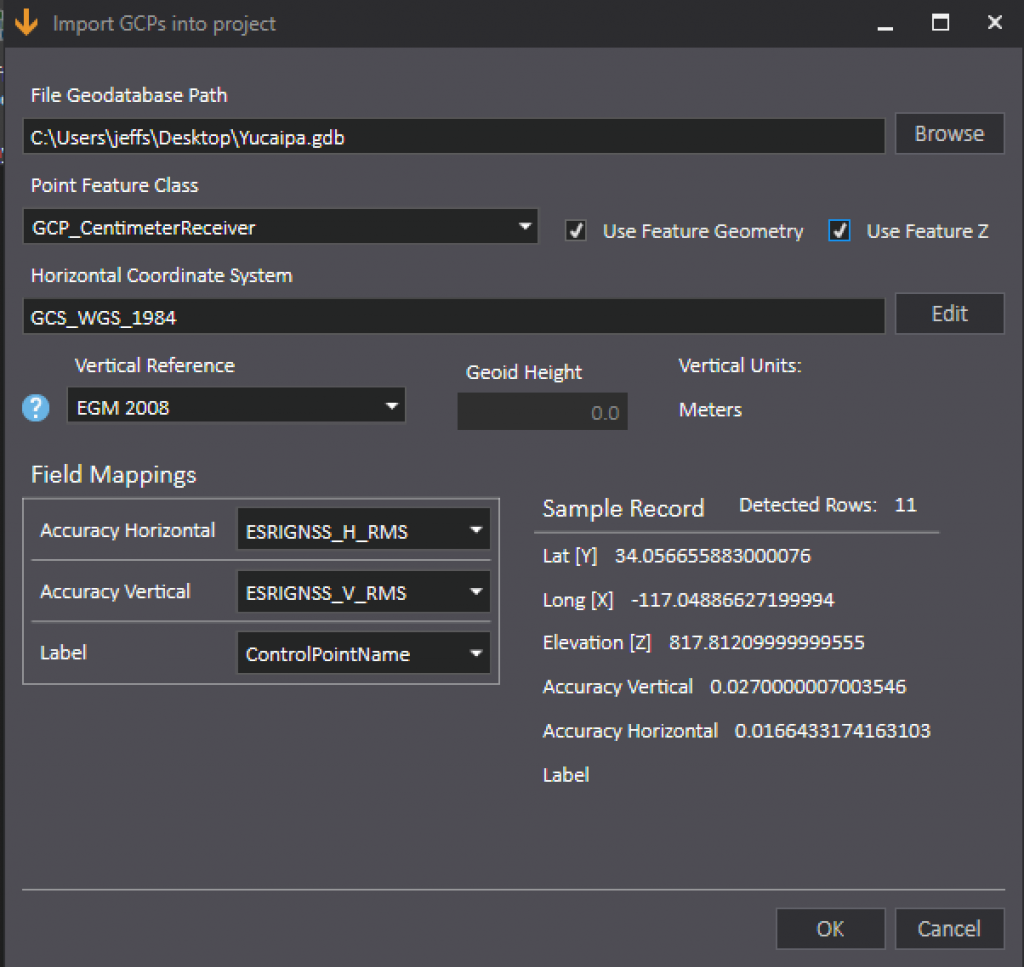
With ground control points captured and imagery flown, now you can use Drone2Map to create amazing imagery products with high accuracy. Within the Manage GCP dialog you can import ground control points directly from the hosted feature service, or if you post-processed your ground control points you can import them from a geodatabase.
Make sure to check “Use Feature Geometry.” If you have accurate elevation values from post-processing, also check “Use Feature Z.” Using the GPS metadata fields added to your control point feature layer, map the horizontal and vertical accuracy fields as well. With an appropriate vertical reference set, you can then match the GCPs to the target locations in the imagery that you have flown. See the documentation on Manage GCPs for more information.
Once matched, you can now process and share your imagery products throughout your organization. Highly accurate imagery products can be used directly within Esri’s Apps for the Field to provide contextual reference for building an accurate asset inventory or maintaining existing infrastructure.


Commenting is not enabled for this article.