The ArcGIS GeoBIM schedule feature layer is a polygon layer based on the bounding area of the related features by schedule id. This provides a visual representation of the work being done on a schedule activity. The following workflow may not match your environment exactly but should provide a framework for the steps that need to be done to integrate your schedule data and related features with ArcGIS GeoBIM.
Start with the End in Mind
The goal is to create a series of polygons that wrap around all asset features for each schedule activity. One or more feature layers (that are assigned an ID that matches the schedule data) can represent the assets and activities for the schedule task. The shape and style of the final polygons can be adjusted to fit the needs of the project, but a convex hull is a good starting point to create the smallest polygon to include all features. Knowing how the schedule polygons will be used can inform the style of polygon aggregation used in the first step.
An overview of the process is:
- Export your schedule data to a CSV format with a primary ID that can be related to the asset layers used to create the polygons
- Create polygons around features with the same schedule primary ID
- Merge the polygons with the same ID into a single polygon if using more than one feature layer
- Merge the schedule data with the Polygons by ID Append/overwrite GeoBIM schedule layer
- Update time extent for Schedules layer
In this example, I am using ModelBuilder in ArcGIS Pro to automate the process. If you’re not sure how to create your own model builder workflow see the ModelBuilder quick tour to get started.
Getting Started
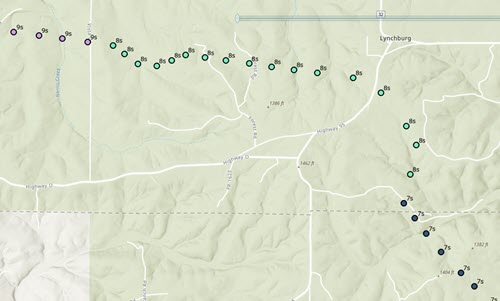
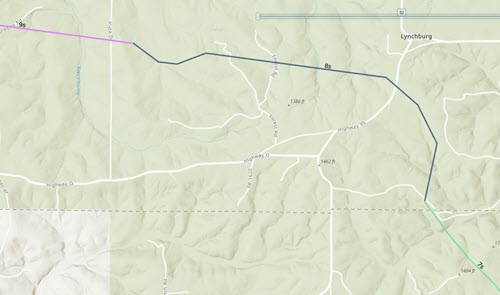
In this example we have 2 layers, Spans and Structures that represent power lines and towers, respectively. The Spans are lines and the Structures are points; you do not have to start with polygon features. All features in both layers are assigned a schedule ID value that matches the schedule data.
The other element needed is the schedule data itself. One of the easiest ways to incorporate schedule data is to export it to a .csv file. The exported data must include the schedule ID value that matches the attributes assigned to the related features as well as any other fields to be displayed in ArcGIS GeoBIM. The process to export the data to .csv format will depend on the application used for the schedule. Follow the application’s best practices for exporting the data to a csv formatted file.
These elements are required to use this process.
Structures:
Spans:
Create (Convex Hull) Polygons for Feature Layers
This example is using a convex hull around the features, but it is up to you which style of polygon aggregation to create. I am using the Minimum Bounding Geometry (MBG) tool in ArcGIS pro. Within that tool there are other polygon styles that can be used such as envelope or circle.
This is the section of the model that will create the polygons.

Geometry Types for Minimum Bounding Geometry:
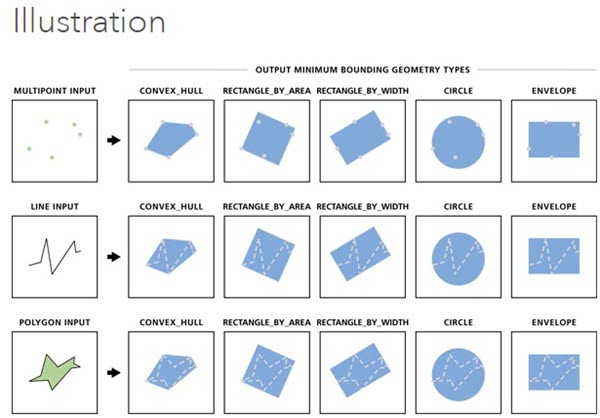
The MBG tool only accepts a single feature layer as the input so it will need to be run for each feature layer. In addition to the geometry type configuration, make sure the group operation is set to List and the schedule ID field is selected for the grouping. This will create a polygon, which is a convex hull in this example, around the features that have the same schedule ID assigned. Once the MBGs are created, a simple merge and dissolve, based on the schedule ID field operation, will join them into a master polygon containing all features based on the schedule ID.
Spans:
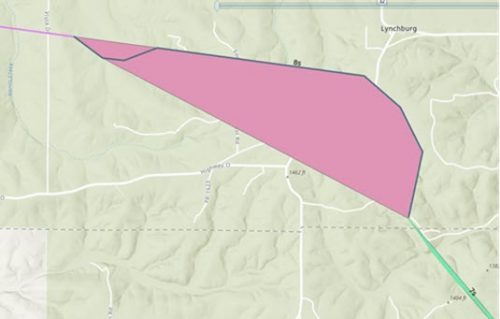
Structures:
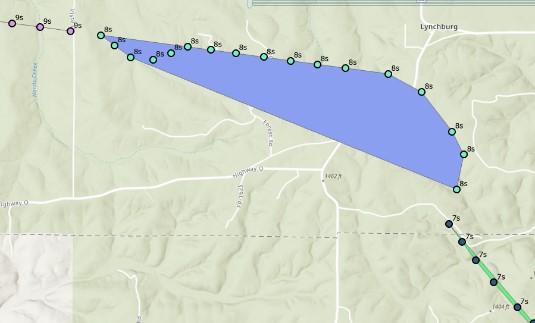
Merged and Dissolved:
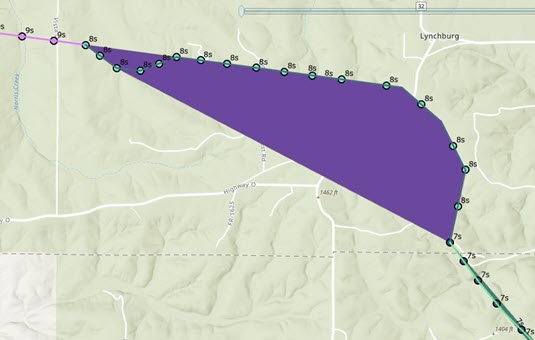
Join Schedule Data and Polygons
Now that we have our schedule data in .csv and a polygon layer wrapping around all features for each schedule activity, they can be joined. In this case I am using the Join Field tool in ArcGIS Pro to add the schedule fields to the polygon layer and populate the data. This requires using the Transfer Fields capability in the Join Field tool. Make sure to add all fields to the list that you want included in the final ArcGIS GeoBIM layer.
This section of the model performs the join between schedule data and polygons.


Append Polygons and Data to ArcGIS GeoBIM
GeoBIM creates a Schedule layer automatically when a project is created with common fields for schedules. The Schedule layer needs to be updated manually if changes are needed, including adding more fields. Any standard method of appending/updating ArcGIS Online hosted feature layers will work, in this example I am using the Append tool in ArcGIS Pro model builder to automate the process.
This section of the model uses the combined polygon and schedule data to update the ArcGIS GeoBIM schedule layer in the ArcGIS GeoBIM project.

ArcGIS GeoBIM Schedule Layer:
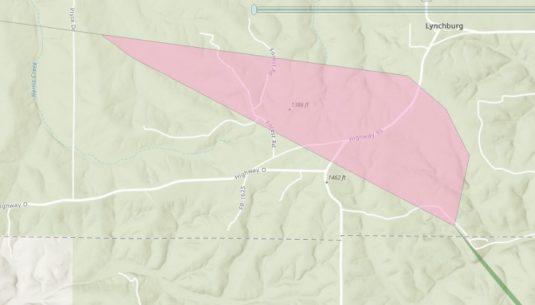
Update Time Extent for Schedules layer
After the append is complete in ArcGIS Pro, update the Schedules layer time extents by opening the time settings in ArcGIS Online and clicking ok
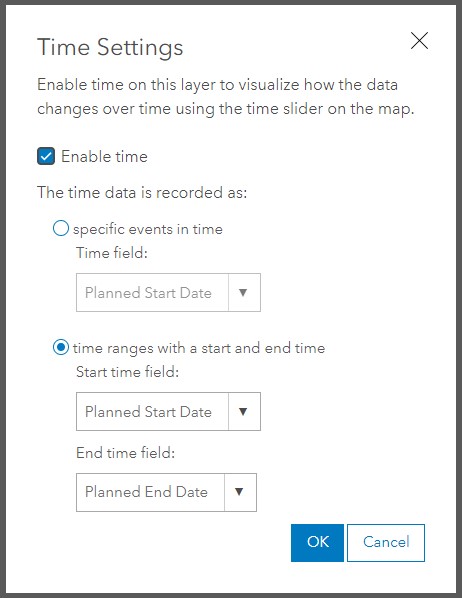
Wrapping it all up
Whether you have a single feature layer or multiple layers of different geometry types, the workflow is still the same: create polygons around features by schedule ID, merge them all together, add the schedule data, then update the ArcGIS GeoBIM schedules layer. This creates a visual representation of the temporal nature of your features/assets based on your schedule.
The same workflow can be accomplished by running the Geoprocessing tools manually, creating your own model builder, using Python, or using the data interoperability tools. If you want to make regular updates to the schedule layer, an automated tool based on your data will be the most efficient process.
To learn more about generating ArcGIS GeoBIM Schedule polygons using ArcGIS Pro features, ask the ArcGIS GeoBIM team here.

Article Discussion: