By Aileen Buckley, Mapping Center Lead
Hypsometric tinting (also called layer tinting, elevation tinting, elevation coloring or hypsometric coloring) is used to enhance elevation zones so map readers can better see differences in relief. You can think of it as “coloring between the lines” where the lines are contours (lines of equal elevation) or isobaths (lines of equal depth below the surface of a body of water). Hypsometric tints are often laid transparently over a hillshaded surface.
The colors selected for the tints are assumed to relate to the ground cover typically found at various elevations in the area being mapped. The highest elevation zone might be white, for snow-capped peaks, the next brown for treeless areas above the tree line, then light green for sparse vegetation on the upper slopes and a darker green for the verdant valleys. Choosing your tints wisely requires that you know the area you are mapping.
There are two ways that to go about layer tinting a hillshaded surface in ArcGIS – in one approach, you set the colors for each elevation interval (that is, you use classified values). In the other, you use a gradually varying color ramp. There are advantages and disadvantages to each approach.
Layer Tinting Using Classified Values
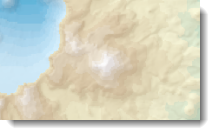
Using classified values for layer tinting means that you assign specific colors to specific elevation intervals. With this method, the space between contour lines is given a distinct gray tone or color resulting in a map that has a stepped appearance, like a layer cake, as in the example below (figure 1).

Figure 1. Hypsometric tinting using classed values
The primary advantage of this approach is that you have full control over the colors used on the map and the elevation ranges they are shown with. In the example above, it would be very difficult to get a gradually varying color ramp to have a specific color assigned to the zero value, which on this map relates to the difference between land and water. The best way to do this is to have a separate water layer; this was laid over the land layer in the map above. Notice that both the land and the water layers are layer tinted using classed values.
Disadvantages of this approach are that you need to create each of the intervals and assign each of the colors. You will likely end up with a more graduated-looking colorization of the elevation since there are a set number of intervals that you can or will want to use. In the example above, there are 17 elevation intervals used to create the map, so 17 ranges had to be set and 17 colors had to be assigned.
Layer Tinting Using a Color Ramp
In the second approach, a color ramp that has gradually varying colors is used to represent the full range of elevation values (figure 2). In ArcMap’s user interface, this option is called “Stretched”.
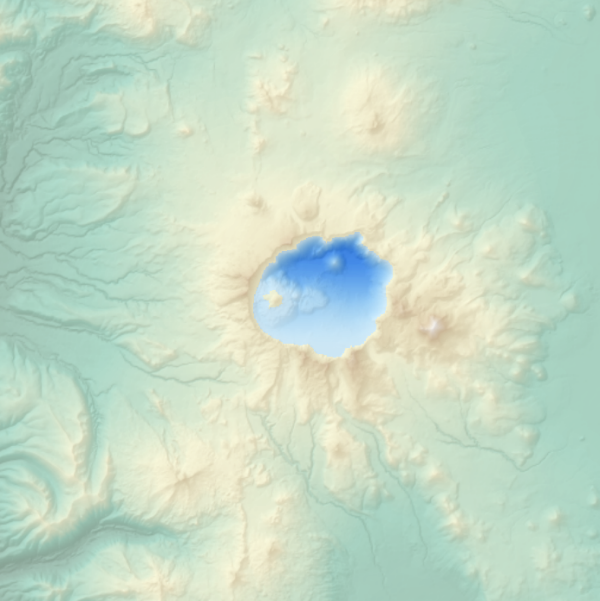
Figure 2. Hypsometric tinting using a color ramp
An advantage is that the colors progress through the elevation ranges smoothly so there is no stepped appearance to the tinting. A disadvantage is that you have less control over which colors are assigned to which elevations (although you can try to modify this using the histogram).
A challenge with either method is to use a color ramp that has the range of colors appropriate for the area being mapped. You may have to modify the color ramp to get the colors you need. An easy way to do this is to start with the color ramps already in ArcMap modify them.

Article Discussion: