We’ve covered image overlays a bit in a couple of earlier posts, one on adding some spiffy titles and another on adding legends to your printed maps. And here’s yet another use for image overlays – adding your company or organization logo to your maps.
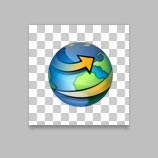
First, create a PNG file of your logo. Note that we’ve left a bit of a transparent border around the logo in this Photoshop example. This will keep it positioned slightly out of the corners of our map.
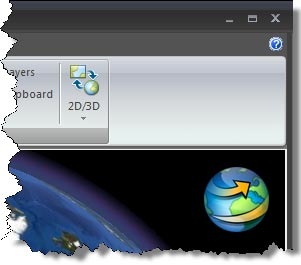
Next, add the PNG file as an image overlay and position it. We’ve chosen the upper right corner.

And here’s what the logo looks like. We can also set its transparency if we like.
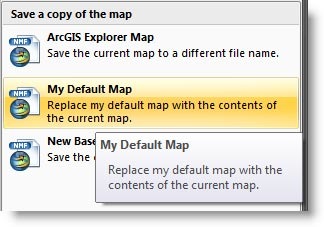
To always open a map with the logo set this map as your default. Choose Save As, then My Default Map.
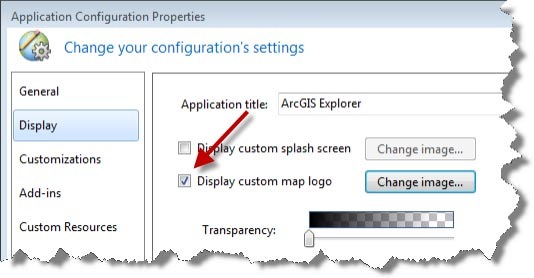
An alternative method is to use the PNG logo in an application configuration. This is done using the Application Configuration Manager. We’ll cover more about application configurations in an upcoming post, or you can read more about using them and the Application Configuration Manager in the Explorer Help.

Commenting is not enabled for this article.