By Aileen Buckley, Mapping Center Lead
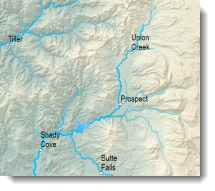
Stream tapering is a technique cartographers use to add realism to a map and help readers determine the direction of flow by using a wider line for downstream reaches than those upstream. Streams in nature vary in width due to things like flow, topography, or anthropogenic confinement. Tapering wider downstream lines into thinner ones upstream simulates the variation in stream width caused by increasing flow downstream. This method, which has long been used in cartography, is also described in Tom Patterson’s article, Getting Real: Reflecting on the New Look of National Park Service Maps on his web-site, Shaded Relief. Although he describes how he achieved the effect using Adobe Illustrator, this blog entry describes how you can use ArcMap to accomplish the same thing.
The example described here uses a map of southwestern Oregon in the Crater Lake area (figure 1).
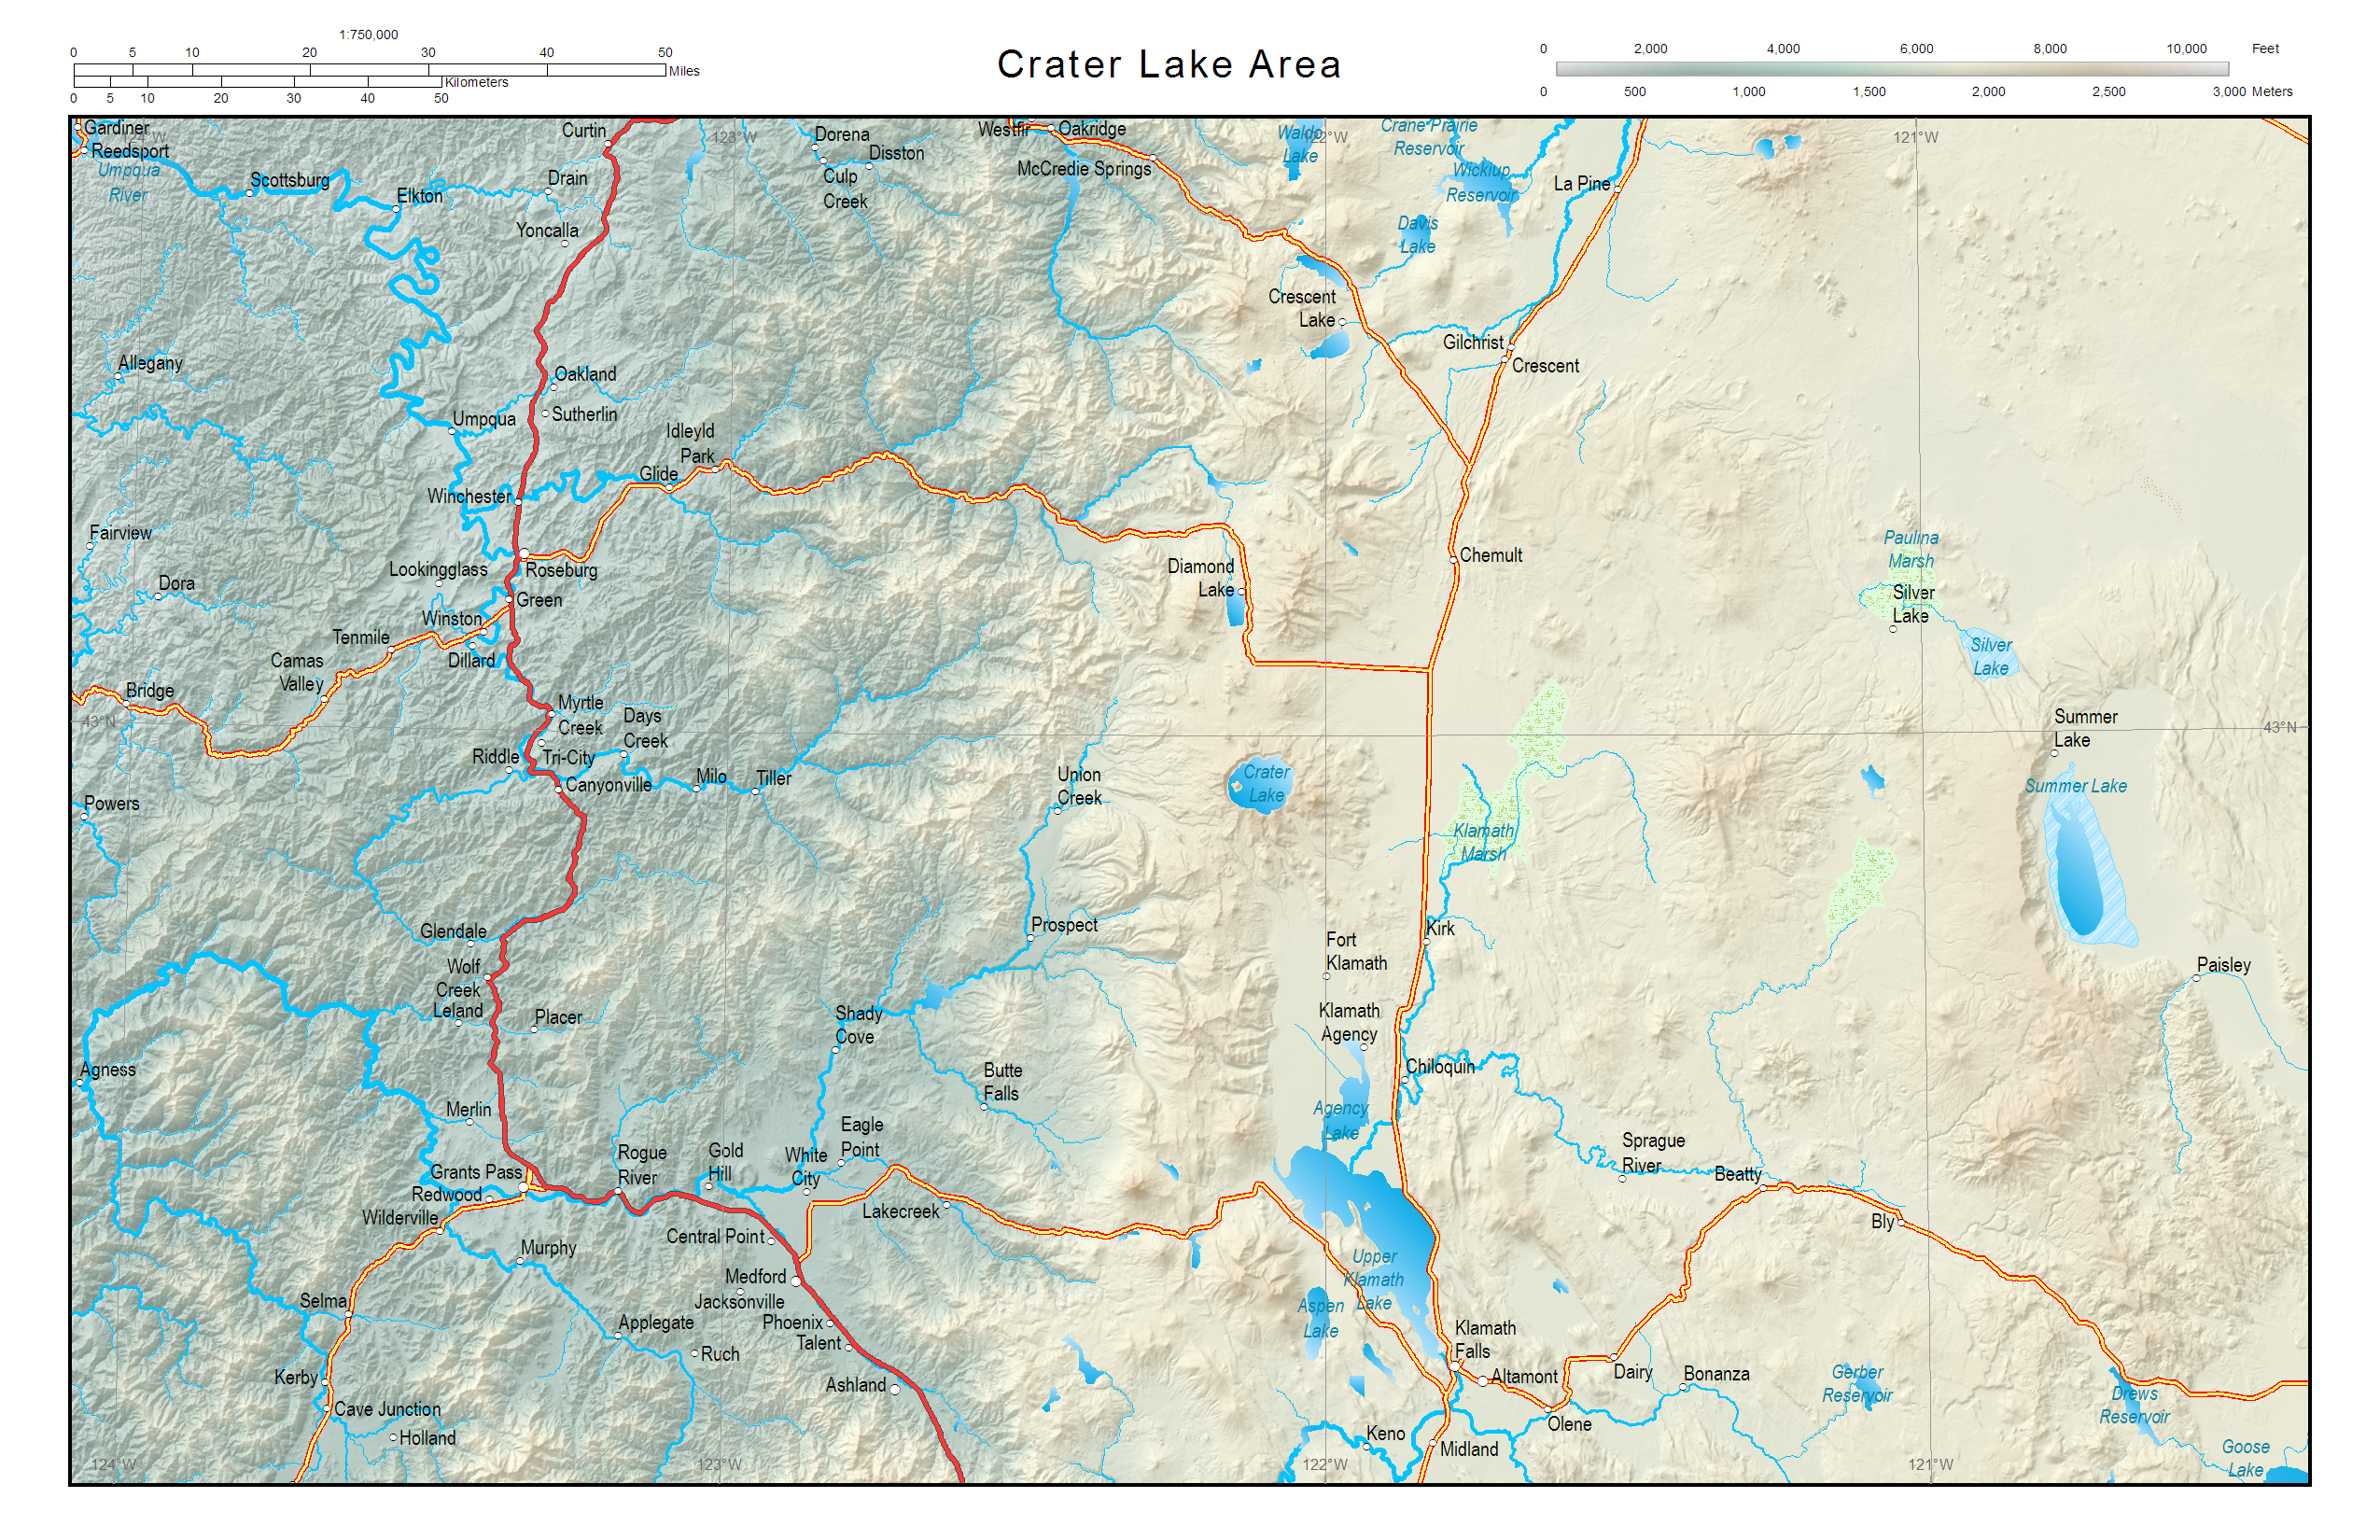
Figure 1. The Crater Lake area map
In essence, tapered streams are created in ArcMap by using the graduated symbols renderer with a hydro line feature class that contains an attribute, like flow, that can be used to logically vary the width of the line (figure 2).
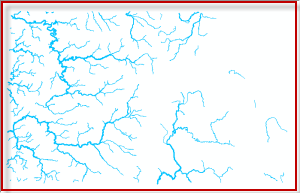
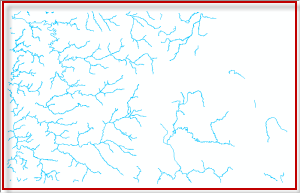
Figure 2. Hydro line features symbolized without tapering (top) and with tapering (bottom)
For this exercise, we used National Hydrography Dataset Plus (NHDPlus) which has a mean annual flow attribute.
To access this data, visit the NHDPlus web-site. Download the National Hydrography Dataset and Catchment Flowline Attributes data, unzip it, and add it to ArcMap. Then join the attribute data to the NHD data so that you can use the MAFlowU attribute, which represents the annual flow (cfs) at bottom of flowline as computed by the unit runoff method.
Creating tapered streams is a two-step process:
- Define the streams that will be shown with tapering.
- Apply the symbology.
Step One
The first step is to define the streams that you want to show with tapering (figure 3).
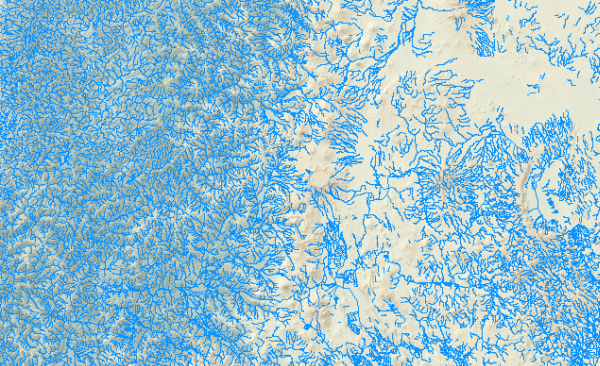
Figure 3. The map when all streams are shown. The hillshade and elevation have been added to provide context.
This is one of the first steps cartographers take to ensure that the right type and number of features are shown, given the final map scale (figure 4).
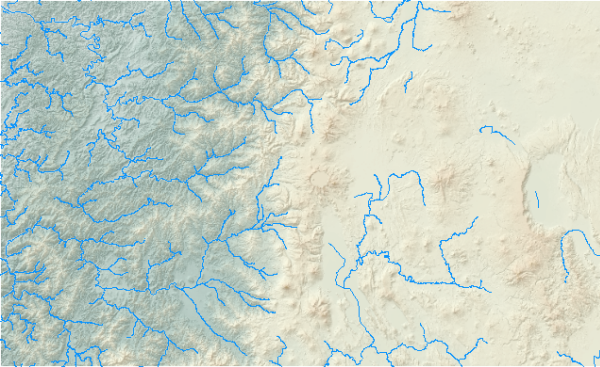
Figure 4. The map when only the larger streams are shown
To reduce the number of features shown on the map, you can use a definition query.
- Right-click the hydro lines layer in the table of contents and click Properties.
- On the Definition Query tab, click Query Builder.
- Input a query that will result in the features you want to be shown, for example, “MAFLOWU” > 60.
- Click OK.
- Click Apply to see the results.
- If necessary, refine the query.
- When you are done, click OK to close the Layer Properties dialog box.
Step Two
The next step is to symbolize the features:
- Right-click the layer in the table of contents and click Properties.
- Click the Symbology tab, and choose Quantities > Graduated symbols.
- Set the Value field to the attribute you want to use, for example, MAFLOWU.
- Change the symbol sizes, for example, 0.2 to 2.0 points.
- Click Template to change the symbol. In this example, a blue line with 0 197 255 as the RGB color definition was used (figure 5).
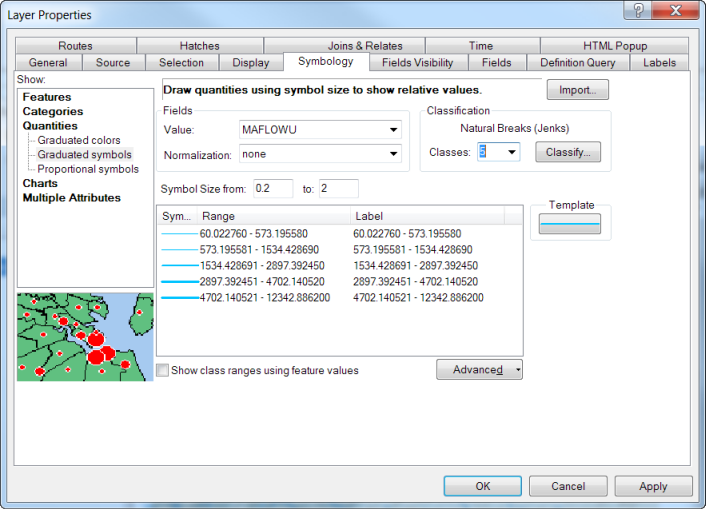
Figure 5. The Layer Properties dialog box
- For the classification, change the number of classes to a number between 8 and 10. This number will vary based on how smoothly you want the streams to taper. Having fewer classes will enable the reader to more easily see the different line sizes that will be used. Having more classes will make the variation between connected line sizes less apparent.
- Click Apply to see the results.
- If necessary, refine the number of classes and, if desired, the class breaks.
- When you are done, click OK to close the Layer Properties dialog box.
When combined with other effects that promote a feeling of realism on a map, such as sun glints (described in a previous blog entry), hillshading, and elevation tinting, stream tapering provides a much more aesthetically pleasing impression (figure 6).
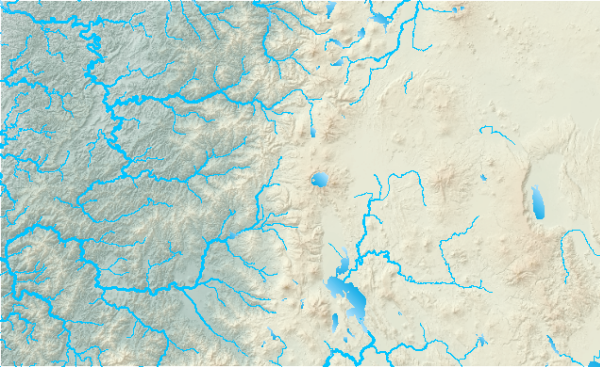
Figure 6. The tapered streams with other “realistic” symbology such as sun glints, hillshades, and elevation tints
Learn about modifications you can make to simplify and label tapered streams in our previous blog entry, Symbolizing rivers and streams with proportional symbols.
Thanks to David Barnes, Cartographic Product Engineer, for his Crater Lake area map.

Article Discussion: