Did you know you can create your own 3D symbol galleries in ArcGIS Online? You can publish these collections of 3D symbols (also called web styles) from ArcGIS Pro 2.1 to ArcGIS Online and Portal 10.6.
In this blog you are going to see how to create web styles for use in the Scene Viewer. You can also use these symbols with the 4.x ArcGIS API for JavaScript. Check out how to use them in a custom web app by reading Kristian’s blog here.
We will create a web style by using Pro to generate 3D model marker symbols. 3D model marker symbols use a true three-dimensional graphical model to define the marker. You can generate these models by importing COLLADA (.dae), 3ds Max (.3ds), OpenFlight (.flt), or Wavefront (.obj) file.
I will be publishing a 3D symbol of a wind turbine to show a realistic view of a wind turbine farm for use within a web scene in Scene Viewer.
Create your own Style in ArcGIS Pro
To start the process of creating a 3D symbol gallery, first we will create a new style in ArcGIS Pro.
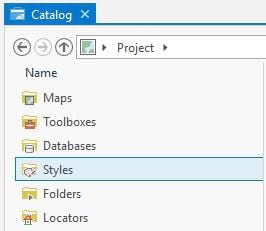
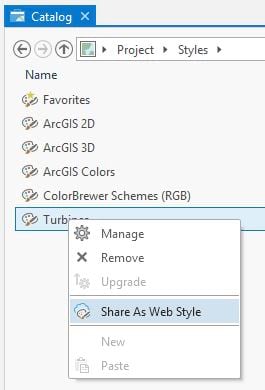
In the Catalog tab in Pro, open the Styles folder.
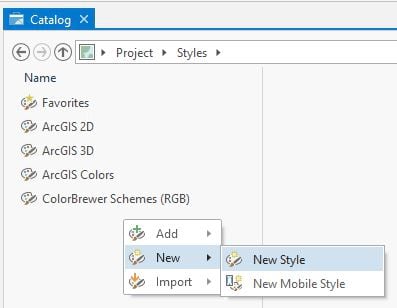
Right click and pick New Style and enter the style’s new name in the save dialog. I’ll name the style “Turbines”.
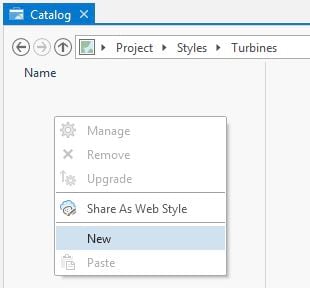
Double click on the new style and right click in the new style and click on New to create a new symbol within the style. You can also click New Item in the ribbon to add the point symbol.
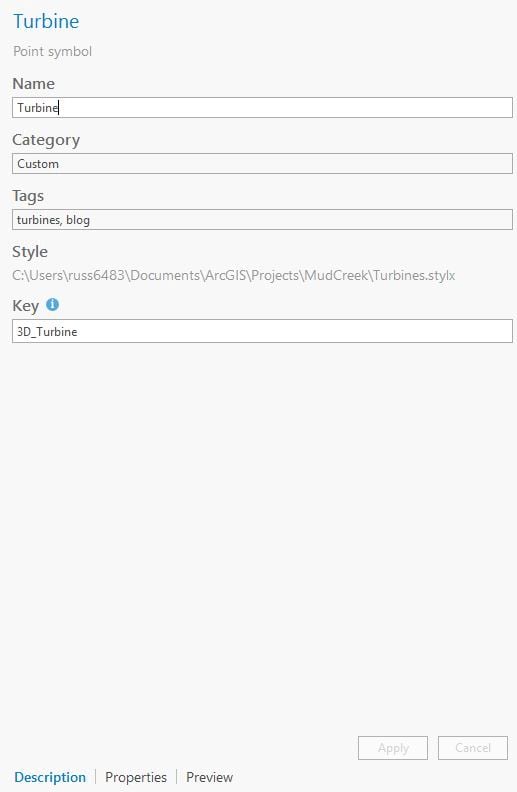
By default this will create a 2D marker symbol, so we’ll switch this to 3D. Click on “Point Symbol” and we will update the name Point Symbol to something more meaningful under the Description tab.
Now we will switch the symbol type to 3D Model marker and import the Turbine 3D model.
To do this click on the Properties tab of the symbol and click on the dropdown at the top of the pane to switch the symbol from Shape Marker to 3D Model Marker. Below image is an example of what you should expect to see after you make this change.
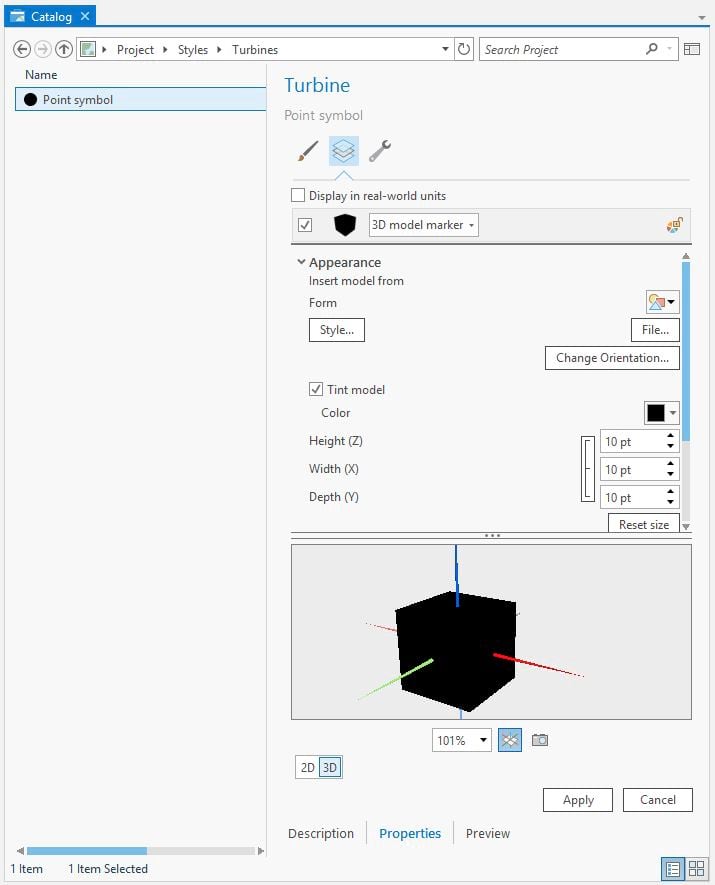
Next we will want to import the 3D model. For this case I am using an OBJ file which will display a turbine when imported. Click on the File button under the Properties tab for the Point Symbol and add in your 3D Model. You may need to adjust the position, size and rotation of your symbol. Disaply in real-world units is checked on. To learn more about these settings check out this page for more info
When you have the file added you will see the symbol preview update like in the image below.

A thumbnail is needed for this new symbol. The thumbnail will be used in the symbol gallery picker and legend in Scene Viewer so it is very important to add this. You can take the thumbnail snapshot by clicking on the camera icon below the preview of the symbol on the Properties tab and Preview tab.

In this example only one symbol is being published to Online. If you want multiple symbols within the style just repeat the steps above to create a new symbol under the existing style created and share that style to Online or Portal.
Sharing your Style to Online and Portal
To generate a web style from the style just created you need to share it to Online or Portal. To do this right click on the style and click on Share.
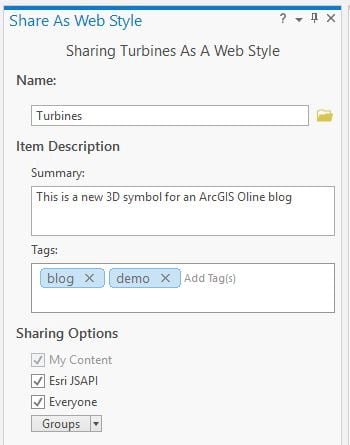
This will bring up the Sharing pane where you can enter in title, tags and descriptions. You can also pick the sharing level at this time or do it later under My Content. Having it shared to everyone allows the symbols to be viewed in a web scene that has been shared publicly. I also recommend sharing these web styles to a group you would set as the “home” for your web styles. Making your web styles available to Scene Viewer follows the same pattern as creating custom basemap groups. This requires you to share the web styles to a group and under the admin settings specifying this group for use in Scene Viewer ( I will be showing this to you in the coming steps). Once you have anything completed on this pane, click the share button to being the publishing of the web style, when publishing has completed you will see a link to the web style at the bottom.
Configuring your Web Style Galleries
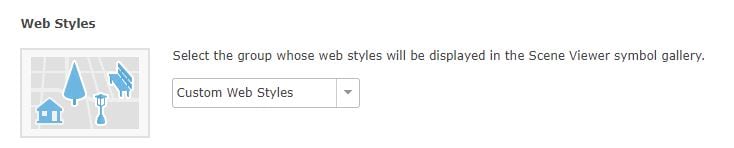
With the web style published to ArcGIS Online we can now configure the organization to use our published web styles with Esri provided web styles. If you did not share the web style to a group, create a group and share the web style to it. This group will be used in the next step.
With an administrator account you will need to set the web style group under the admin organization settings. You can find this setting under the Organization Settings > Map tab. When you set the group under the organization settings and click save, this will automatically include Esri web styles along with your web styles. It is recommended to leave the Esri Web Styles in this group because other applications like ArcGIS Pro will use them.
Now we can use the published web styles in Scene Viewer, 3D WebApps & applications made from the ArcGIS API for JavaScript.
Using Your Web Styles in Scene Viewer
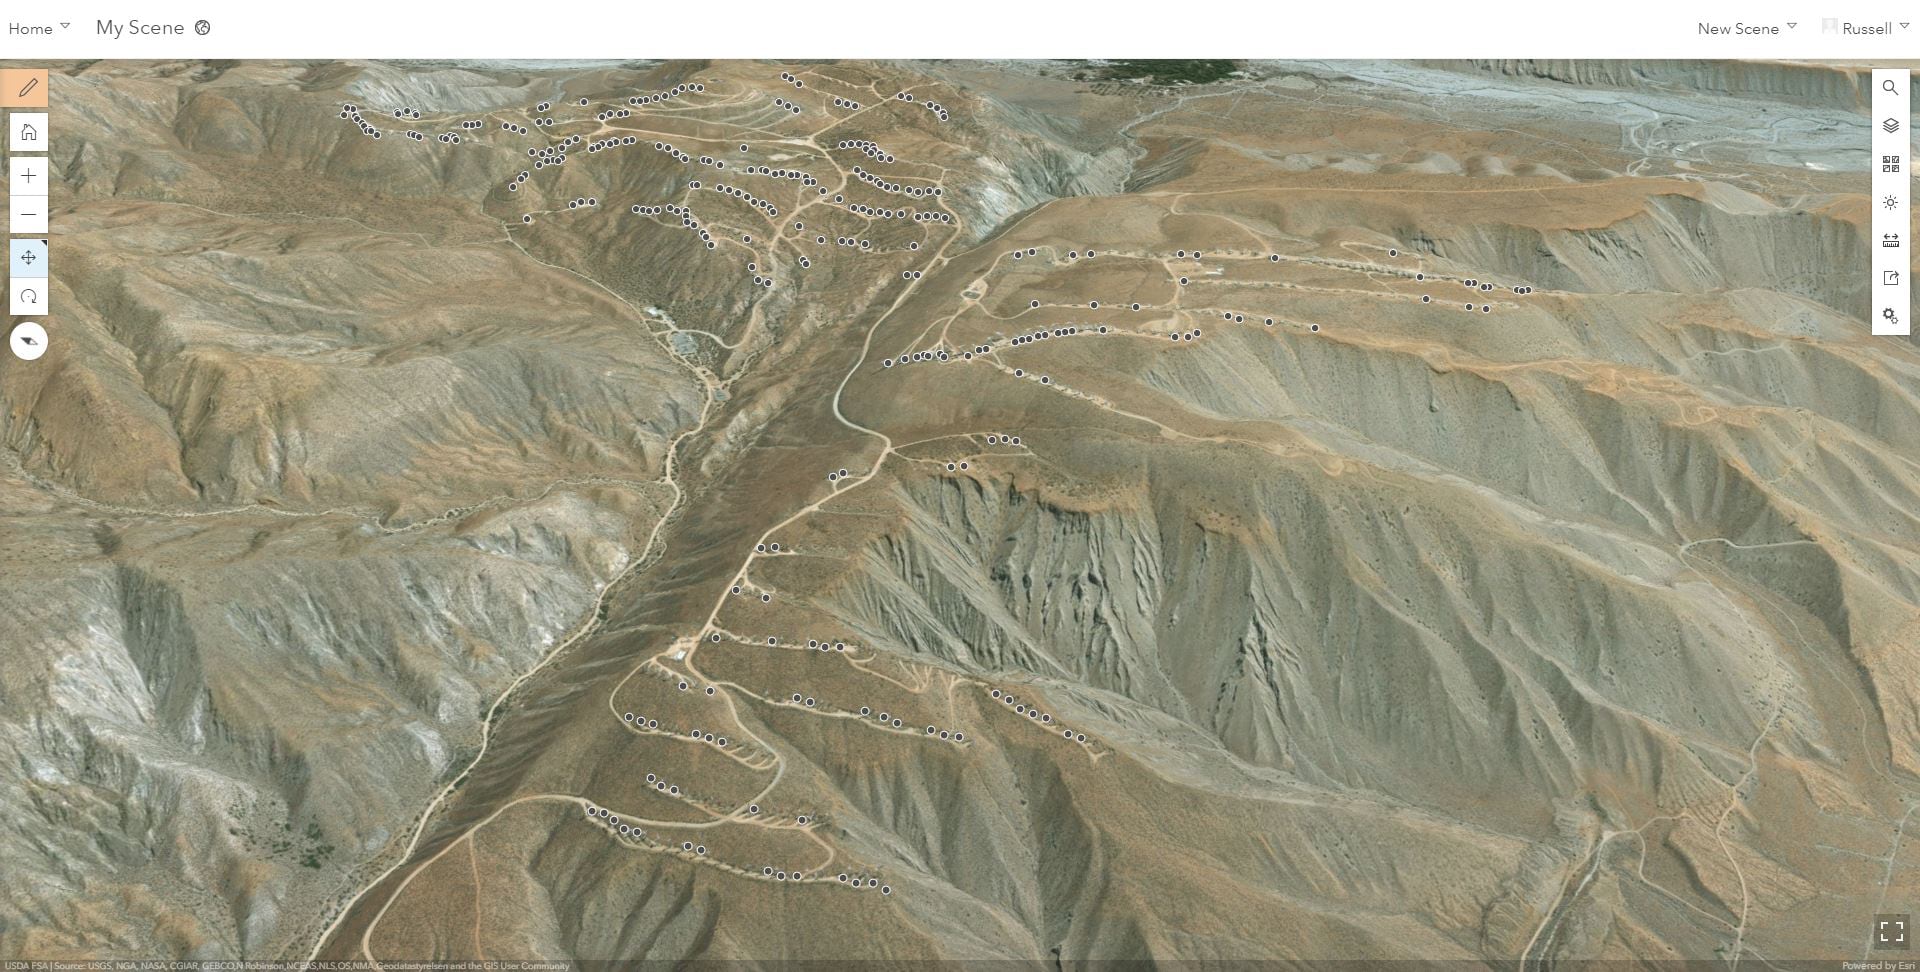
In Scene Viewer here I have a dataset of wind turbines using the default 2D symbol.
Open the configure layer panel and pick the 3D Object option.
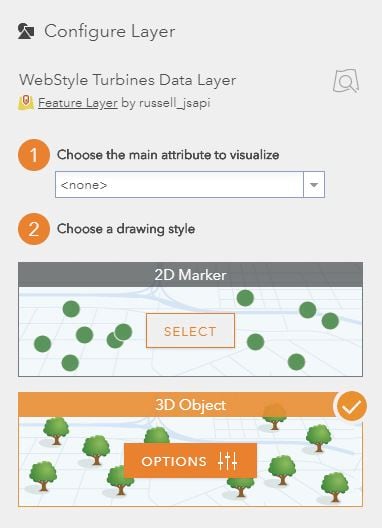
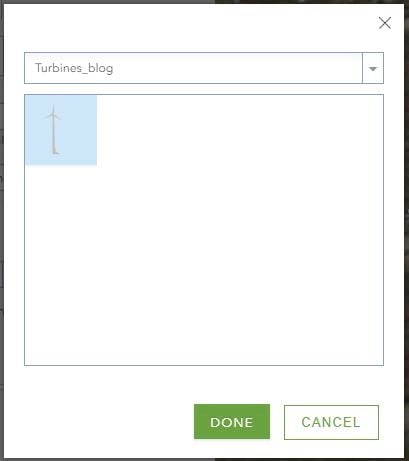
Now we will see a 3D cone symbol. To use the turbine symbol we published, click the cone symbol. Click the dropdown menu and select the published web style (“Turbines”). This will open the symbol gallery for this web style. Click on the turbine symbol and the layer will be updated.
For size I am using the Height attribute to display the height of the model
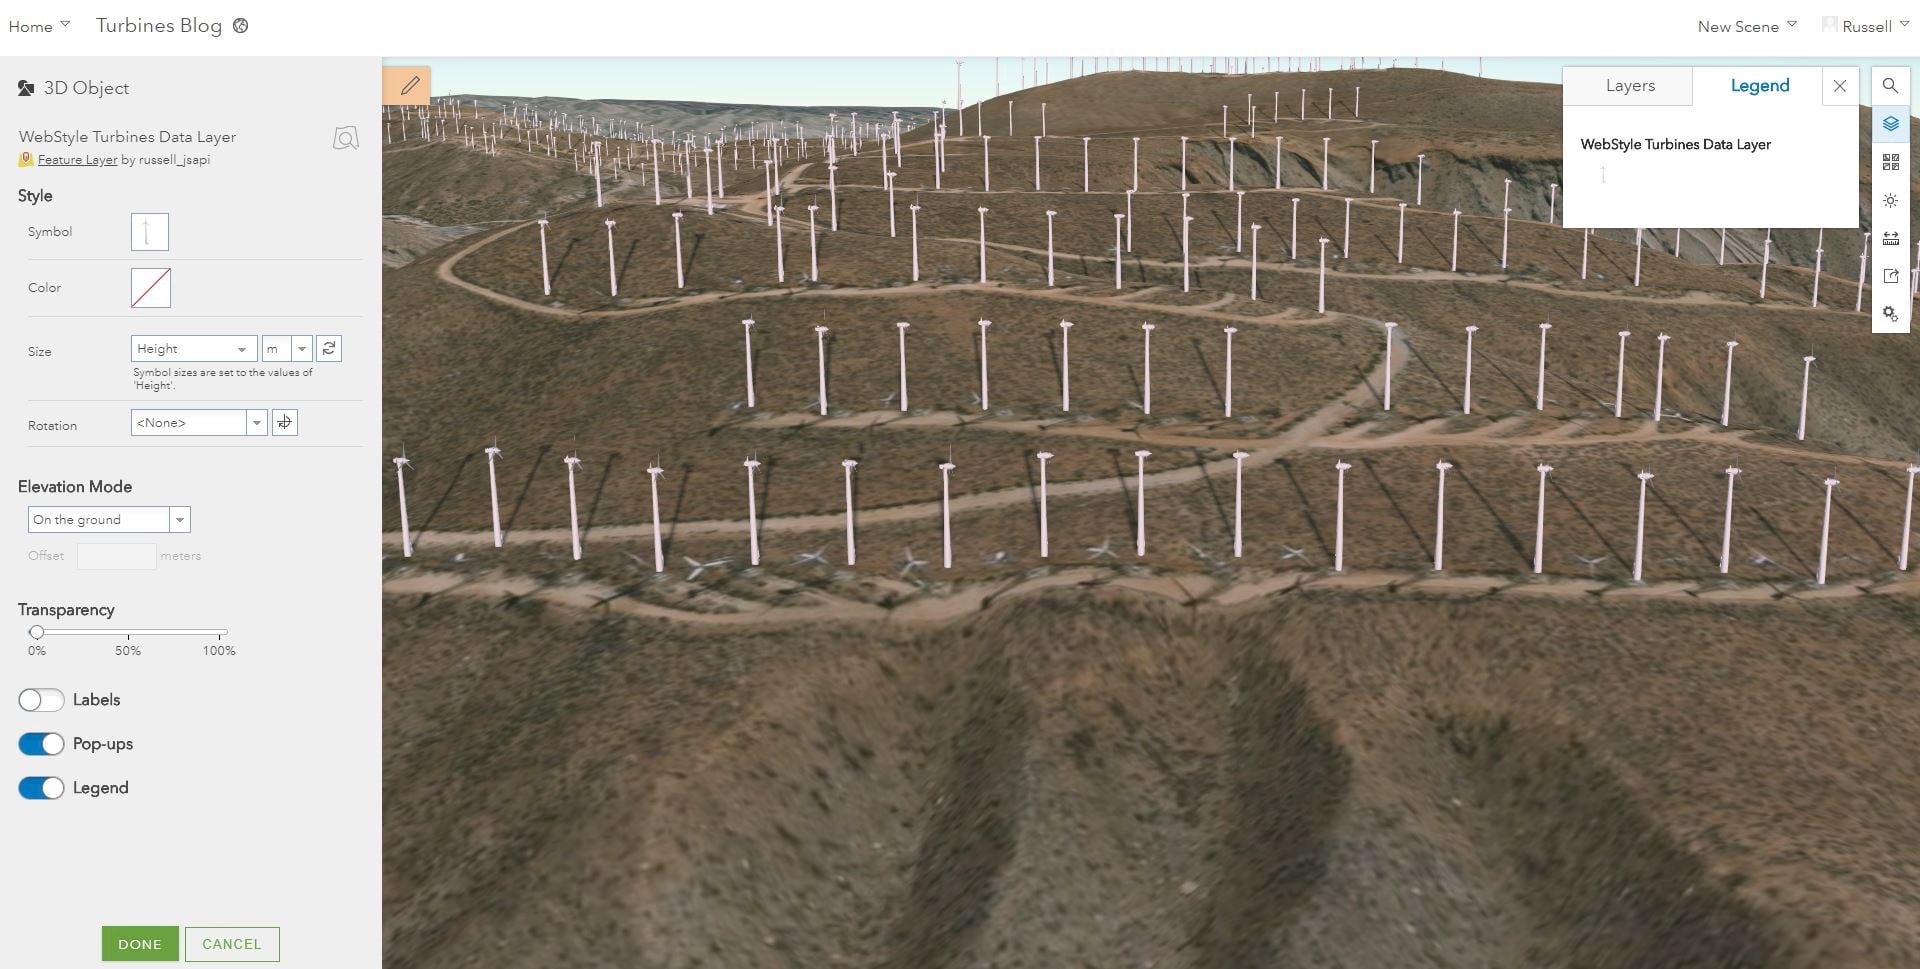
Using the Rotation attribute next to drive the rotation of the symbol because we know the rotation angle will be different for different turbines.
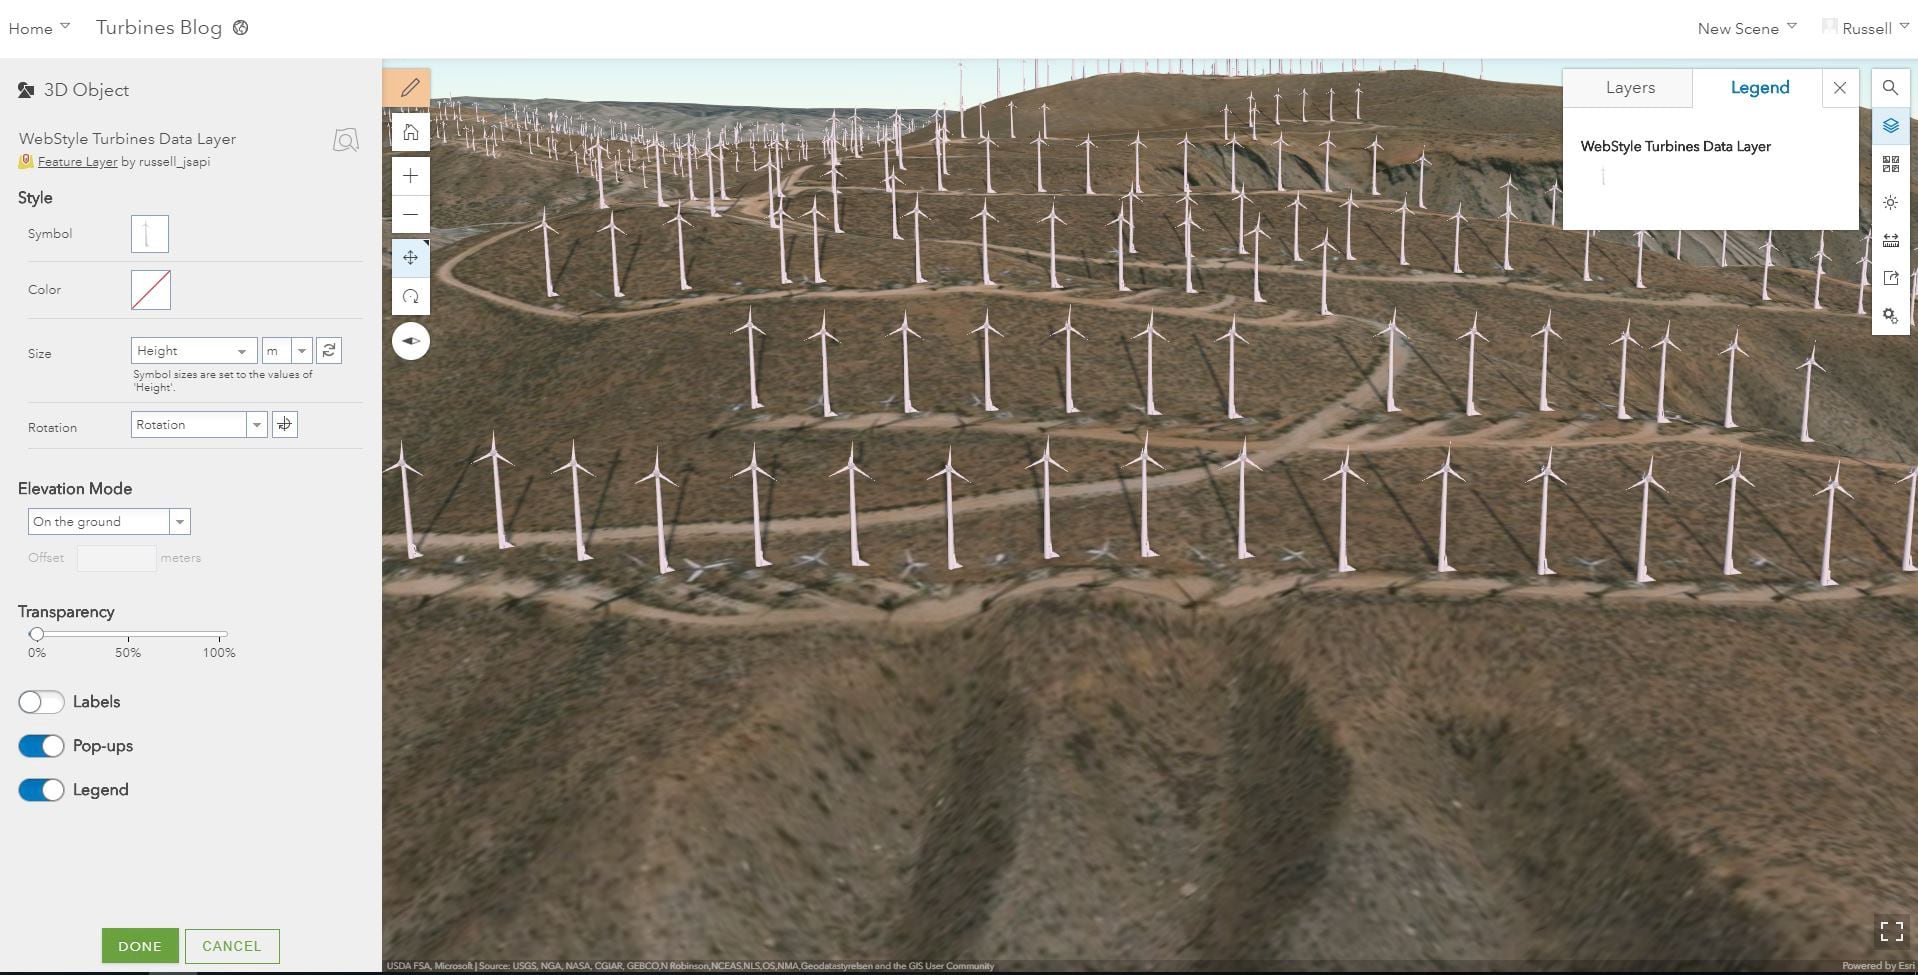
The web scene is now completed and can be shared out to my organization or be used in a web application. Check it out below.


Commenting is not enabled for this article.