The integration of GIS data with game engine technology represents an exciting frontier in 3D visualization, enabling professionals to create immersive digital representations of real-world environments. ArcGIS Maps SDK for Unreal Engine allows users to seamlessly import detailed, real-world datasets into interactive scenes. However, transforming GIS data into compelling, lifelike environments often requires additional techniques beyond traditional GIS workflows.
If you have downloaded the ArcGIS Maps SDK for Unreal Engine and successfully loaded real-world data but find yourself uncertain about how to bring your scene to life, this blog will walk you through the process of enhancing your project using Unreal Engine techniques adapted to ArcGIS Maps SDK for Unreal Engine. I will walk through my entire process—from importing real-world datasets, creating a cinematic atmosphere, editing mesh geometry, fine tuning the environment with material details, animating characters using the high-fidelity MetaHuman, to finally creating an engaging cinematic flythrough. This blog is designed specifically for GIS professionals and 3D content creators who want to leverage the full capabilities of ArcGIS Maps SDK for Unreal Engine and go beyond basic dataset visualization.
1. Importing GIS Data
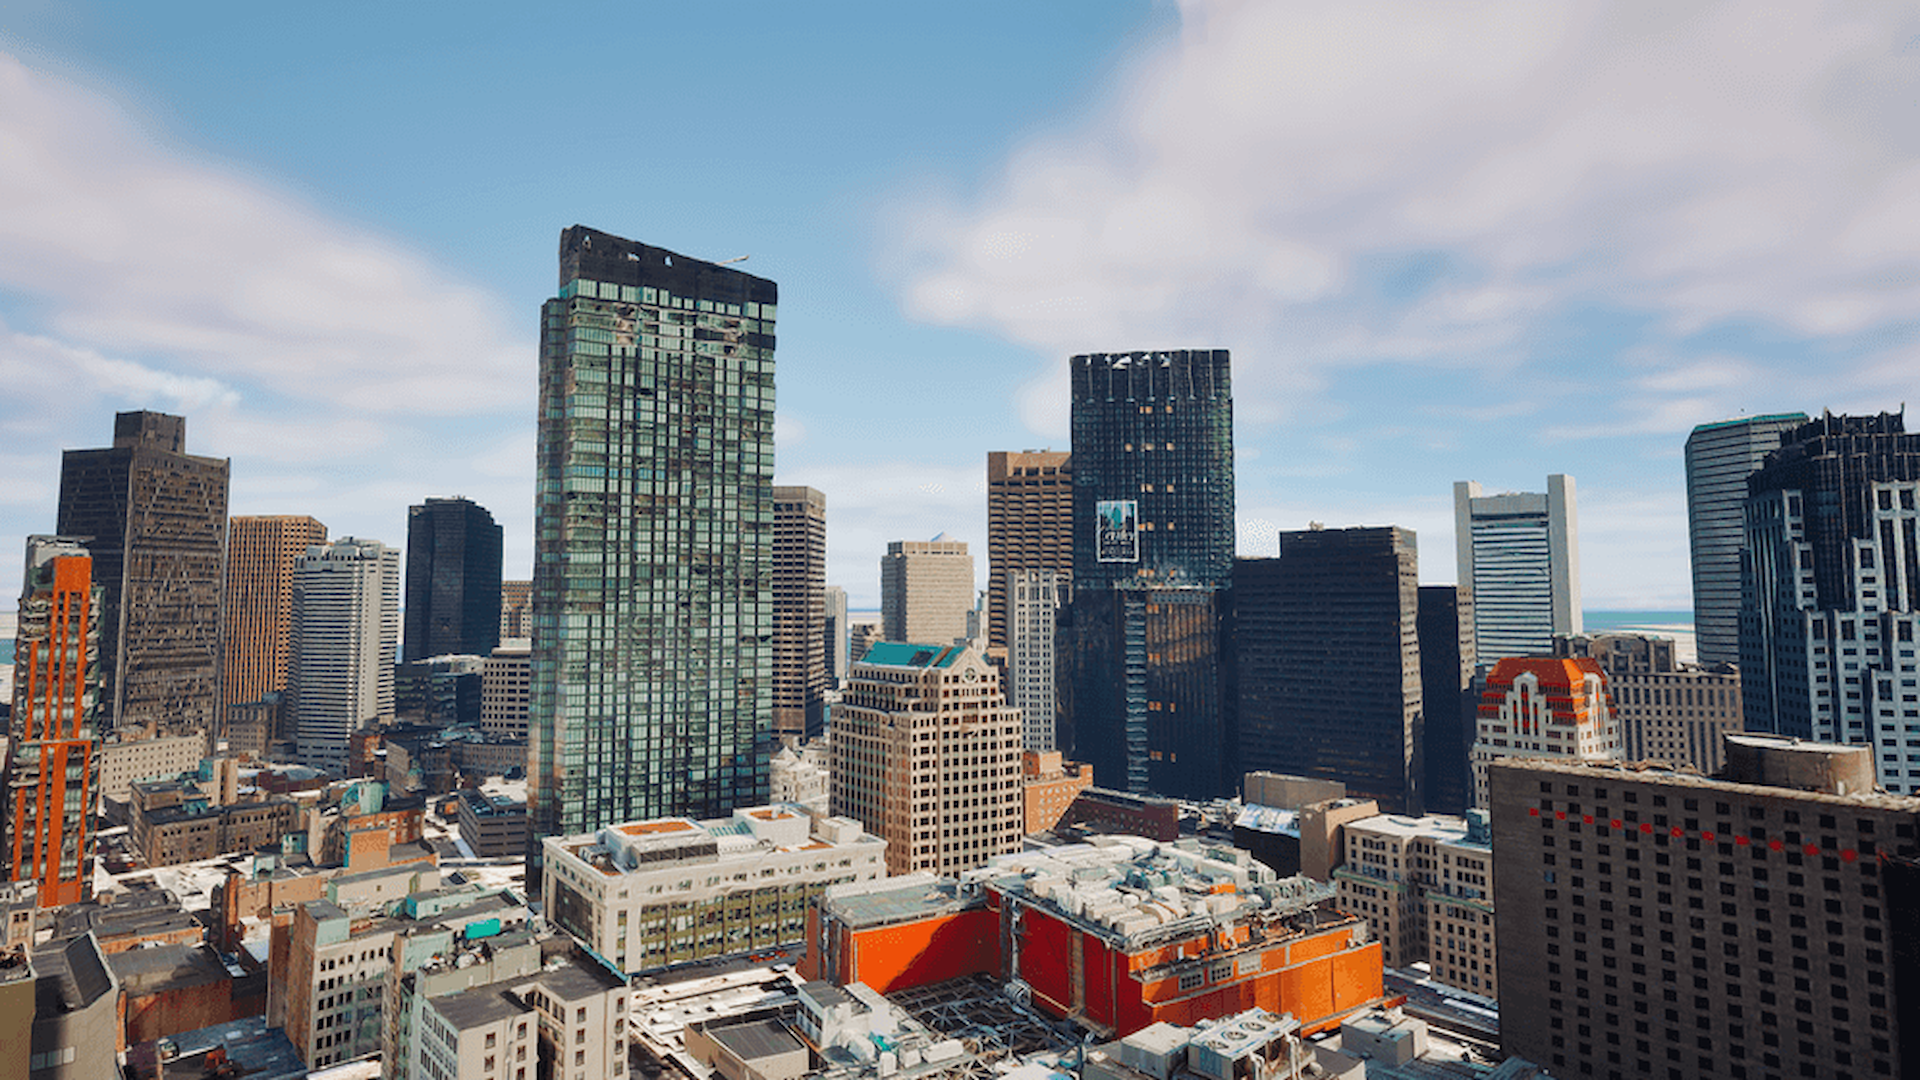
In this project, I used Unreal Engine 5.5.4 and the newly released ArcGIS Maps SDK for Unreal Engine 2.0.0. I started by importing a 3D Tiles layer of Boston, which gave me detailed urban geometry streamed in from a remote server, as well as a basemap and elevation. You can just as easily use other supported data layers, such as 3D object scene layers, integrated mesh scene layers, building scene layers, or feature layers (through ArcGIS REST API) depending on the type of data you’re working with. You can find additional information on supported data layers in our documentation.
2. Integrating Game Engine Assets
Once the GIS data was added to the scene as the base environment, the next step was to enhance it with detailed assets. Fab is the new hub that houses assets from Quixel, Sketchfab, TurboSquid, and the Unreal Engine Marketplace. You can access Fab directly in Unreal (through Window-Fab) and import assets to your project.
After examining my scene, I browsed for a few key assets in Fab:
- Game-ready urban buildings (I noticed that some foreground building meshes have lower quality.)
- Store signs (Some store signs are low resolution.)
- Realistic vehicles and bus stops (I noticed a few dark extruded meshes by the road which I decided to replace.)
- Environmental details like food carts, roadblocks, and dumpsters (There is a large empty space on the roadside, which could serve as a central stage for this scene.)
- Road signs (Signs such as stop signs and no parking signs are always nice details to add.)
Once downloaded, these assets were dropped right into the content browser and ready to go. To replace some lower-quality meshes with game engine assets, I either added the game engine assets on top of the GIS meshes to hide them (Figure 1), or used mesh modification (or spatial filtering, depending on layer type) (Figure 2).
Tip: When working with GIS scenes in Unreal Engine, you may notice that some objects move at different angles instead of along the expected XY axes. This happens because many GIS meshes are imported with a rotated transform based on their real-world orientation, causing the movement gizmo to align with the object's local axis instead of the world axis. To fix this, simply switch the gizmo mode from Global to Local in the viewport toolbar.
 on top of 3D tile layer mesh for the foreground buildings.")

3. Lighting: Crafting a Golden Hour Tone
The quickest way to improve the overall cinematic atmosphere of your scene is through lighting. The 3D Tiles layer data came in under a generic daylight setup. I wanted a golden hour feel where long shadows and a soft orange hue give the scene more cinematic weight.
I found an asset from Fab with a beautiful day-time lighting rig that includes directional light, skylight, atmospheric fog, sky sphere with nice clouds and post-processing (you can move the sky sphere to your scene location if you don’t see it). I also modified the directional light color to a rich yellow-orange tone, and lowered the directional light and skylight intensity to soften the shadows and reduce blown highlights (Figure 3). I also adjusted the rotation of the directional light to ensure the scene included some natural shading without overwhelming it with large, dark shadowed areas. In scenes with a 3D Tiles layer, shadows often appear unusually large and dark because the 3D Tiles layer uses a single, massive mesh for buildings or terrain, which casts heavy shadows and lacks ambient occlusion or bounce lighting.

4. Working with Materials
In Unreal Engine, materials define the visual appearance of 3D objects—how they reflect light, display texture, and interact with the environment. They’re essential for making scenes look realistic, expressive, or stylized depending on the design goal. ArcGIS Maps SDK for Unreal Engine supports PBR (Physically Based Rendering), which is a method of creating materials that accurately simulate how light interacts with real-world surfaces, making 3D scenes look more realistic and consistent under different lighting conditions.
4.1 Create materials in Unreal Engine
Some game engine assets didn’t include materials out of the box, but creating them from textures in Unreal Engine is straightforward. In the Material Editor (Figure 4), you simply connect each texture map to its corresponding input node. This usually includes base color, normal, roughness, and ambient occlusion maps. Don’t overlook the normal maps—they play a critical role by adding surface detail and realistic depth without extra geometry. Similarly, roughness maps control how light interacts with surfaces, making materials appear glossy or matte, while AO maps enhance realism by simulating subtle shadowing in recessed areas. Use a TextureCoordinate node to control tiling and a Multiply node to adjust roughness levels if needed.
4.2 Create a weathered effect on the material
I noticed that the bus color is too vibrant for the overall older neighborhood feeling. I brought in some grunge materials from Quixel.
Tip: Search terms like:"mud stain", "urban grime", “grunge”, "peeling paint". After downloading the grunge material, I blended it with the original texture (Figure 4 and 5).
 node.")

4.3 Using Decals
The street surfaces in the 3D Tiles layer already contained a high level of detail, so I found no need to apply decals to the meshes. In Unreal Engine, decals allow you to project textures directly onto surfaces and they follow the curves of the surface mesh without modifying it. You can easily add grime, cracks, road paint, signage, and shadow effects to the scene. These small details go a long way.
5. Downloading and animating MetaHuman
MetaHuman characters are high-fidelity, fully rigged digital characters developed by Epic Games for use in Unreal Engine. Designed for realism and performance, they come with detailed facial rigs, body animation support, and customizable appearances, making them ideal for cinematics, gameplay, and virtual production. You can download MetaHuman from Quixel Bridge (Window-Quixel Bridge), and then directly integrate them into your project. You can also customize these characters, by changing the face and clothing, for example. You can add the metahuman (for example, Danielle) by simply dragging BP_Danielle into the scene (Figure 6).

Mixamo, by Adobe, is a free online platform that provides a vast library of ready-to-use character animations—from walking and running to dancing and fighting. In my case, I noticed there was a large empty area on the roadside where I put a bus stop. I then downloaded several animations from Mixamo, such as texting on the phone, standing idle and sitting, so that I can create a casual scene with a few people waiting at the bus stop.
Retargeting in Unreal Engine is the process of transferring animations created for one character skeleton onto another character with a different skeleton structure. It allows animations—like those from Mixamo—to be applied easily to characters such as MetaHumans, enabling reuse of animations across multiple models. Retargeting is easy with the newer Unreal versions, you can right-click the animation and retarget it using the MetaHuman’s body mesh as reference. After retargeting, animations can be exported for later use. No rigging required. Worked like a charm. Since the goal of this project was to create a cinematic flythrough, I created a sequencer, and I dragged BP_Danielle in. You will need to delete the MetaHuman_ControlRig and add the animation you just exported (Figure 7). After you hit the play button, Danielle will be texting while waiting at the bus stop.
In addition to MetaHumans, there are different ways to integrate animated people into your scene. One approach is to use animated character packs from Fab, which include pre-rigged humans with built-in idle, walk, or talk animations. For crowd simulation, in one of our Developer & Technology Summit demos, we used assets like the Crowd System that move characters along spline paths and NavMesh.
6. Cinematic Camera Flythrough
To cap it all off, I built a cinematic flythrough. I created a Cine Camera Actor. I made sure to place both the Cine Camera Actor and the MetaHuman actor in the same sequencer (Figure 7), so that the characters are animated as the Cine Camera Actor moves. Unreal already provides a Create Camera Animation tutorial. So here, I will just provide some tips pertaining to working with ArcGIS Maps SDK for Unreal Engine:
If you notice that the sequencer is rendering from the ArcGIS Camera instead of your Cine Camera Actor, you should disable Auto Possess Player on ArcGIS Pawn to prevent it from taking over the view during rendering. If you still need player control outside of cinematic playback, you can keep Auto Possess enabled afterwards—Sequencer will override it when active. In our documentation, we also provide tips that you should attach the ArcGIS Pawn to your Cine Camera Actor. Additionally, I usually render extra frames before the timeline starts, to allow the ArcGIS terrain and 3D Tiles time to fully load. This ensures the scene starts with all data visible and at full resolution, rather than streaming in mid-shot.

In summary
This blog showcases how ArcGIS Maps SDK for Unreal Engine can be used to create a fully realized, visually compelling 3D scene by integrating Esri-hosted 3D Tiles with character animation, environment polish, and cinematic storytelling. You can download ArcGIS Maps SDK for Unreal Engine on the download page. Get started today!

Article Discussion: