Note: This blog article covers the classic Esri Story Maps which are in mature support and scheduled to be retired in late 2025. Story authors are strongly encouraged to use the new ArcGIS StoryMaps to create stories.
For more information about transitioning to the new StoryMaps, see ArcGIS StoryMaps resources. For more information about the transition from classic Esri Story Maps to the new ArcGIS StoryMaps, see Esri Story Maps: Now in mature support.

Story Map Tour is ideal when you want to present an ordered, place-based narrative featuring images or videos. Each “story point” in the tour has a location, and readers can click through sequentially, or explore by interacting with the map, or using an optional thumbnail carousel. Audio recordings can also be added to your Story Map tour, and used to enhance the storytelling experience.
Examples
This example from the City of Bellingham, Washington—Downtown Historic Walking Tour—uses audio to enrich the story with additional information about the buildings and other features along a walking route.
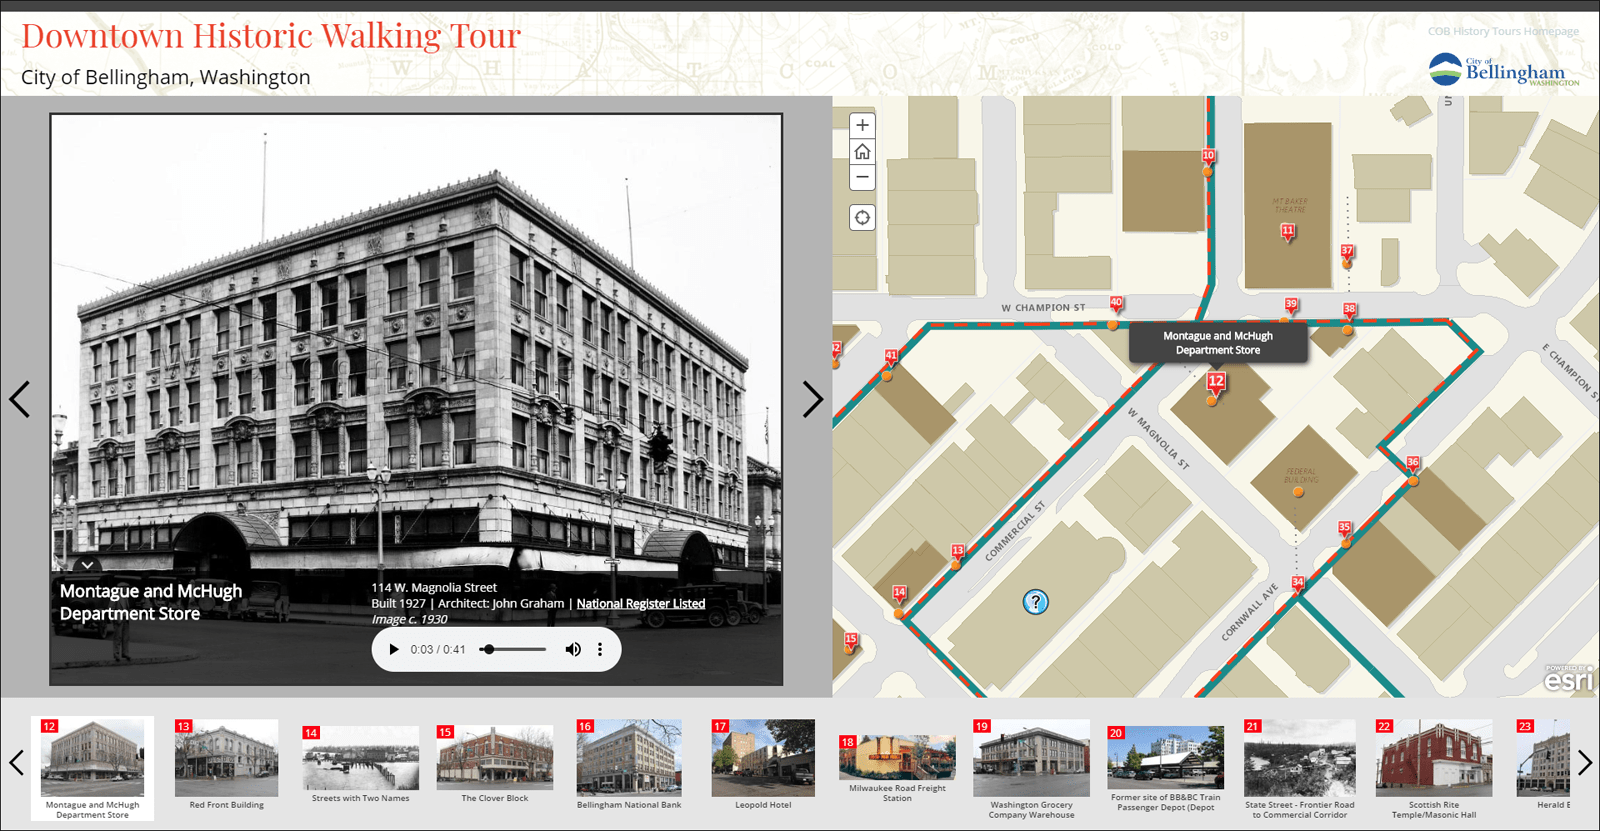
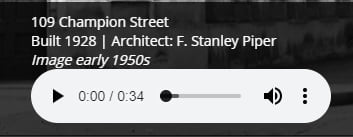
Note that many of the tour stops include an audio control which can be used to learn more about the location:
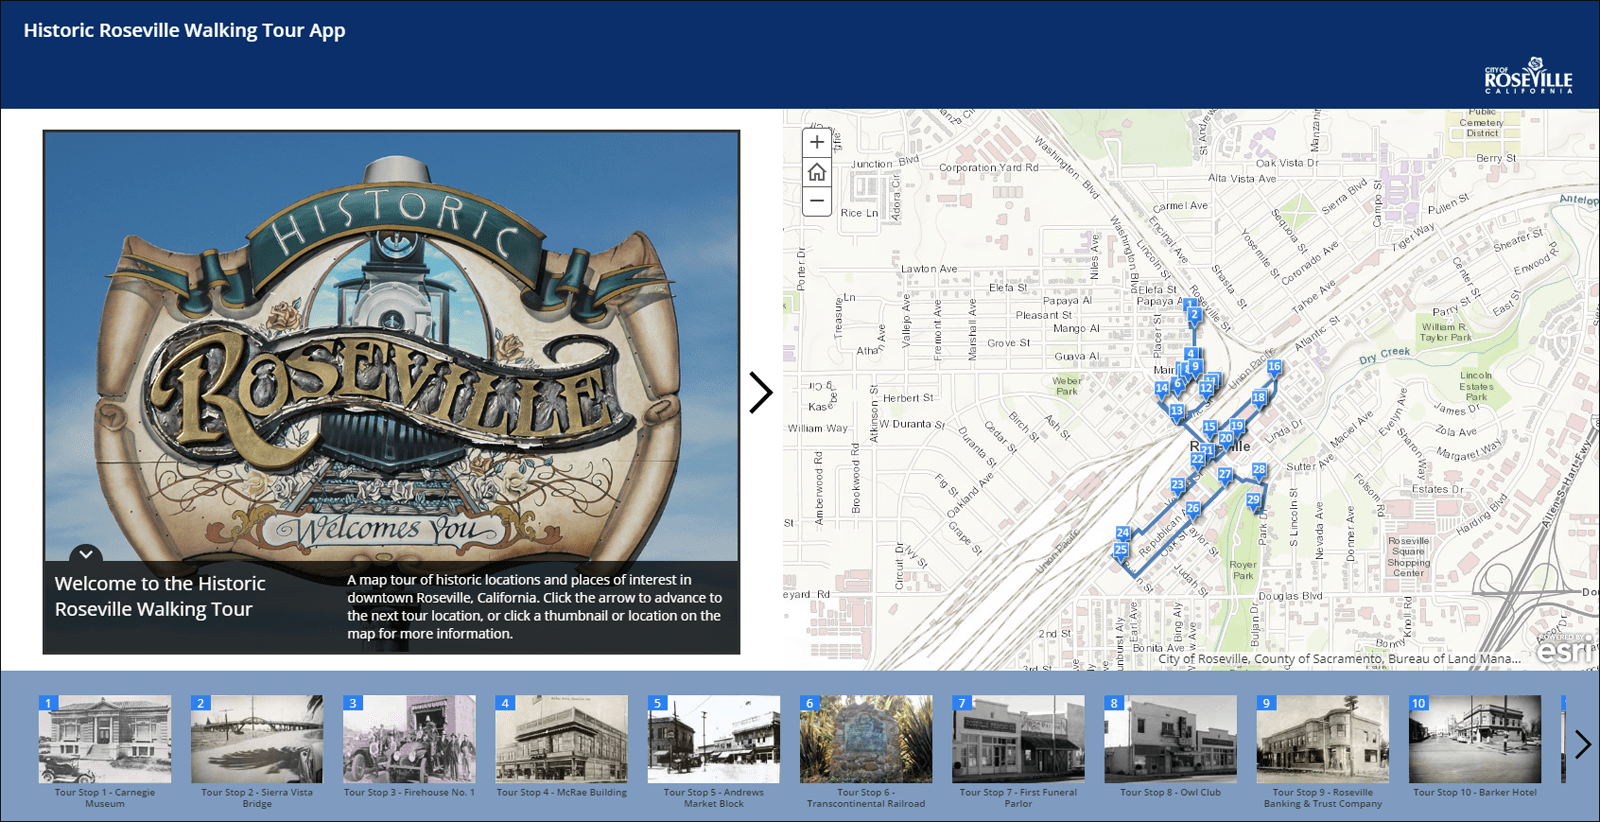
Here is another Story Map Tour that includes audio—Historic Roseville Walking Tour.
Add an audio file
In this example we’ll add an audio file to an existing tour, and specifically to an existing tour stop.
Step 1 – Open your Map Tour in builder mode
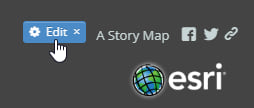
After opening the tour click Edit in the upper right of the application. Note that this is available only if you are the map tour owner.
Step 2 – Add the audio file to the desired tour stop
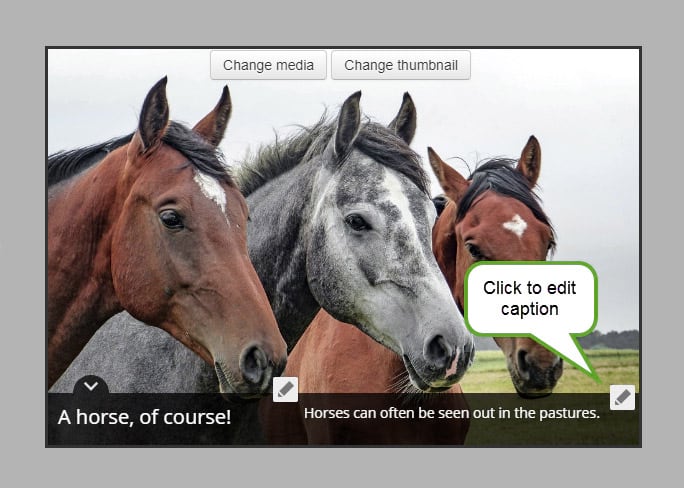
A good place to add an audio control is to the tour stop caption so it appears below the text as seen in the example tours above. Advance to the desired tour stop, and click to edit the picture caption. Depending on which layout you have chosen, the caption editing panel may appear slightly different, but adding audio works the same way no matter which layout you have chosen.
Step 3 – Add the markup necessary to add the audio file
Store the audio file at a publicly accessible URL location. The sample we will use is an MP3 file stored on our server.
http://downloads.esri.com/agol/labs/maptour/horse.mp3
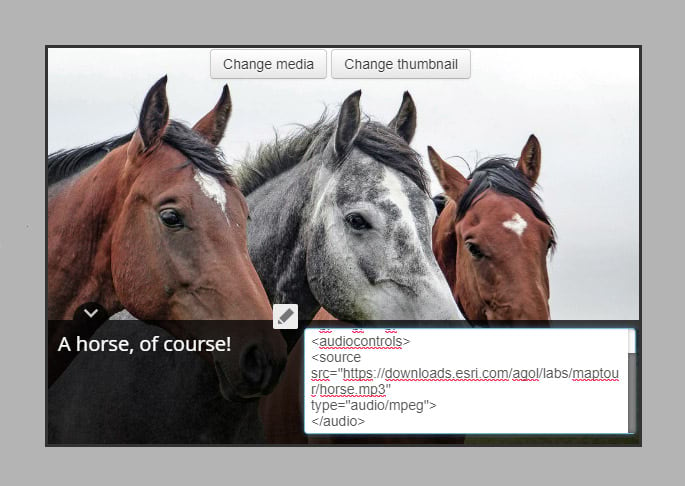
The markup used to display the audio control is as follows:
<audio controls="controls">
<source src="http://downloads.esri.com/agol/labs/maptour/horse.mp3" type="audio/mpeg">
</audio>
Add a couple of line breaks to ensure separation if you like. The edited caption appears below with the HTML shown above inserted into the caption:
Step 4 – Save your Map Tour and view/listen
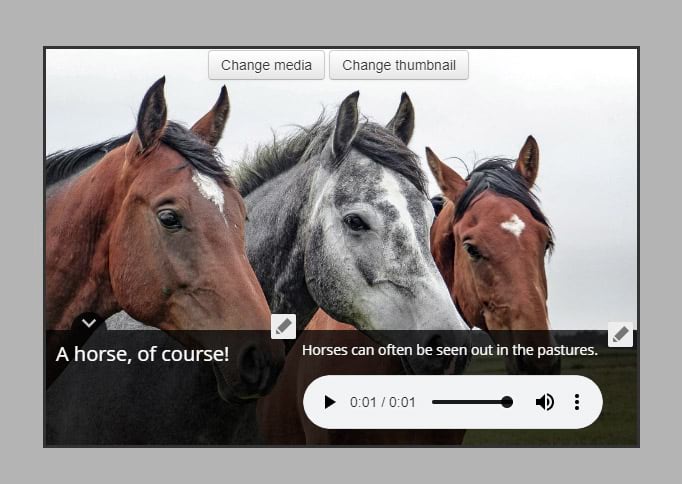
Save your work, the tour stop caption has now been enhanced to include the audio control.
Tips
Audio is best when used sparingly. Like adding spice to food, too much can ruin your efforts, but a pinch here and there can bring out the story’s flavor. Keep your audio clips short and to the point. Note that audio files may not play in all versions of browsers or on all devices. To learn more about embedding sounds, see the w3schools.com website we referenced for this example.
Note
Using the audio tag to embed audio clips in Map Tour captions as described in this blog is not supported when uploading local images directly into the Map Tour Builder.
More information
For more information see the Story Maps website, or view the help provided within the Map Tour builder. The gallery contains other examples of Story Maps that use audio.


Commenting is not enabled for this article.