This article shows how to create Python script that runs as a tool in ArcToolbox. This tool automatically batch processes ArcMap documents, gathers information about the layers in those documents, and outputs that information as a comma-separated values (CSV) file that can be viewed as a table in Microsoft Excel or another program that can open CSV files.
To work this exercise, you should be familiar with authoring Python scripts that use the ArcPy module, using ArcGIS for Desktop (especially ArcToolbox), and know how to add tools from a script file. This exercise uses several Python packages: ArcPy (the ArcGIS site package), os (miscellaneous operating system interfaces), fnmatch (UNIX file name pattern matching), and csv (CSV file reading and writing).
The Challenge
The goal of this exercise is to create a tool that automatically inventories the map layers in a single ArcMap document or several ArcMap documents contained in a folder and generates a CSV file listing the properties of those layers.
The Goal
To accomplish the challenge, you will develop a Python script that is run as a Python toolbox in ArcMap or ArcCatalog. This script will have user inputs for a directory or an individual ArcMap document (MXD) to parse and generate output as a CSV file. The CSV file can be opened in Microsoft Excel or another program that can read CSV files and be viewed as a table. By creating this tool in a Python toolbox, any ArcGIS user can use ArcPy functionality without knowing Python.
The Solution
Although this example will work with one ArcMap document, the Python script will be able to process all ArcMap documents in a directory and any subdirectories it contains.
Create a new Python script using a Python editor or by simply creating a new text file (.txt) and changing the file extension to .py. [Note: If file extensions are not displayed in Windows, uncheck the Hide extensions for known file types in Folder Options located on Control Panel in the Windows operating system.]
There are a variety of methods for developing this script. Listing 1 provides one example. It imports modules, defines the ArcMap documents that will be processed, defines their paths, parses the documents, and writes the information to a user-defined CSV file.

Adding the Script to a Toolbox
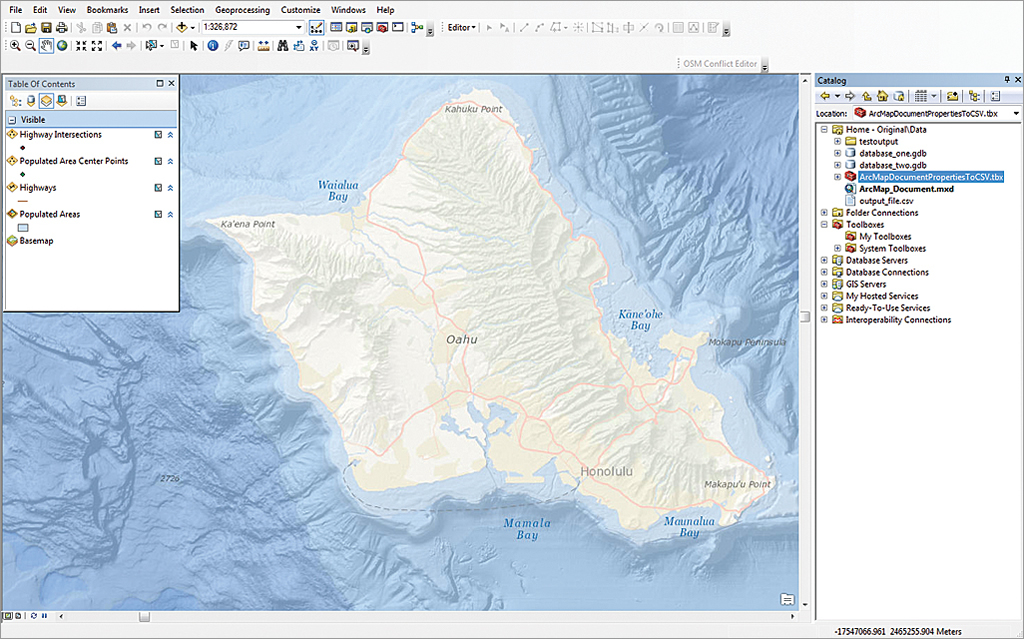
Open ArcMap, then open Catalog. In Catalog, navigate to the folder where you want to keep the new toolbox for the script and right-click it. Choose New > Toolbox. Rename the toolbox.
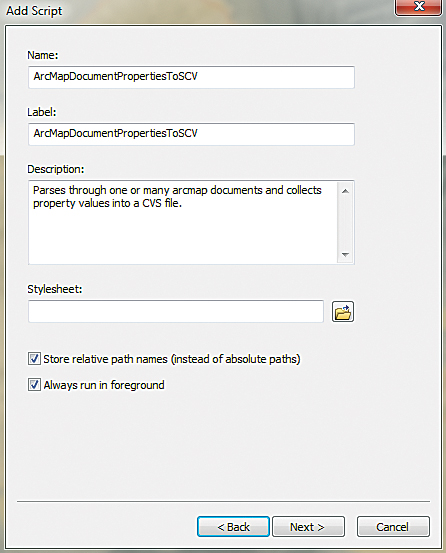
Right-click New toolbox and choose Add > Script. In the Add Script dialog box, enter name (ArcMapDocumentPropertiesToCSV), label (ArcMapDocumentPropertiesToCSV), and description (Parses through one or many ArcMap documents and collects property values into a CSV file) for the script. Check the box next to Enable the Store relative path names to eliminate the need to update the toolbox on the script’s source path. Click Next.
Use the Browse button to select the script file. Leave Show command window when executing script box unchecked because the script itself includes the ability to display messages in the Geoprocessing window. Check Run Python script in process to allow it to run faster.
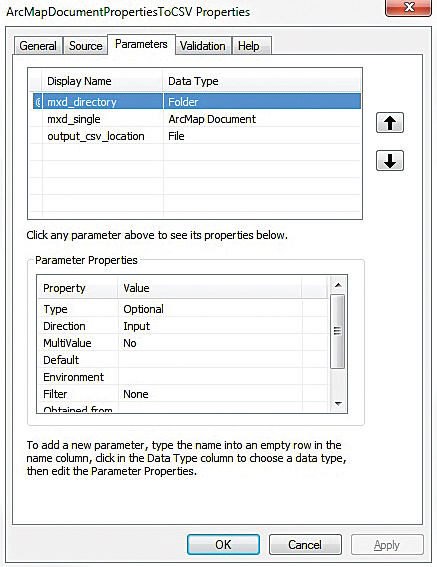
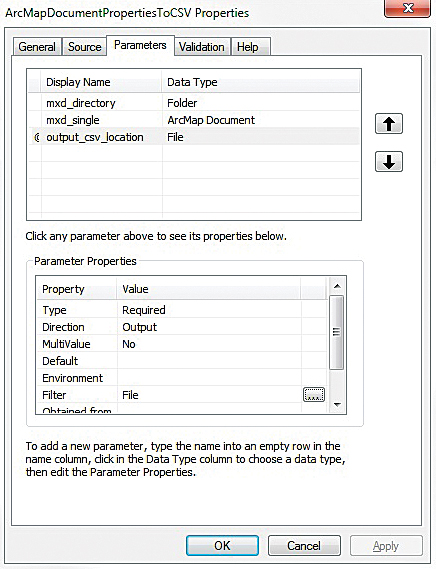
In the next pane, add the user input variables.
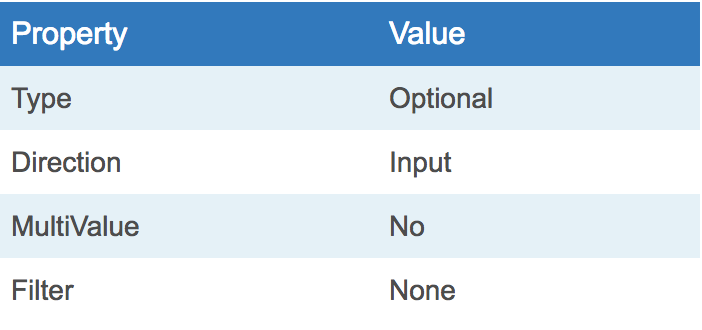
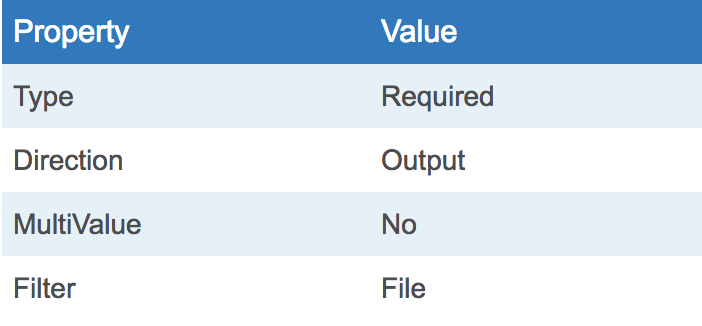
In the upper grid, fill in the values in Table 1.

Running the Tool
Double-click the script tool to invoke it. In the dialog box, click the first Browse button to select a folder directory (mxd_directory) or the second Browse button to select a single ArcMap document.
If parameters are entered for both, the single ArcMap document will be parsed and not the ArcMap documents in the folder directory specified. If no input is given, then an error will occur. Select an output file and directory. It is best to use the wizard for each user input variable.
This script can be expanded to include reading other properties for the MXD and its layers. It can also be used to set the values for certain properties. For example, dates, URLs, and organization names could be updated.
Summary and Conclusion
Python’s csv module and ArcPy have made it an easier task to gather information about ArcMap documents and the layers they contain and summarize that information in a format that can be viewed as a standard spreadsheet. Authoring the Python script so it can be used as a script in an Esri toolbox means processing can be used repeatedly by others who may not know how to code in Python or ArcPy.
For more information, contact Colin Lindeman.
About the author