The USGS Historical Topographic Map Explorer is a web application you can use to explore a trove of maps that date to the late 1800s. It was released by the US Geological Survey (USGS) and Esri recently updated it, giving you the ability to save these historical maps to an ArcGIS Online web map.
This means that the maps you find useful in the USGS Historical Topographic Map Explorer can now be viewed online, shared with others, and used in ArcGIS Desktop applications such as ArcGIS Pro or ArcMap.
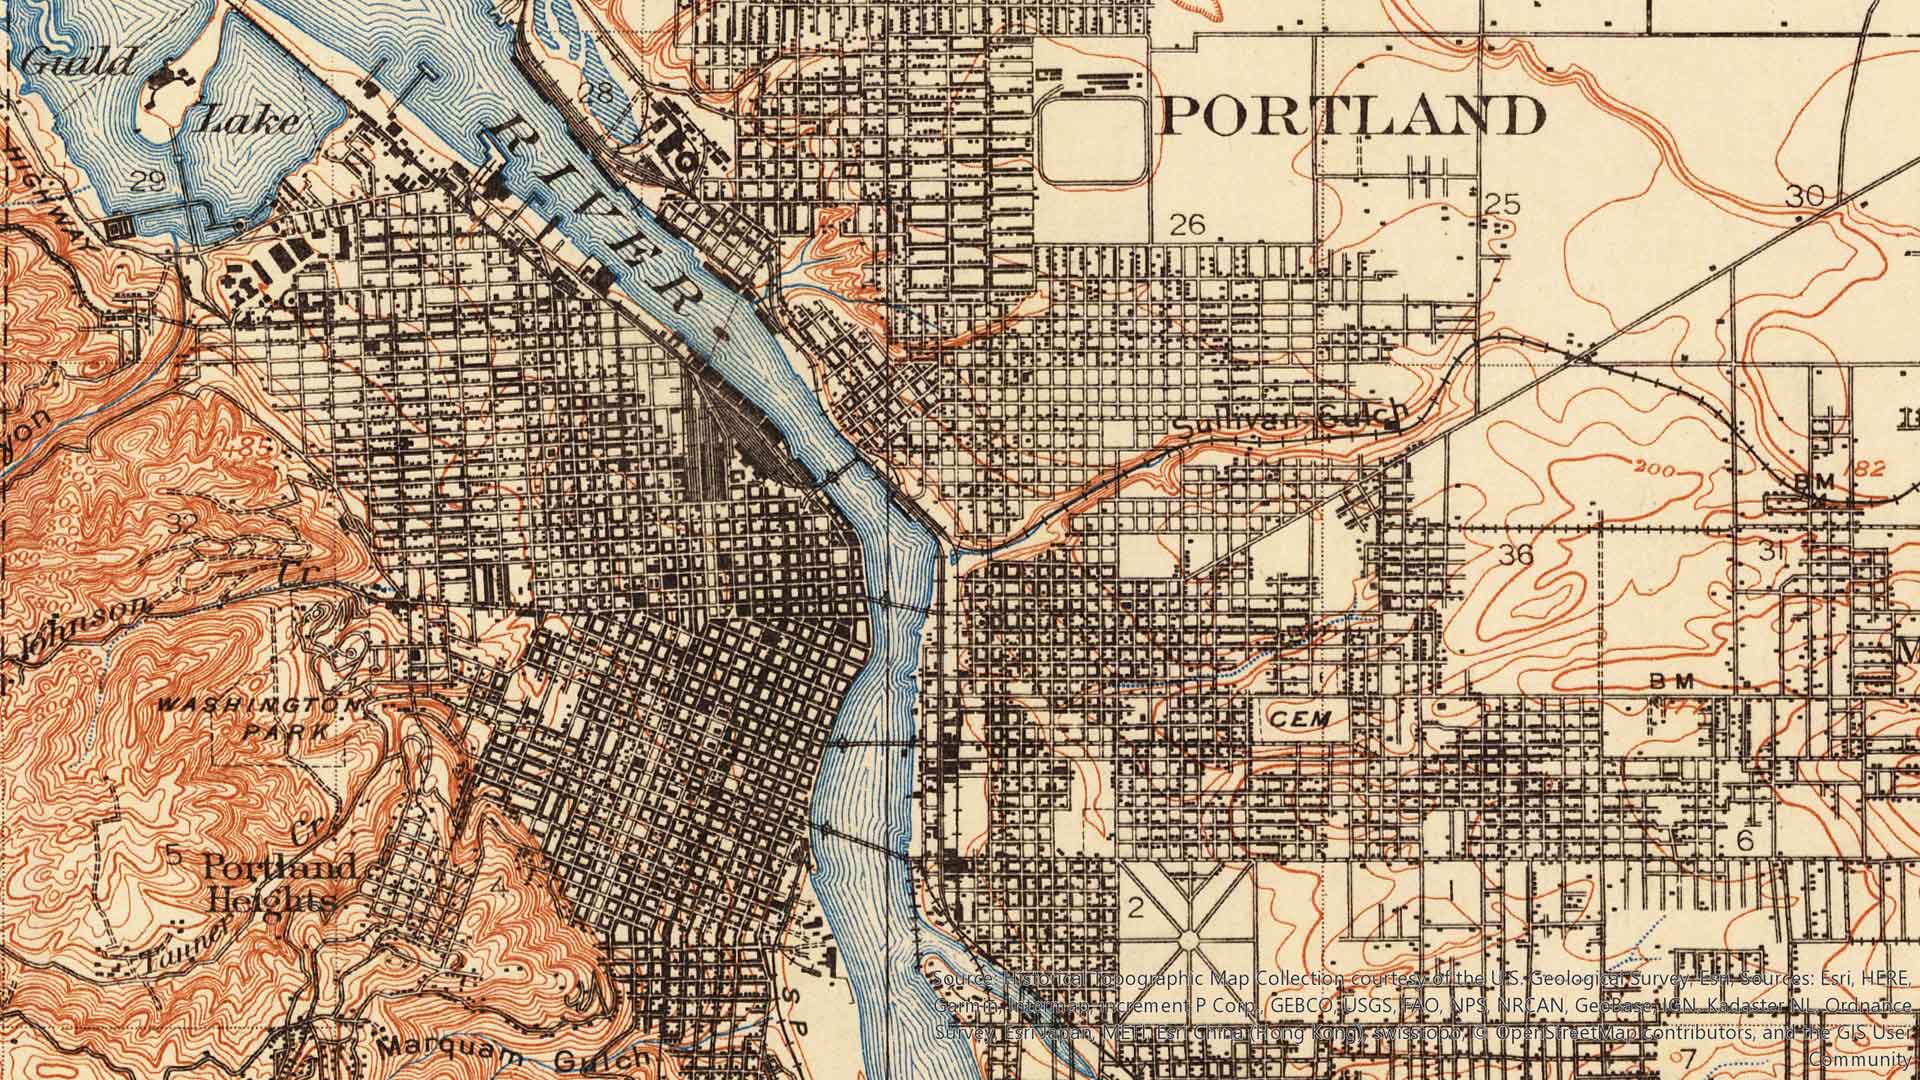
Historical maps play a number of important roles—they provide a record of past landscapes, record changes through time, and offer insights into geographic knowledge or perceptions from different periods of time. They are used in land resource management to study and monitor urbanization, forest perimeters, wetlands preservation, glacial extents, and political boundaries. Many of us also admire the maps’ stark beauty and lose ourselves in them in the course of armchair exploration.
A previously published ArcWatch tip will guide you through the basics of using the USGS Historical Topographic Map Explorer which organizes the maps by space, time, and map scale.
This tip shows you how to use the maps of interest in that application, save them to an ArcGIS Online web map, and explore the web map and share it with others.
Step One—Find the maps of interest.
- Open USGS Historical Topographic Map Explorer. You can find it on the ArcGIS Living Atlas of the World website’s Apps tab, or you can search for it in ArcGIS Online.
- Type “Portland, OR” in the search box.

Once you start typing, you can simply click the location when it appears in the suggested locations drop-down menu.
3. Zoom in a bit and click on Portland in the map view to see all the topographic maps for that area that are in the collection. Click the map to see the historical maps for this location.
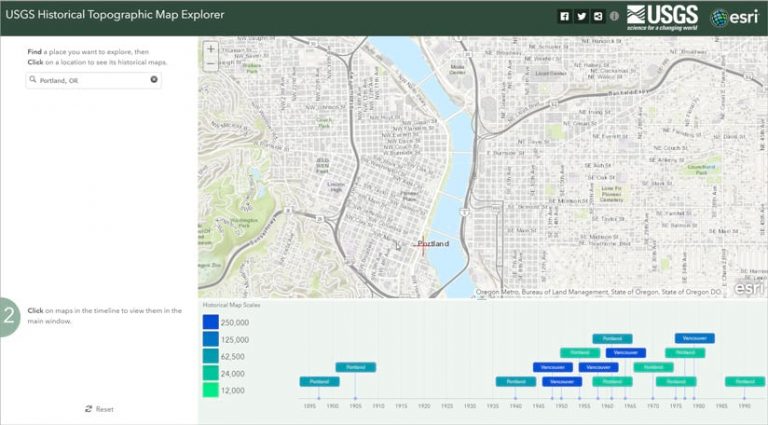
The maps are shown in the timeline under the map view. The historical map scales are at the left, the dates are at the bottom, and the map names are in the colored boxes. Pointing at a colored box reveals the map’s metadata. Use the mouse wheel to zoom in and out on the timeline.
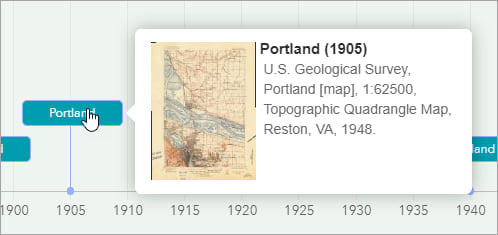
4. Add the following maps to the view by clicking on each one in the timeline: Portland (1905) at 1:62,500 scale, Portland (1940) at 1:24,000 scale, Portland (1970) at 1:24,000 scale, and Portland (1977) at 1:24,000 scale.

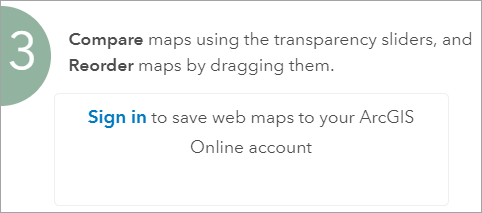
You can change the transparency of the maps by using the sliders next to the images in the left pane. To remove a map from your selection, click the X to the left of the image. You can also download georeferenced TIFF images—click download map.
Step Two—Save the historical maps to an ArcGIS Online web map.
Once you found the historical maps you are interested in, you can save them in a web map in ArcGIS Online. All the maps in the left pane of USGS Historical Topographic Map Explorer will appear in the web map.
- Click Sign in.
2. Provide your credentials and click SIGN IN to sign in to your ArcGIS Online account.

3. Click Save.

You may be prompted to sign in again to ArcGIS Online if you were not signed previously. This is a security measure in ArcGIS Online.
The web map is created for you and added to your contents. It will automatically open in ArcGIS Online Map Viewer. Each of the historical topographic maps that were selected in USGS Historical Topographic Map Explorer will appear as a layer in the web map and be listed in the Contents pane, with the earliest map at the top and the latest at the bottom. The web map’s title will be the same as the name of the map layer at the top.
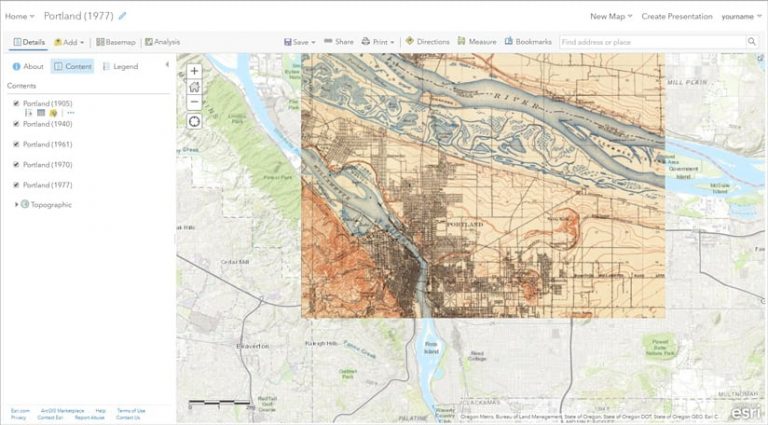
Step Three—Explore the web map.
Next, explore the web map to see changes in Portland over time. The easiest way to do this is to turn the viewing for maps on and off to see underlying maps. For example, if you turn off viewing of the Portland (1905) map, you will see where bridges were added in the intervening years over Portland’s river, the Willamette.
You can also use transparency to compare maps—this method is outlined below.
- In the Contents pane, click the ellipses under Portland (1905) and click Transparency.
2. Use the Transparency slider to adjust the view so that you can see the two bridges that were built after 1905, identified by arrows in the figure below.
3. Continue to explore the changes in Portland over time by turning maps on and off or using transparency. If you wish, change the order of the maps by dragging them up or down in the Contents pane.
Step Four—Share the web map.
Web maps created from USGS Historical Topographic Map Explorer are automatically saved as items in your ArcGIS Online account, so you can save them if you make changes, and then and share them with others. You can also use them in web apps and open them in ArcGIS Pro or ArcMap applications.
- If you made any changes to the map, click the Save button.
2. If you want your map to be accessible to the general public (and you are allowed to share outside your organization), you will need to share it with everyone. To do this, click the Share button and check the box next to Everyone (public). You can also use the share option on the My Content tab of the content page.
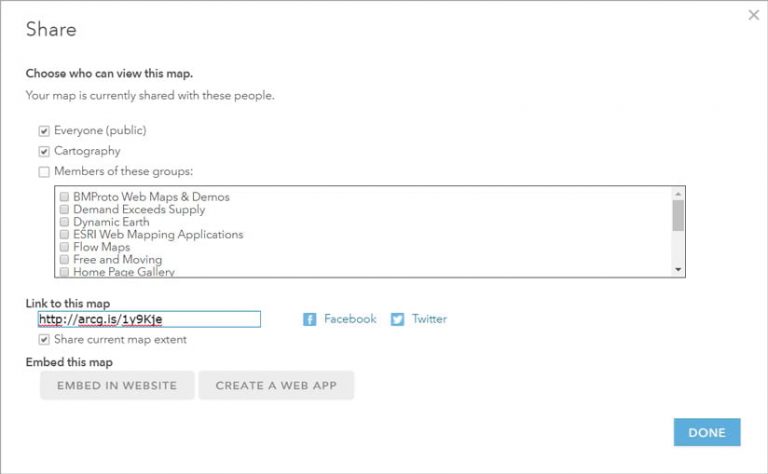
3. You can also share the link to the map or embed the map in a web app.
Each year millions of people explore our nation’s history using USGS Historical Topographic Map Explorer. Join them and explore other locations and time periods that interest you. Compare, for example, Las Vegas, Nevada, as it was in the late 1950s to Las Vegas circa the mid-1980s, or the Brooklyn, New York, of the late 1800s to the Brooklyn of the late 1970s. And use the maps in ArcGIS Online and ArcGIS Desktop to create data or enable analysis. It’s easier than ever to unlock the past using historic topographic maps from the USGS.
