You are an urban planner in Portland, Oregon, tasked with presenting an urban tree management plan. You want to make an interactive presentation for the city council to persuade members to approve locations for new street streets.
ArcGIS StoryMaps allows you to share your maps and scenes and create a presentation that informs and inspires using text, photos, and videos.
As you work through the steps in this tutorial, you’ll learn the following skills:
- Create and configure the story theme and design
- Add narrative text and images
- Publish and share the story
Requirements
- ArcGIS account (see options for software access)
Note:
This tutorial was developed for an ArcGIS public account experience. An ArcGIS public account is a free, limited-functionality account designed for personal, noncommercial use.
Make and Configure the Story
Start by opening an existing web map to include in your presentation.
1. Open the Tree planting opportunities in Portland web map. The item details page for the layer appears. Here, you can explore information about the map and its contents.
Choose Open in Map Viewer on the right-hand side.
The layer opens in Map Viewer.

Note: If you are interested in creating the tree planting map, you can complete the tutorial here: Make a map.
2. If necessary, sign in to your ArcGIS account.
3. In the Contents (dark) toolbar on the left, click Create app. Choose ArcGIS StoryMaps.

ArcGIS StoryMaps launches the story builder. A story is a single web page that contains your maps, text, and other media that comprise your narrative or presentation.
Next, set up your presentation by entering a title, choosing design settings, and adding an introductory paragraph of text.
4. For Story title, type Climate Resilience: Street Trees.
5. For the short introduction, type Visualizing areas in the city of Portland that would benefit from additional trees.

Next, add a background to the story cover.
6. Download Story_Images.zip.
7. Extract the .zip file to a location on your computer.
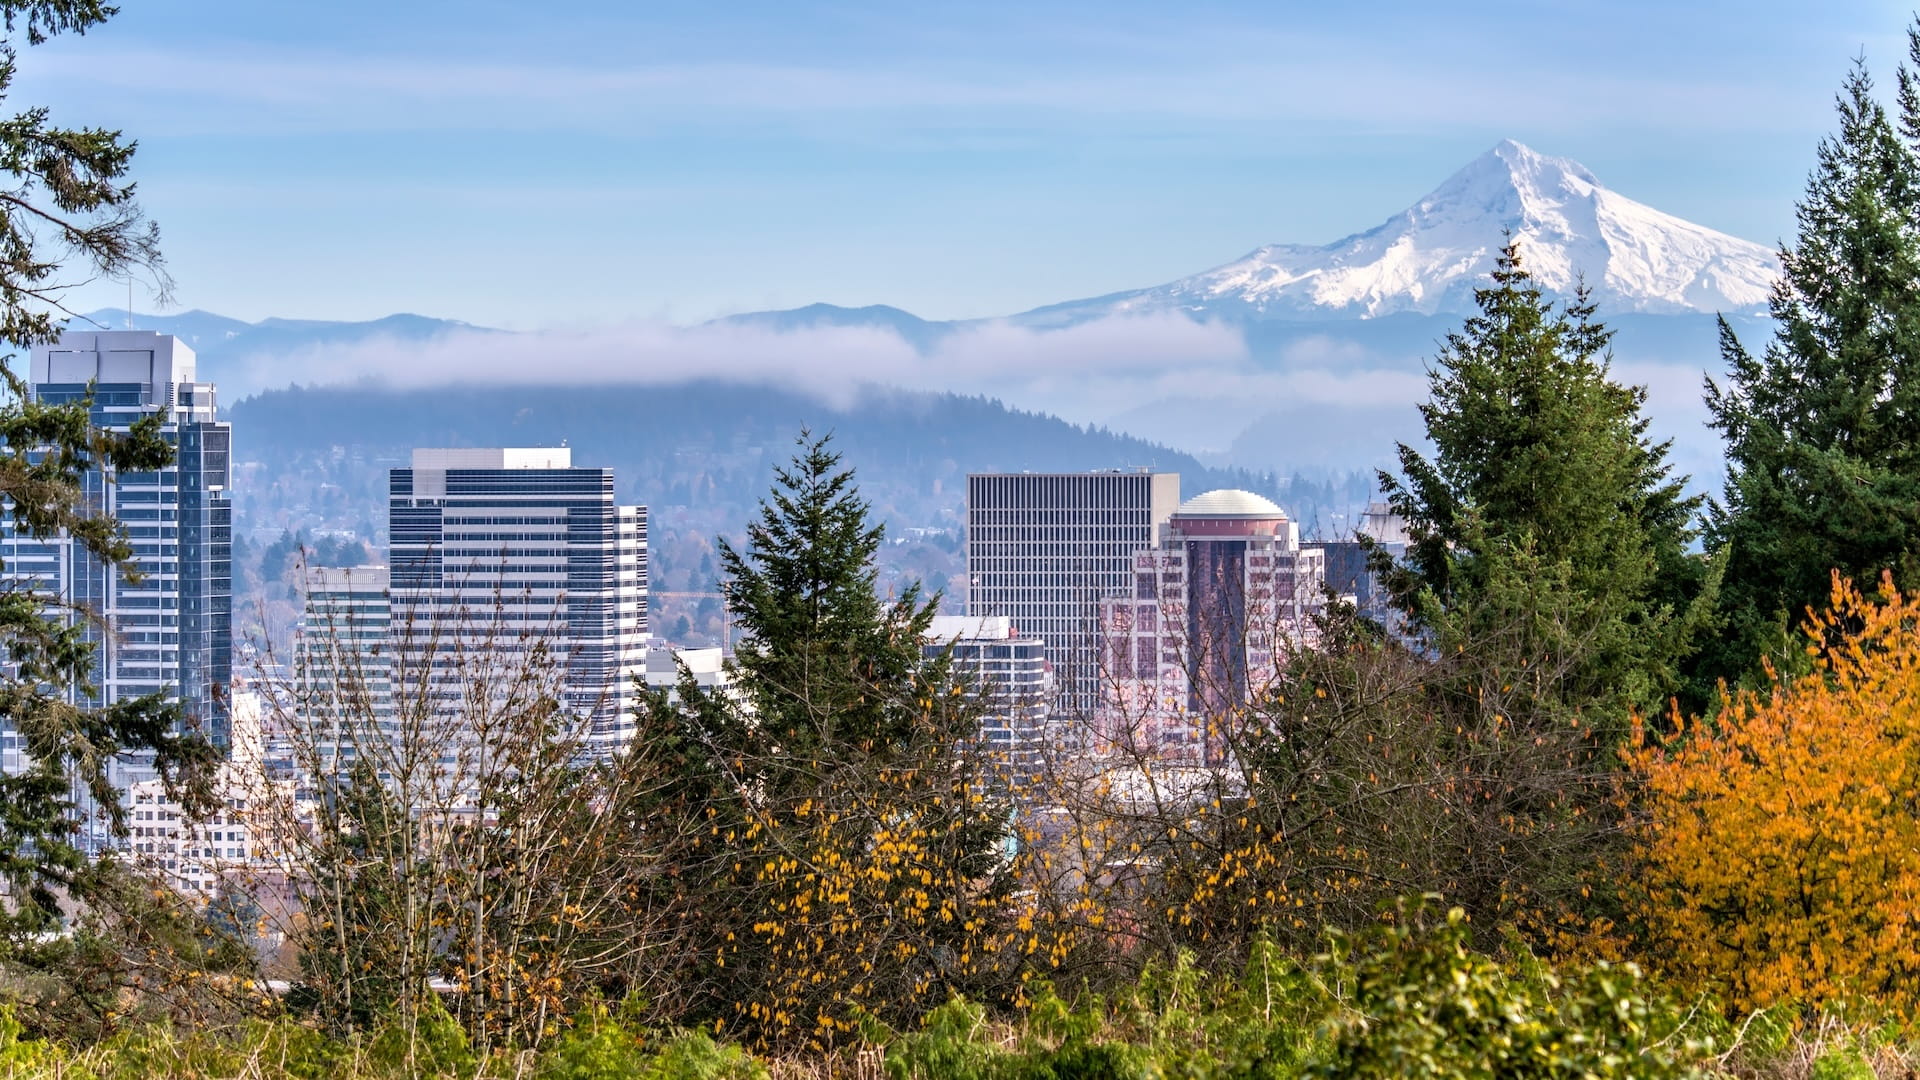
This file contains two images. Image_1 is for the cover. Image_2 will be used later in the story.
8. Click Add cover image or video.

9. In the Add an image or video window, click Browse your files. Browse to the unzipped Story_Images folder and choose Image_1.

10. Click Add.
The image is added to your story cover.
Next, configure the cover design and the story theme.
11. On the ribbon, click Design.

12. In the Design pane, choose Full for the Cover. You can hover over each cover to see the options.

13. For the Theme, choose Ridgeline.

14. Close the Design pane with the X in the upper-right corner.
The story’s title, cover design, and theme are now set.
Add Text and Images
Now, create a header and add your first paragraph of narrative text. This introduces viewers to what they will learn in the story.
1. Point to the space between the cover image and the map and click the Add content block button.

2. Under Basic, click Text.

3. Type The benefits of urban canopy and press Enter to start a new line of text.
4. For the next line of text, copy and paste the following:
Street trees are an effective strategy to increase tree canopy coverage across a city and mitigate the impacts of increasingly high temperatures. Trees provide shade, lower surface and air temperatures, and reduce the risk of heat-related illnesses.
5. Highlight the text The benefits of urban canopy. On the toolbar that appears, click Paragraph and choose Heading 1 so the text is styled as a heading.

The text is now set to the Heading 1 style.

6. Point to the space below the paragraph of text and click the Add content block button.
7. Under Media, choose Image.
Note: There are many other types of media you can add to a story. Some media types are not available in a public account. An organizational account provides access to more features in ArcGIS StoryMaps.

8. In the Add an image window, click Browse your files. Browse to the unzipped Story_Images folder and choose the Image_2 image.
9. Click Add. The image is added to the story.
10. Below the image, add another Text content block and copy and paste the following text:
Trees also clean the air by capturing particulate matter on their leaves and bark, and by absorbing pollutants such as nitrogen oxides, ammonia, sulfur dioxide, and ozone. They reduce and slow stormwater by intercepting precipitation in their leaves and branches. They add beauty to their surroundings by injecting color and softening the harsh lines of city buildings. Finally, planting and maintaining trees requires workers, which provides jobs that contribute to the economy.
11. Next, insert an inspirational quote. Add a Text content block below the last paragraph and copy and paste the following text:
“The best time to plant a tree is 20 years ago. The second-best time is now.” —Chinese proverb
12. Highlight this text, then in the toolbar, click Paragraph and choose Quote. The text style changes to highlight the quote text.

13. Next, you will add a separator to indicate this section of the story has concluded. Point below the quote text and click the Add content block button. Choose Separator.

A line gets added to the story.

You have put text, images, and a quote in your story. Next, configure what information you want the map to show for your presentation.
Configure the Map
The map you added to the story contains a lot of information. For the flow of your presentation, you only want it to show an overview of the existing trees in Portland. But first, add a new header and sentence to introduce the map.
1. Below the separator, use the plus button to add Text and type Existing trees in Portland. Set the text to the Heading 1 style.
You have a second heading in your story.

2. Add another Text block below the heading to introduce your map. Copy and paste this text:
There are millions of trees in Portland. Below is a map showing trees in the two census tracts with the highest scores for heat wave risk.
Next, configure the map.
3. Point to the top of the map and a white toolbar appears. Click the pencil button for Edit.

4. Under Layers, click the visibility button (the eye icon) for the Recommended tree planting areas and the Heat Severity – USA 2023 layers.

5. Click the Options tab (gear icon) and turn on Legend and Keep legend open by toggling each button to the right.

The legend will now remain open and visible on the map in the story.

6. If necessary, adjust the extent of the map so the trees are centered. When you are finished, click Save.

7. At the bottom of the map, click the Add a caption (optional) placeholder text and type Existing trees in census tracts with highest risk scores for heat waves.
Finalize and Publish the Story
To finalize your story, add citations and a navigation bar so viewers can quickly jump to each section in the presentation. Finally, preview the story, publish it, and set the share settings.
1. Scroll to the bottom of the story and click Add a credits heading (optional). Type References.
2. For the first citation, click Content and type Bernstein, A. 2020, Rising temperatures: How to avoid heat-related illnesses and deaths. Harvard Health Blog.
3. Click Attribution and copy and paste https://www.health.harvard.edu/blog/rising-temperatures-how-to-avoid-heat-related-illnesses-and-deaths-2020080517582.
4. Click the add button below the citation.

5. Add the following citations using the same format (content and attribution):
-
- Davies, C. L. 2019. Trees Play A Vital Role In Landscape Design. Texas A&M Today. https://today.tamu.edu/2019/04/25/trees-play-a-vital-role-in-landscape-design/#:~:text=The%20aesthetic%20value%20that%20a,every%20architectural%20or%20landscape%20design
- University of Wisconsin-Madison, 2019, Trees are crucial to the future of our cities. Science Daily. https://www.sciencedaily.com/releases/2019/03/190325173305.htm
- US Dept of Agriculture Forest Service. 1977. How Trees Help Clean The Air. Agriculture Information Bulletin No. 412. https://www.fs.usda.gov/
- US EPA, 2022. What is Green Infrastructure? https://www.epa.gov/green-infrastructure/about-green-infrastructure
You have added five sources you used for your presentation. Next, you will add a navigation bar to the story.
6. On the ribbon, click Design.
7. In the Design pane, under Optional story sections, turn on Navigation by toggling the button to the right.

8. Close the Design pane.
A navigation bar gets added to the top of the story. Each of the links in the navigation bar corresponds to a heading in your presentation.

9. Click one of the heading titles to go to that section of the story.
The story is ready to preview.
10. On the ribbon, click Preview.

11. In the Preview will reset undo history window, click Yes, continue.
12. Review the story. Ensure that the text, map, and citations are correct.
13. When you are finished reviewing, use the X to close the preview.

14. On the ribbon, click Publish.
15. In the Publish options window, for Share, choose Everyone (Public). Then click Publish.
The published version of your story appears. You can now share the link to this page so anyone can view the story.
Note: If the Content sharing screen appears, click Update sharing. This ensures that any maps in your story are also shared with everyone.
In this tutorial, you customized a story using ArcGIS StoryMaps by adding text, images, and maps. You configured a map to specifically communicate your presentation narrative. You included references for this presentation and added a navigation bar so viewers can jump to different sections of the story.
In an ArcGIS organizational account, more options are available, such as customizing your story theme or adding a timeline. You also have additional sharing level options. To gain inspiration, explore the winning stories from the ArcGIS StoryMaps Competition.
Acknowledgments
- Images used were obtained from iStock.
- The National Risk Index Census Tracts are managed by the Federal Emergency Management Agency (FEMA) using data from a close collaboration with various stakeholders and partners in academia; local, state, and federal government; and private industry.
- PortlandTrees.csv contains coordinate information for tree locations in Portland, Oregon, adapted from the Street Trees feature layer by the City of Portland.
- Transportation uses National Geospatial Data Asset (NGDA) data from the US Census Bureau.
- Heat Severity – USA 2023 by The Trust for Public Land.
- OpenStreetMap 3D Trees (Thematic) is a 3D scene layer that presents OpenStreetMap (OSM) trees data, and OpenStreetMap 3D Buildings is a 3D scene layer that presents OpenStreetMap (OSM) buildings data. Both are hosted by Esri. Esri created buildings and trees scene layers from the OSM Daylight map distribution.
- Card image created using an image from Unsplash by Ben Kolde.
Visit the Esri tutorial gallery to explore additional topics and find other step-by-step workflows on a variety of products.