You can add, share, and manage many types of items in ArcGIS Online. While not specifically intended as a warehouse for photos and other kinds of images, you may find that storing these item types in your account is useful. This may be especially true if you want to keep all the resources you use for web map pop-ups or your home page graphics in the same place.
Note: When using a public account, you cannot add images as items. However, you can add locally stored images to Esri Story Maps apps that you author using a public account. These will not appear as items but rather are stored within the story map.
Add Your Photos and Images to My Content
Step 1. Make sure the file is a valid and recognized type.
Ensure the file is one of the following types and uses one of the following extensions: .jpg, .jpeg, .png, .tif, .tiff. See What can you add to ArcGIS Online?
Step 2. Sign in to your ArcGIS account and add the file from your computer.
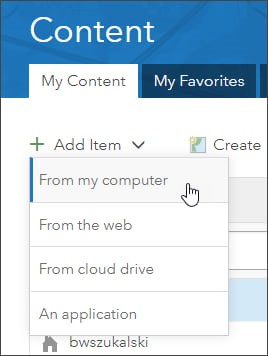
In the Content tab, click My Content, then click Add Item and choose From my computer.
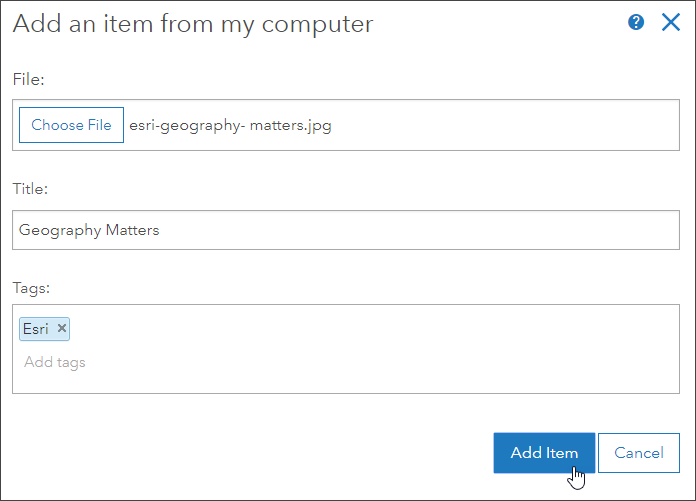
Step 3. Click Choose File to browse for the image file on your computer, add a title and tags, and click Add Item.
Step 4. Fill out the item details.
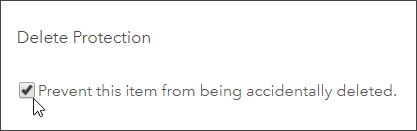
As a best practice, add a summary, item description, and update the thumbnail if needed. You may also want to prevent accidental deletions. Click Settings. You can ensure the image is not inadvertently removed by checking the box for Delete Protection, found in the item page’s Settings tab. Then click Save.
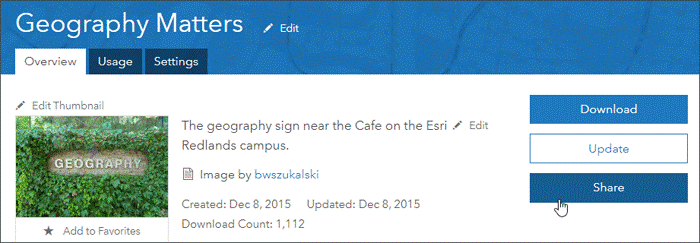
Step 5. Share the item publicly to obtain the URL.
Click Share in the Overview tab:
Then check the Everyone (public) check box:
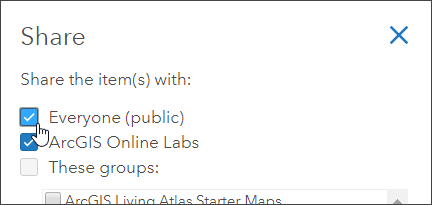
Note that the image file item must be shared publicly to obtain the URL for the image.
Step 6. Copy and paste the public URL to use the image.
Once shared publicly, you will find the public permanent URL of the image in the URL section of the Overview tab, located along the lower right side.
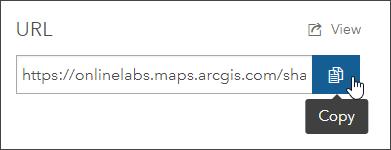
Click the Copy button to copy the public URL to the clipboard. Use this URL anywhere you want to use the image or when sharing with others.
Use the Images
You can use the images anywhere in ArcGIS Online, websites, or blogs by using the public image URL found in the item details (obtained in step 6). For example, you can use the images in web map pop-ups, websites, and apps or as your home page background.
Note that the URL you copy from the item pages should be the one you use and not the URL you see when you open the image. When opened, the ArcGIS URL will redirect to an Amazon URL (where the image is actually stored). The Amazon URL will eventually time out.
The image can also be downloaded from the item pages.
See This Example: The Geography Sign at the Esri Café
Open the item details for this example and look for the URL described in step 6 above.
The URL for the image item is
https://www.arcgis.com/sharing/rest/content/items/889b907b38b94cd7af770c23f3026689/data.
When you add a link to the image in a web page, app, or blog, the URL shown above will redirect quickly to the Amazon URL. Try it below and see what happens for yourself.
You can also download the image by clicking the Download button or the thumbnail.
For more information about adding items to ArcGIS Online, see the following: