
Attachments are files or images that have been added to feature layers in a variety of different ways. Attachments are typically photographs captured using apps such as Collector for ArcGIS, Survey123 for ArcGIS, and ArcGIS QuickCapture. Photos and other documents also can be added using ArcGIS Pro or Map Viewer. Attachments differ from links in that the documents are stored within the feature itself.
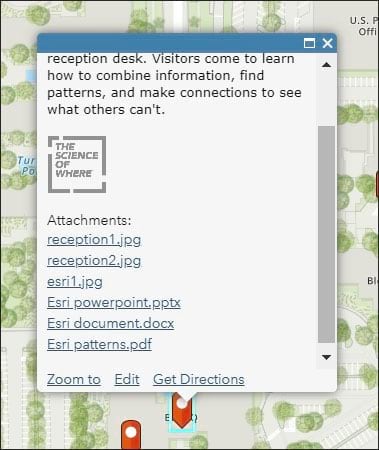
Below you will see an example of a feature that has multiple attachments: three JPG files, a PowerPoint presentation, a Word document, and a PDF file.
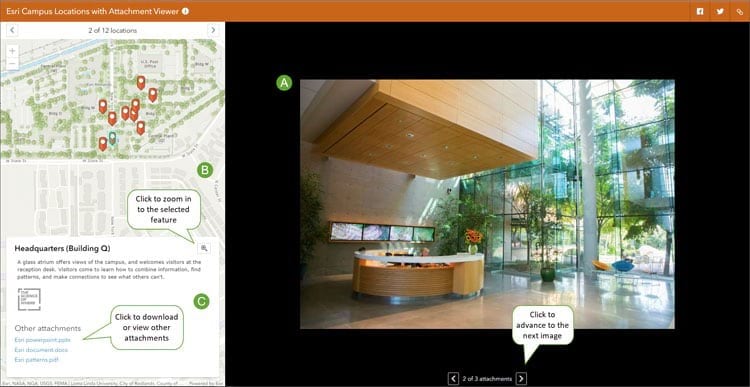
In this tip, you will learn how to use the Attachment Viewer configurable app template currently available in ArcGIS Online and coming soon to ArcGIS Enterprise. Attachment Viewer gives you the ability to view photos and other feature attachments in the feature layer. The app gives you the ability to organize and access non-spatial items like PDFs, photos, and PowerPoint presentations from a feature—be it a point, line, or polygon—that you already have collected using field apps like Collector for ArcGIS. Attachment Viewer has three main sections:
A—Main stage. This is where photos and other images are displayed, along with videos and animated GIF files. Arrows at the bottom of the main stage allow viewers to browse multiple attachments.
B—Map. This is where the map is displayed. Pan and zoom to click on other features to view their attachments.
C—Pop-up information panel. It displays the layer pop-up’s contents, including additional attachments if present.
Configure Attachment Viewer
To see what you can do with the Attachment Viewer, open this sample map and sign in to your ArcGIS Online account.
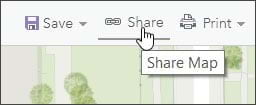
Step 1: Save, share, and click CREATE A WEB APP.


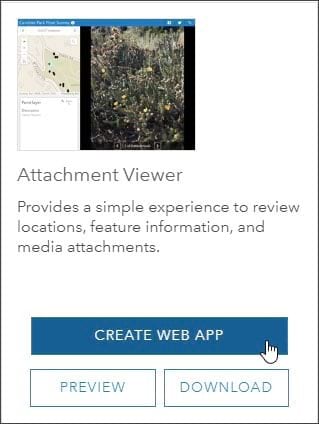
Step 2: Select Attachment Viewer, then click CREATE A WEB APP.
In the Create a New Web App gallery, select Attachment Viewer. Click the Explore/Summarize Data tab to locate it or use Search.

After selecting it, click CREATE WEB APP.
Add a title; tags; and, optionally, a summary. Click Done to open the configuration panel.
Step 3: Configure the app.
The configuration panel provides three tabs used to configure the app: General, Options, and Search.
Make changes to tabs
For the configured Attachment Viewer example app, the following settings were made. Click the tab image at the top of the app to view the entire tab.
General tab

- The title of the application was changed to Esri Campus Locations using Attachment Viewer.
- The onboarding panel was customized. This panel appears when the viewer clicks the (i) button next to the title.
- The onboarding panel button text was changed to Got it!
- The header background color was changed to match the marker symbols.
Options tab

- Map tools were opened at start.
- Zoom controls were checked on.
- Enable social sharing was checked on.
- All other options were checked off.
- Zoom scale was set to Building.
Search tab

Search was checked off.
Make any changes you want in each tab. Click Save to accept changes and preview the app, click Launch to open the configured app in a new browser or tab, and click Close when finished configuring the app.

After configuring the app and making any desired changed, click several locations to view the configured pop-up with attachments,
Share the app
When sharing the app, you can open it to a specific feature and image (if there are multiple image attachments). Simply click a feature and advance to the desired image, and copy the URL shown in your browser. If you enable social sharing in the Options tab, you can also click Send a link, or share to Facebook or Twitter.

For example, this link opens to the second image at the Esri headquarters building.
This link opens to the first image for the home space of the publications team.
For more information, read the following help topics :