Configurable apps in ArcGIS Online are template applications that you can configure easily, with no coding required. They help you publish apps quickly to support a variety of workflows and users. Configurable apps offer the fastest and easiest way to go from a map to a shareable app.
In this tip, you will learn how to create a simple application that features a swipe tool, using Media Map, one of the configurable app templates. You can view the completed app and follow along by using the New York City Yesterday and Today web map.
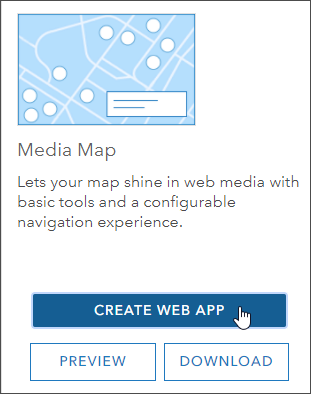
Media Map is intended for anyone who wants to display an interactive map with basic tools and map navigation. It’s a compact, simple, and useful configurable app choice, and its features make it ideal for embedding in web pages or other apps. Media Map is one of the new configurable apps that offers Express Setup and Full Setup modes for easy app configuration.
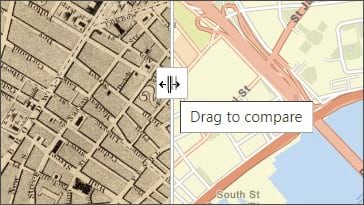
Swipe is a popular tool that lets viewers interact with map layers to see differences or changes or to do visual analysis. Grab the swipe handle and move it back and forth to view what’s underneath a layer or to compare changes in one or more layers. Media Map also supports configuring a swipe tool, but it’s available only when in Full Setup mode. Follow these steps to configure Media Map with a swipe tool.
Create a Media Map Swipe Tool
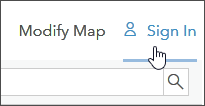
Step 1: Open the New York City Yesterday and Today sample map and sign in to your ArcGIS account. Examine the map to find the historic New York City 1836 layer (from the David Rumsey collection) overlaying the World Streets basemap.
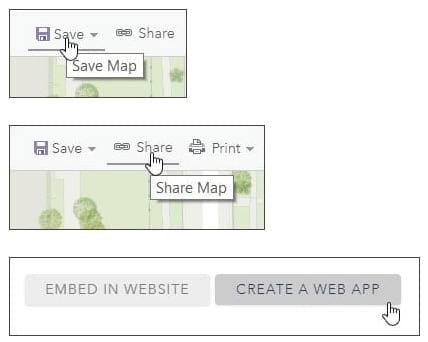
Step 2: Save the map, share it, and click CREATE A WEB APP.
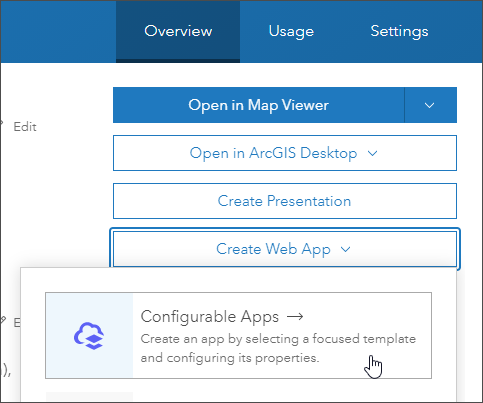
An alternative way to create a web app is to open the map item, sign in, and—on the Overview tab—click Create Web App.
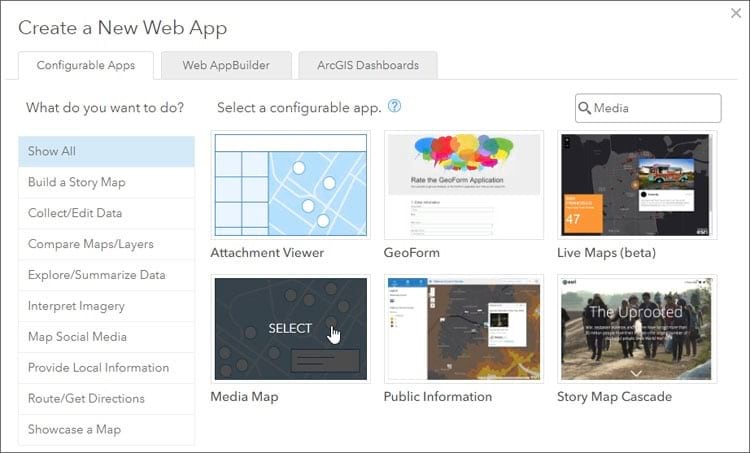
Step 3: Find Media Map on the Configurable Apps tab and select it.
Step 4: Click CREATE WEB APP.
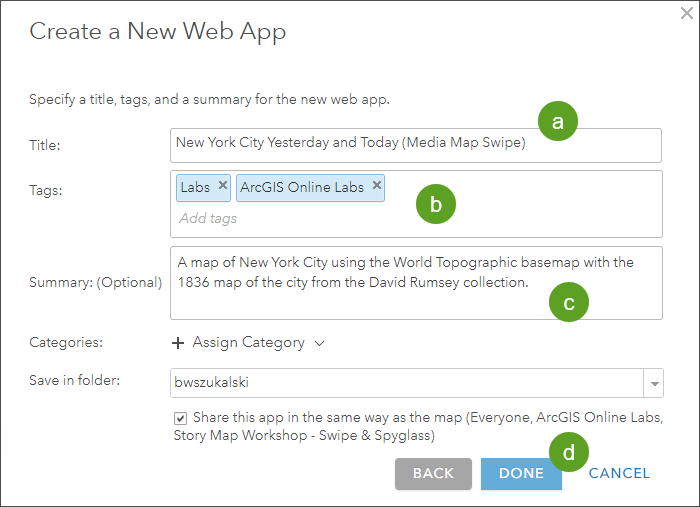
Step 5: Create a new web app by doing the following:
- Type the app title.
- Add tags.
- Type a summary description.
- Click DONE when finished.
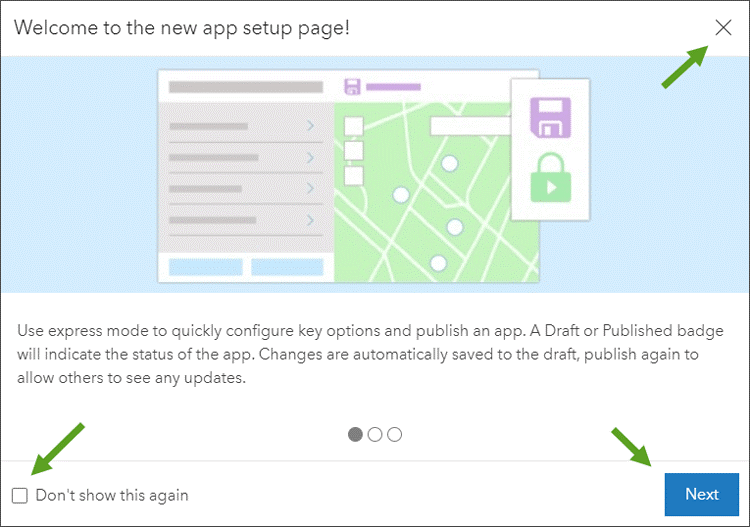
After you click DONE, Media Map may open with several messages. If it does, click Next to go through them or click X in the upper right-hand corner to dismiss them. To prevent seeing the messages in the future, check the box for Don’t show this again.
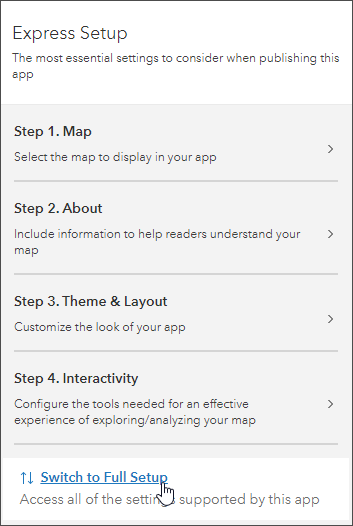
Media Map will open in Express Setup mode. To enable the Swipe tool, switch to Full Setup mode.
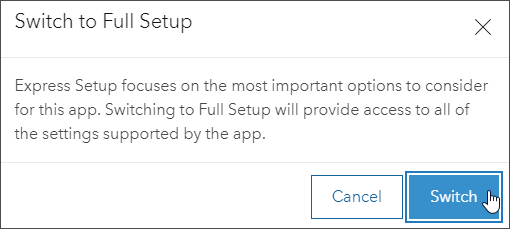
Step 6: Click Switch to Full Setup.
Step 7: Click Switch to acknowledge that you want to enter Full Setup.
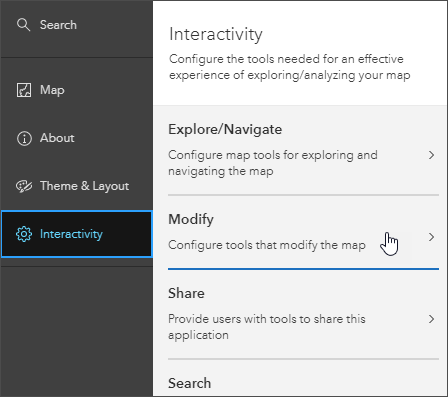
Step 8: Click Interactivity, then click Modify.
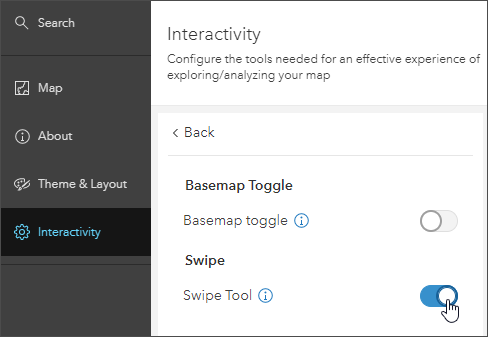
Step 9: Toggle the Swipe tool on. The swipe options will display.
Step 10: Choose the layer you want to swipe. Under Select leading layers, check the box for New York City 1836.
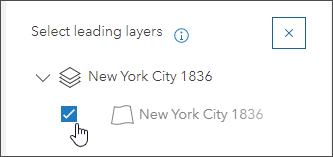
Our sample web map only has one operational layer, so there is no need to select a trailing layer. If your map has multiple operational layers, you can specify both the leading and trailing layers to swipe. Leading layers are layers you remove when you swipe, while the trailing layers are the ones you leave behind. Click the slider if the app does not update to show your changes.
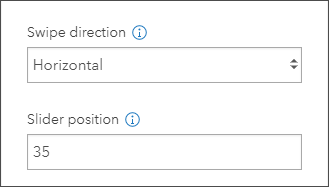
Step 11 (optional): Set the swipe direction and initial slider position. As you make changes, the app will update.
Step 12: When finished, click Publish, then click Confirm to publish the app.
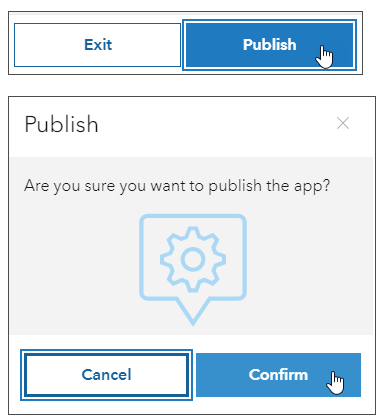
Step 13: After you receive a confirmation message, click Launch to open the app.

Do More with the Swipe Capability
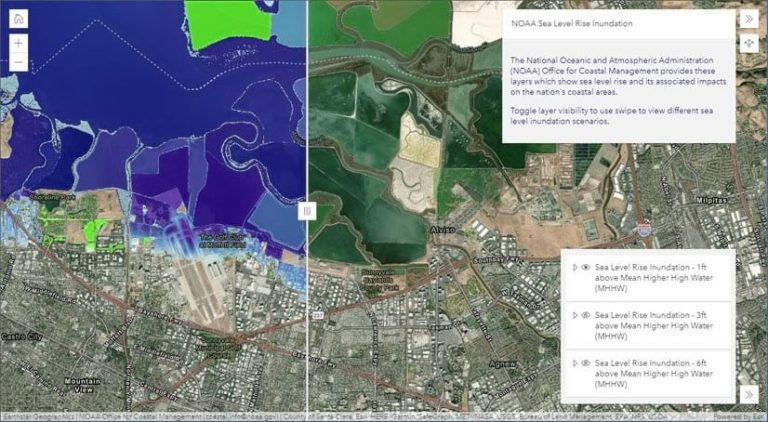
There’s a lot more you can do using Media Map and the swipe capability. The example shown below uses three different swipe layers and includes a layer list to toggle layer visibility, plus an introduction panel and share and home buttons.
For more information, see the following: