Visual cartographic effects can add a new and unique dimension to any map by creating a strong sense of contrast. Giving individual feature layers distinguishing characteristics will not only lend an extra sense of creativity and professionalism to your project, but also show that you’ve gone the extra mile to set your map apart.
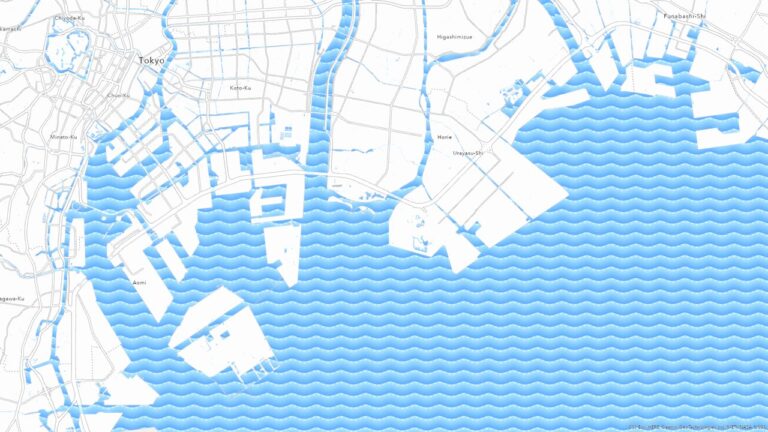
ArcGIS Pro contains plenty of options to spruce up your feature layers and take your map to the next level. In this tip, you’ll learn to create a wave pattern with the hatched fill symbology in ArcGIS Pro that will make your water features stand out from the pack.
Step 1: Open a new map project in ArcGIS Pro, go to the Map tab, and change the basemap to Human Geography Map. This will make it easier to view the water as a separate layer.

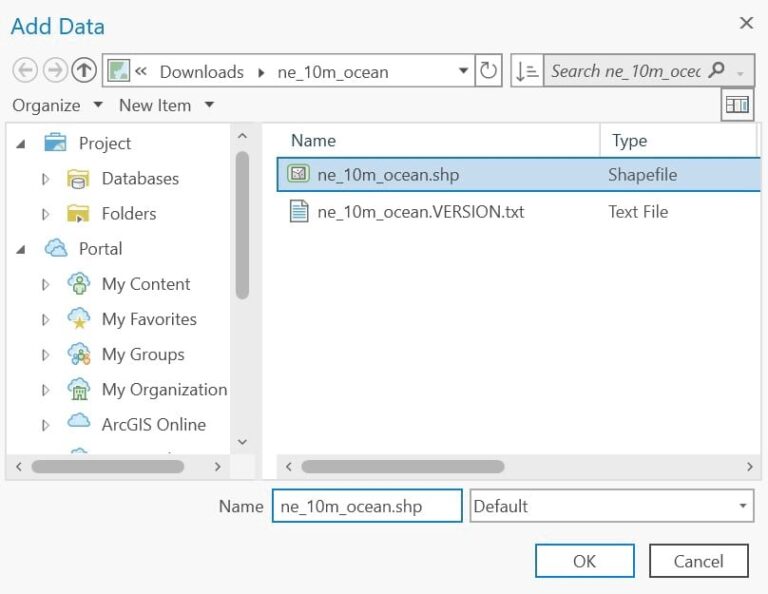
Step 2: Download an ocean feature layer and import the shapefile into your new project by clicking Add Data and then clicking the shapefile. The effect will work with other feature layers as well.
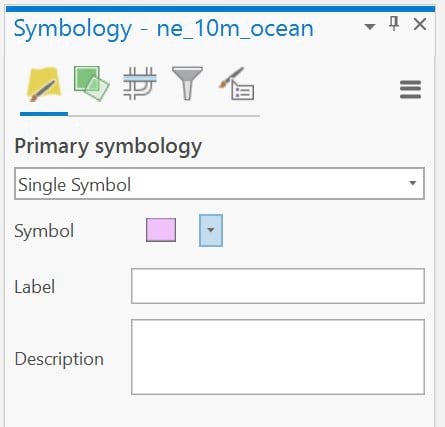
Step 3: On the Symbology panel, click the colored rectangle to format the feature layer. Go to Properties, then go to Layers.
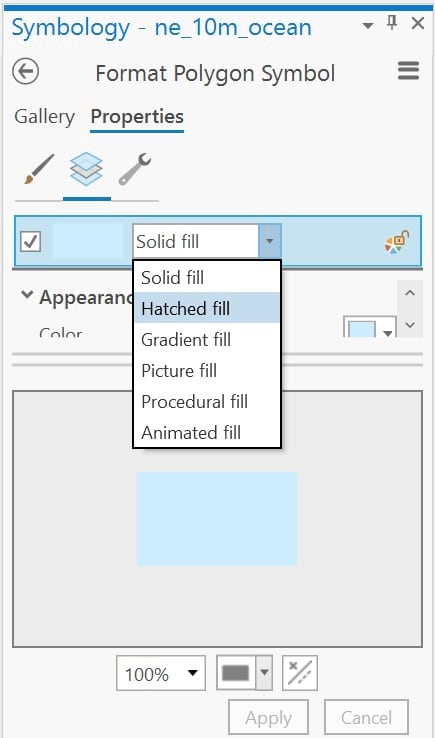
Step 4: Select Hatched fill from the drop-down menu, then click Apply. This gives the layer a striped effect.
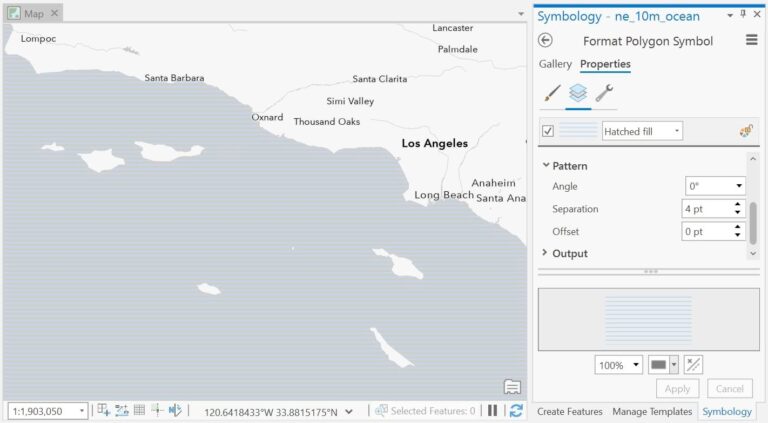
Step 5: Under Pattern, change the angle from 45 degrees, which is diagonal, to 0 degrees, which is fully horizontal. Click Apply.
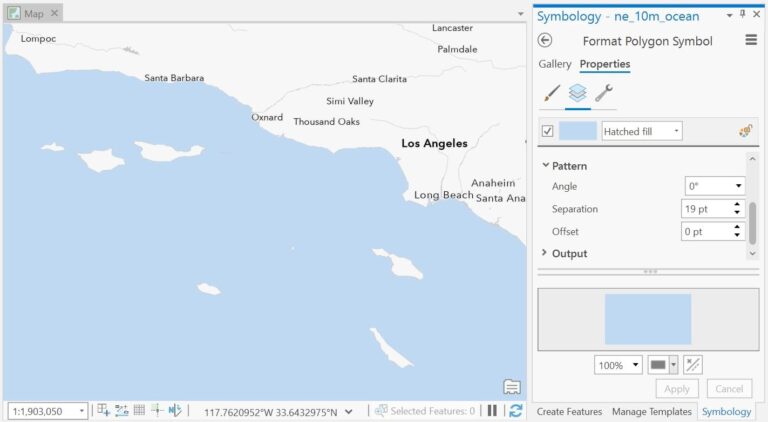
Step 6: Under Appearance, change the line width to 20 points.
Step 7: Under Pattern, adjust the separation distance between the lines. You need to set it to a value equal to or less than the line thickness. If you make it greater than the line thickness, you’ll have gaps. Set the separation distance to 19, 1 point less than your line width. Click Apply. You should no longer be able to see the hatched line.
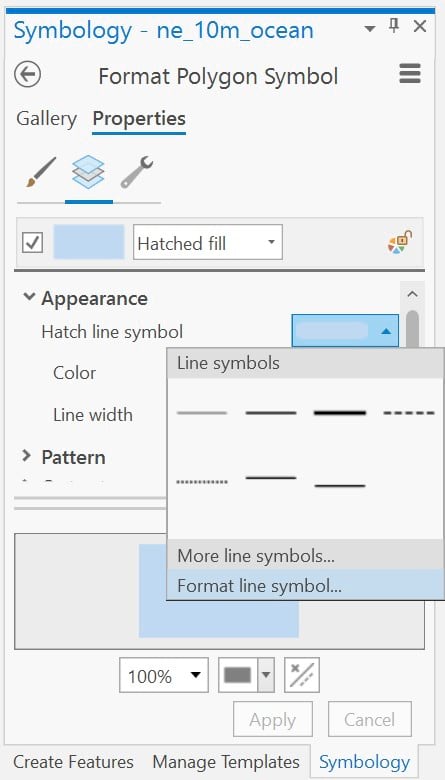
Step 8: Under Appearance, click the drop-down menu beside Hatch line symbol, then select Format line symbol from the bottom of the menu. Here, you can alter the line shape.
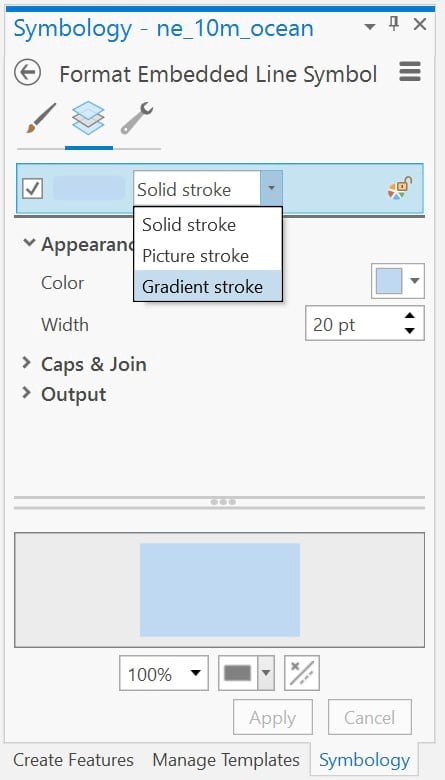
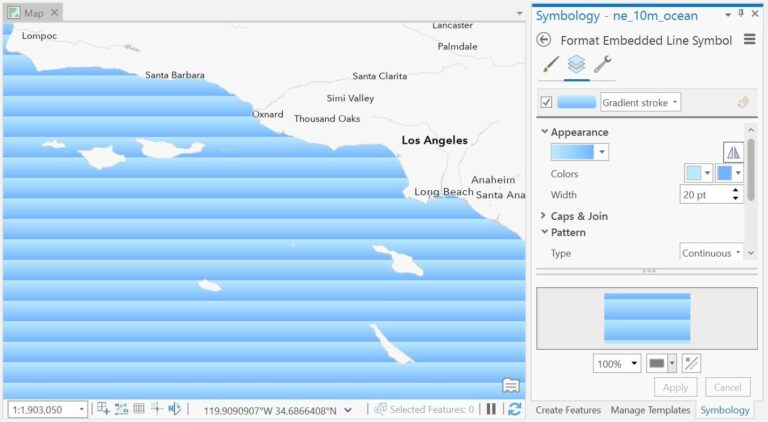
Step 9: Using the drop-down menu under Solid stroke, change the stroke to a gradient.
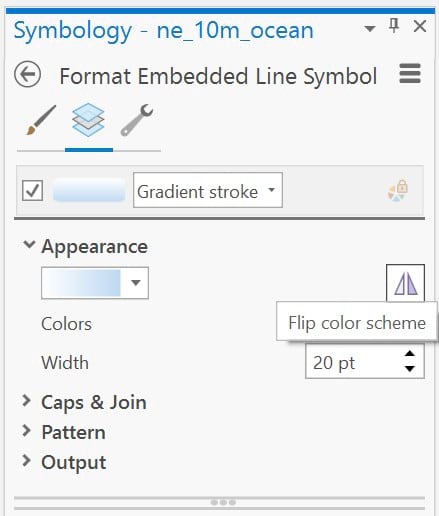
Step 10: For the gradient colors, choose something watery. The color on the bottom should be darker than the color on the top of the gradient. You can select the Flip color scheme icon to switch the position of each color in the gradient. Click Apply.
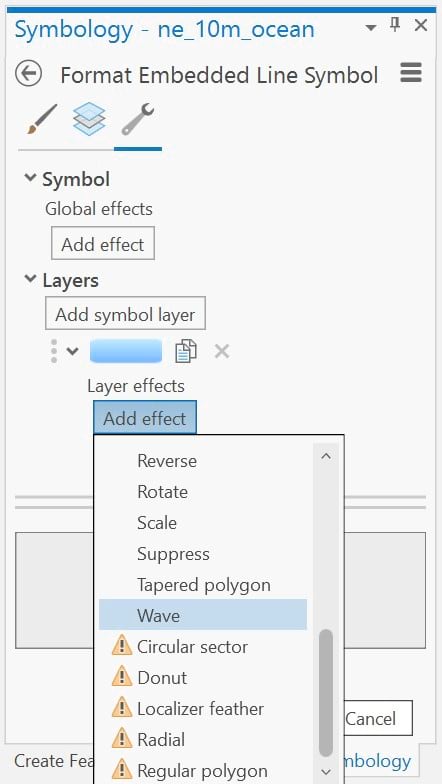
Step 11: Click the wrench icon to go to the Structure tab.

Step 12: Under Layers, click Add effect, then select Wave. Click Apply. The effect is subtle, but you can change the properties of this wave on the Layers tab.
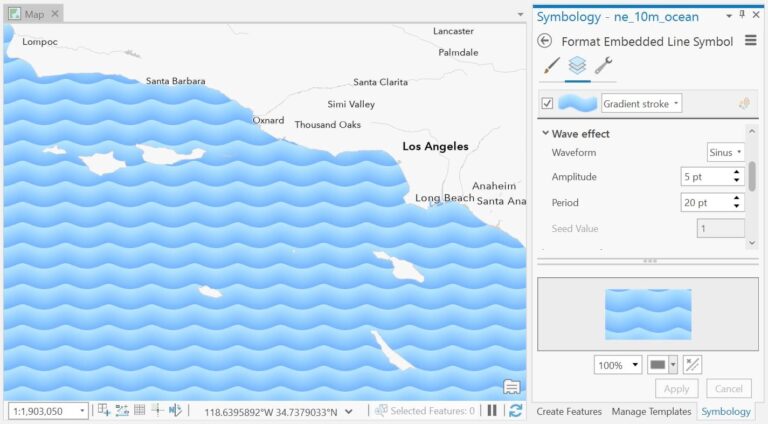
Step 13: Return to the Layers tab.
Step 14: Under Wave effect, adjust the wave’s amplitude and period. For the best effect, set the amplitude to 5 and the period to 20. Click Apply.
Step 15: Save your changes. If you like this effect enough, be sure to save it to a style so you can use it quickly and easily for other feature layers.

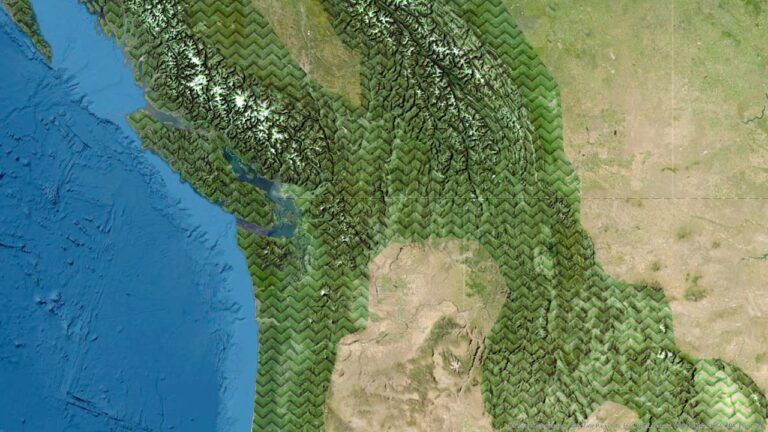
You can continue to play around with your waves by adding a dash effect, offsetting the waves, or giving the texture a blend mode to bake it into any underlying imagery. You can even use the effect on other feature layers to create different visuals, such as mountains.
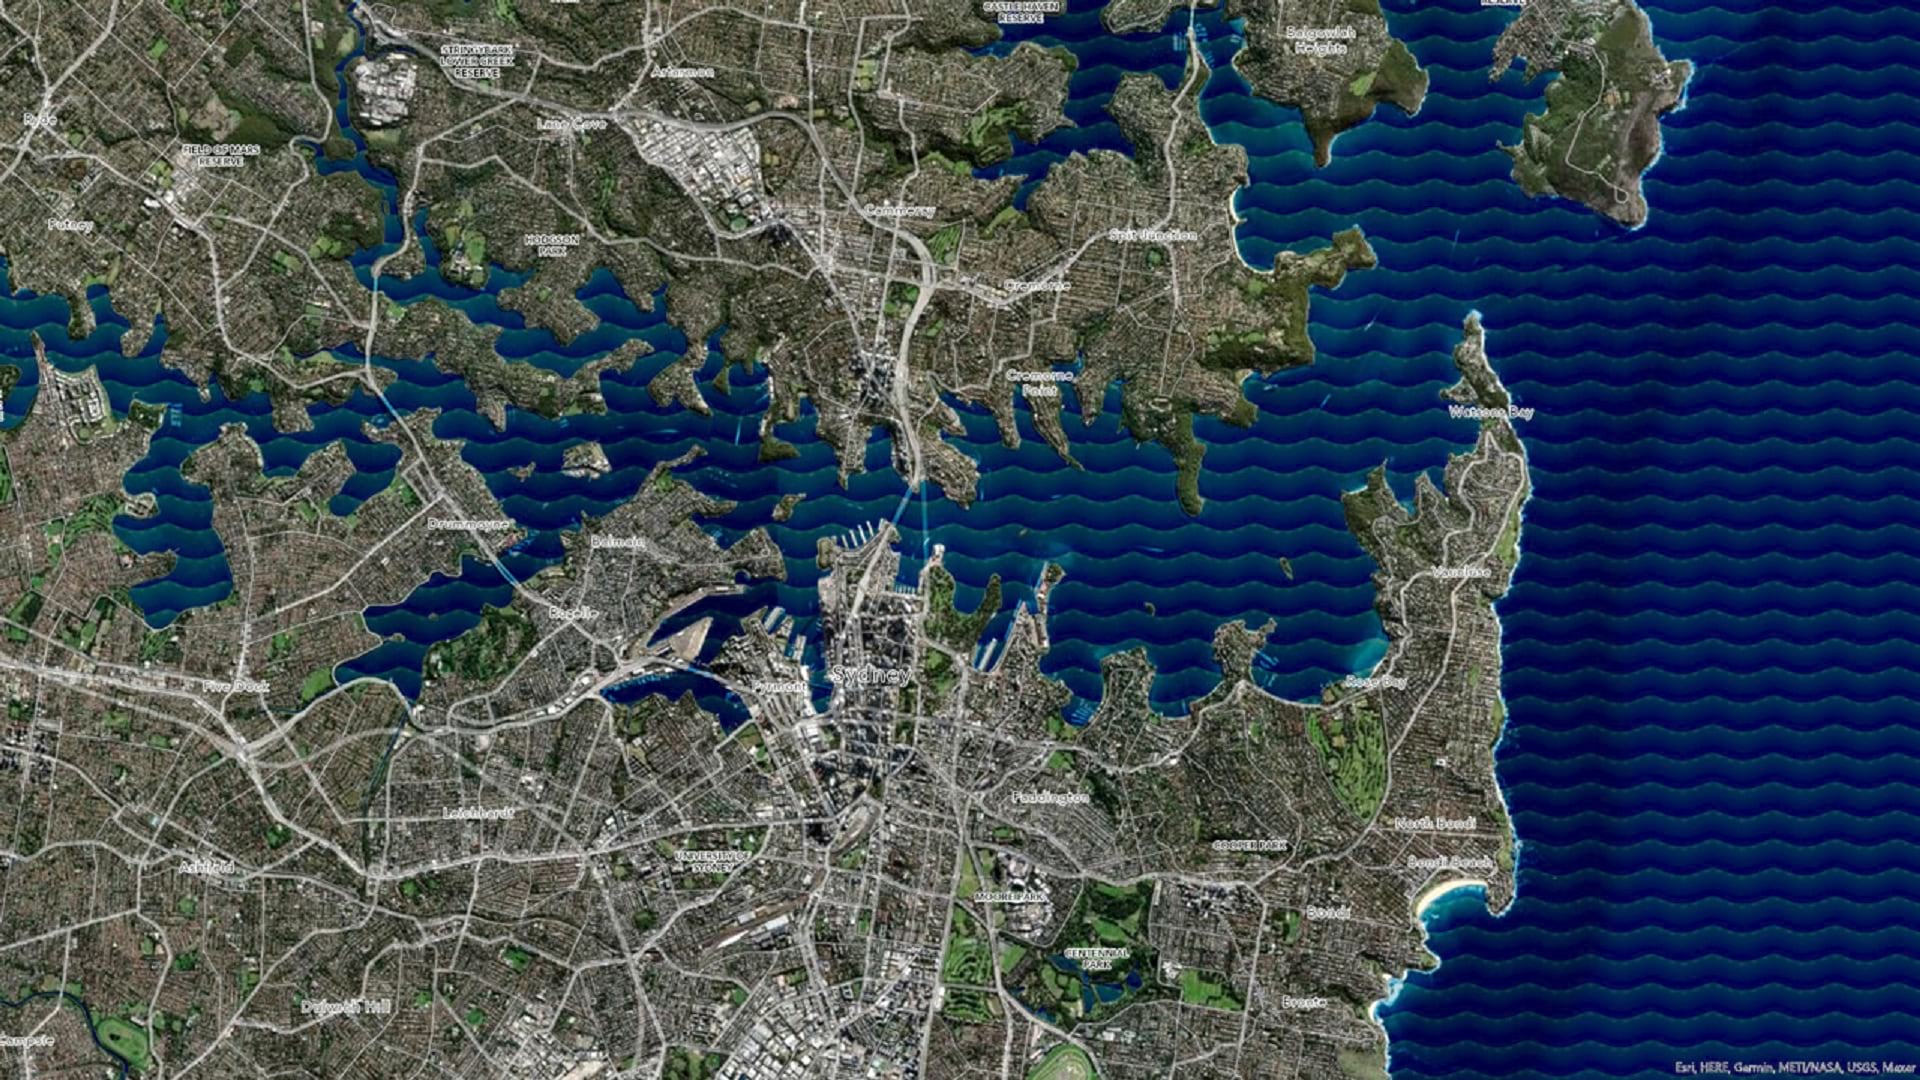
Check out these different ways you can put this effect to use: