New Setting Helps You Manage Label Offsets in ArcGIS Online
When I worked at the National Geographic Society, I saw firsthand just how meticulous the editors could be with label placement on paper maps. If a label was in danger of being unreadable because it would overlap with another label or a feature, or if a label was not quite close enough to the feature it identified, the editor would require adjustments as minute as 2 points (or 0.03 of an inch). To help ArcGIS Online users reposition labels precisely on web maps and avoid issues such as overlapping, Esri introduced an offset option for labels in the new Map Viewer. Using this setting, you can ensure that your labels will be easy to read by preventing them from overlapping, and you can fine-tune label placement relative to the features they identify.
In this tip, you will learn how to turn on labels for a layer and modify the label placement.
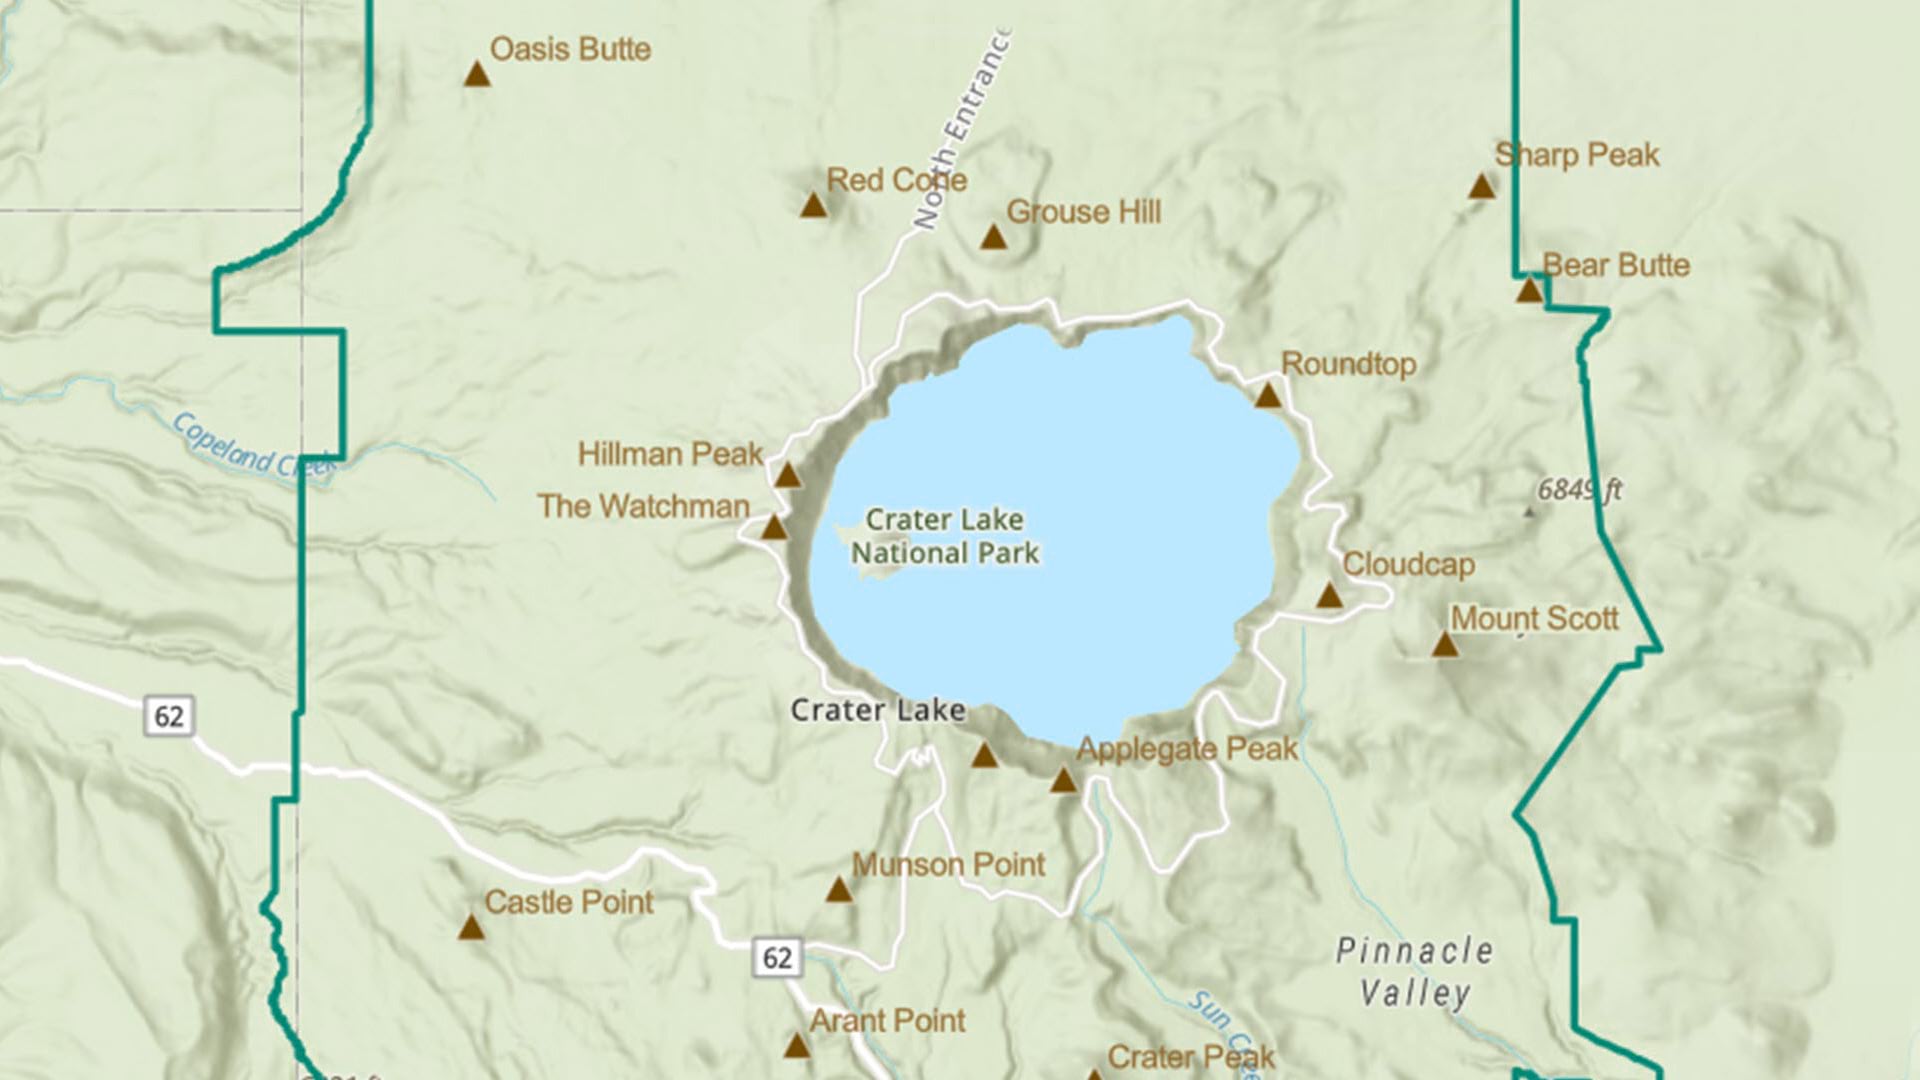
Step 1: Go to the item page for Crater Lake National Park Peaks. This is a web map of the mountain peaks within Crater Lake National Park in Oregon.

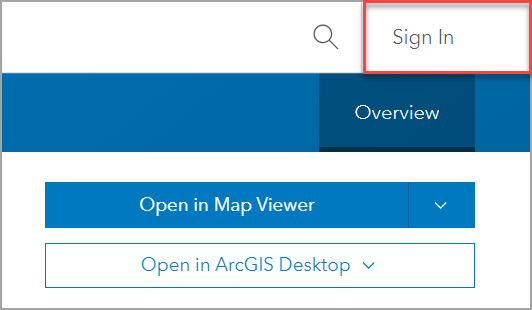
Step 2: Click Sign In at the upper right to sign in to ArcGIS Online.
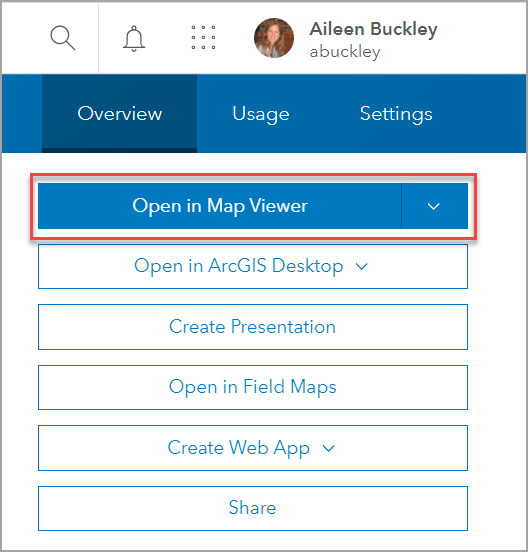
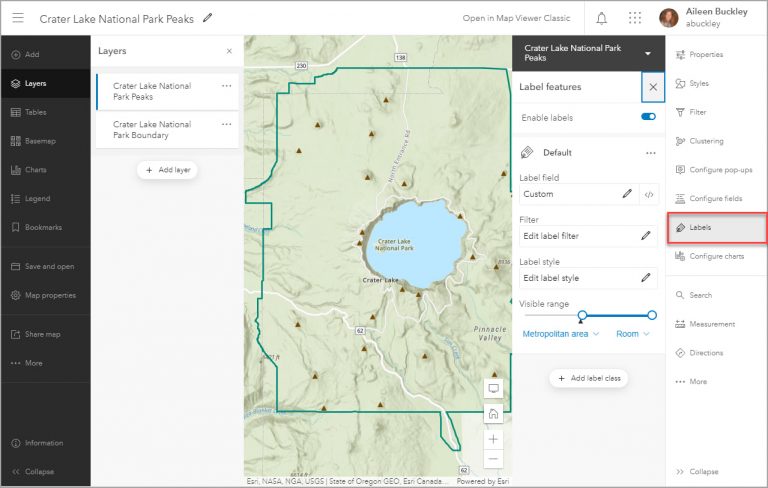
Step 3: Click Open in Map Viewer.
This opens a map with two layers: Crater Lake National Park Boundary and Crater Lake National Park Peaks, which were clipped from the original source, USA Mountain Peaks, in the Esri Data & Maps group in ArcGIS Online.
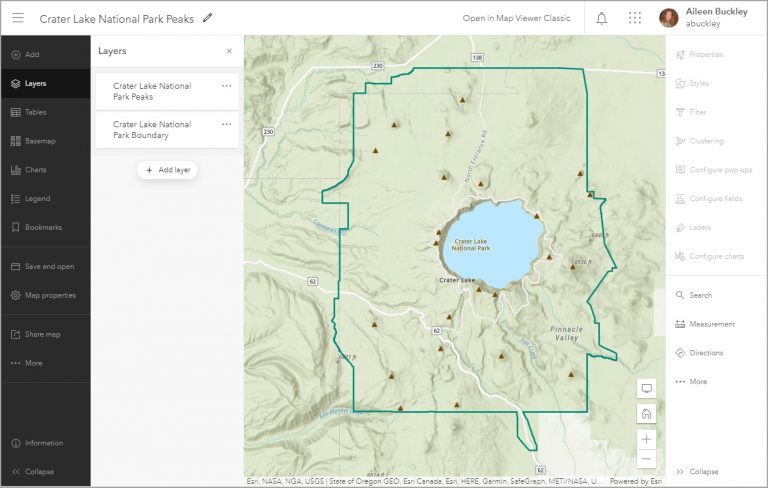
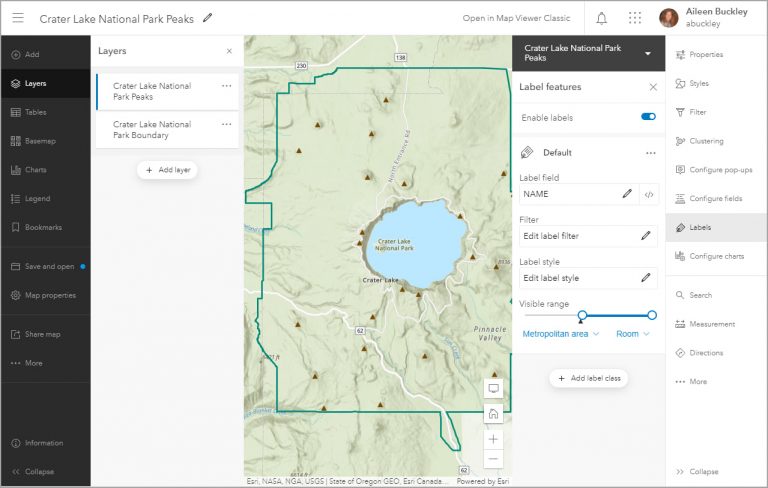
Step 4: On the Contents (dark) toolbar, click Layers if it is not already selected. In the Layers pane, select the layer on which you want to apply labels—Crater Lake National Park Peaks.

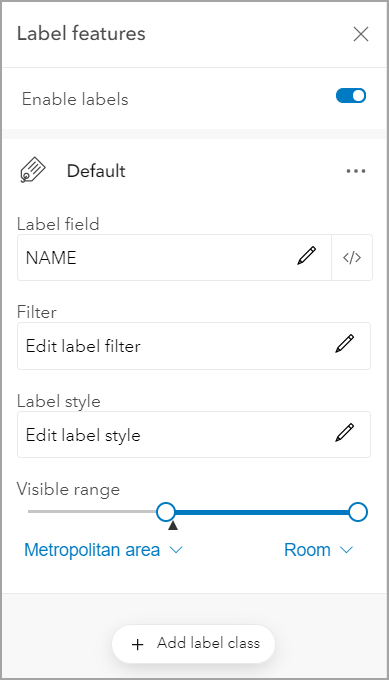
Step 5: On the Settings (light) toolbar, click Labels. The Label features pane will open.
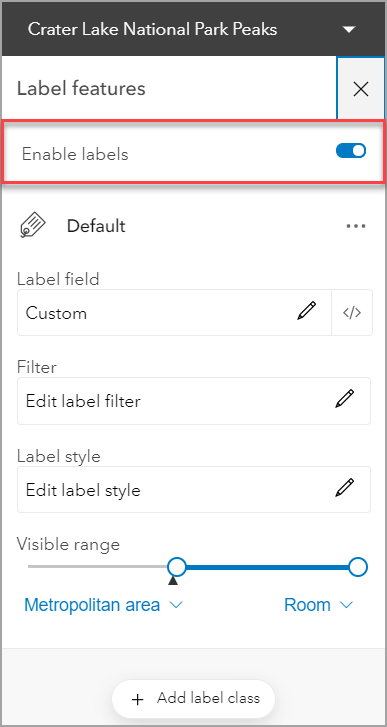
Step 6: In the Label features pane, make sure that Enable labels is toggled on.
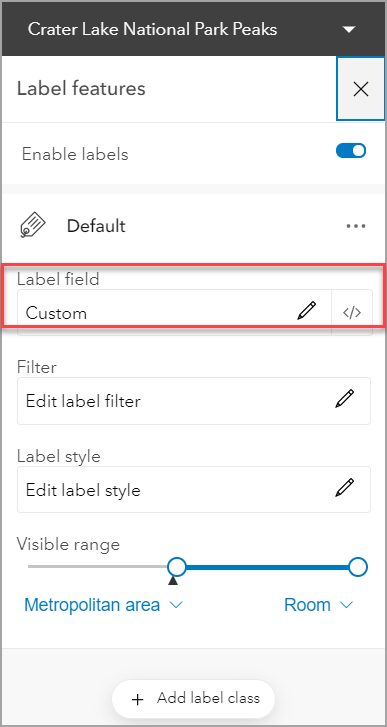
Step 7: In the Label features pane, click the Edit icon (the pencil) in the Label field box that shows the word Custom.
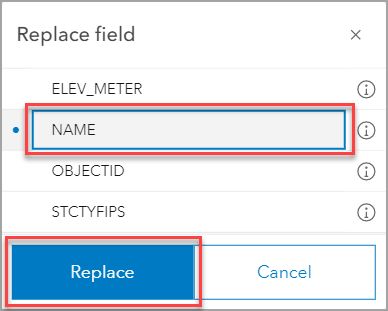
Step 8: Select the NAME field and click Replace to use the Name attribute field for the label.
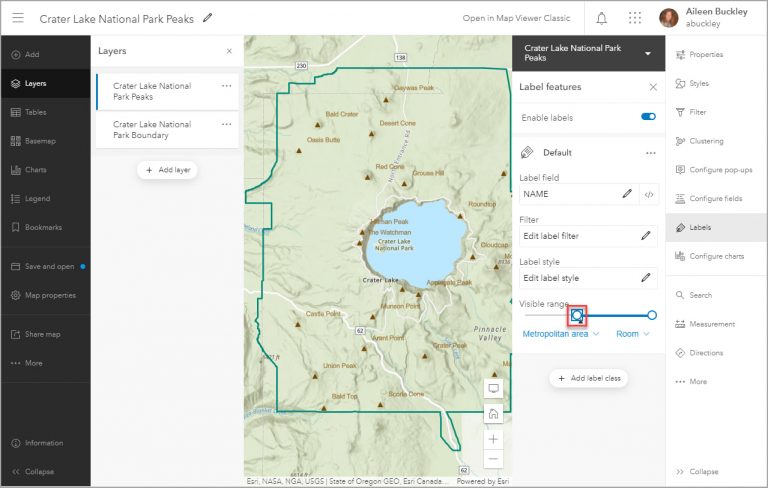
Note that the labels are not yet being displayed.
Step 9: Drag the left end of the Visible range slider slightly to the left to increase the visible range so that the labels are displayed at the current map scale.
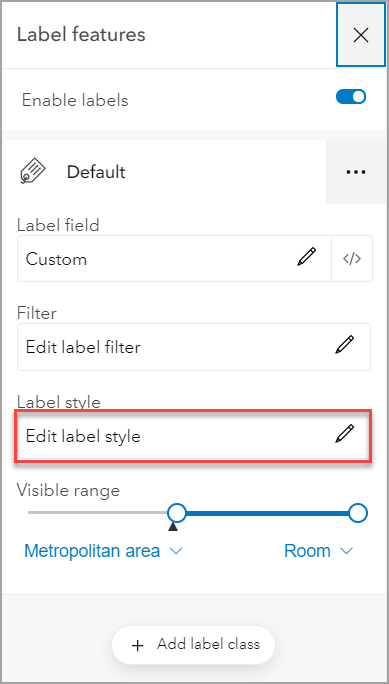
Step 10: To position the labels closer to the symbols for the mountain peaks, click Edit label style. In this pane, you can change the style of the labels, including the font, text size, and placement.
Step 11: Change the Offset X and Offset Y values to -8 points. This will move the labels closer to the features they identify. You can experiment with these values depending on how you want your map to look.
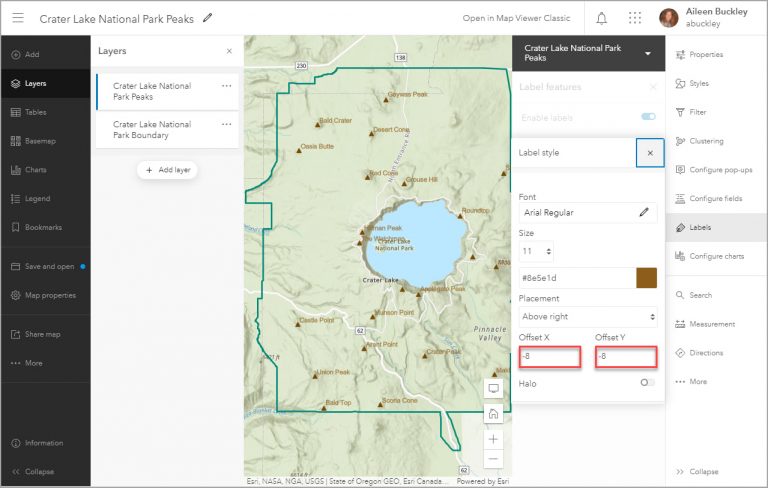
Step 12: Close the Label style pane and then close the Label features pane when you’re finished.
The Label style pane also includes options to change the font, size, and color of the labels. Change the placement of the labels to a location other than to the upper right of the features; and add a halo effect to the labels.

When you close the Label style pane, you will see that the Label features pane contains a Filter option to display labels based on a subset of features To filter features, click the Edit icon (the pencil) in the Filter box that shows Edit label filter to create an expression to filter the features that will be displayed. To add another label class for a different subset of features, click + Add label class. To learn more about these settings and other options for working with labels in the new Map Viewer, see this online help topic “Configure labels (Map Viewer).” Those options and the label offset setting described in this tip will give you the control you need to create high-quality labels in ArcGIS Online.
With the additional options for labels in the new Map Viewer, you have more control over the labels on your online maps. You can now modify the font, size, and placement of your labels, as well as add halos and offsets. Coupled with the ability to use multiple label classes, you can make your maps more readable and polished.
To learn more about label placement and other labeling capabilities in the new Map Viewer in ArcGIS Online, see the ArcGIS Blog post “New labels in Map Viewer.”
