OpenStreetMap (OSM) is a collaborative project designed to create a free, editable map of the world. ArcGIS Living Atlas of the World hosts a large collection of content, including basemaps and layers, published from OSM sources that is updated monthly. OSM content on ArcGIS Living Atlas includes 3D scene layers, which you can use to create new scenes or enhance existing scenes.
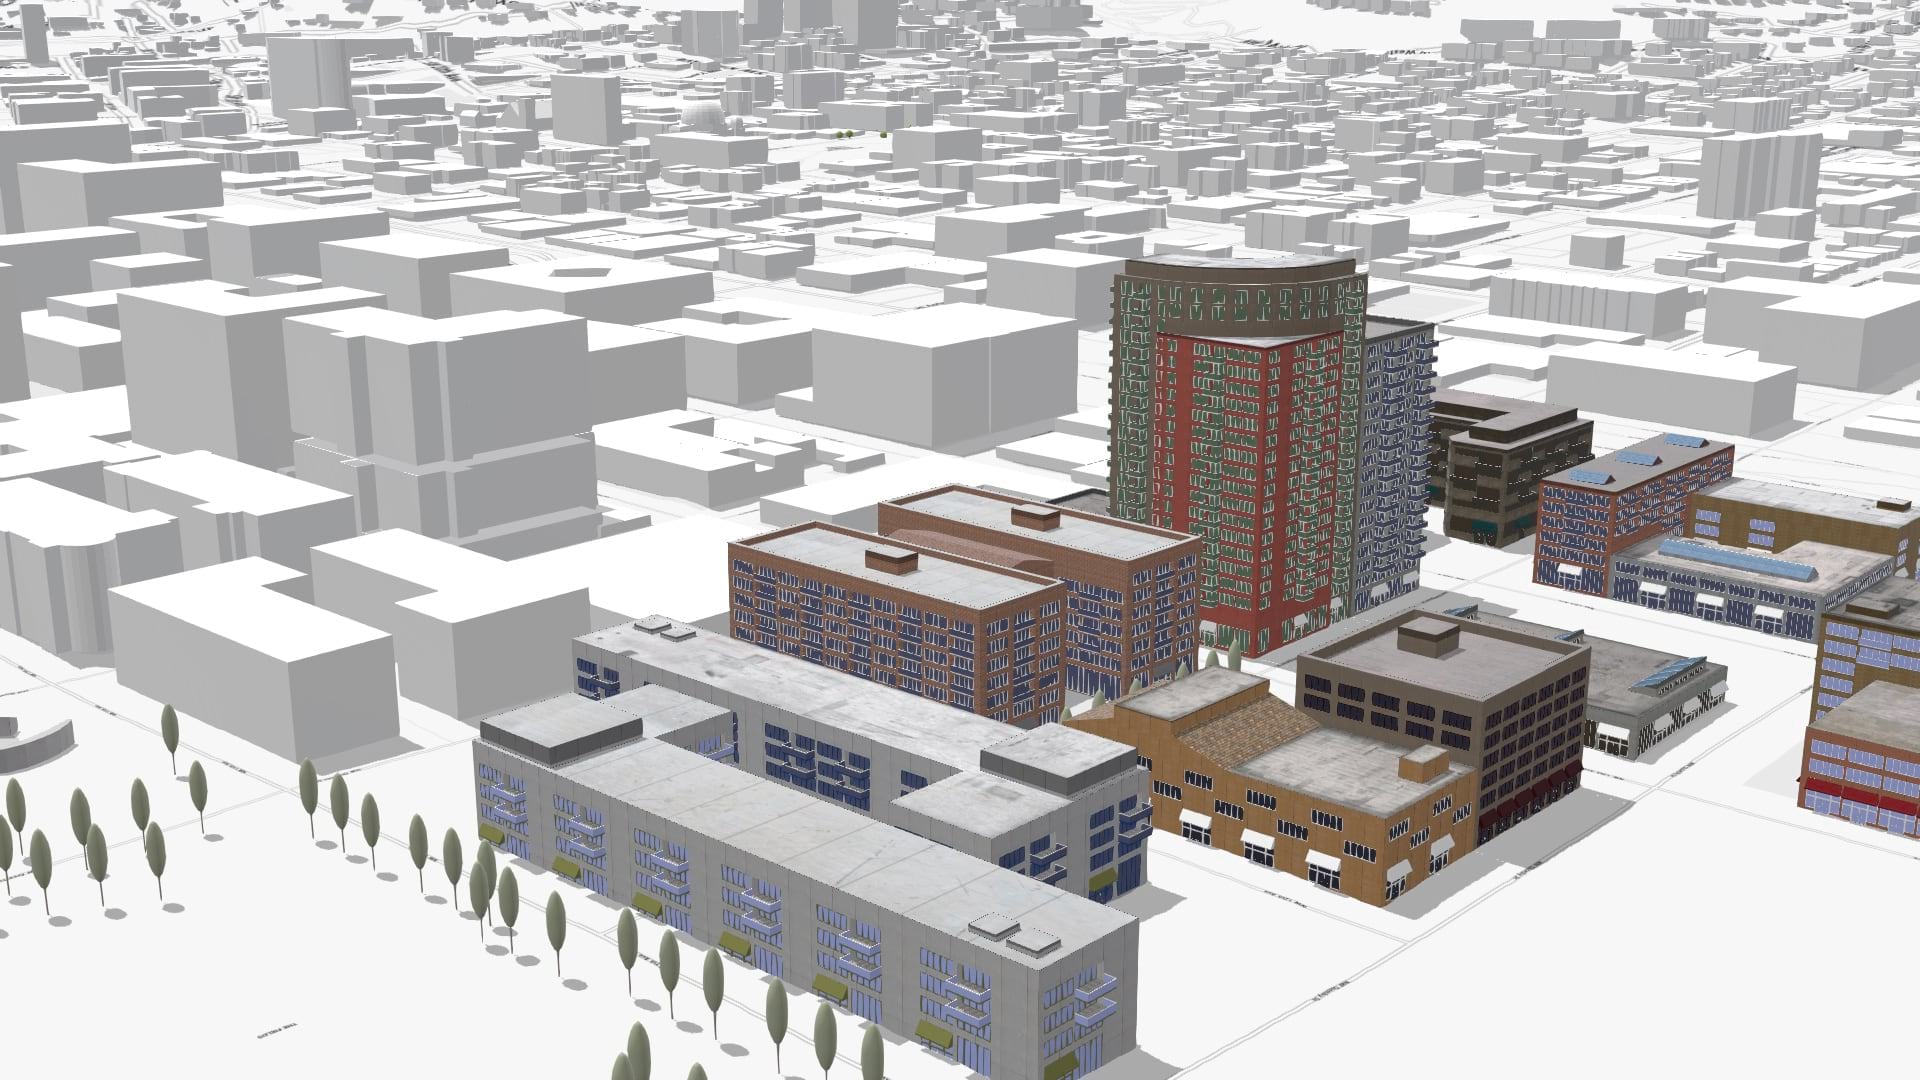
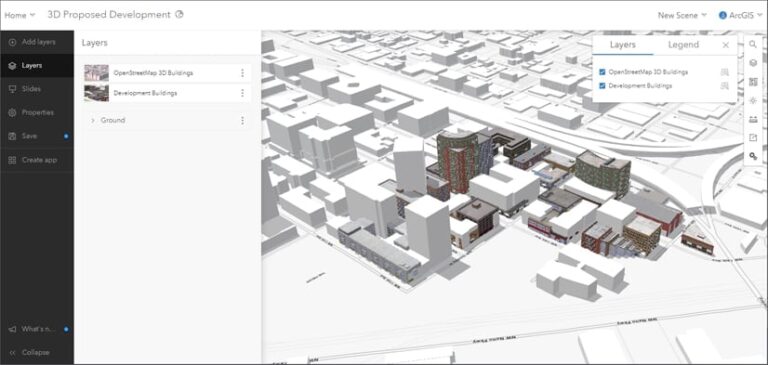
In this tip, you will learn to add context to an existing scene with buildings using OpenStreetMap 3D Buildings. You can follow along with your own scene or use this sample scene showing detailed buildings for Portland, Oregon. The sample scene displays a hypothetical proposed development with detailed 3D buildings.
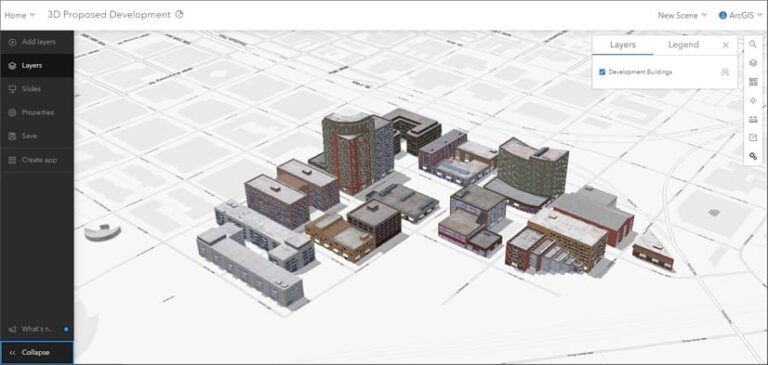
Step 1: Open the sample scene and sign in to your ArcGIS Online account. On the Designer (dark) toolbar, click Add layers, then choose Browse layers.
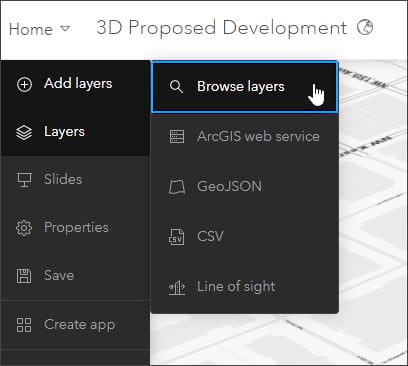
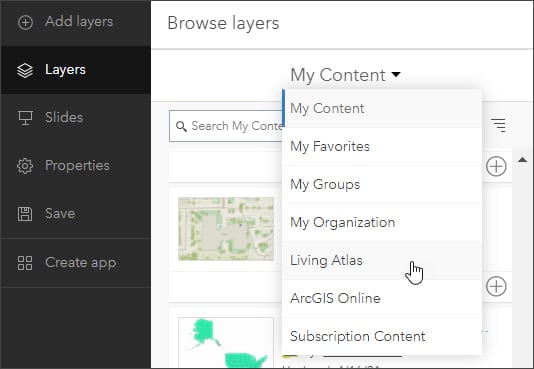
Step 2: Click the Browse layers drop-down menu and choose Living Atlas.
Step 3: Search for OpenStreetMap or similar, and scroll down to find OpenStreetMap 3D Buildings. Click the plus sign (+) to add the layer to the scene. Click Done when finished.

After adding the OpenStreetMap 3D Buildings layer, note that the buildings overlap the Development Buildings layer. A spatial filter can be applied to eliminate the overlap between the proposed development and OSM buildings.
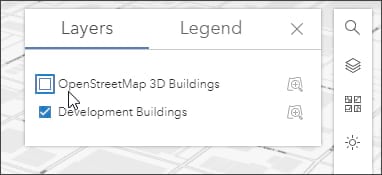
Step 4: Under Layers on the right side, uncheck the box next to OpenStreetMap 3D Buildings to hide the layer.
Step 5: Toggle the 3D navigation tools to tilt the scene up to an overhead perspective to view the extent of the proposed development buildings. Toggle them off when finished.

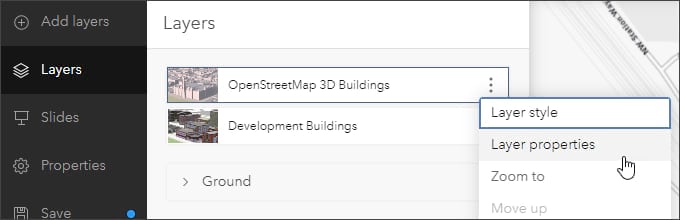
Step 6: Click the three dots beside OpenStreetMap 3D Buildings on the Layers pane to open the options menu for that layer. Select Layer properties.
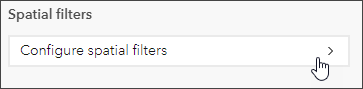
Step 7: At the bottom of the Properties pane, click Configure spatial filters.
Step 8: Ensure that Filter by polygon is selected and that the mode is exclude. Draw a polygon around the development scene layer, then double-click to end drawing the exclusion polygon. When finished, click Done.
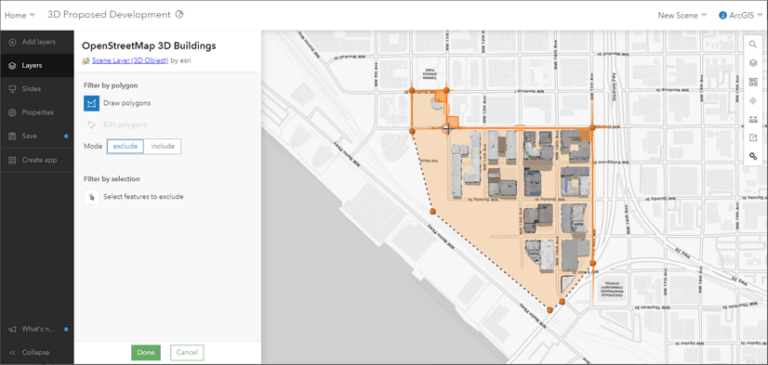
The polygon will exclude (filter) buildings from the OpenStreetMap 3D Buildings layer, eliminating the overlapping features. Click Configure spatial filters again to make any adjustments or add additional exclusion areas.
Step 9: Show the OpenStreetMap 3D Buildings layer to view the result. The OSM 3D buildings now add context to the Development Buildings layer without overlap.
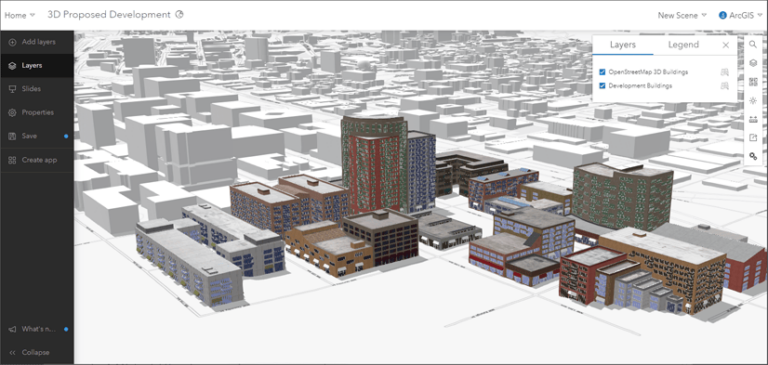
You can now add other layers, such as OpenStreetMap 3D Trees (Thematic) or OpenStreetMap 3D Trees (Realistic), to finalize your scene using the same spatial filter.
Step 10: Save the scene when finished, and set sharing as desired.
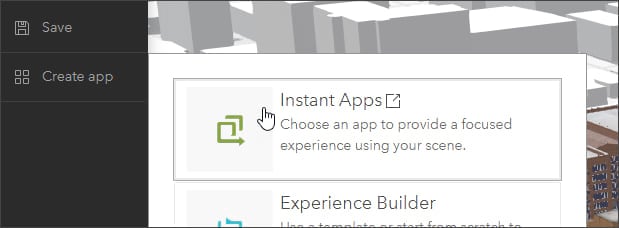
If you want to share your scene via an ArcGIS Instant Apps template, click Create app from the Designer toolbar and choose Instant Apps.
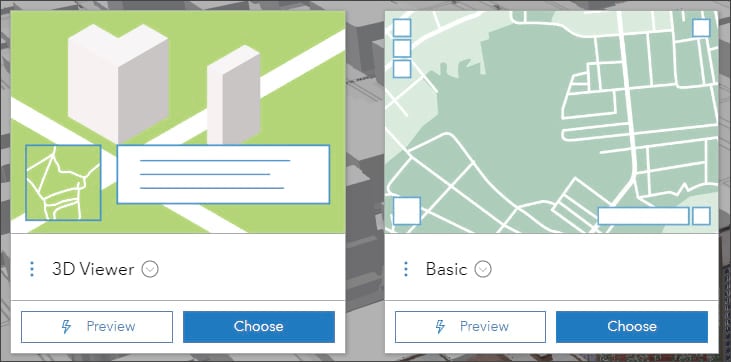
Available app templates that support scenes will be displayed. Click Preview to gain a first impression, then click Choose to create a new app item and configure the app. Two good, simple choices are 3D Viewer and Basic.
Open 3D Viewer Instant Apps example
For more information, see the following:
- ArcGIS Living Atlas website
- OpenStreetMap ArcGIS Online Home
- OpenStreetMap Vector Basemap (ArcGIS Online group)
- OpenStreetMap Layers (ArcGIS Online group)