Note: You can read about a second method to migrate ArcGIS Enterprise to new machines in our April 2019 blog.
Migrating to new machines without disrupting service is a common desire for ArcGIS Enterprise administrators. There are many reasons you may want or need to swap out a machine in your ArcGIS Enterprise deployment without changing anything else. Perhaps you’re experiencing hardware performance issues, or you want to run a newer operating system. Today, we’d like to highlight a simple process to achieve this.
The Join Site operation in ArcGIS Server and Portal for ArcGIS is typically used to add a standby machine to a site for high availability and disaster recovery, protecting your ArcGIS Enterprise deployment from system downtime and data loss in the event of tech failure.
However, Join Site can be utilized to swap out a machine from your server site or portal as well. The important thing to remember is that when you do this, you first make a complete copy of important directories – the ArcGIS Enterprise portal’s content directory, and the ArcGIS Server directories and configuration store – before you remove the old machine from the site.
After we go over these workflows for a portal and a server site, we’ll also see how a similar approach replaces a machine in an ArcGIS Data Store site.
Utilize Join Site to migrate a machine
This can be used to migrate a machine running an ArcGIS Enterprise portal or an ArcGIS Server site. In this method, content directories are moved from the local drive on your old machine to a shared location on the network. The joinSite operation is performed to connect the new machine; then, the old machine is unregistered, the content directory is moved to the local drive of the new machine, and any relevant URLs are redirected to the new machine.
Note: due to the dependency on shared storage between machines that participate in the same site, this should only be used if the machine you’re migrating to is within the same data center as the original machine. If you are migrating to machines in a separate data center, consider using the WebGIS DR tool method described here.
Steps for the ArcGIS Enterprise portal
Move the content directory for the portal to a shared folder on your network. Log in to the old machine, and follow the steps in our documentation to do this: here for Windows users, and here for Linux users. Don’t forget to copy the content over to the new location before making the switch.
Install Portal for ArcGIS on the new machine, following our install guides. Don’t create a new portal yet. Use the same install directory and location for the default content directory as your original Portal for ArcGIS machine.
Join the new machine to the site. From the new machine, log in to the ArcGIS Portal Administrator Directory, and click on the Join Site operation. Provide the admin URL for the old machine’s existing site (in the format https://portalhost.domain.com:7443), and the credentials of its initial administrator account. Now, the portal site will have both the old machine and the new machine joined to it.
Unregister the old machine from the site. From the admin directory’s home page, click Machines > unregister. On the operation page, select the old machine’s namefrom the drop-down menu, and confirm Unregister. When the operation is complete, your new machine will be alone in the portal site.
Move the content directory from its network shared location to the local drive of the new machine. The steps will mirror the first migration you did; don’t forget to first copy the content from the shared location to the new machine’s content directory location.
If applicable, update the privatePortalURL property. This is an internal URL used by federated servers to access the portal in various scenarios (such as when you have a reverse proxy set up); if you haven’t already configured it, you don’t need to do anything. Sign into the Server Admin API for each server federated with your portal, and navigate to security > config > update. Set the value of the privatePortalURL property to direct to the new machine you’ve swapped in.
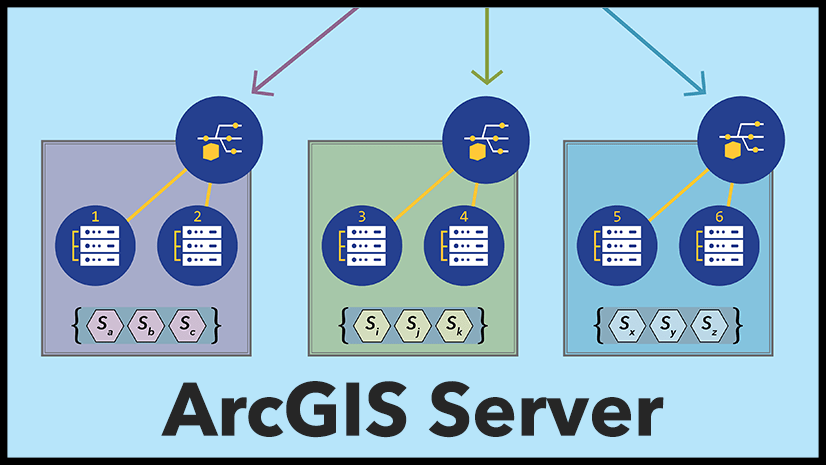
Steps for ArcGIS Server
Move the server directories and config-store for the server to a shared network location. This can either be done from the Server Manager app, or from ArcGIS Desktop – follow the steps here, as you must also edit sharing permissions.
Install ArcGIS Server on the new machine. Don’t create a new server site once the server installation is complete. Use the same install directory as your original ArcGIS Server machine.
Join the new machine to the site. Log in to the new machine’s ArcGIS Server Administrator Directory, click Join Site, and provide the URL and initial admin credentials for the old machine’s server site. When this operation is complete, both machines will be in the site.
Unregister the old machine from the site. From the directory homepage, navigate to machines, click the old machine’s name, and then the unregister operation.
Update the administrator URL for the federated server. Log in to the Portal Sharing API as an administrator. From your user page, click the link for OrgID. Under the Child Resources section, click Servers, then select the Server ID of your federated server. Click Update Server. In the dialog box, enter the fully-qualified Server Admin URL of your new machine. Click Update.
Validate the federated server to update the server’s configuration store with the new administrator URL. Log in to the Portal for ArcGIS Administrator Directory and navigate to Federation > Servers. Click the link of the server’s name, and then click Validate. This will perform the operation and should return a page with a status of success and detailed messages.
Move the directories and config-store to the local drive of the new machine, mirroring what you did in step 1.
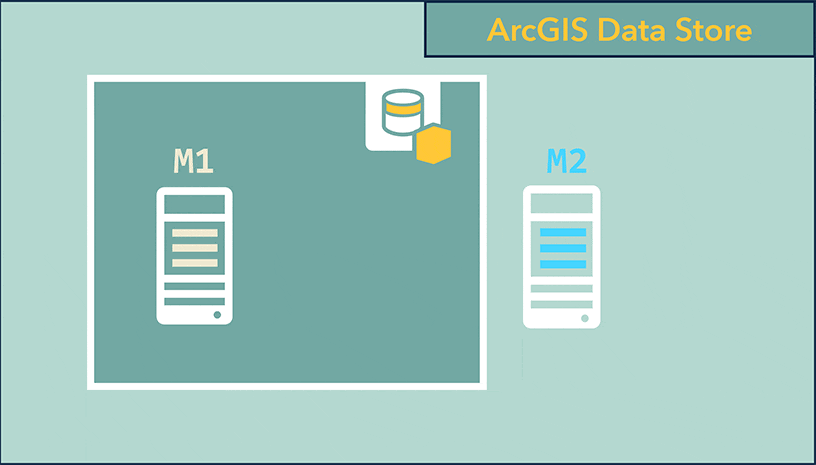
Steps for ArcGIS Data Store
The process to migrate machines for an ArcGIS Data Store is similar, but simpler.
Install ArcGIS Data Store software on your new machine. Use the same install directory as your original ArcGIS Data Store machine.
Register the new data store as a standby machine with the existing data store’s ArcGIS Server. You can do this using the ArcGIS Data Store’s configuration wizard; follow the steps in our documentation here.
Make the new machine the primary in the data store. Log in to the ArcGIS Server Administrator Directory and navigate to data > items > /enterpriseDatabases. Click on the ArcGIS Data Store link and then machines, select the new machine, and click makePrimary. This will promote the new machine to primary, and downgrade the old machine to a standby role.
Remove the old machine from the ArcGIS Data Store. From the page listing the machines in your data store, click on the old machine and select remove. This will leave the new machine as the sole item in your ArcGIS Data Store.
Share this article
administration arcgis data store arcgis enterprise arcgis enterprise portal arcgis server migration arcgis enterprise
Article Discussion:
6 responses to “Migrate to a new machine in ArcGIS Enterprise”
@Scott M. MacDonald Would this method work with a 10.5.1 GeoEvent Server. I know high availability is complex with that server role. Should we use a different approach for it?
Yes, this would still work with GeoEvent Server. You’ll need to export the configurations from GeoEvent and import them into your new environment, as well as migrate the spatiotemporal data store over manually.
Hello! Thanks for the documentation on this. I had a question – In step 2 for both Portal and Server, you mention using the “same install directory as your original machine.” Is this referring to the new location that you moved your content directory to in step 1?
Also for datastore, there is no mention of moving the directories to a network location. Is this not necessary?
We ran into an issue with following this process to move our hosting server from a single machine to multi machine site. We followed the process and as far as we could tell it had worked fine with the server validating and being able to publish hosted feature services.
However we noticed a problem in the content item for editable feature services in that despite them being editable (as evidenced by being able to add them to a map and make changes) the setting were showing as not editable. When we tried to update them we got an error message on saving:
After a bit of investigation we discovered that the two new hosting servers needed to be added to the allowedProxyHosts setting in the Portal Admin Directory > Home > Security > Config
Not sure if that is specific to our particular set up or if it should be added as an extra step in the server section after step 5?


@Scott M. MacDonald Would this method work with a 10.5.1 GeoEvent Server. I know high availability is complex with that server role. Should we use a different approach for it?
Yes, this would still work with GeoEvent Server. You’ll need to export the configurations from GeoEvent and import them into your new environment, as well as migrate the spatiotemporal data store over manually.
is it possible to clone the arcgis server with all deployments
Hello! Thanks for the documentation on this. I had a question – In step 2 for both Portal and Server, you mention using the “same install directory as your original machine.” Is this referring to the new location that you moved your content directory to in step 1?
Also for datastore, there is no mention of moving the directories to a network location. Is this not necessary?
Hi, I was wondering if you ever figured out question 1? I have the same question.
We ran into an issue with following this process to move our hosting server from a single machine to multi machine site. We followed the process and as far as we could tell it had worked fine with the server validating and being able to publish hosted feature services.
However we noticed a problem in the content item for editable feature services in that despite them being editable (as evidenced by being able to add them to a map and make changes) the setting were showing as not editable. When we tried to update them we got an error message on saving:
After a bit of investigation we discovered that the two new hosting servers needed to be added to the allowedProxyHosts setting in the Portal Admin Directory > Home > Security > Config
Not sure if that is specific to our particular set up or if it should be added as an extra step in the server section after step 5?