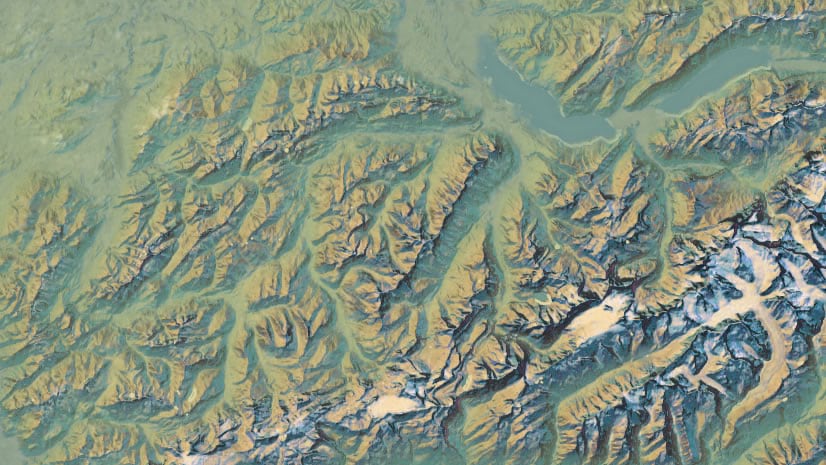
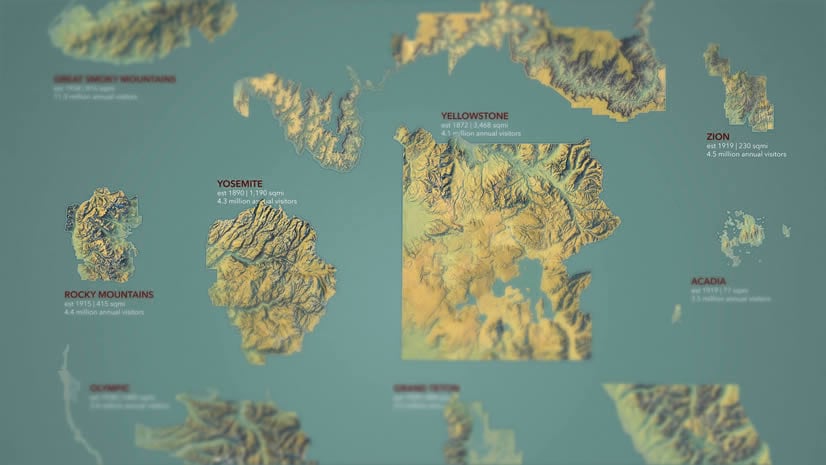
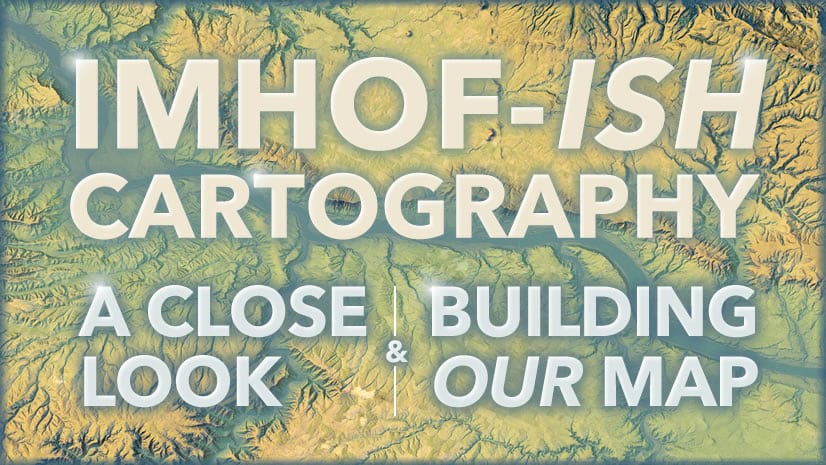
Here are some maps created in ArcGIS Online using Imagery and Terrain layers available in Living Atlas.


Here’s how you can build this web map in ArcGIS Online’s Map Viewer.
If you’d like a straight up recipe to go along with this video, I’ve got you covered!
-
World Imagery basemap
-
Effect: Brightness and contrast: 80, 80
-
Effect: Saturation: 200
-
-
Terrain Elevation image service
-
Apply dynamic range: yes
-
Stretch type: Standard deviation, 3
-
Color scheme: “Blue to brown diverging light”, Flip ramp colors
-
Blend mode: soft light
-
-
-
Blend mode: color burn
-
-
-
Blend mode: plus
-
-
-
Blend mode: color burn
-
-
Terrain Elevation
-
Apply dynamic range: yes
-
Stretch type: Standard deviation, 3
-
Invert color (white low elevation, black high elevation)
-
Blend mode: screen
-
Transparency 25%
-
-
-
Effect: Bloom: 0.6, 2, 0
-
-
Bathymetry Light
-
Blend mode: Destination in
-
Group two bathy layers to isolate the masking effect
-
-
Bathymetry Light
-
Drag beneath existing water group (but not in group)
-
Effect: Drop shadow: sand color, width 3, x1, y-1
-
-
Bathymetry Light
-
Drag beneath existing water group (but not in group)
-
Effect: Drop shadow: dark blue color, width 3, x-1, y1
-
-
-
Blend mode: Soft light
-
Effect: Drop shadow, dark blue color, width 4, x2, y-2
-
-
-
Transparency 25%
-
Effect: Sepia 200%
-
Remember, the elevation image service is subscriber content, so it’s not for public-facing applications where many folks won’t have access to it. The goals are 1) to create something you can use to capture handsome screenshots, but most importantly, 2) to give you some ideas about what’s possible in the Map Viewer and invite experimentation and creative joy.
Alternatively, here’s a resource for making Imhof-inspired maps in ArcGIS Pro.
Thanks for watching! Love, John

Article Discussion: