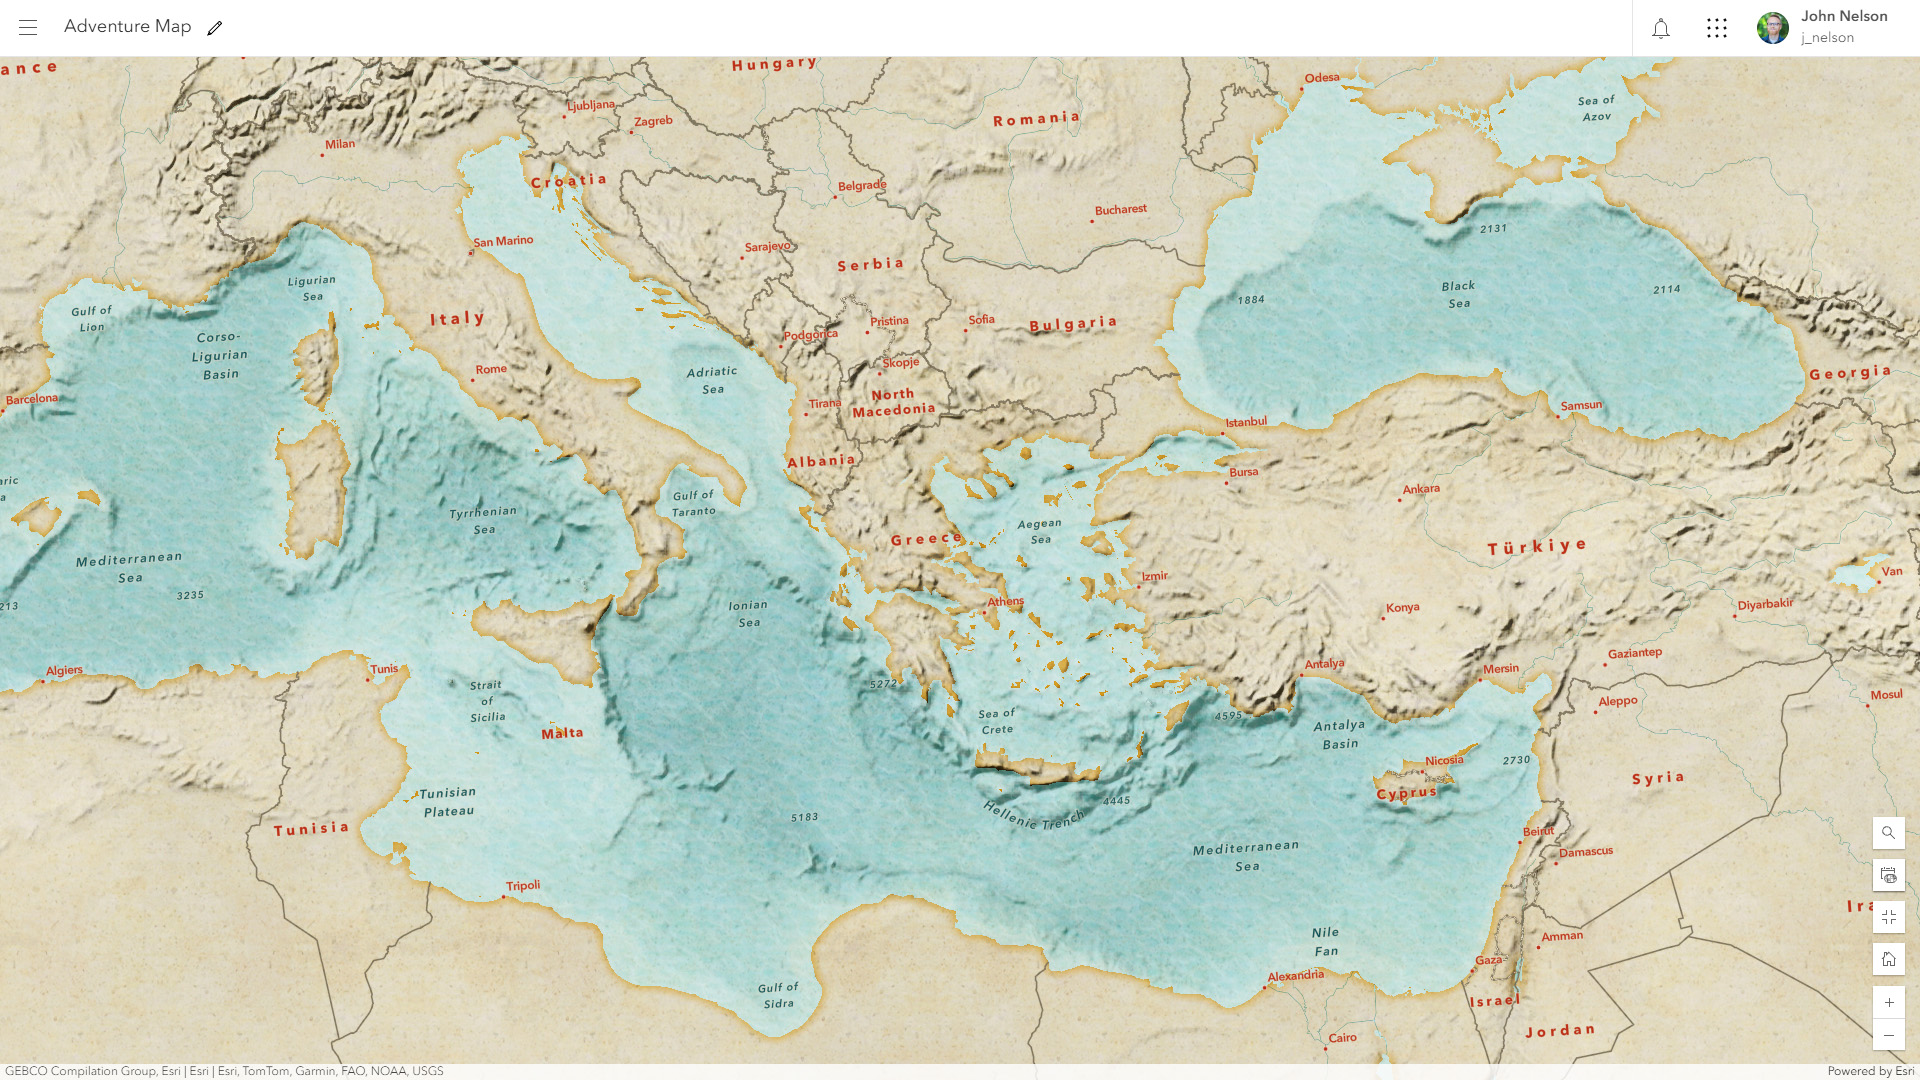
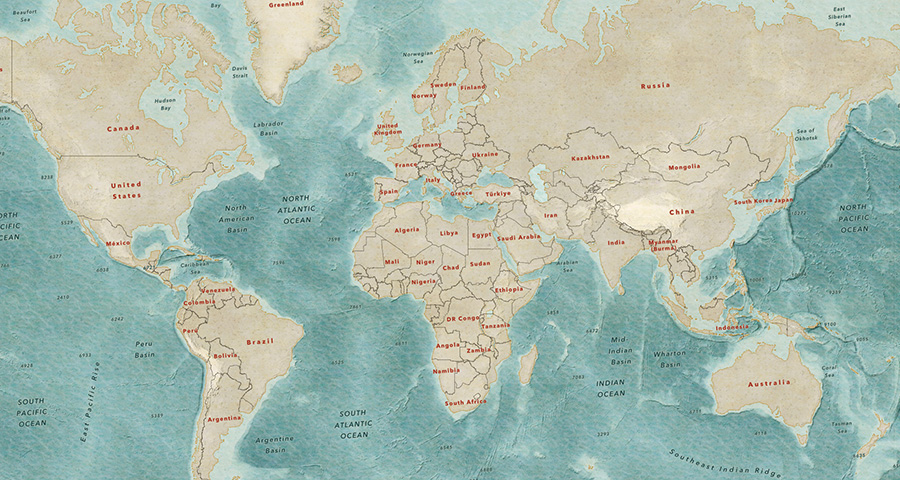
In part 1, of this two-part series, we learned how to create texture layers in ArcGIS to give your maps a realistic lived-in appearance. Now we’re going to use those texture layers in a custom basemap, and we’ll also customize the content and appearance of existing vector tile layers along the way, to get exactly what we need.

Here’s how to create the Adventure Map basemap in the ArcGIS Online Map Viewer, with some quick and easy help from the eminently useful Vector Tile Style Editor…
0:00 Welcome, and recap of part 1
0:31 Digging into a default basemap, and removing stuff we don’t need
0:46 Ah the good ol not-succinctly-named Generalized Terrain & Bathymetry Hillshade layer from Living Atlas
0:56 Adding a couple texture layers from Living Atlas (including the cement texture we made in part 1) and blending them in
1:23 Bathymetry Light (from, yes, Living Atlas) vector tile layer adds just water, globally, at all scales
1:37 How to hack a faded coastal edge using Effects
1:50 Finally, the water texture we made in part 1!
2:12 How to show and hide layers (and even transition transparency) based on zoom level
3:13 Customizing vector tile layers in the Vector Tile Style Editor, and adding them as floating reference layers
5:03 Don’t watch this part

Thanks for watching! Happy vector tile customizing and custom basemap making!
Love, John

Article Discussion: