Everyday on ArcGIS Online, countless datasets are published and updated, and we know managing all that content is hard work. Ensuring your data remains accurate can be incredibly time-consuming, especially without the right tools. This is exactly where the Update Data workflow (previously called Append) comes in handy.
With the June 2023 release of ArcGIS Online, we’ve overhauled the Update Data experience to give you more control over your data, and ultimately, more flexibility in your data management workflows.
If you haven’t already, make sure to check out our other blog detailing the terminology and best practices in the new experience here. Now, let’s take a closer look at some of the new functionality we’ve brought to the Update Data workflow.
New file and location types
If you’ve used Update Data before, you’ll likely be familiar with the file and location types we previously supported. We’re pleased to announce that we now support even more file and location types for your data management needs.
Supported file types
- CSV
- Excel
- GeoJSON
- File geodatabase (zipped)
- Shapefile (zipped)
- OGC GeoPackage – NEW!
Supported location types
Previously when using Update Data, the uploaded file needed to have latitude and longitude fields to update successfully. In addition to latitude and longitude, we’ve now expanded the supported location types for CSV and Excel files to also include:
- United States National Grid (USNG)
- Military Grid Reference System (MGRS)
- Addresses or places (geocoding)
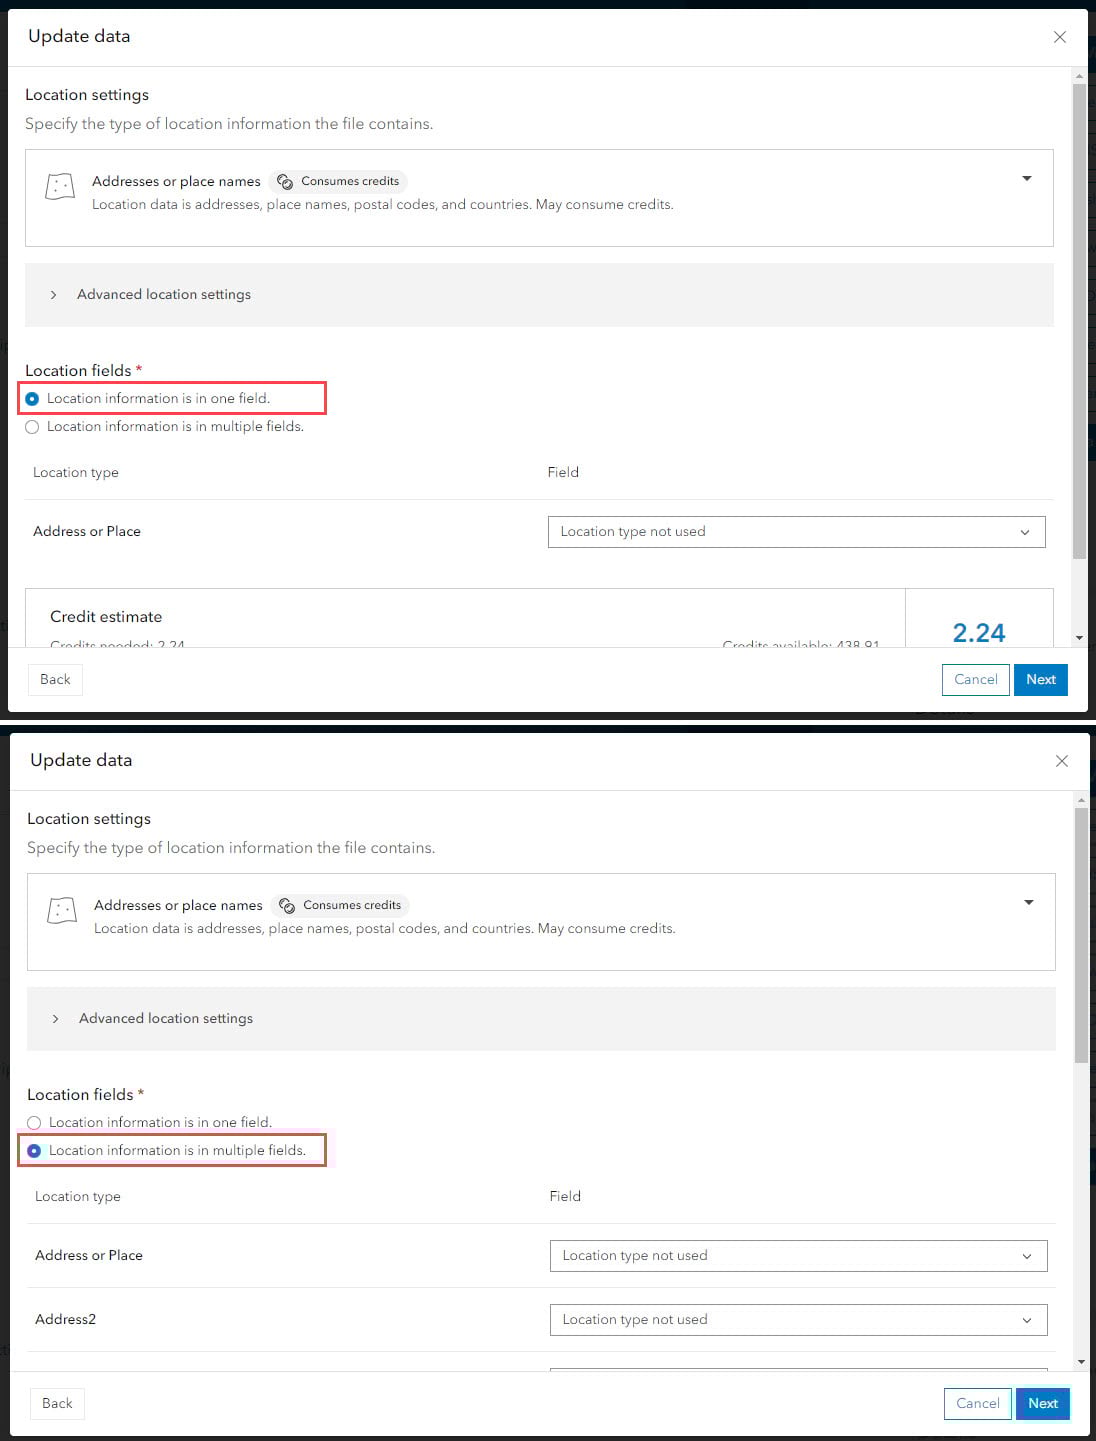
Addresses and places (geocoding)
Geocoding in ArcGIS Online is performed using a locator. The locator converts an address or place name to an XY coordinate, which can then be visualized on a map. Both single and multiple field addresses are supported.
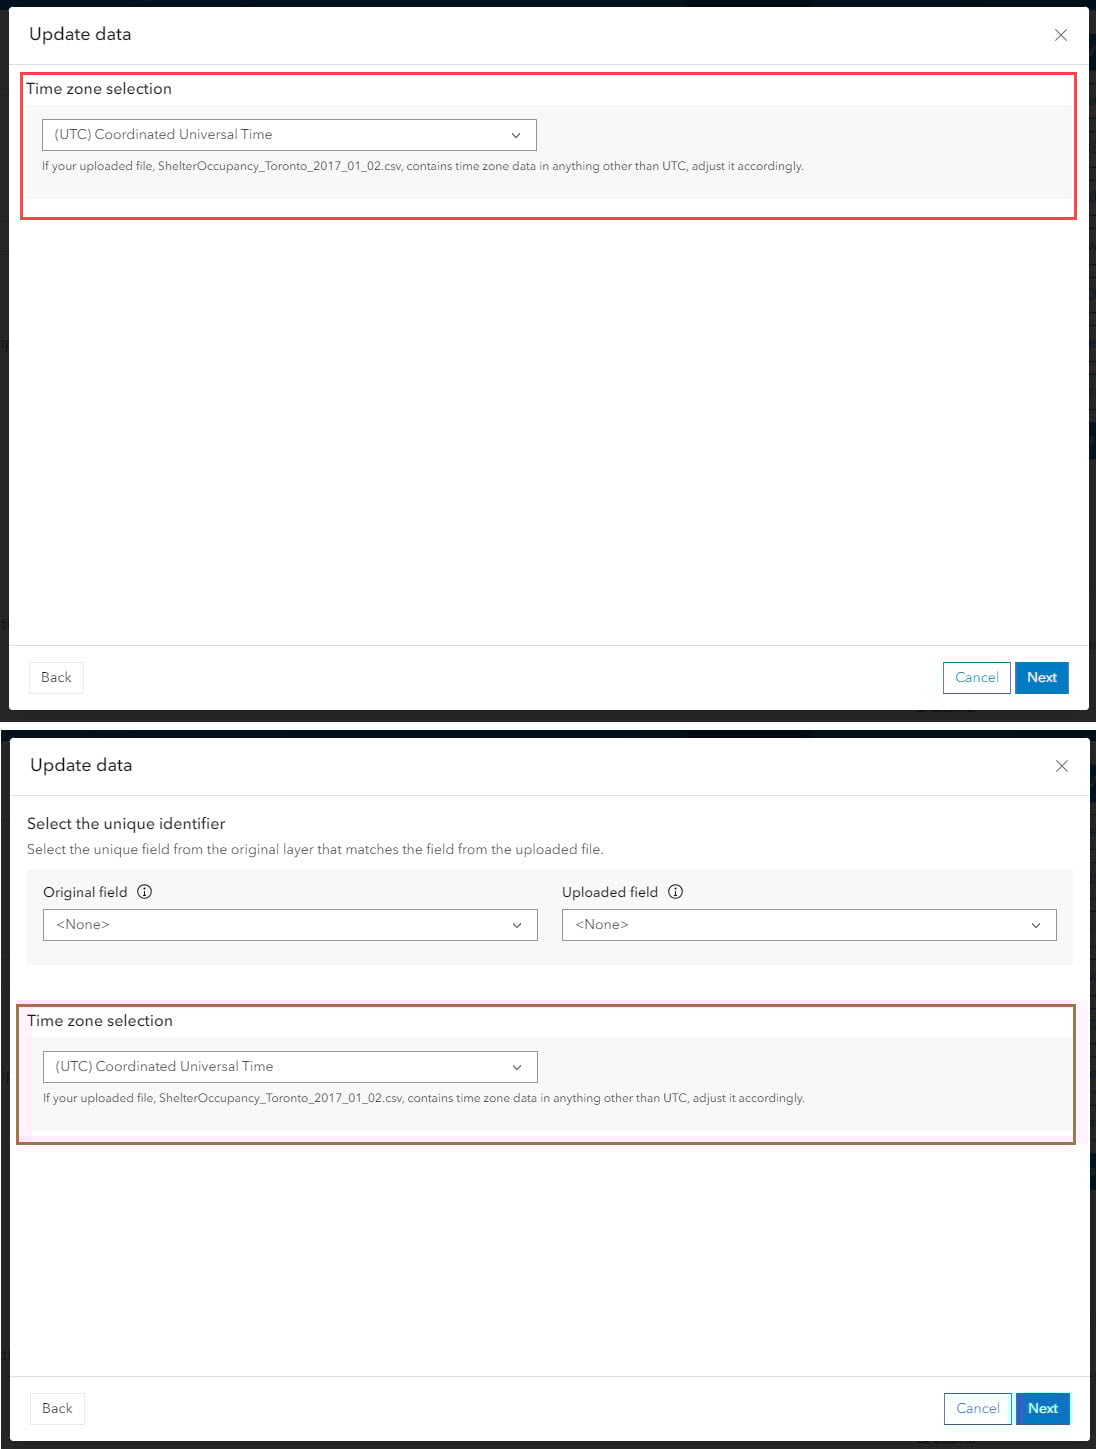
Time zone selection
Update Data now provides you with the option to specify the time zone of the data in your uploaded file, giving you more control over your datasets and their temporal information.
Don’t worry, no extra work is necessary on your end. The option to select the time zone will automatically appear when ArcGIS Online recognizes the uploaded file contains temporal data.
Dates and time in ArcGIS Online
When temporal data is published to ArcGIS Online, the date and time values are always converted to, and stored in, Coordinated Universal Time (UTC). Then, when the data is shown to you in ArcGIS Online, these values are converted from UTC back to the local time zone of your computer or device.
Specifying the time zone of your data helps to ensure that the date and time values are correctly converted to and from UTC when displayed to you and other users, regardless of their physical location in the world.
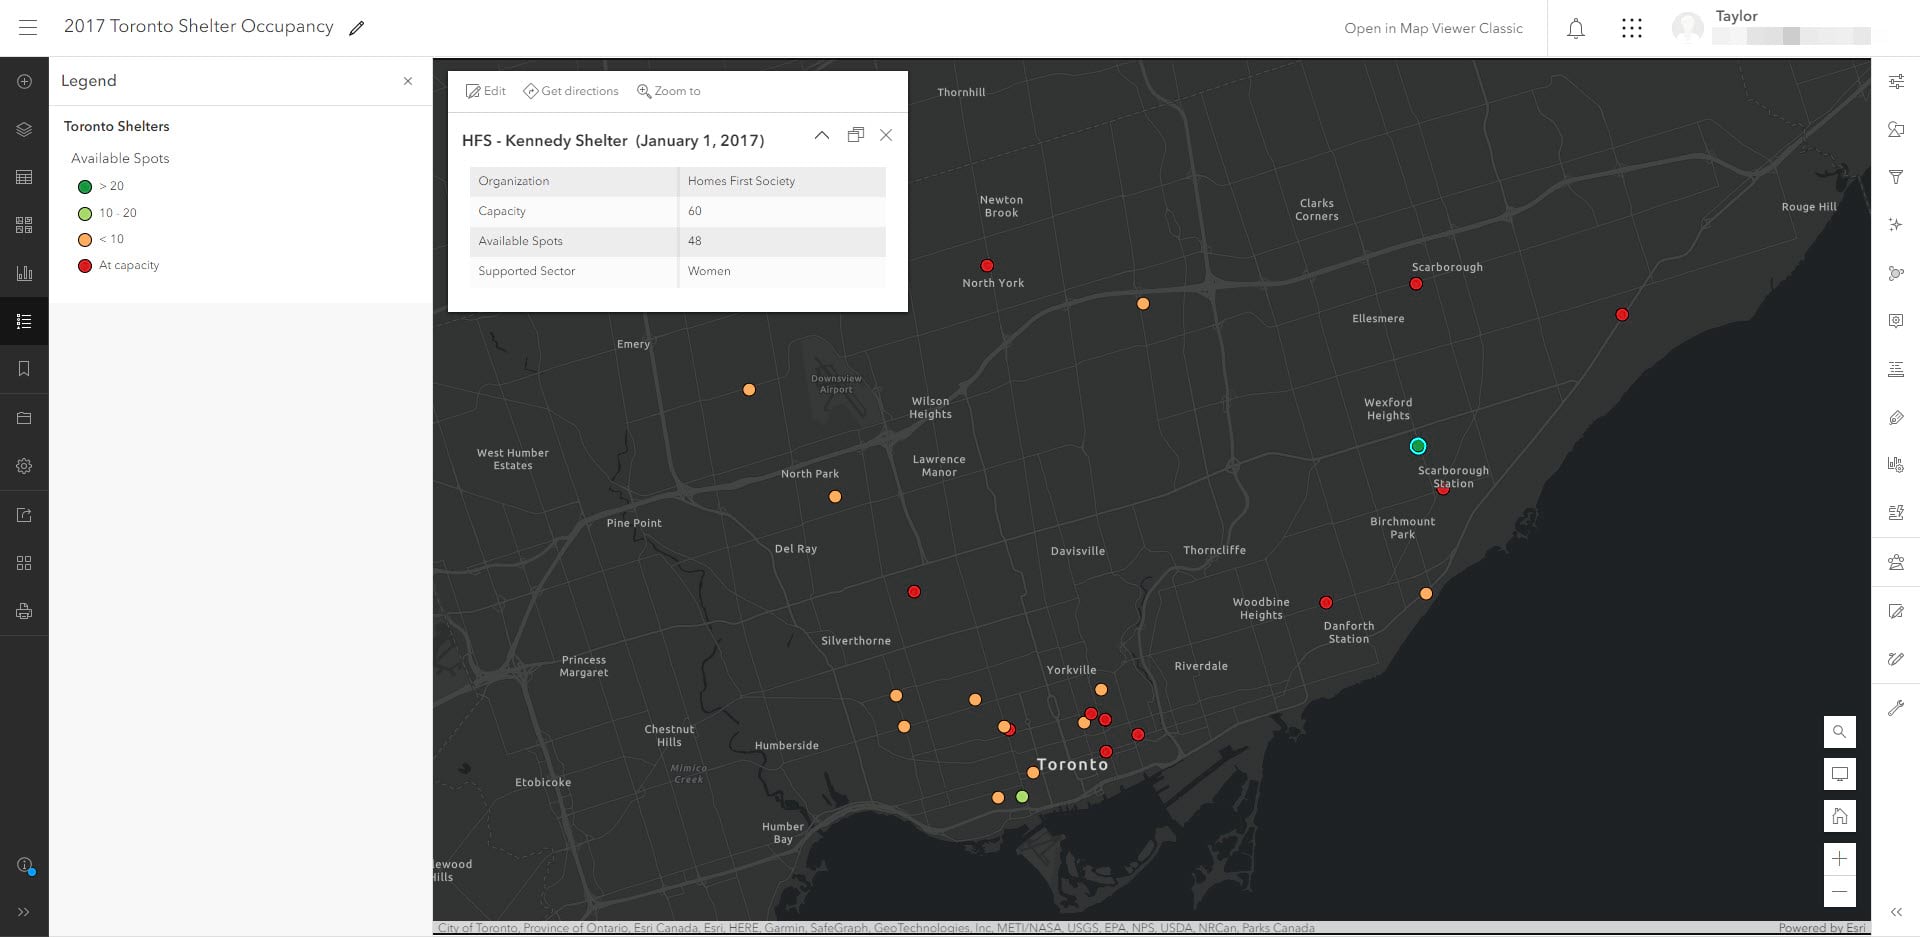
For example, let’s say I collected readings of water quality parameters in the Ottawa River in Ontario, Canada on March 1st 2023 at 11:30AM. When I publish the data, I specify the time zone as Eastern Standard Time (EST). Then, when I view the data after publishing on my computer (which is also in EST), the date and time values will display as they are in my raw dataset. Conversely, if someone who was in California viewed the data, the time of collection would be stated as March 1st 2023 8:30AM (11:30AM EST is equivalent to 8:30AM PST).

Note: the time zone selected when publishing the data will be automatically applied when Overwriting the entire feature layer.
Bringing it all together
Now that we’ve reviewed some of the changes to Update Data, let’s bring it all together using an example.
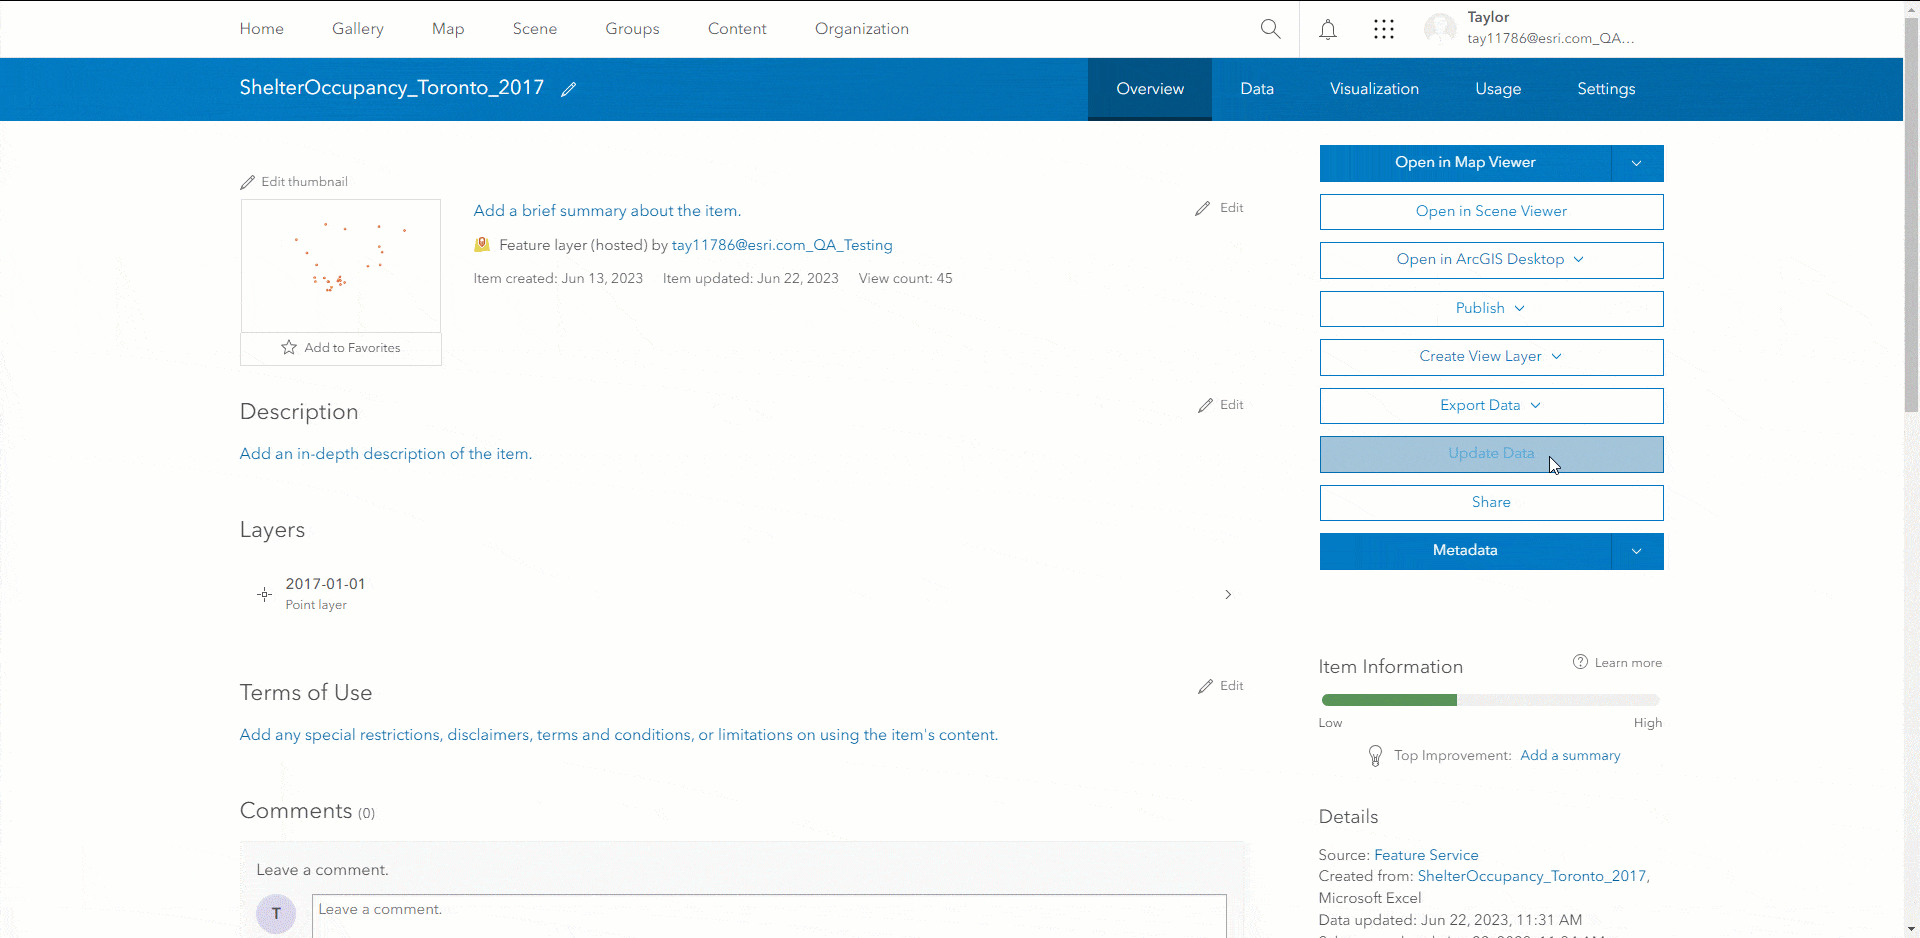
Using Update Data, we can accomplish both goals simultaneously using the Add and update features workflow.
Setting a unique identifier
When you are updating existing features in a dataset (using Update features or Add and update features), both the existing layer/table and the uploaded file must have a field containing unique values. This ensures that any attribute or geometry updates are applied to the correct pre-existing features in the layer.
Setting a unique identifier field can be done through the Data tab of the hosted feature layer or table.
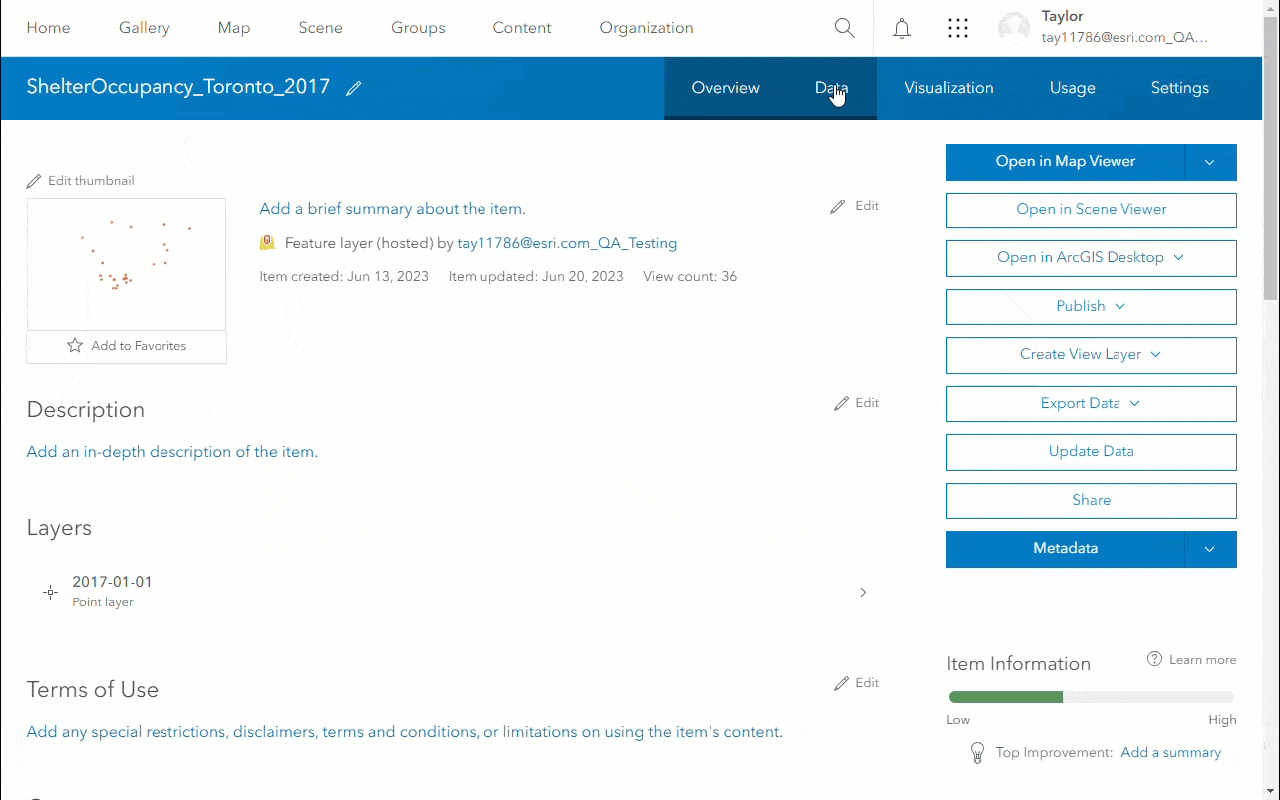
Add and update features
Now that our unique identifier is configured, we can begin to update our dataset.
Location settings
Once the Add and update features workflow is selected, you’ll be prompted to upload a file containing the data you’d like to update the layer with. After uploading you can select the location type to be used for the file. In this example, the CSV file containing the updated information contains address information across multiple fields (SHELTER_ADDRESS, SHELTER_POSTAL, etc.).
Time zone and unique identifier
The dropdown menu for the original field unique identifier will show any fields in the layer ArcGIS Online recognizes as unique. In this example we can see the system-generated FID field, and SHELTER_ID which we specified as unique in the previous step.
After matching the SHELTER_ID field for the existing layer to the field in the uploaded file, we can specify the time zone of the data (Toronto is in EST). This ensures that the correct offset is applied to the data when it is converted to UTC and shown to users using their local time zone.
Matching fields and updating attributes
The field matching page of the dialog will try to automatically match fields from the layer and file based on a shared name and field type. After matching the fields you can select how you want to update the existing features in your layer.
Since the geometry (i.e., location) of our existing features hasn’t changed, and we only want to update the attributes to reflect the occupancy rates of the previous evening, we will select Update attributes only. After selecting Update and complete, the data in the hosted feature layer will be updated to reflect the data in the uploaded file.

Summary
I hope that this example gave you an idea of the power of leveraging Update Data in your data management workflows. With a few simple steps we were able to both update existing features and add new features to our layer and have those changes immediately reflected in our map.
The ways you can utilize Update Data are numerous, and with the improvements we’ve made you can now do even more. If you want to continue to learn about Update Data, you can check out our documentation here.

Article Discussion: