
Developing ArcGIS applications often involves repetitive tasks like importing data, managing authentication, and creating visualizations for maps and layers. With ArcGIS portal tools—available across ArcGIS Location Platform, ArcGIS Online, and ArcGIS Enterprise—you can streamline these workflows without writing custom code. Whether you’re an experienced ArcGIS developer or evaluating the platform for the first time, these tools help you get up and running faster while maintaining flexibility and scalability across your projects.
In this blog, you’ll learn how to:
- Simplify authentication and gain insight into app usage
- Import and manage geospatial data efficiently
- Create visualizations for maps and layers
- Manage users, content, and settings with ease
- Automate workflows with ArcGIS Notebooks
What are portal tools?
At its core, an ArcGIS portal is a secure content management system that acts as the central hub for your geographic information—maps, layers, services, and applications. Whether hosted in the cloud via ArcGIS Location Platform or ArcGIS Online, or deployed on-premises with ArcGIS Enterprise, the portal provides a unified environment for storing, organizing, and accessing your GIS resources.
For developers, the ArcGIS portal is more than just a storage solution—it’s the backbone of app development.
It provides essential capabilities that support every stage of the development lifecycle, including:
- Authentication & Authorization: Easily generate API keys or OAuth 2.0 tokens, manage user roles, and control app access.
- Content Organization: Upload, tag, and structure your data so it’s easy to find, reuse, and share.
- Collaboration: Create groups, assign permissions, and securely share content across teams and departments.
- System Insights: Monitor usage, track performance, and manage services with built-in analytics.
Portal tools simplify these workflows so you spend less time on setup and more time building features.
Why portal tools matter for developers
Developers across ArcGIS Online, ArcGIS Enterprise, and ArcGIS Location Platform share the same goals: secure access, reliable data management, and beautiful maps and apps that perform well. Portal tools offer built-in solutions that significantly reduce development time.
By using them, you get:
- Security: Built-in authentication with API keys or OAuth 2.0.
- Performance: Optimized hosted feature layers and caching.
- Productivity: Fewer manual admin and Extract, Transform, Load (ETL) steps.
- Scalability: Automation through Python and Notebooks.
Simplify authentication and gain insight into app usage
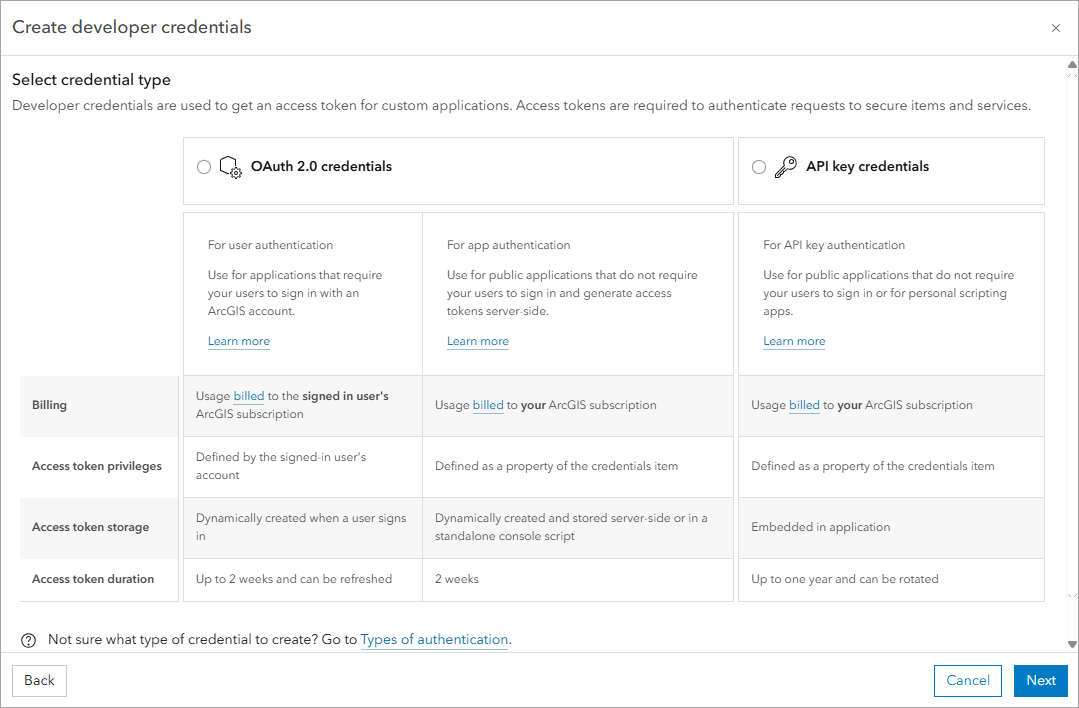
Establishing secure access to your ArcGIS portal is a foundational step in application development. The Developer Credentials tool provides a streamlined method for generating API keys or OAuth 2.0 tokens—eliminating the need to implement custom authentication logic from scratch.
Key features include:
- API keys – Use for public apps or scripts where users don’t need to log in.
- OAuth 2.0 – Ideal for apps for your organization, where each user needs personalized access to content.
- Granular permissions with API keys – Specify what your application can access.
- Time constraints – Manage credential lifecycle for security.
Best Practices: Create unique developer credentials for each application you build. This isolates access and usage metrics, making it easier to track usage costs and monitor performance at a more granular level.
Import and manage geospatial data efficiently
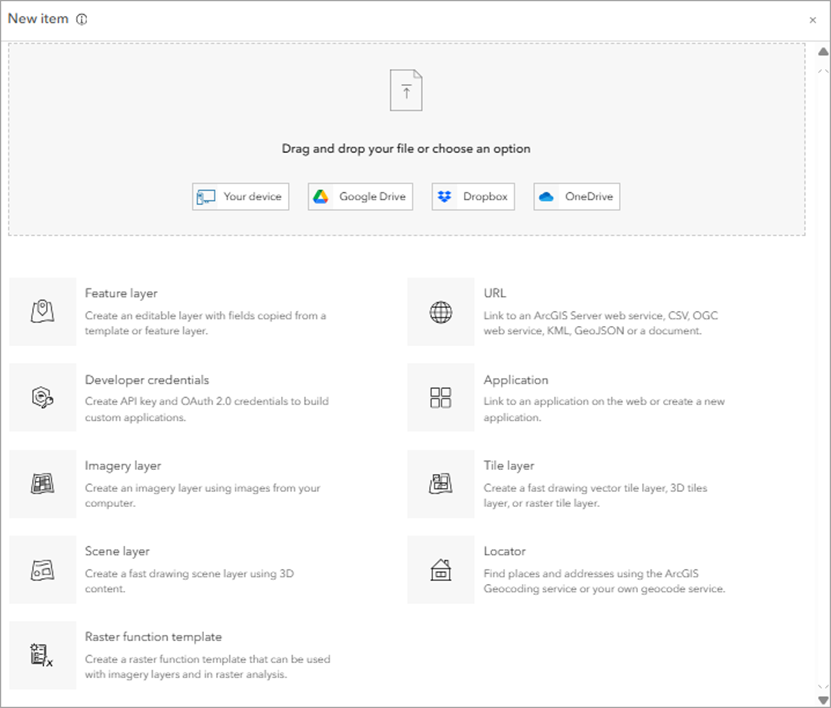
Instead of building a custom ETL pipeline or using static files, developers can use the ArcGIS portal’s import data tool to upload geospatial files in bulk—including CSV, GeoJSON, Excel, and shapefiles. The tool handles format conversion and schema validation automatically, reducing manual preprocessing and improving data integrity.
Typical workflow:
- Import your data.
- Create feature layers for editing and analysis.
- Generate tile layers for fast visualization.
- Configure sharing settings and permissions.
Best practices: Leverage the power and flexibility of hosted feature layers for your applications. Use portal tools to perform partial data updates, complex data queries, and improve response times.
Create visualizations for maps and layers
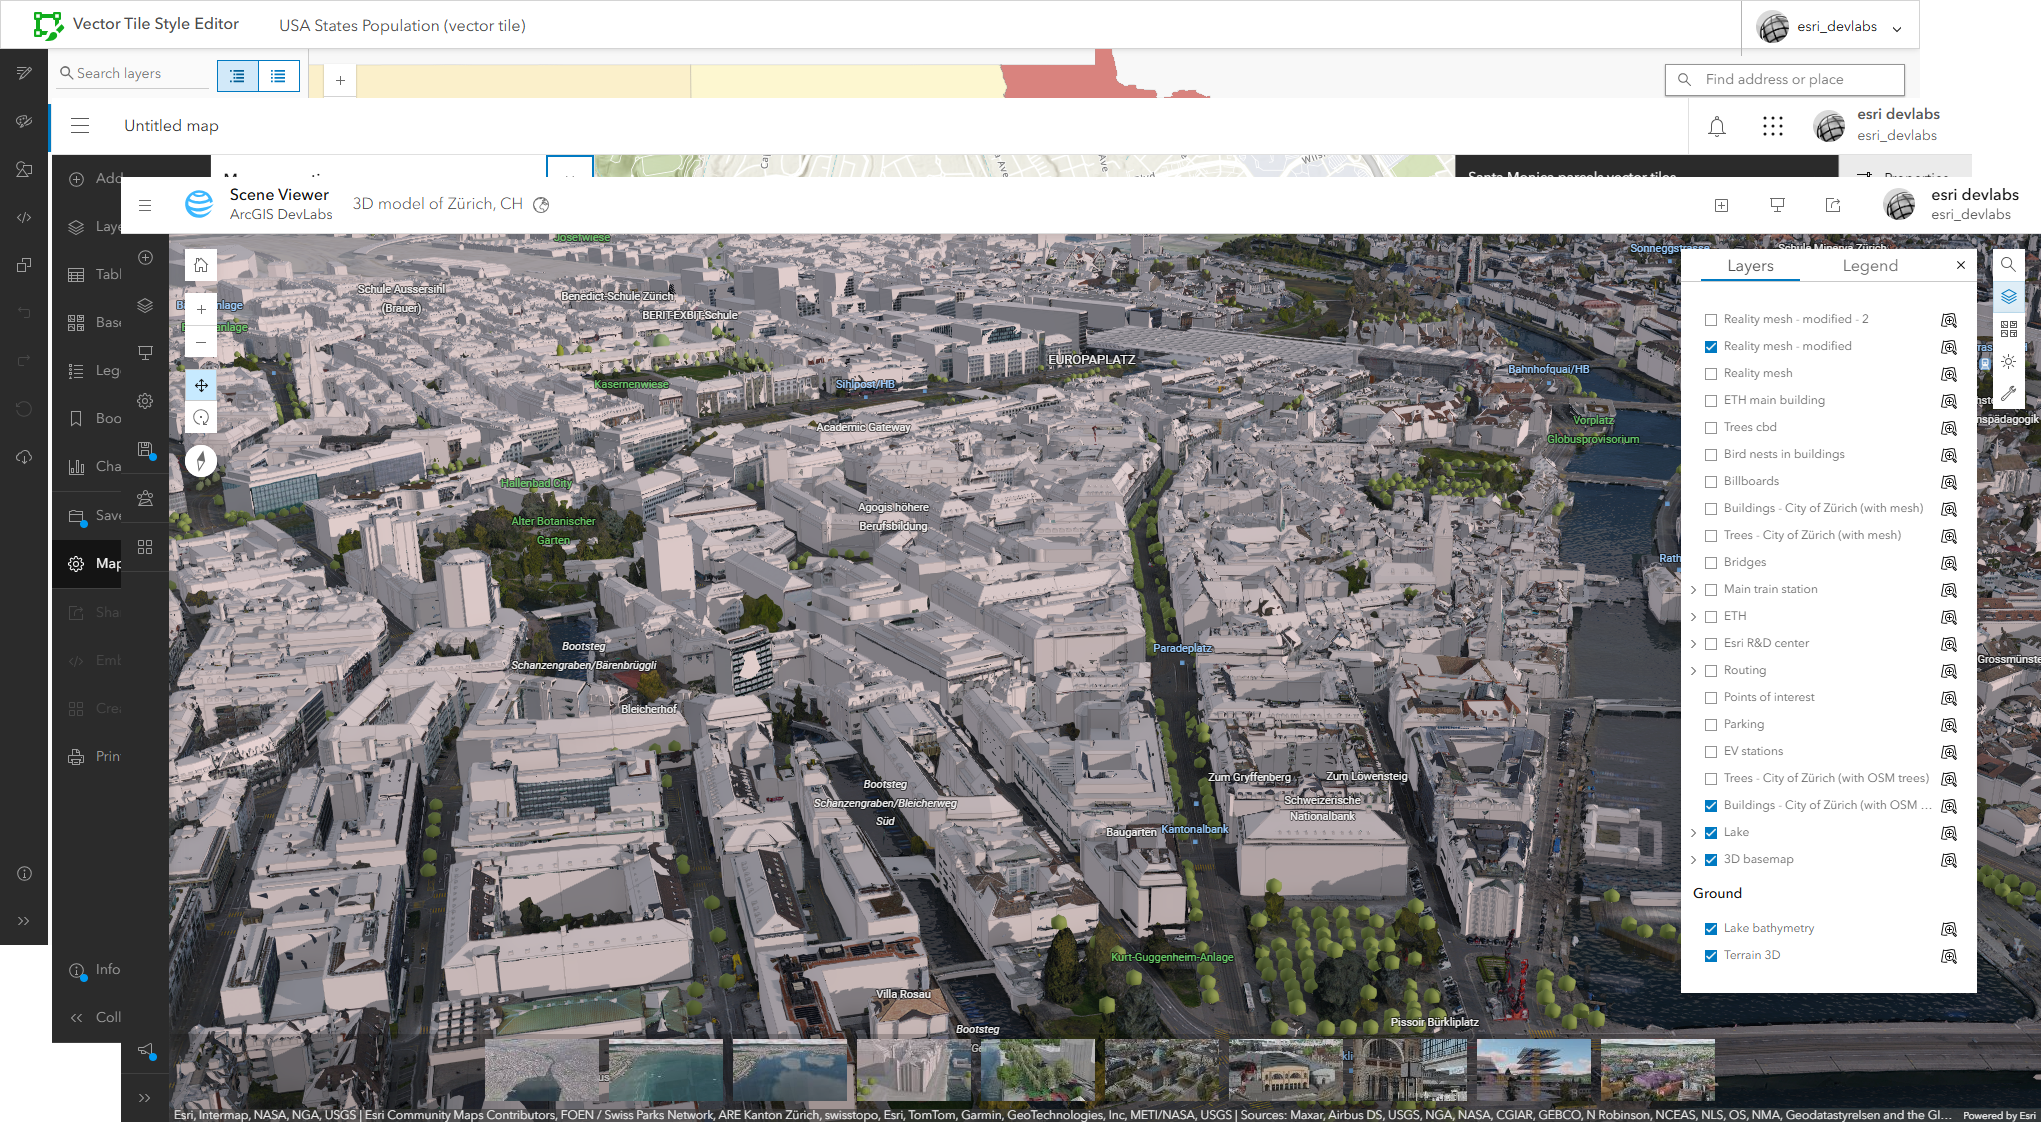
These tools streamline the map creation process allowing you to use pre-configured layers from your portal or from an extensive collection in ArcGIS Living Atlas. Core tools to consider:
- Map Viewer – A browser-based interface for building 2D maps. Supports drag-and-drop workflows, layer styling, and basic spatial analysis. Use to create web maps.
- Scene Viewer – Enables pre-rendered 3D visualization of spatial data, including support for elevation surfaces and 3D symbology. Use to create web scenes.
- Vector Tile Style Editor – Allows developers to customize vector basemaps and export style JSON for integration into web or mobile apps.
Managing users, content, and settings with ease
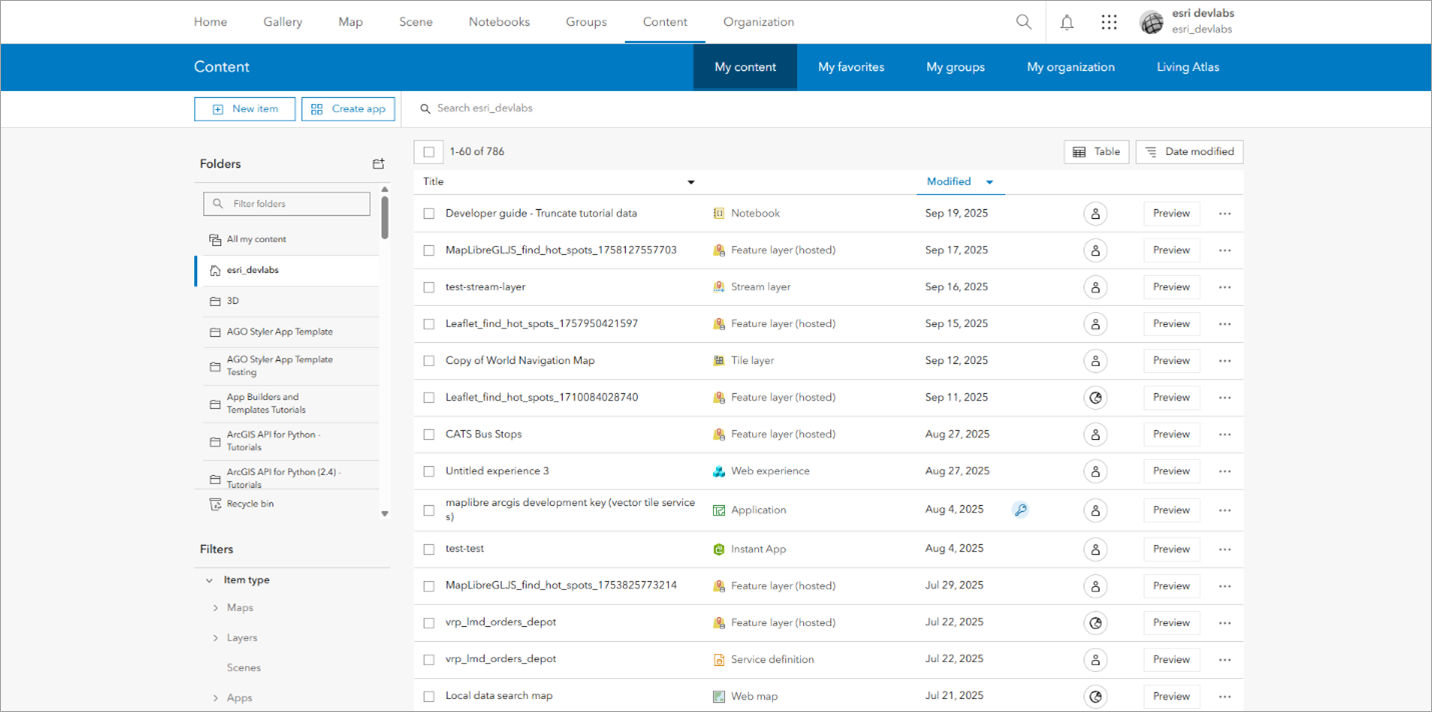
Managing your portal effectively starts with knowing how to use its administration tools. These tools are essential for keeping your development environment secure, organized, and performant, helping your geospatial apps run smoothly.
Key portal administration tasks include:
- User and group permissions – Assign roles, manage licenses, and set permissions.
- Content organization – Configure home pages, galleries, and featured items.
- System configuration – Monitor service health, analyze content usage, modify user types and roles.
Best practices: Use interactive tools for one-off tasks, but automate user and group management with Python scripts to ensure roles and permissions stay aligned with development and project requirements.
Automate workflows with ArcGIS Notebooks
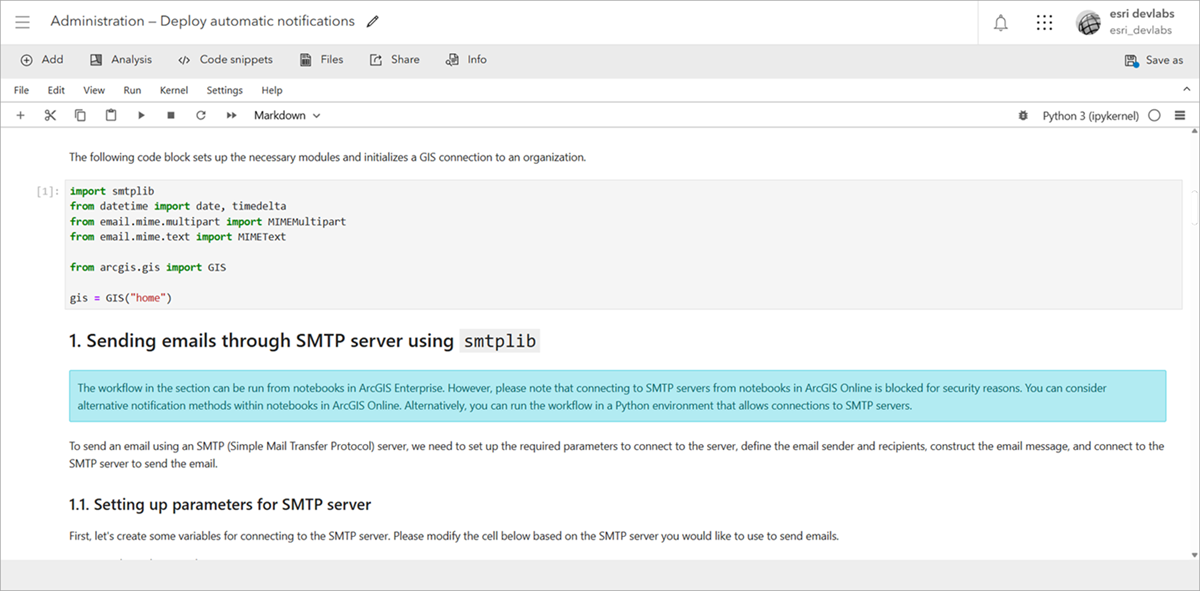
ArcGIS Notebooks provide a built-in Python environment within your portal for automating administrative and data management tasks. Notebooks run server-side—no external infrastructure required—and can be scheduled, shared, and integrated directly into your workflows.
- Bulk updating attributes across multiple feature layers
- Scheduling recurring data synchronization jobs
- Generating automated reports (e.g., weekly usage summaries)
Sample Notebooks for common tasks
- Explore and visualize feature layers – Access data, generate charts, and perform exploratory analysis
- Bulk update item metadata – Modify titles, tags, and descriptions across multiple items
- User and group management – Automate role assignments and permission updates
- Organization usage summary – Generate reports on content usage, sharing, and user activity
Note: ArcGIS Notebooks are not currently supported in ArcGIS Location Platform.
Putting it all together: A developer workflow
Here’s a summary to help you get started with these tools effectively:
-
Start with credentials
Generate developer credentials (API keys or OAuth 2.0 tokens) and configure permissions to securely access portal content. -
Import and organize your content
Use data management tools to upload geospatial files and structure them into feature layers and services your apps can consume. -
Prototype visualizations with mapping tools
Leverage Map Viewer, Scene Viewer, and the Vector Tile Style Editor to test visualizations and refine user experience before full-scale development. -
Automate your workflows
Use ArcGIS Notebooks and the ArcGIS API for Python to automate tasks such as user and group management, service monitoring, and report generation.
If you are new to ArcGIS development and want to try the portal tools, you can get started by signing up for a free ArcGIS Location Platform account. Also, stay in the loop with the latest in developer technology by subscribing to the Esri Developer Newsletter.


Article Discussion: