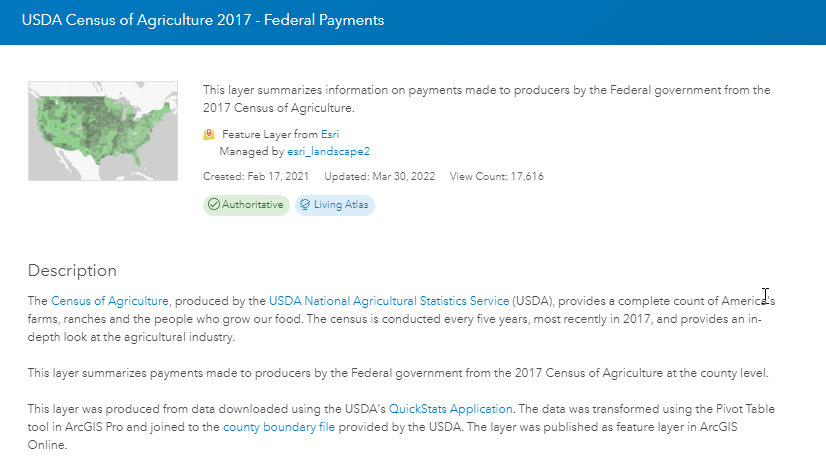
No, this blog is not about retirement planning or the weekly special at your local grocery store. However, understanding how to save a layer’s symbology and other settings in ArcGIS Online will save you time as you build your web GIS. While you can save both layers and maps, the controls are in different places and serve different purposes.
Layers and Maps
Layers are the building blocks of web GIS. Feature layers, imagery layers, tile layers, and scene layers are all examples of layers. Each layer is an item in ArcGIS Online and combines data with symbology, pop-up configuration, filters, and other properties.
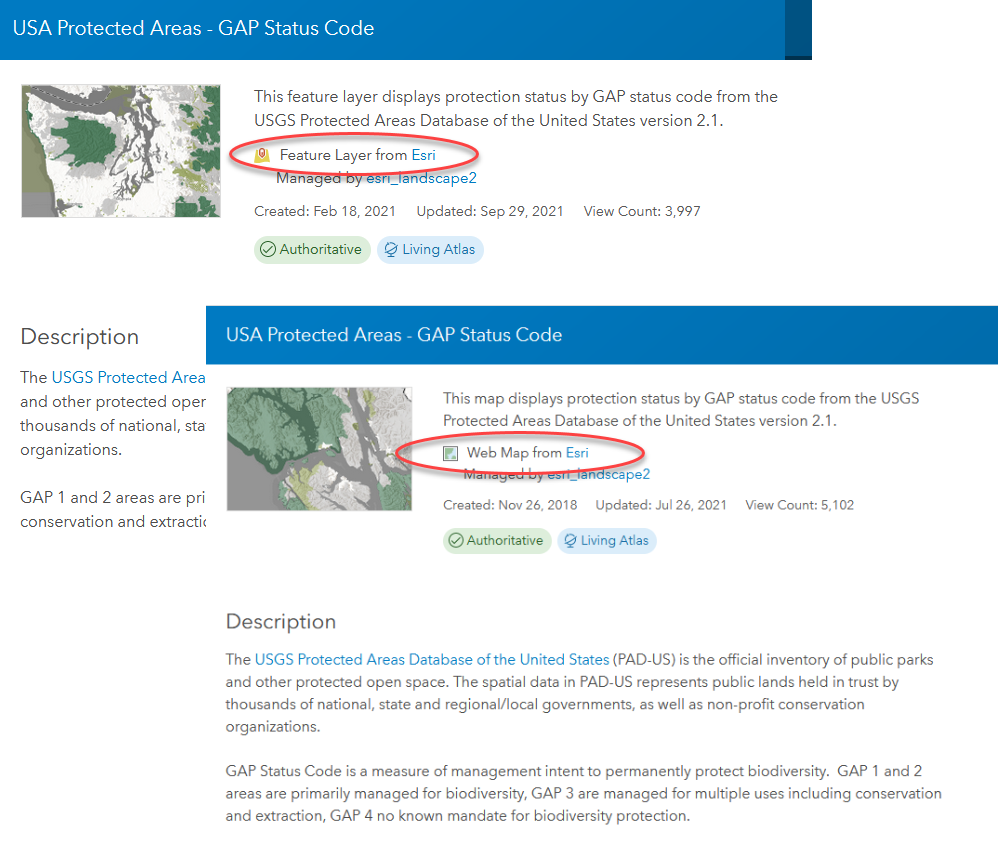
To view layers, we add them to a web map. Like layers, each web map is an item in ArcGIS Online. Web maps have a base map and may have one or more additional layers.
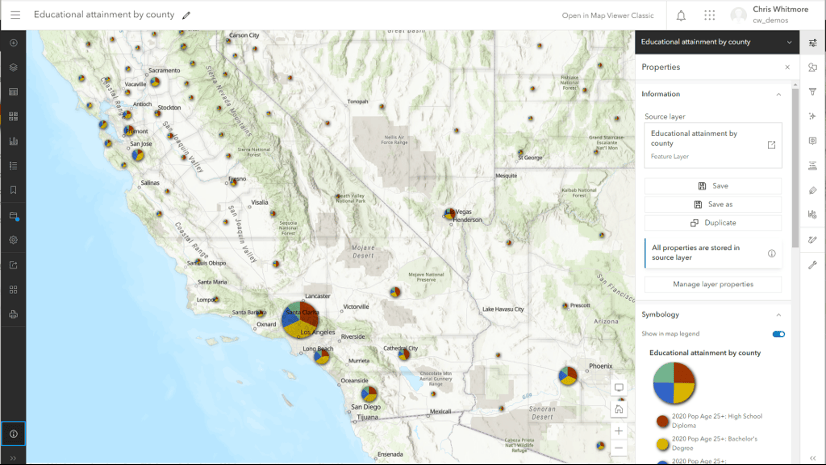
Web maps can store many of the same properties as layers including symbology, pop-up configurations, and filters. Understanding when you should save these properties to the layer or the web map is key to a successful web GIS implementation.
Two Ways to Save
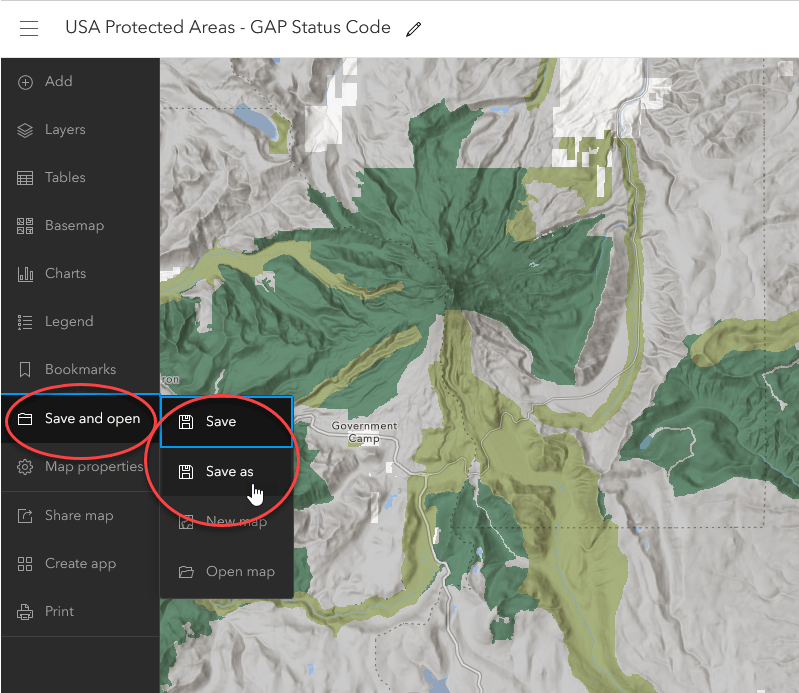
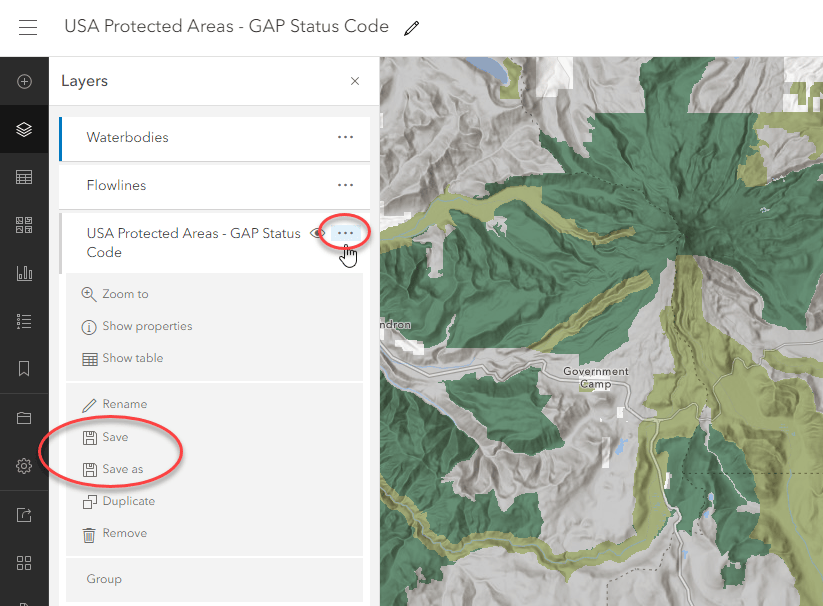
In the Map Viewer there are two places where you can save: in the Contents Tool bar on the left side of the map and under the options menu on layers that you own.
The Important Part
Save Map on the left side of the Map Viewer saves any changes you have made to the web map. If you close and re-open the map you will see that your configuration has been saved.
However, if you add the layer to a new map you will see that the settings you changed and saved in the map are not reflected in the layer.
In this case every time the layer is added to a map the layer will need to be symbolized and the pop-up configured. As a best practice we recommend saving the layer’s configuration to the layer itself by selecting More Options (the three dots under each layer in the table of contents) and then Save Layer at the bottom of the list. Note that this option will only appear if you are logged in as the layer’s owner.
Now when you add the layer to a map it is ready to use with no configuration needed for a neat, professional looking map.
Understanding how to save a layer’s properties will go a long ways to helping you build an effective web GIS.
This blog is an up date of a previous post where you can learn how to save layers and maps in the classic map viewer.

Article Discussion: