This post was originally published on June 1, 2012, and has been updated. The last previous update was June 4, 2021.
First impressions mean a lot, which is why it’s important to create a user profile in ArcGIS Online that’s polished and professional.
Your ArcGIS user profile is how the rest of the world learns about you. It’s also a yardstick for measuring the value and veracity of your shared items and groups. Whether you’re making maps and apps for others in your GIS department, for users across your organization, or making maps and apps for public access, it’s both a good idea and a best practice to show your best profile if you want others to consider your content seriously.
The importance of a good profile
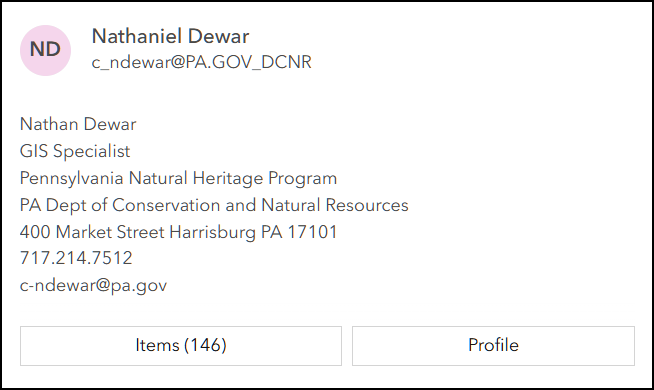
Unsure why it is important to have a good profile? Which of the profiles below inspires confidence? Whose maps, apps, and layers are you more likely to use or trust? Is it the person or organization with this profile?
Or this one?
Profile settings in your organization
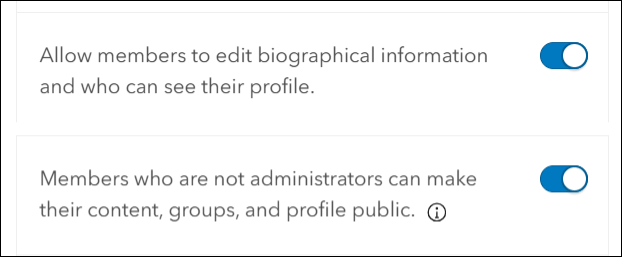
Organization administrators and those with appropriate privileges have the option of controlling what members can do with their profiles. The two settings that govern this are found in the Security section of the organization settings. Check with your administrator if you are unable to make changes to your profile. See Configure security settings for more information.
Create a professional profile
After getting your ArcGIS Online account, the first thing you should do is create a professional profile. Even if your profile is only visible within your organization, it will help others know who you are and your role and responsibilities.
After signing in, you’ll be presented with your current account information (which is blank by default). You can change it anytime by clicking My Profile in the drop-down under your name after signing in to your account.
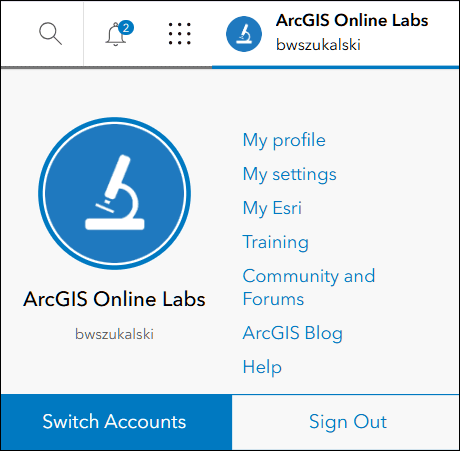
Click the pencil to edit components of your profile.
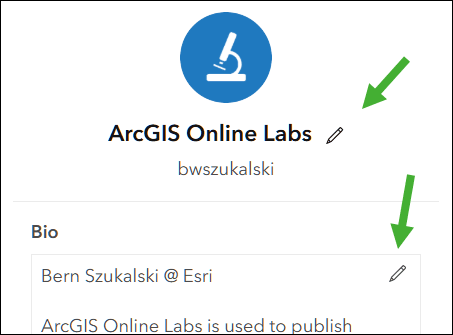
Edit your profile
Edit your profile card to make it more authoritative and easier to recognize. The first step is to edit your name and avatar, the next is to edit your bio.
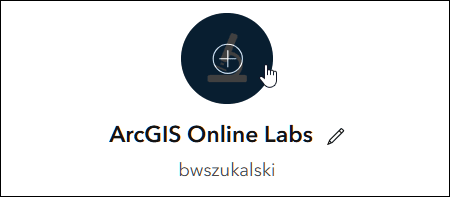
Change your profile photo
Hover over your profile photo to change it. Your image should be 200 x 200 pixels. Note that the image should look good in a round (not square) format. For best results, use a PNG file.
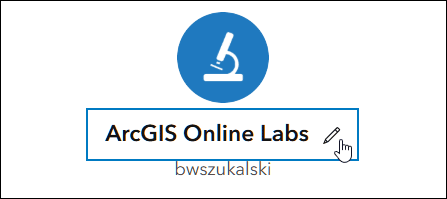
Edit your name
Click the pencil next to the profile name to edit it. You can use a name that reflects your role in the organization, the name or your department, or even your organization. For example, if you are the GIS manager for a city you may want to use your city as the name or may want to include your title. Your actual user name will always be displayed underneath and cannot be changed.
Edit your bio
Your bio is the most important part of your profile, as it lets viewers know of who you are, what your role is, or a little more about the organization that you represent.
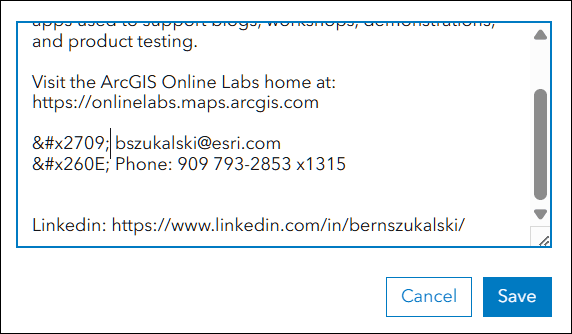
Tip: Keep your bio brief while still being informative. Insert carriage returns to break up long paragraphs for easier reading. You can add special characters (like the mail and phone symbols shown below) using HTML decimal codes.
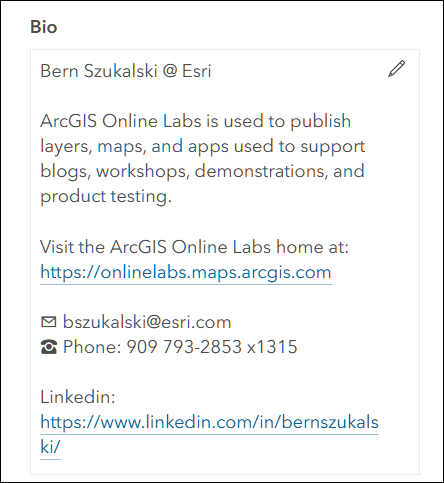
Here’s what the formatting for the above looks like in the editor.
✉ ✉ – mail symbol
☎ ☎ – phone symbol
Make your profile visible
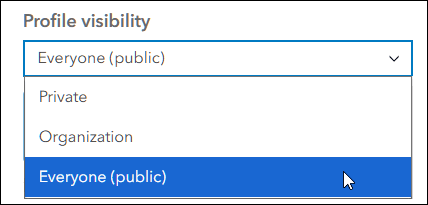
When you edit your profile, ensure that it’s visible to others. By default, your profile is only visible within your organization. Especially if you share items publicly, it’s recommended to choose a Profile visibility of Everyone (public) so others can identify the source.
What does a good profile look like?
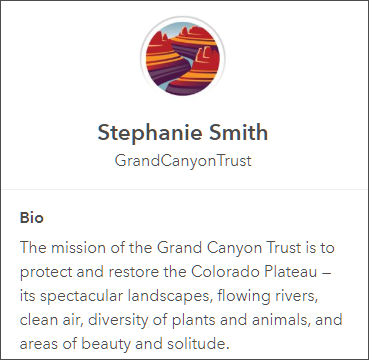
A professional profile card includes pertinent information about you or the group or organization you represent. Things to consider including in your profile are a good photo, some information about you, your roles and responsibilities, and contact information.
You can make your profile as long as you want, but it needn’t be a full biography or resume – just the important facts that will help others identify who you are. Here’s a colleague’s biography to see as an example:
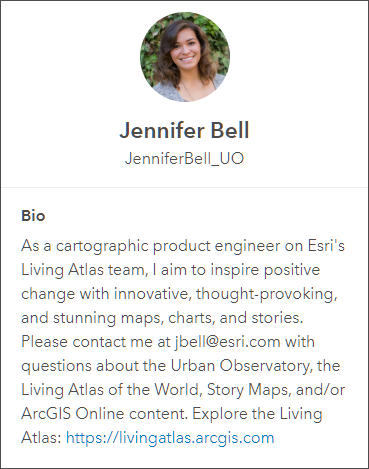
This next example is short and to the point, with just the essential information.
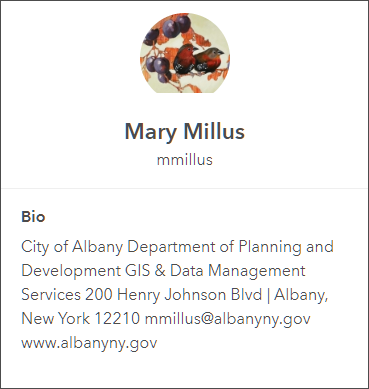
When representing an organization, consider including the organization logo in your profile.
Create a profile representing you organization
When you share items on behalf of a company or organization, you may want the organization to be the recognized source instead of yourself or some other individual in the organization. This makes it easier to identify authoritative content originating from the organization, rather than an individual.
You can create an account with a profile representing the organization, and the administrator can transfer ownership of items as needed to that account. Note that ArcGIS terms of use prohibits sharing of account logins, so this must be a separate account.
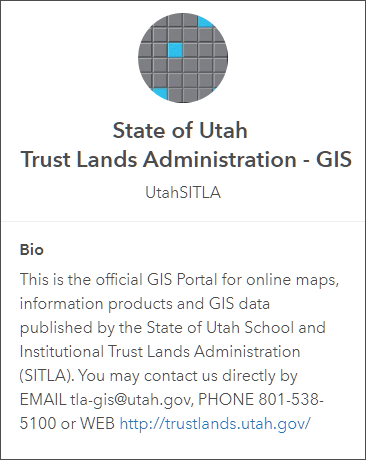
The State of Utah Trust Lands Administration is a well-crafted example of an organization profile. Note the official logo, contact information, and link to the organization’s website.
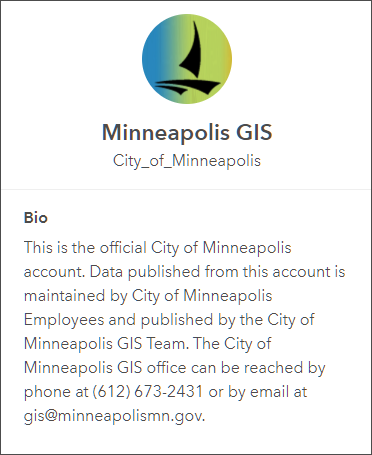
Below is a slightly different style than the profile above, but still indicative of an authoritative source with all needed contact information.
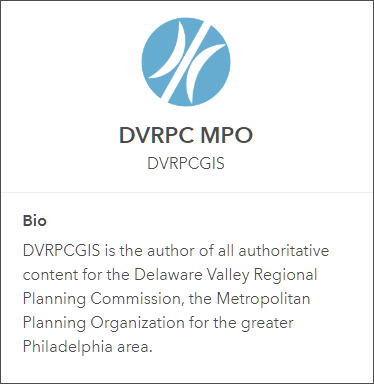
This is another good example, and it’s easy to identify this as an authoritative source. Contact information might be nice addition.
Your profile and your items and groups
Your profile also provides an easy way for anyone to view your public items and groups. Your profile represents you professionally, and reflects upon your organization. Item and group thumbnails and documentation also reflect upon you, your organization, and the veracity of your content. Best practices are always a good idea.
Below is an example of a good profile with easy to identify item thumbnails, all combining to create an impression of professionalism and curated content.

Groups
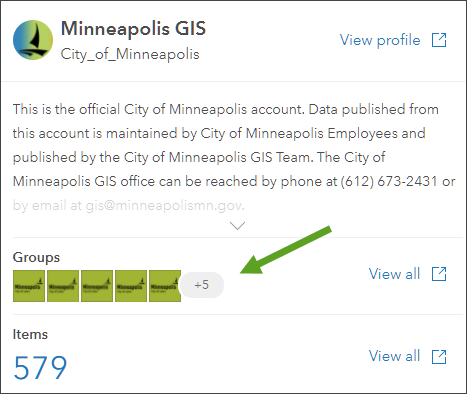
Remember that even your groups are very easy to find via your profile, so adding good thumbnails to groups is a good idea. The example below shows using standardized thumbnails for all the user’s groups.
Customize your profile gallery
A best practice, and all-around good idea, is to customize the display of the items you want to show with your profile. This is a good way to apply focus on your best or most useful items, whether you are editing a personal profile or a profile that represents your organization.
For more information and steps for customization, see Customize your item profile gallery.
Profiles for verified organizations
Another way to create a profile for your organization is to verify your organization. As an administrator with the appropriate privileges, you can request that Esri validate your organization’s identity by making it a verified organization. Verified organizations can designate items they have shared with everyone (public) as authoritative. Designating public items as authoritative makes it easier for others inside and outside your organization to find reliable, up-to-date content. These items are also boosted in search results and are returned when the Authoritative Status filter is applied.
When an organization is verified, the profile for shared items is different than a member profile. The profile shows the owner of the content and the item author, and instead of showing links to groups and items, it includes links to the organization home page and gallery.
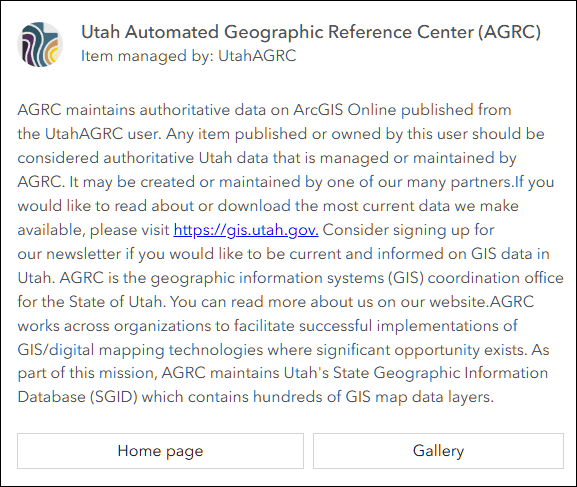
With a verified organization, it’s important that both your home page and gallery use best practices, and look their best.
Summary and more information
You can edit and update your profile at any time, so it’s never too late to put your best profile forward. By doing so you’re letting others know who you are, or who you represent, offering context for others who may want to use your shared items. Remember that your profiles enables others to see item and group thumbnails easily, all of which combine to create an impression. Attention to small details will ensure you have a great, professional impression.
For more information, see:
- Manage profile (Help)
- Put your best thumbnail forward (Blog)
- Customize your profile item gallery (Blog)
Commenting is not enabled for this article.