Use this tool to check that the individual cells of two rasters both cover the same ground before doing analysis on them. Displaying the inputs as rasters may not reveal any small shifts in their cell alignment. Representing their individual cell boundaries as polygons allows for easier visual comparison.
The Raster to Cell Boundaries tool converts a raster into polygon features. By default, it creates one polygon for each cell in the raster, so you can inspect cell footprints and check alignment. It can also add the raster cell value and geodesic area to each polygon.
Unlike the Raster to Polygon tool, which groups connected cells with the same value, the Raster to Cell Boundaries tool keeps individual cells separate. Adjacent cells remain separate polygons even when their values match.
Creating polygons from a raster
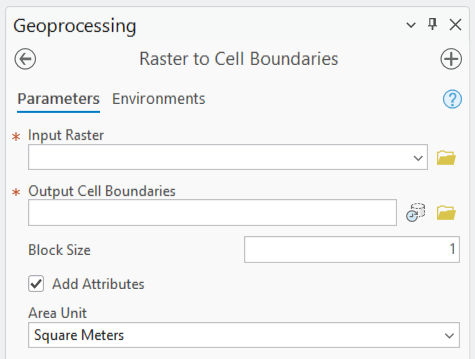
Search for the Raster to Cell Boundaries tool in the Geoprocessing pane, or find it in the From Raster toolset of the Conversion toolbox. Choose an input raster and specify a name and location for the output feature class. The Add Attributes and Block Size parameters are optional.
By default, Add Attributes is unchecked. A file geodatabase output contains the standard ObjectID, Shape, Shape_Length, and Shape_Area fields, without the raster cell value or geodesic area. These default fields depend on the output format.
You can use the Add Attributes parameter to include the raster cell value and the geodesic area of each polygon in the selected area unit. NoData cells are also represented in the output. In a file geodatabase output, their cell value is stored as Null, so you can identify these cells in the attribute table.
Leave the Block Size parameter at its default of 1 to create a polygon for each cell. To create a coarser version, use a larger number. A value of 2 creates polygons for 2-by-2 blocks of cells, value 3 creates polygons for 3-by-3 blocks, and so on. Smaller blocks are created along the right and bottom edges when the remaining cells do not fill a complete block. The output covers the analysis extent.
The Raster to Cell Boundaries tool uses the input raster’s cell geometry, so you do not need to enter a polygon size manually. The tool honors the analysis environments, so review Cell Size, Extent, and Snap Raster before running the tool, as these settings can affect the output cell boundaries.
Check alignment before comparing tree canopy cover
Suppose you have tree canopy cover rasters for 2000 and 2025, with each cell storing the percentage of ground covered by tree canopy, from 0 to 100. You want to subtract the 2000 values from the 2025 values using the Minus tool to calculate the change in percentage points over those 25 years. Before subtracting the values, you should first visually check that corresponding cells represent the same ground locations. Otherwise, a cell-by-cell comparison could compare canopy cover at different locations. Two rasters can have the same cell size but still have offset cell boundaries, particularly after resampling or reprojection.
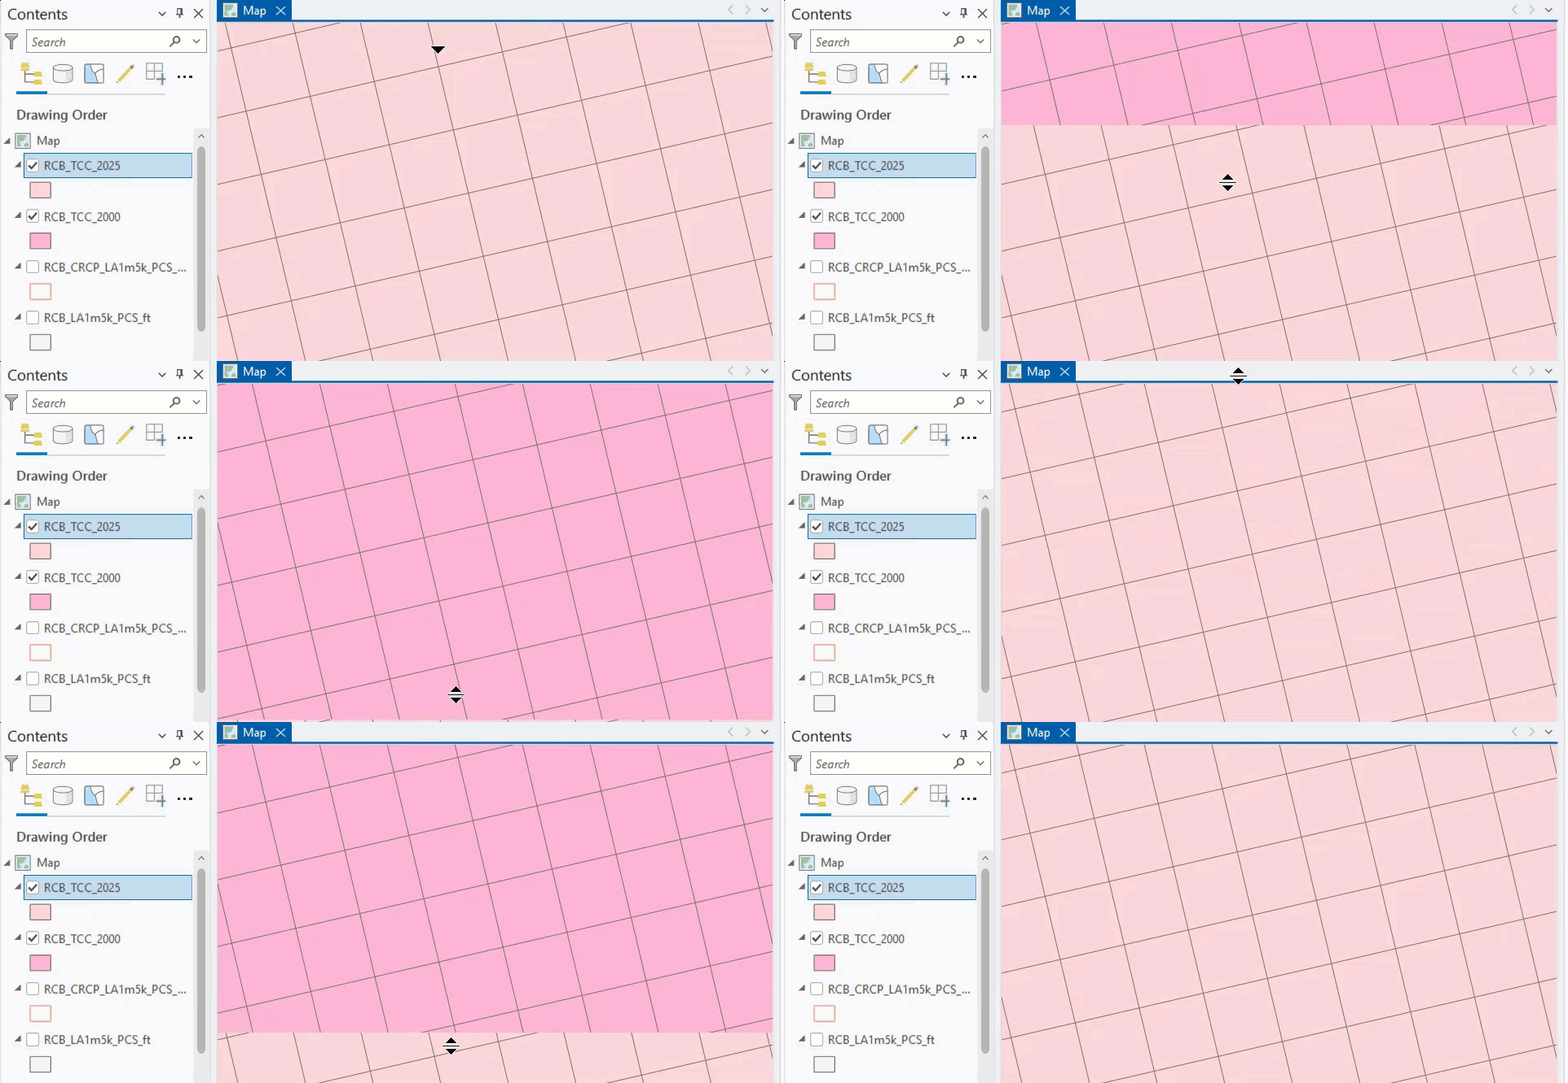
Run the Raster to Cell Boundaries tool on each raster with Block Size set to 1. Add the two polygon layers to the map, remove their fills, and use a different outline color for each year. Zoom in to compare the boundaries. In this example, the outlines are offset: the cells in the 2000 raster do not cover exactly the same locations as those in the 2025 raster. That difference is difficult to see from the raster display alone, but becomes clear in the polygon overlay.
Summary
Use the Raster to Cell Boundaries tool to inspect raster cell alignment before comparing cell values. Displaying the polygon outlines together helps you see whether corresponding cells cover the same ground.

Article Discussion: