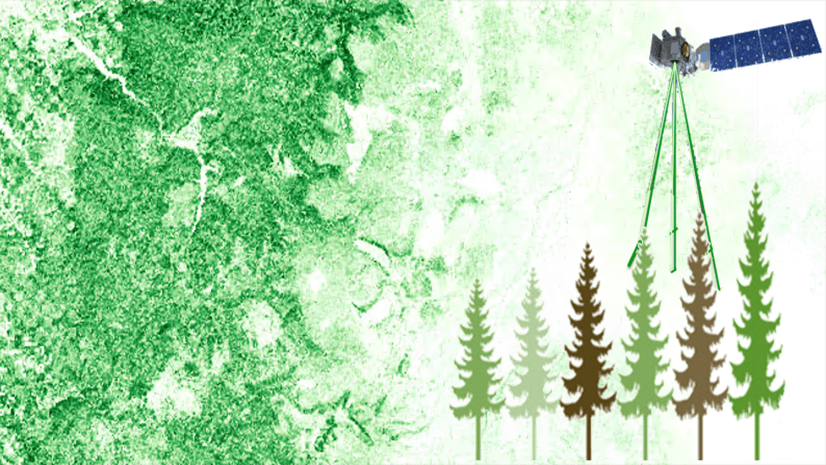
Global Ecosystem Dynamics Investigation (GEDI), a laser altimetry satellite launched by NASA, produces high resolution lidar point data of the 3D structure of the earth such as canopy height and surface elevation. Data from this mission provides valuable sources for modeling and prediction of canopy height or biomass, which are important in forest management and carbon cycling studies.
NASA offers various GEDI products from the GEDI mission, and ArcGIS supports all of its Level 2 and above products. L2A, L2B, and L4A are trajectory point data supported through the trajectory dataset, while L3 and L4B are gridded data supported through multidimensional raster. This blog will guide you through the process of ingesting GEDI trajectory point data into ArcGIS. The extracted point data can then be utilized as training data for biomass mapping.
Where to access GEDI data?
GEDI data is hosted by both NASA’s LPDAAC and ORNLDAAC centers. I recommend using the Earth Data search portal to access the data because it provides a user-friendly interface for defining your area or time of interest. You can download the data using the provided script or retrieve S3 paths with accessing credential for direct access in the cloud. Below are a few key steps to access the data.
1. Login to the Earth Data Search portal.
2. Search for the GEDI product with “GEDI L4A” as keyword, choose the GEDI L4A product, and define time and area of interest.
3. Download data. For the search result, you can choose to download files to your machine, or save a file containing s3 paths to the selected GEDI datasets for direct cloud access.
Process GEDI data in ArcGIS Pro
The trajectory dataset is a data model developed in ArcGIS Pro 3.1 for managing trajectory data, with support for GEDI data type added in ArcGIS Pro 3.2. To work with GEDI data into ArcGIS Pro, you will use the trajectory dataset tools. Follow these steps to create a trajectory dataset from GEDI trajectory data:
Step 1: Create an initial trajectory dataset using the following geoprocessing tool:

Step 2: Ingest data into the trajectory dataset using the Add Data to Trajectory Dataset tool:

- Ensure to set GEDI trajectory type properties and input data accordingly. If you work with L4A product, set the product filer as GEDIL4A and select Aboveground Biomass Density variable as shown below, and you can also choose all tracks or tracks of your interest.

- For input data, set the folder path containing the downloaded files in your machine. If you choose to access the files in AWS directly, and have downloaded the file containing the S3 paths, convert the file to an .csv file, create a cloud store connection file with the provided credentials, and replace the S3 path with the path of cloud store connection file, as shown below:

Here, “earth_data_gedi.acs” is a cloud store connection file to the GEDI product in AWS. This csv file can then be used as input in the Add Data to Trajectory Dataset tool, creating a trajectory dataset directly references these GEDI files in AWS.
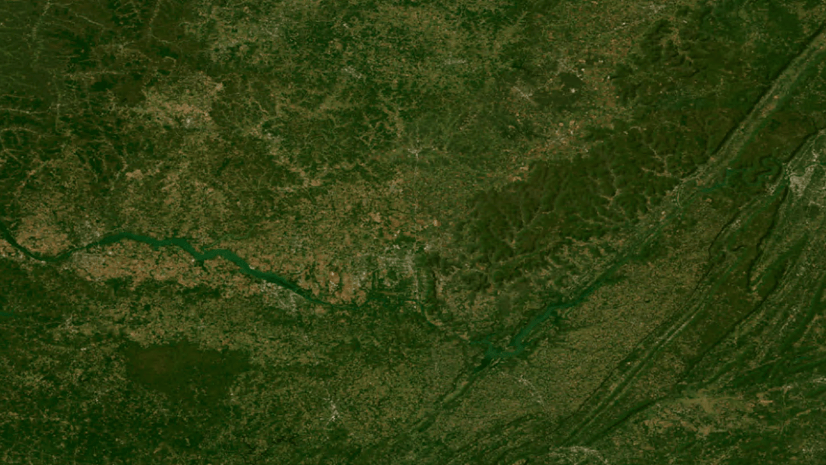
Below is the trajectory dataset created from GEDI L4A data, where green lines represent the footprints of sensor’s trajectories.

Step 3: Extract points of your area of interest
In addition to the footprints, a trajectory dataset also includes a point layer that references the point data in the GEDI files. You can use the Clip tool to extract the points of interest to a feature class.

Below is the output point feature class containing the above ground biomass variable, which can serve as ground truth data in further biomass modeling.

The same workflow can be applied to the L2A product to extract canopy height variable or L2B product to retrieve variables such as canopy cover fraction and lead area index.

Article Discussion: