Contour lines show you the overall terrain of a place by connecting equal elevation (or whatever data you happen to be mapping). They do a lot of things well, like showing the angle and steepness of a slope, and providing a sense of the landscape’s roughness and topographic general patterns. But there’s a bit of a weakness. In complex areas, it may not be clear (especially when looking close at large scales) if the slope is headed up or down. Valleys can look like ridges, hills can look like depressions, etc.
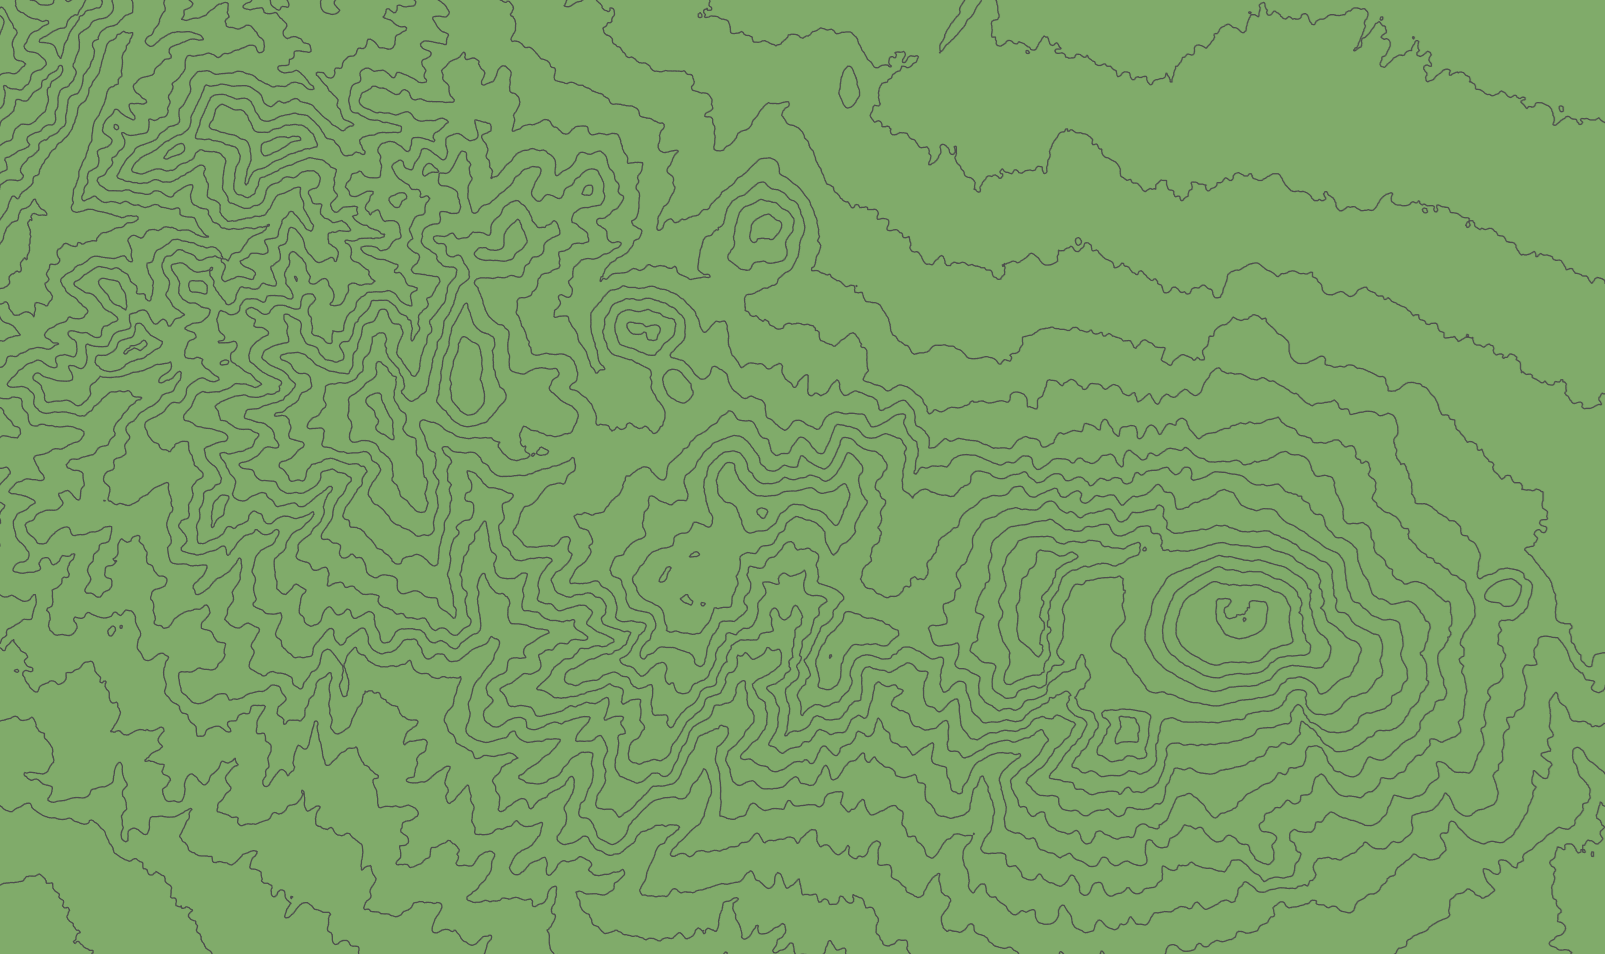
But we can “illuminate” contours to give them an implied sense of uphill and downhill. When we peer straight down at a map, our visual systems generally assume a light source in the top-ish left-ish. So if we hack this assumption and bake a bit of light (top-left facing) and dark (bottom-right facing) into our contours, we create an almost 3D sense of terrain. All with simple contours, a bit of imagination, and a blend mode.
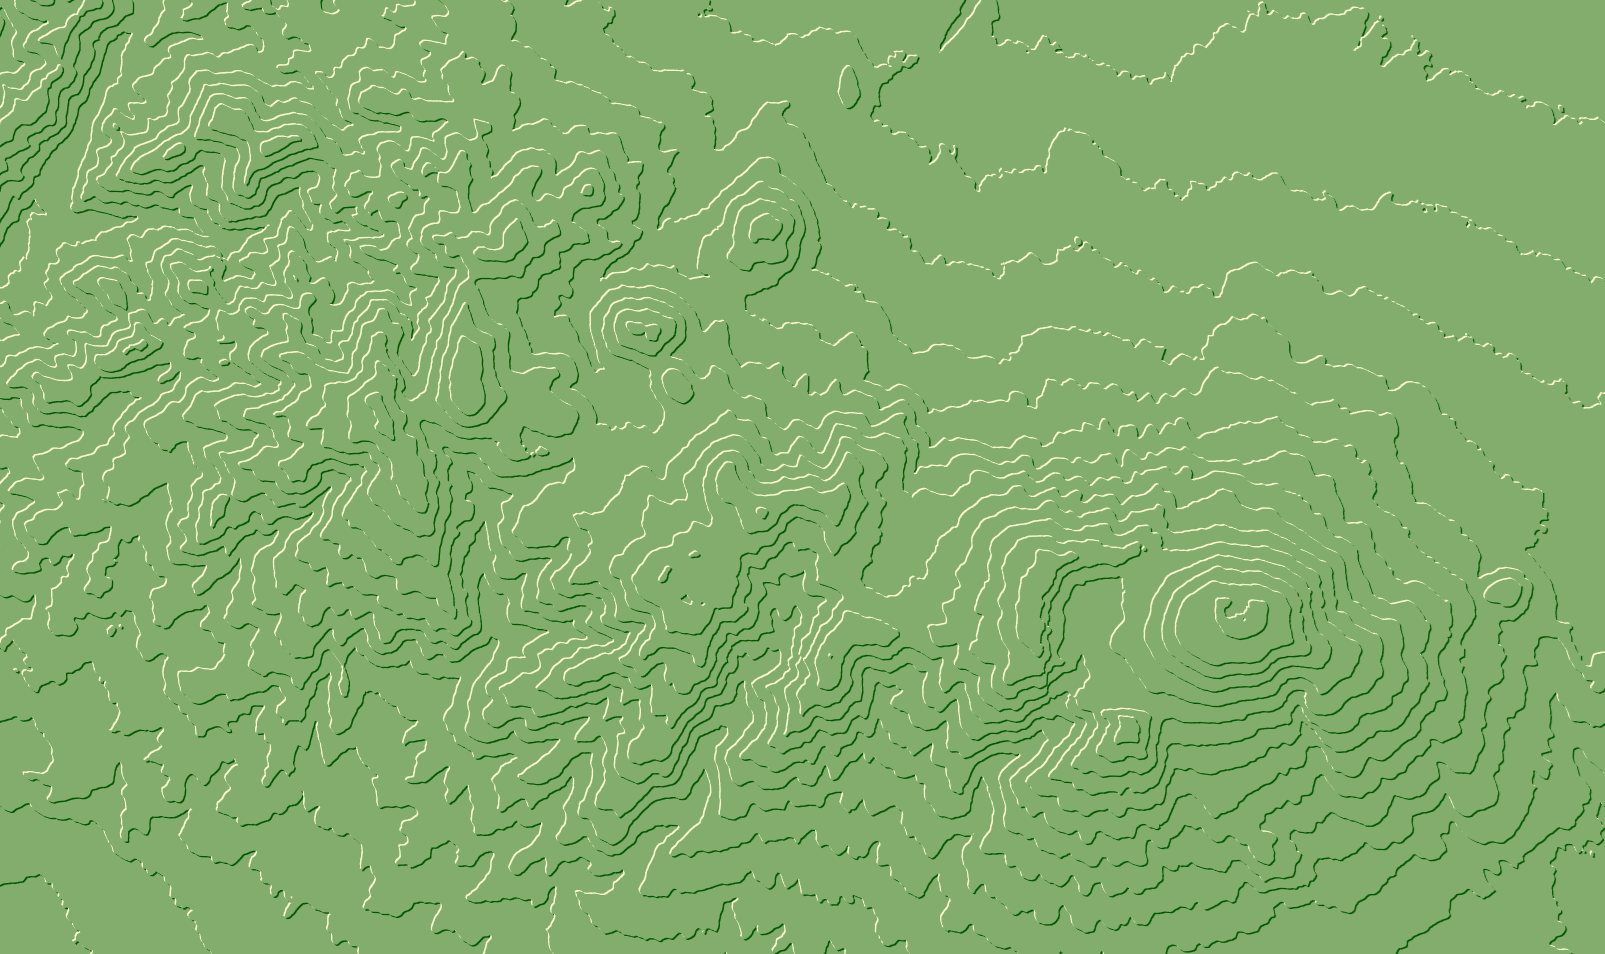
It’s a lovely effect and incredibly useful technique. Illuminated contours are often called Tanaka contours after Kitiro Tanaka, a professor who defined the math to describe the technique in the 1950s. There are a handful of examples of illuminated contours that predate this, but they were rare and manually defined.
Here is a step-by-step process for creating the visual effect of illuminated contours, using laminar contour polygons, in ArcGIS Pro.
0:00 Data wrangling and contour creation
1:03 Invisibility cloak gray
1:35 Hacking light and shadow bands
2:17 Invisibility cloak activated
And that is how you can turn contour elevation polygons into illuminated, or Tanaka, contours. Here are a couple examples of it atop various backgrounds.
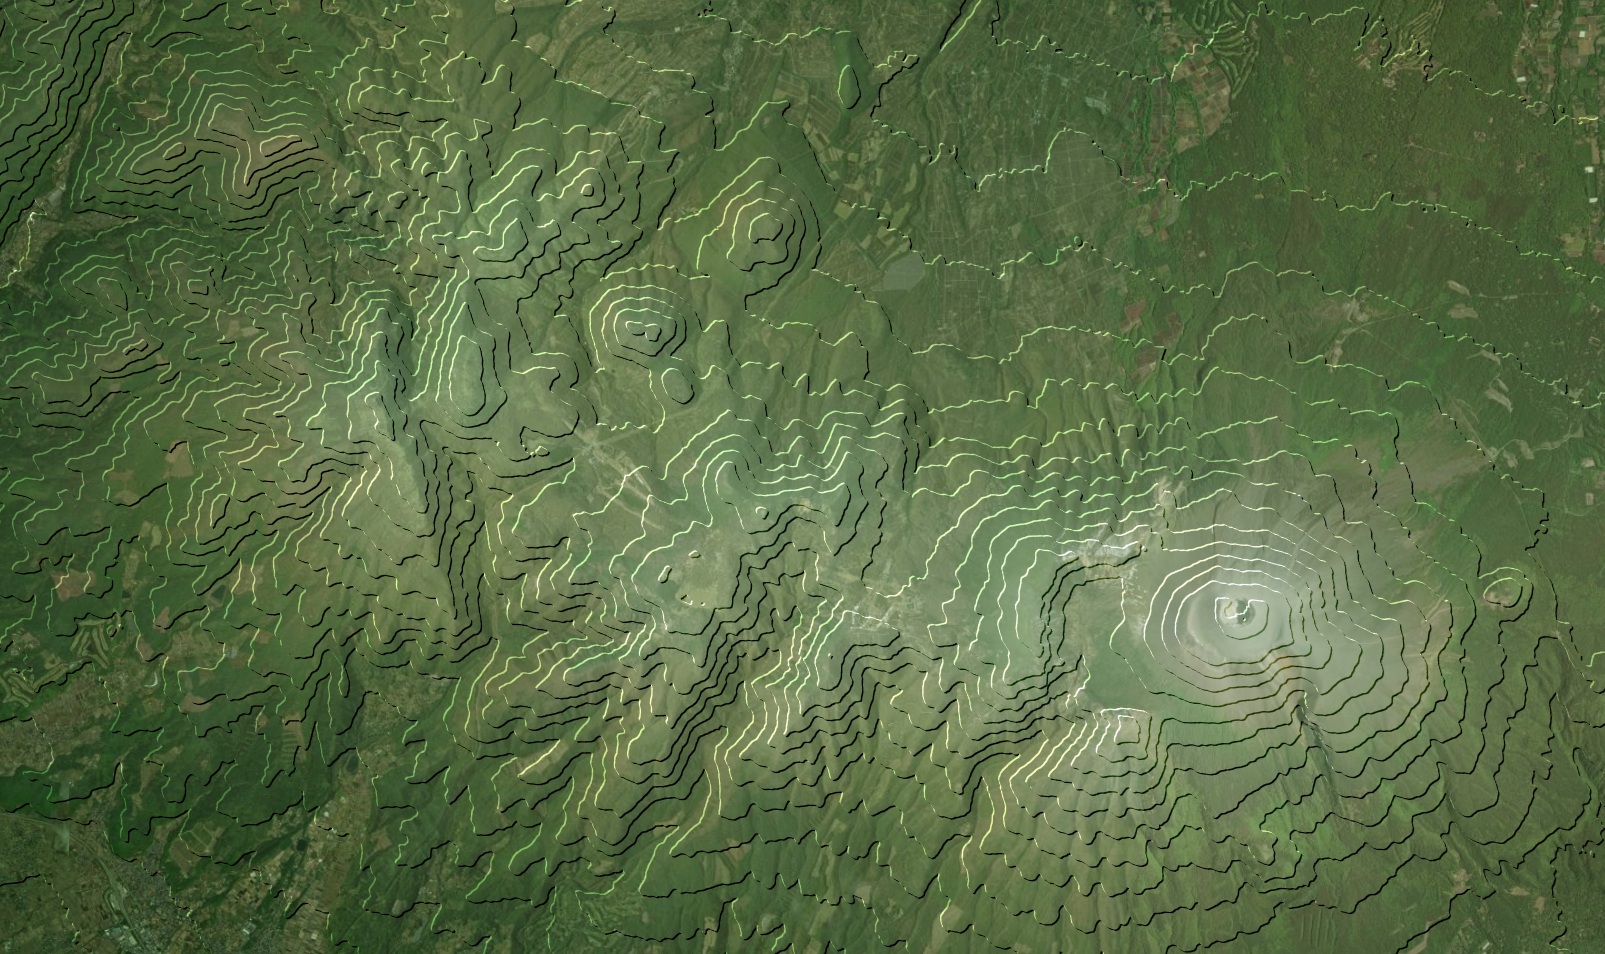
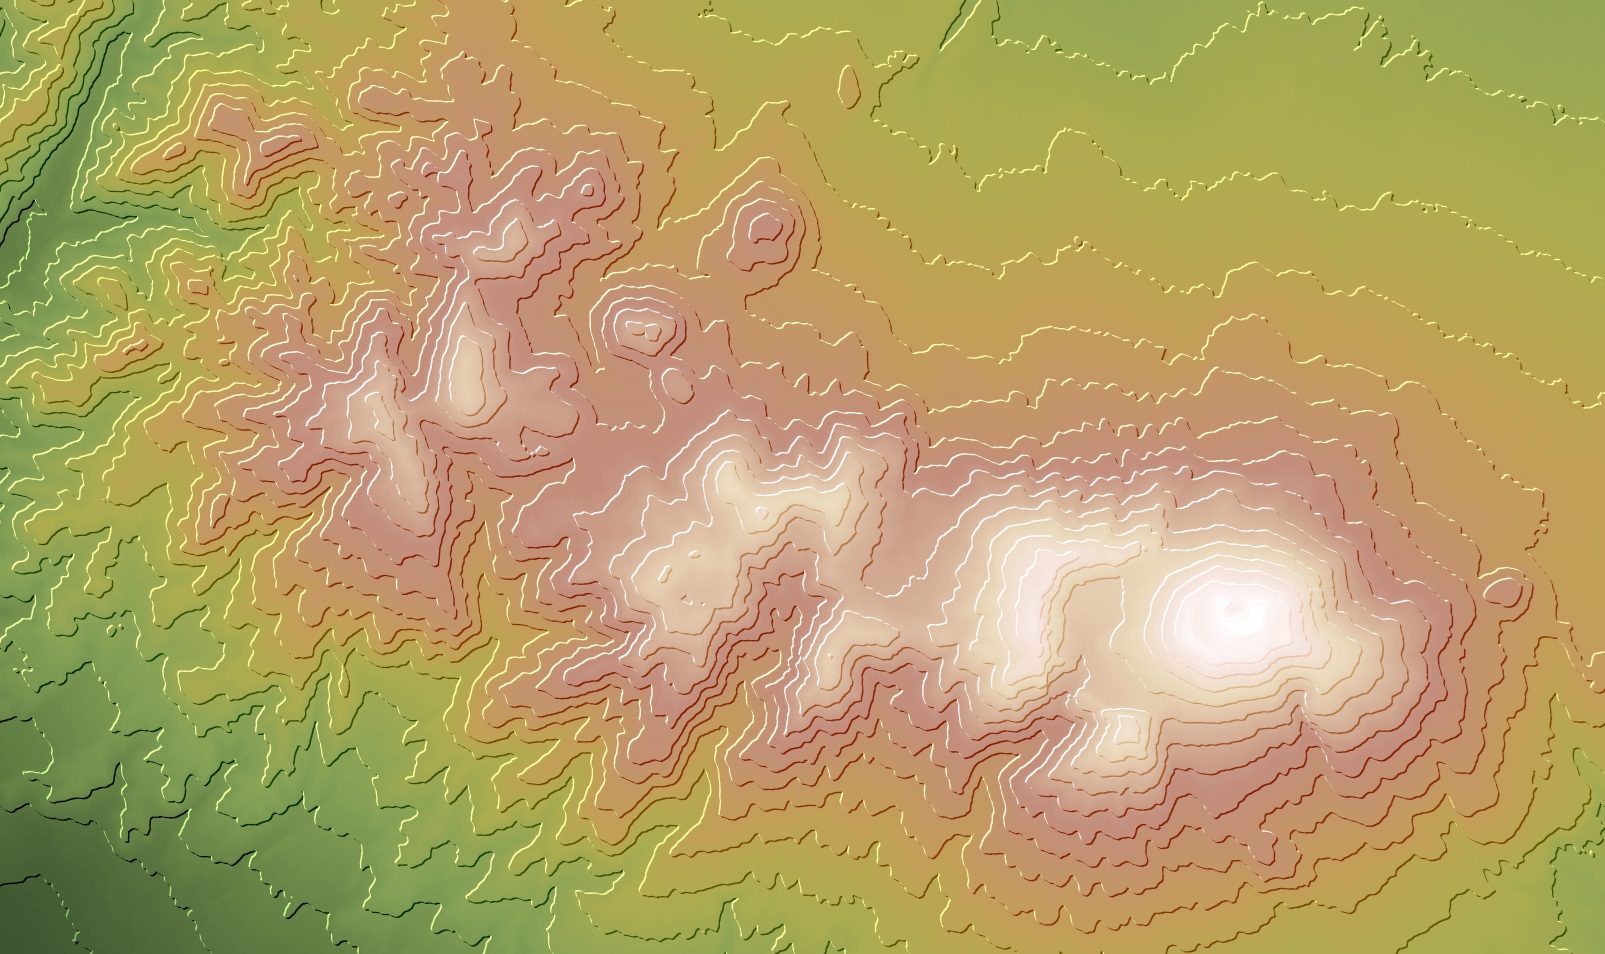
Thanks for watching, I hope you carve up some contour polygons and illuminate your map’s terrain!
Love, John
P.S. If you’re thinking, “hey, this technique is additive in that it moves the highlight a point to the northwest and the shadow a point to the southeast” you’d be right. That means our contour bands are effectively growing by a point in those directions. If this bothers you, you can add a global offset effect to the layer and give it a value of -1 (or -0.5 if it looks better to you), which will snug it back in to its original visual dimensions. Up to you!

Article Discussion: