Yes, yes, maps are spatial communication devices and we can obsess over precision and clarity. But it all depends on your map’s purpose. Maps are also designed objects so they can carry within them the power of sentiment. Memory, joy, nostalgia. Or just plain old wonder and curiosity.
Here’s how you can create a charming cross stitched map that might stop your audience in their tracks and make them want to reach out and touch it. And we’ll do it in ArcGIS Pro.
Here is a rundown of the steps…
Adding data from Living Atlas
Making the fabric base
- Give Global Background a picture fill using this image
- Set the size to 16 pt
-
Symbology panel’s structure tab: add marker symbol, remove other symbols
-
Layers tab: choose the line symbol from the shapes dropdown
-
Size: 12 pt
-
Rotation: 45
-
Marker Placement: remove if center outside
-
Set the x and y steps to 12
- From the “shape line symbol” dropdown, choose “format line symbol”
-
Size to 2 pt, and pick some vibrant color
-
Cap type: round
-
Structure tab: add “wave” effect
-
Duplicate the line symbol layer twice
-
Layers tab: top line 0.75pt, white 50% transparent
-
Middle line: set wave type to random
-
Bottom line 4pt, black 70% transparent
-
Lock the two non-color layers
-
Structure tab: duplicate symbol layer
-
Layers tab: change rotation of one symbol layer to -45
-
Save symbol to style
-
Set primary symbology to unique values (and add all values)
-
Oh no we lost the stitches! Click the “more” dropdown and choose “format all symbols”
- Pick the recently saved cross stitch symbol from the Gallery tab
-
Hit the back button and re-select a color scheme from the dropdown
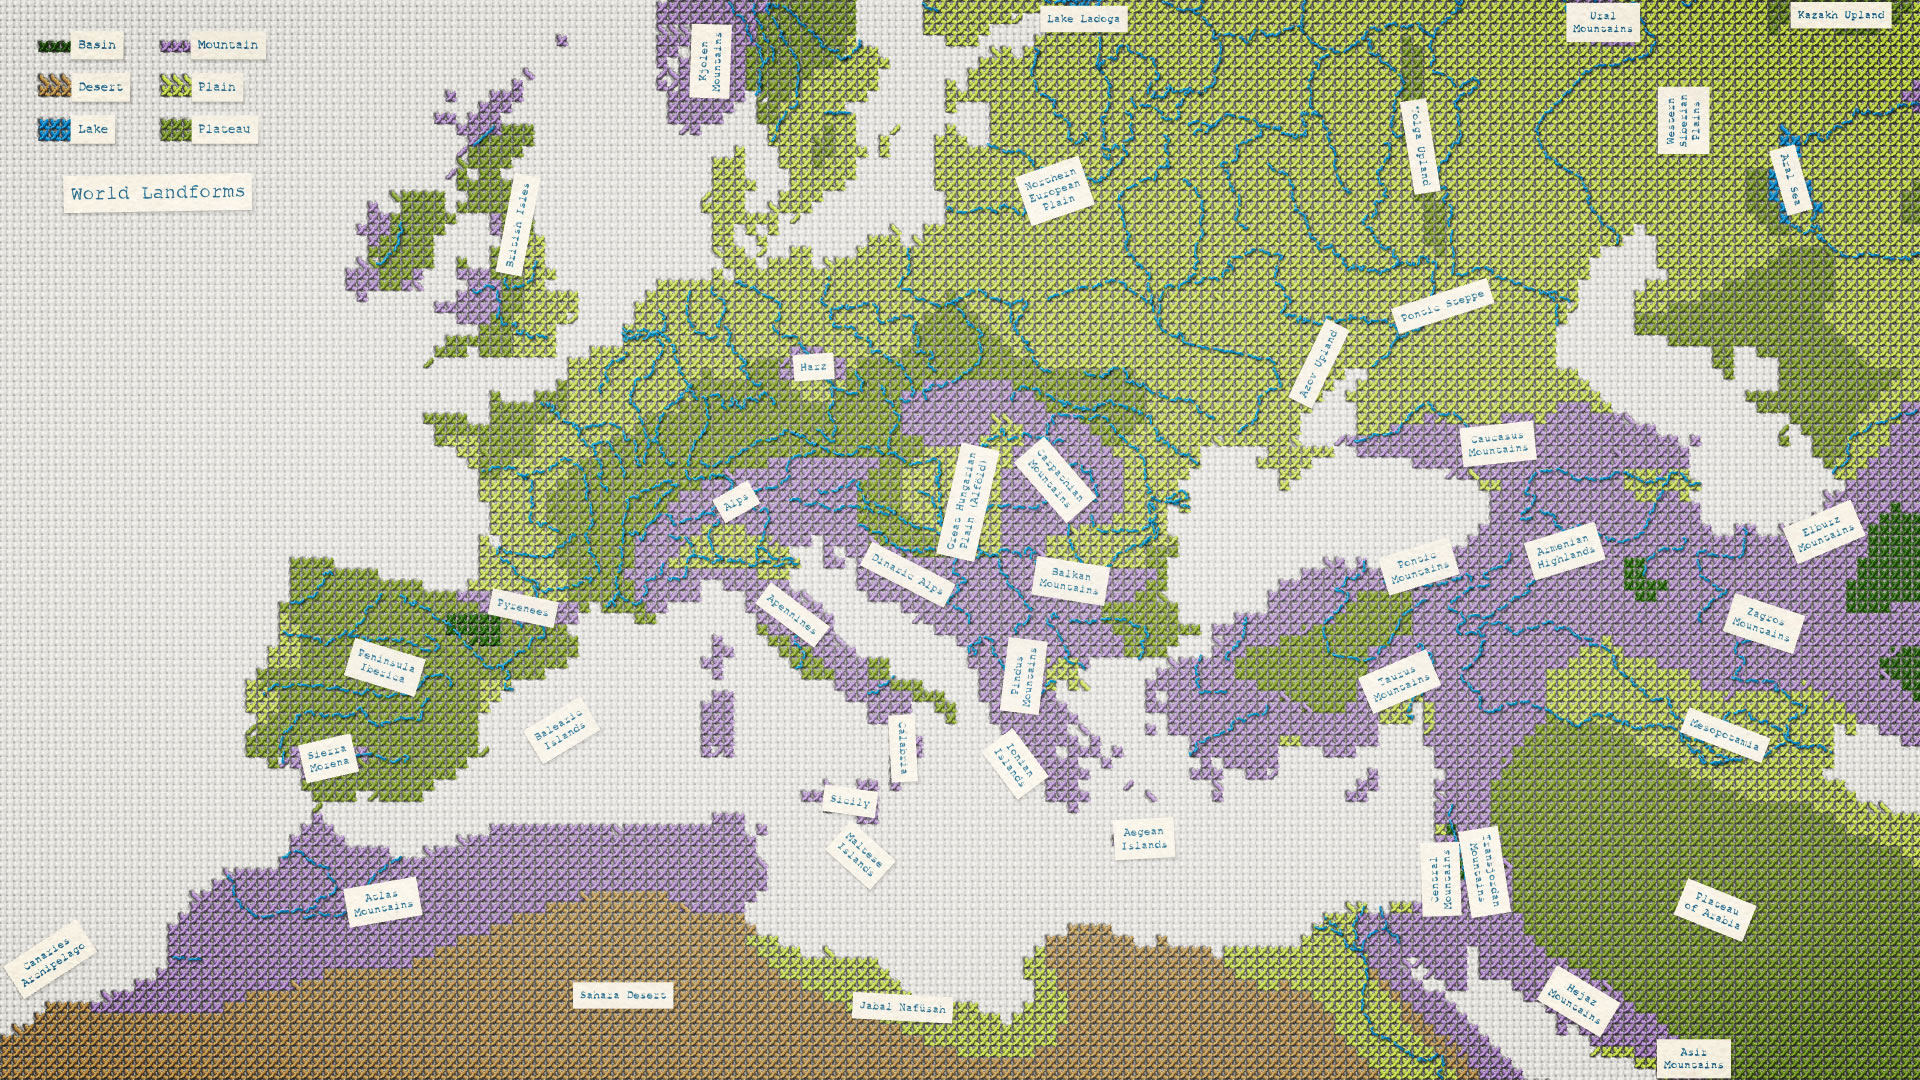
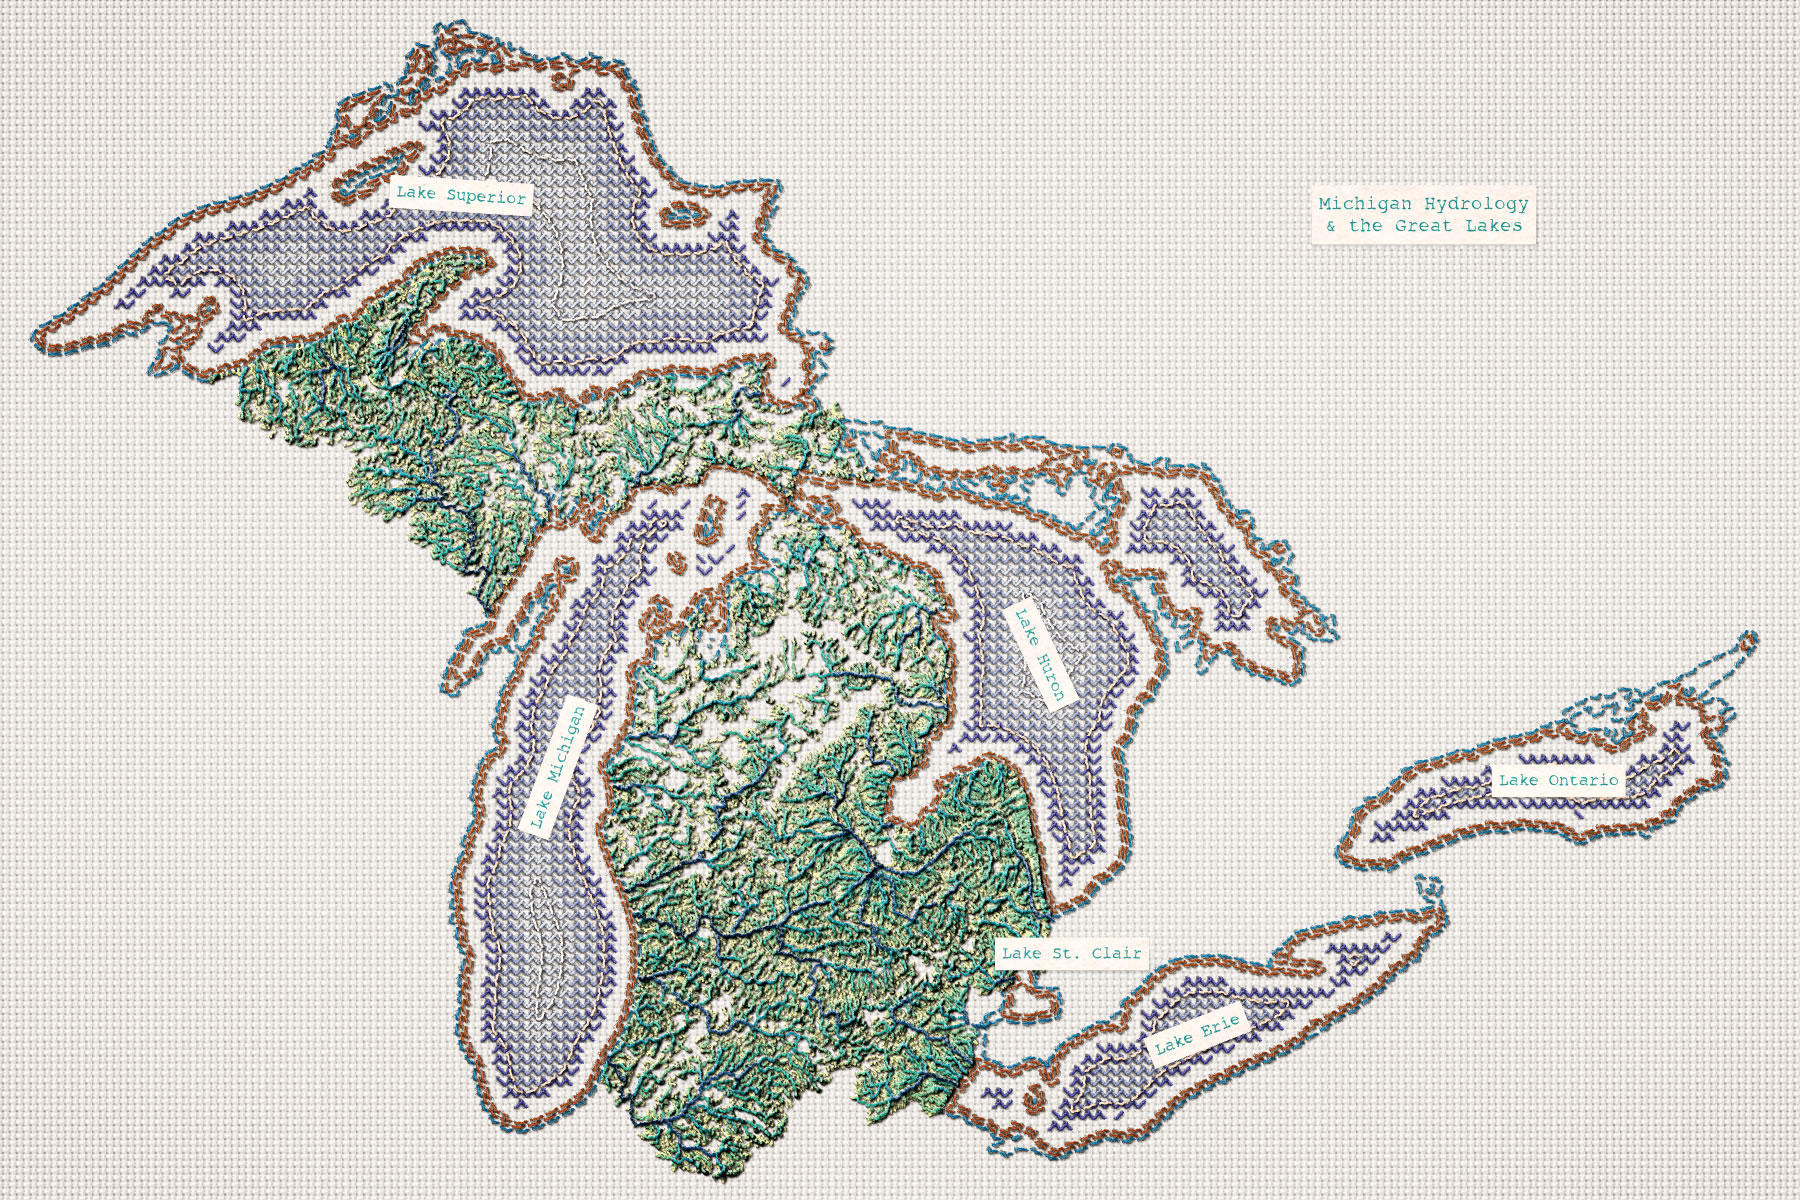
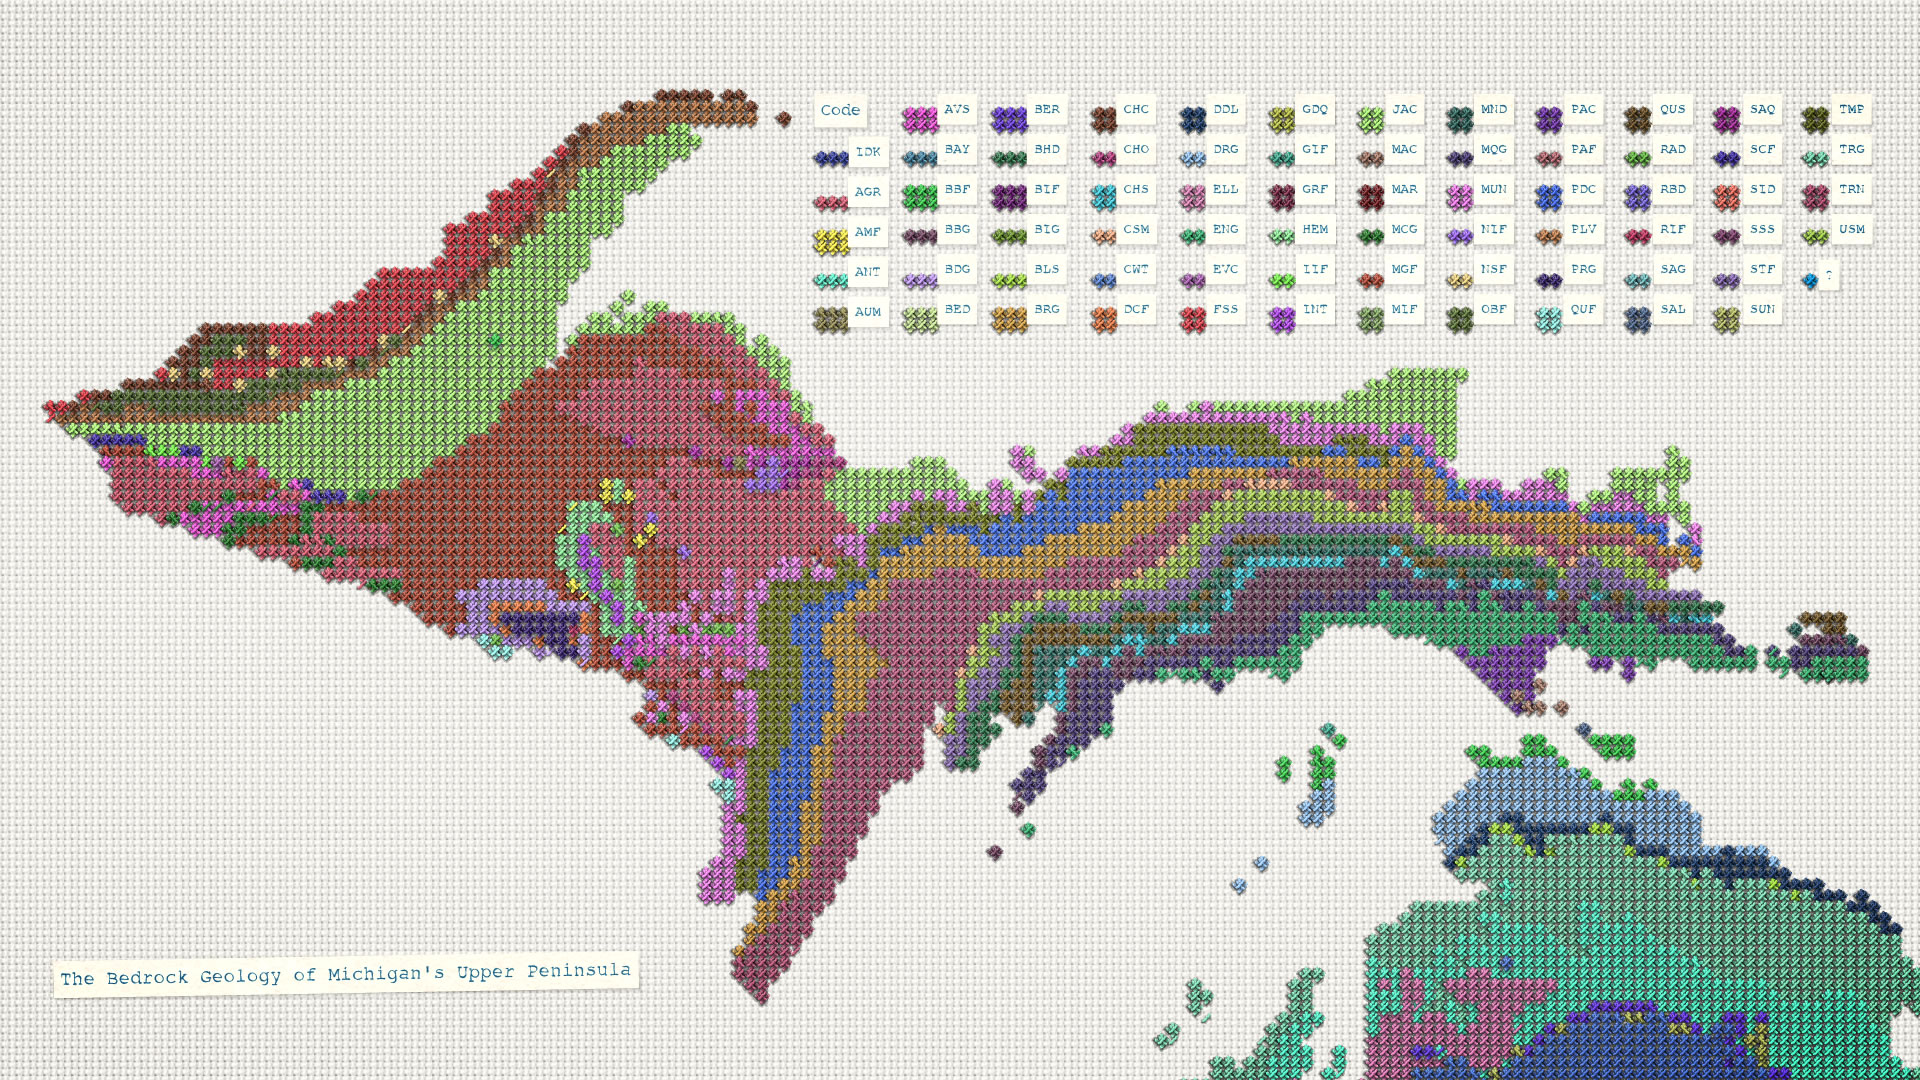
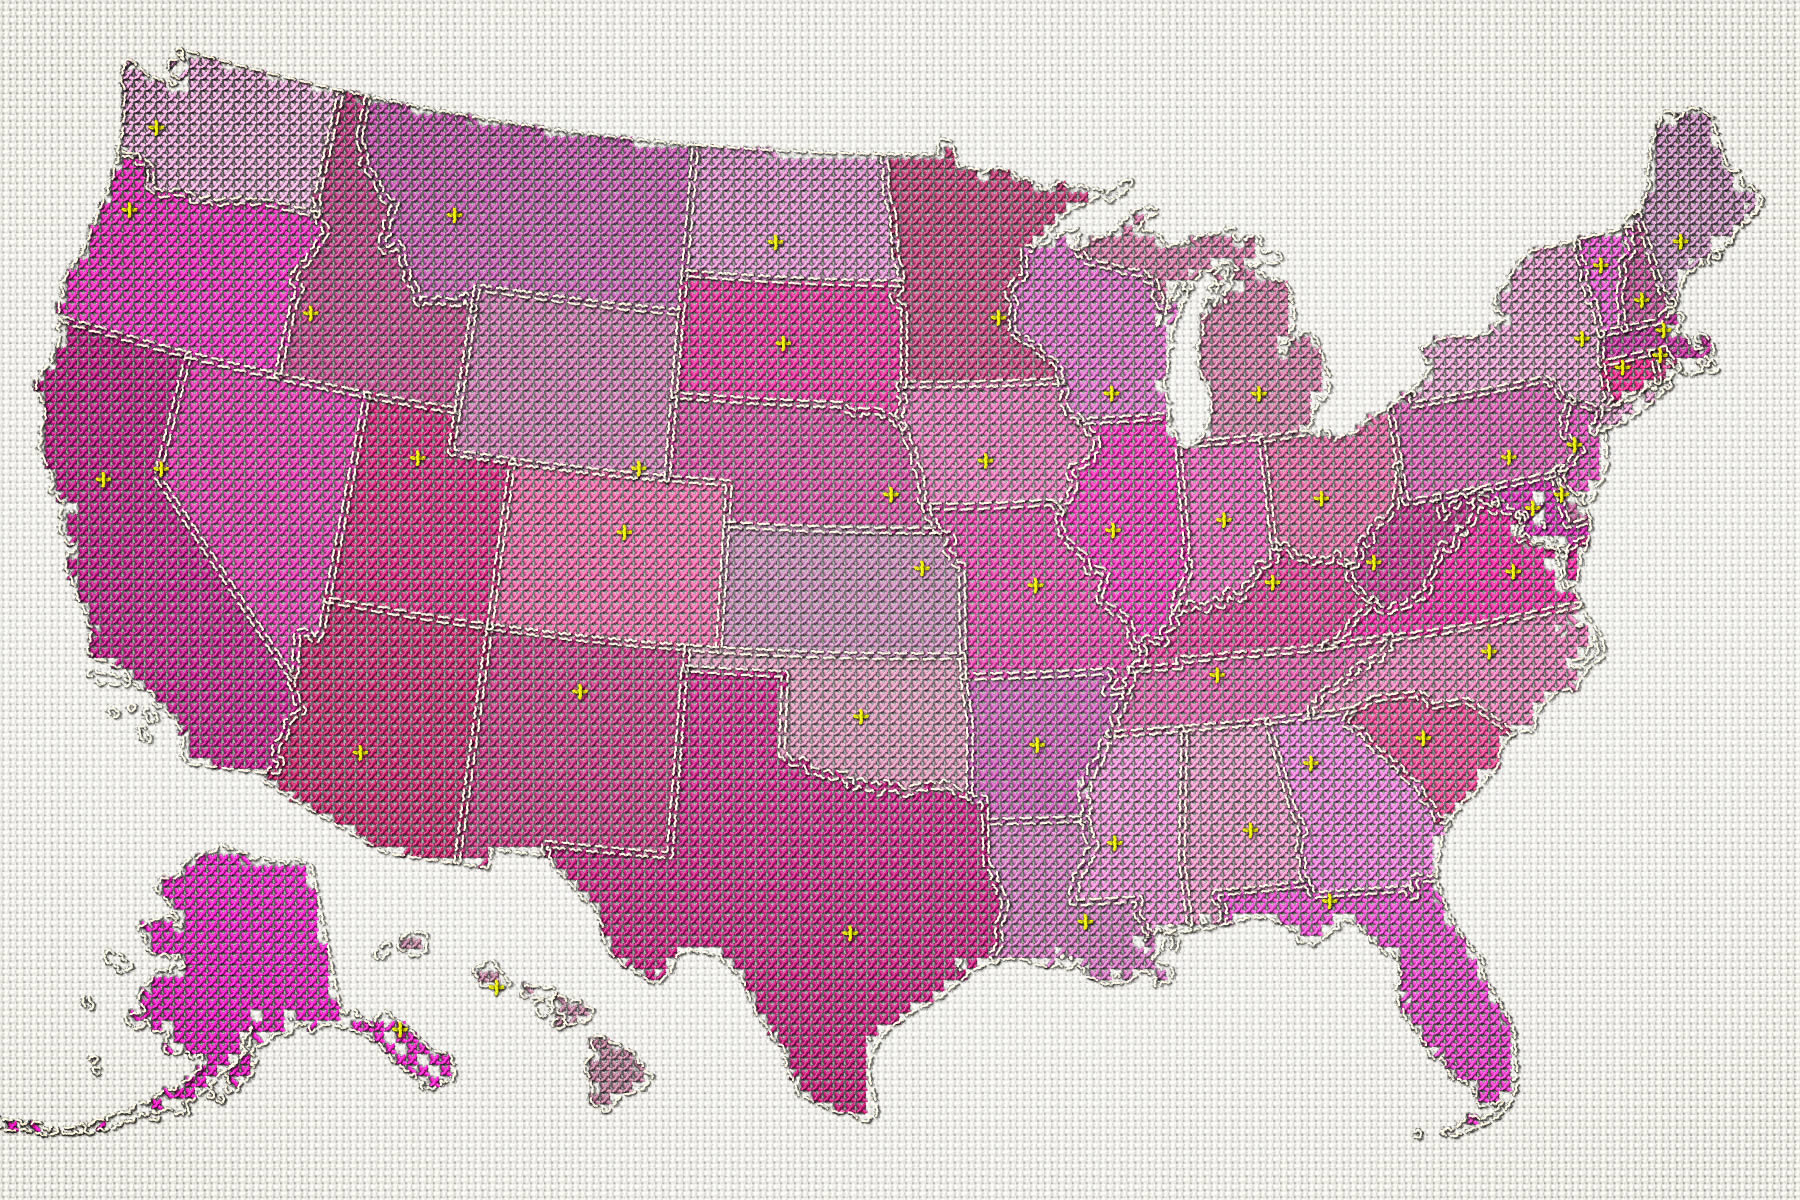
You have crossed the first stitch in imbuing maps with nostalgic wonder and tactile charm. Have fun with it, my friends! Also, if you’d rather just download a Cross Stitch style I’ve made for ArcGIS Pro, you can find that here. Here are some other fun cross stitched maps wrought in ArcGIS Pro…


This is super cool! It’s got me thinking of the many “fabric” metaphors used in talking about social structures and communities. Maybe could even be used to represent where certain textile materials are grown and processed. I feel inspired to cross-stitch a map of my hometown now!