The street realm has always been a fundamental part of urban planning and urban design.
From the assignment of space to different uses, to the level of service required, every aspect contributes to building an efficient system.
These qualities have a big impact on any place’s identity. If we aim to create healthy and livable urban landscapes for people to live in, streets can’t be overlooked.
In order to put together their vision, planners need to work in a precise and flexible way, so that different ideas can be tested.
Street Designer was developed to make this process easy and, why not, even fun!
What is Street Designer?
Street Designer is the new tool to create and manage street configurations in ArcGIS CityEngine.
Draw your streets, apply the desired configuration, and you’re ready to go.
A street configuration is a combination of different lanes, such as sidewalk, vegetation, or car lanes.
These are typically outlined as 2D sections, but in CityEngine we can also represent them in 3D along a street segment.
This is just the tip of the iceberg; the true potential of Street Designer lies in the creation of customized configurations to meet specific demands.
Keep reading to learn how we can use it to create almost any kind of street.
Parts of a street segment
Before we dive into creating street configurations, we should understand the parts of a street segment.
Basically, every street segment is subdivided into independent lanes, and lanes might belong to the “sidewalk” or the “roadbed” group.
Long arrows indicate the travel direction of the whole segment, while short arrows indicate the direction of each lane.
Create your own configurations
Fire up Street Designer
Once we have our network drafted, we may access the Street Designer tools by clicking on its icon in the Toolbar.

Add, remove and edit lanes
Simply hover on a street segment to interact with the individual lanes directly in the viewport.
From the tool window, it’s possible to perform the most basic actions like “Add“ and “Remove”, or “Edit” to move, copy and adjust the lane width.
Lane parameters
Select a lane to access its Lane Parameters in the Inspector.
Here we may enter the Lane Width value directly and set the Travel Direction.
Applying lane rules
The updated Esri.lib folder comes with a whole new set of lane rules, especially created for Street Designer.
These rules have been thoroughly developed to work with specific lane types such as bus, cars, bikes, sidewalks, vegetation, etc.
Use the Navigator to browse through the rules, and drag them directly onto the lanes to apply them.
Keep in mind:
Rules can be applied to “roadbed” or “sidewalk” lanes indistinctly. For example, we could apply a Sidewalk_Lane.cga to a “roadbed” lane to create a pedestrian boulevard in the central part of the street section.
Adjusting the rule’s attributes
Once we apply the desired rule to the lane shape, we can start adjusting attributes in the Inspector panel.
Here it is important to distinguish between the “main” attributes section, and the “detailed” attributes section.
The “main” attributes are always on top, under the dropdown labeled with the rule name.
Here, we find the most important and frequently used attributes.
On the other hand, the “detailed” attributes below refer to more specific parameters we don’t need to adjust as often.
It’s important to mention that attributes set in any of the “detailed” sections do override those in the “main” section.
Therefore, it’s good practice to always modify our attributes in the “main” section and only tweak the attributes in the “detailed” section if no shortcut to them is available in the “main” section.
In any case, the number of attributes has been narrowed down to the essentials, and they are quite self-explanatory.
Let’s have a look at some examples:
Vehicle lanes
This folder includes rules for typical travel lanes like Car, Bus, Bike or an “Unmarked” lane. Each rule is driven by specific attributes in both main and imported sections to allow a high level of customization.
Sidewalk lanes
The sidewalk lane rules cover the most common use cases for sidewalks. They include assets like streetlamps, furniture, and bollards. These are all driven by easy-to-set-up attributes that ensure a high level of control over curbs, crossings, and materials.
Parking lane
Choose from parallel, perpendicular, or diagonal parking types. Add vegetation islands, bike racks or simple curb extensions to your configuration.
The parking lane rule even displays warning symbols when the lane isn’t wide enough to host the configured slot dimensions.
Vegetation lanes
Use Vegetation_Buffer_Lane rule for continuous green stripes, or Sidewalk_Plant_Lane for distributed planters along the sidewalk.
Pick your preferred tree or shrub asset and adjust the parameters to your specifications.
Buffer lane
A buffer lane is typically placed to provide spacing, like next to a bike lane for additional security or at the sides of the road to create shoulders.
Make it a simple empty space or pick from different patterns and bollards to create the buffer lane your design requires.
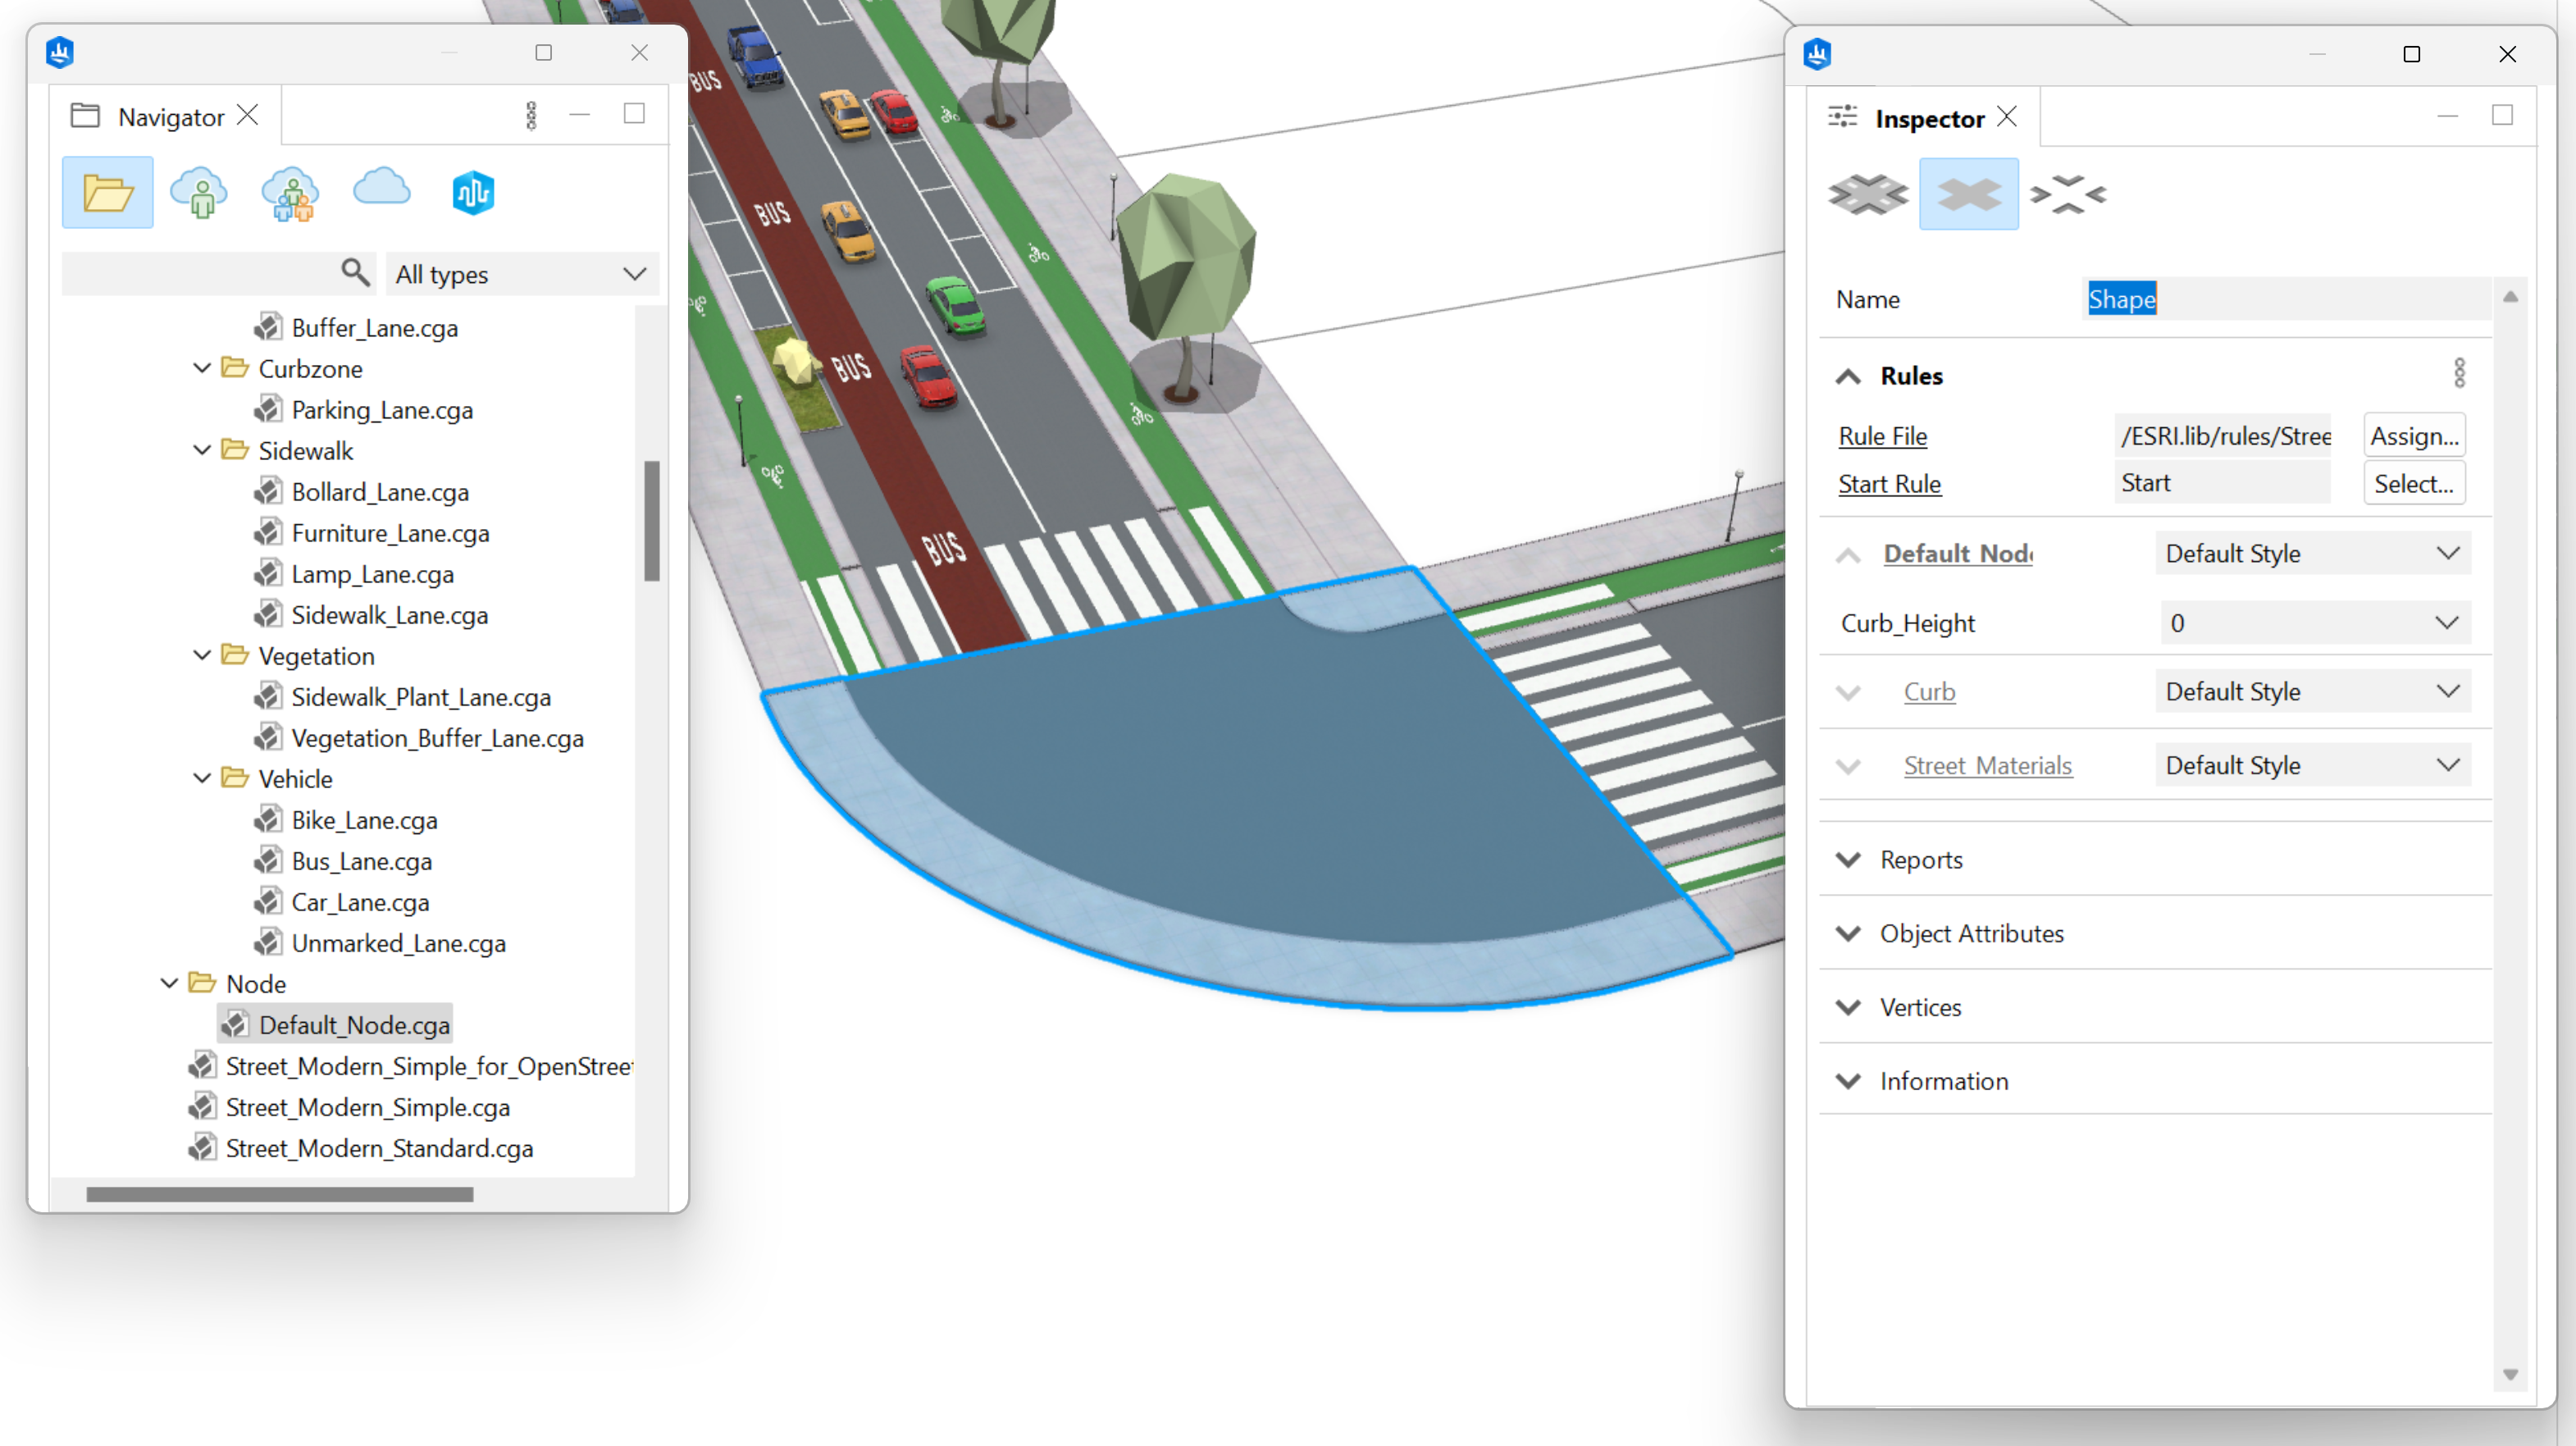
Nodes
The Default_Node rule creates a generic node with no markings at the intersections.
However, materials and curb height can be adjusted to match the straight segments.
Keep in mind:
It is possible to adjust attributes for a multiple lane selection, but the selected lanes must have the same rule applied and must all belong to the same group “roadbed” or “sidewalk”.
Organize your street configurations
Now that the lane rules attributes are configured the way we need them, it’s time to use the Street Configuration Panel to store and manage our street designs.
Create a new configuration
Just select the street segment we want to store and hit the “+” button to store the selected configuration in a new tile.
Manage your configurations
You can use the following configurations by using the small buttons on the top of any configuration tile: Update, Select in Viewport, Duplicate or Delete.
The currently assigned configuration to the selected segment is outlined with a blue border.
If you delete a street configuration that is being used for segments in the scene, don’t worry! The connection with the street configuration will be lost, but the appearance of the segments won’t be affected.
Import configurations
Street configurations are automatically saved in the scene file. This means, every time we save our scene, we also save the street configurations.
However, we might want to import street configurations from another scene.
To import configurations into the current scene, just right click on the source scene file in the navigator panel to access the import option.
From here, we can simply select the configurations we want to import.
Summary
Street Designer represents a huge leap forward for transport network creation in CityEngine.
Its modular approach makes it much easier to manage than older solutions with an overwhelming number of attributes.
The lane-based system also simplifies export workflows to game engines.
And this is just the beginning. Street Designer will continue evolving as a tool in upcoming releases. The rules and material catalog will expand to help users materialize their ideas.
Don’t forget to check out the latest CityEngine What’s New video and the official documentation for more detailed information.
We can’t wait to see how you harness CityEngine’s procedural power using Street Designer in your projects!
Try ArcGIS CityEngine (which includes access to ArcGIS Urban) or view purchasing options.


Article Discussion: