When you first start building custom widgets in ArcGIS Experience Builder, the goal is to make it work. However, once you add more user interface (UI), maps, and interactivity, things can start to feel sluggish. Load times increase, interactions lag, and the app’s responsiveness takes a hit. This is when optimization matters.
We’ll look at one of the factors in how to keep your Experience Builder widgets fast and efficient using the three main component systems in your apps:
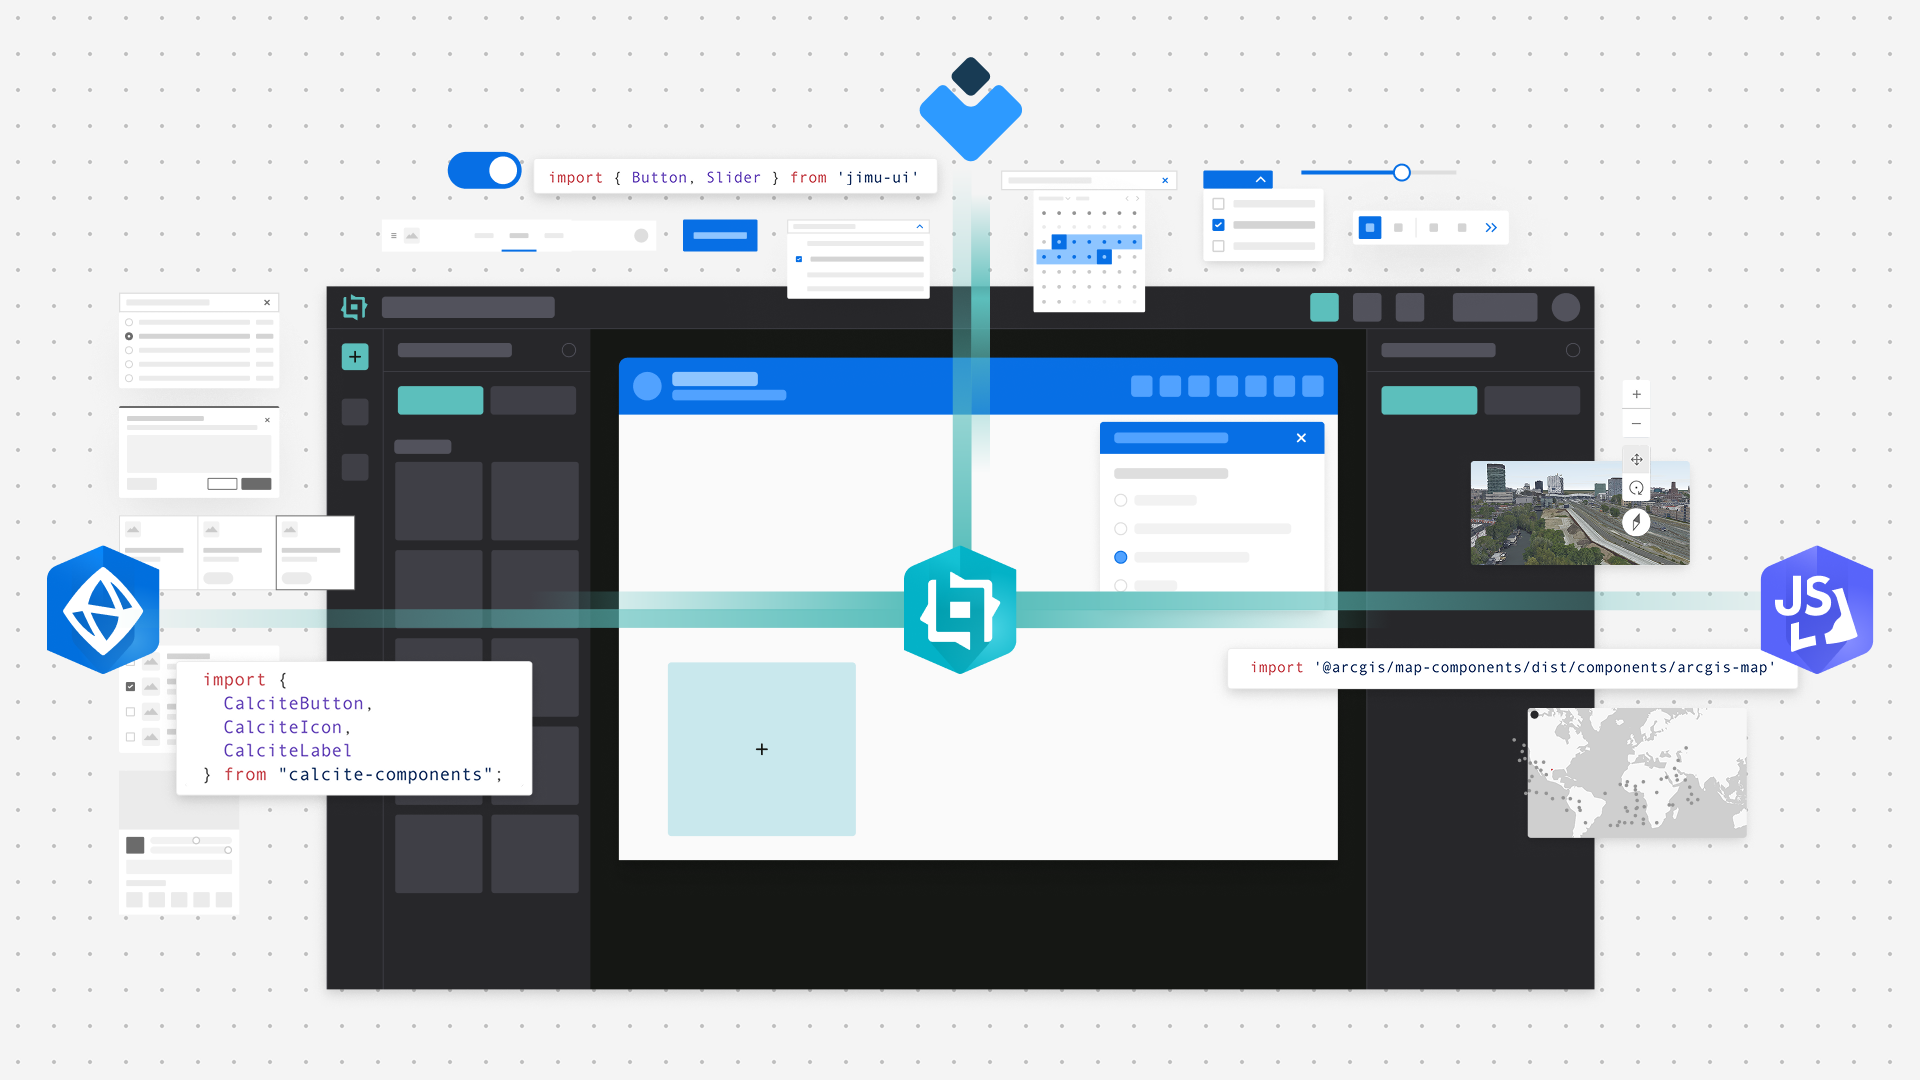
- Jimu UI Components – a React-based library built into Experience Builder.
- Calcite Components – Esri’s web component library for building apps with accessibility in mind.
- Map components – lightweight ArcGIS Maps SDK web components for maps, scenes, and tools.
We’ll introduce the following topics:
- Keep imports lean
- Manage state to avoid React re-renders
- Work smarter with Map components
- Keep styling consistent
Note: If you’re new to widget development, check out the getting started with widget development for foundational concepts.
Overview of component libraries
Each library plays a unique role in Experience Builder development and knowing when and how to use each one helps you avoid unnecessary overhead.
- Jimu UI provides React components built for Experience Builder, such as
Buttons,Switches,Sliders, andLayouthelpers. Because these are the same components used by the core application, they integrate naturally with Experience Builder’s themes and layouts. If you need more advanced widgets, such asFeatureLayerPicker,FieldSelector, orFilter, you can import them fromjimu-ui/advanced. - Calcite Components are web components built on Esri’s design system. Calcite is best served when creating a UI or when looking for a consistent Esri web app look and feel. Since Calcite Components are shipped as standalone web components, you should import components individually to avoid inflating your bundle.
- Map components bring ArcGIS Maps SDK functionality directly into your widget without manually creating
MapVieworSceneViewobjects. You can add an<arcgis-map>element in your React render method and get instant map functionality with minimal setup, as shown in the Map components documentation.
For instance, imports statements for each library:
// Jimu UI
import { Button, Switch } from 'jimu-ui'

// Calcite
import '@esri/calcite-components/dist/components/calcite-button'

// Map
import '@arcgis/map-components/dist/components/arcgis-map'
Keep imports lean
Large imports are one of the most common causes of slow widget load times. If you import entire libraries, your production bundle grows unnecessarily. Import only components needed to improve performance and your bundle:
// Import only the components needed
import { Button, Slider } from 'jimu-ui'
Avoid importing everything from libraries:
// Avoid importing all of Jimu UI
import * as JimuUI from 'jimu-ui'
The Jimu UI storybook documentation lists every available component, making it easy to find what you need and import selectively.
For Calcite Components, ArcGIS Experience Builder Developer Edition includes those components as part of its architecture. Starting with version 1.8, you can import Calcite Components directly from the calcite-components entry bundled with Experience Builder. It is recommended to avoid wildcard imports, and import only the components you need.
// Import only the components you need
import {
  CalciteButton,
  CalciteIcon,
  CalciteLabel
} from "calcite-components";
The Calcite Components in a custom widget guide details how components can be imported individually and asset path management for efficient loading.
Keeping your imports modular reduces a widget’s initial load time substantially, in particular when your app contains multiple widgets.
Manage state to avoid re-renders
React’s state system is powerful, but it can result in redundant re-renders if not managed carefully. Every time a parent component updates its state, its children may re-render, even if their output hasn’t changed.
For example, the following is less efficient with re-rendering:
// Less efficient
<CalciteButton onClick={() => setCount(count + 1)}>{count}</CalciteButton>)
The following inline function is recreated on each render, where optimization improves efficiency:
// Optimize rendering in your solutions
const handleClick = useCallback(() => setCount(c => c + 1), [])
<CalciteButton onClick={handleClick}>{count}</CalciteButton>
These improvements to avoid re-rendering help keep large widgets responsive, in particular when combining React with web components that don’t follow React’s virtual DOM.
Work smarter with Map components
Map components are incredibly convenient, but they can also be complex if they are not managed properly. One of the most important principles is initialize your map once and reuse it across your app. This prevents unnecessary re-rendering, reduces memory usage, and improves performance.
For instance, to efficiently handle map interaction:
import { useRef, useState } from "react";

function MapComponent() {
  const [view, setView] = useState(null);
  const handleViewReady = (event) => {
    const mapView = event.target.view;
    // Initialize the Map
    setView(mapView);
    // Add a zoom widget when view is ready
    mapView.ui.add("zoom", "top-left");
  };
  return (
    <arcgis-map
      item-id="e691172598f04ea8881cd2a4adaa45ba"
      onarcgisViewReadyChange={handleViewReady}>
    </arcgis-map>
  );
}
Next, reference the MapView for reusability:
function AddLayerButton({ view }) {
  const addLayer = async () => {
    const [FeatureLayer] = await $arcgis.import(["FeatureLayer"]);
    const layer = new FeatureLayer({
      url: "https://services.arcgis.com/.../FeatureServer/0"
    });
    view.map.add(layer);
  };
  return <calcite-button onClick={addLayer}>Add Layer</calcite-button>;
}
Reusing a single map instance is important for building efficient web apps. Multiple initializations can slow down performance and increase unnecessary API calls, while a single map ensures that layers, widgets, and state remain consistent across your app. You can find more examples that detail interactions with Map components here.
You can configure <arcgis-map> using an item-id (for a web map or web scene) or define properties directly, such as basemap, center, and zoom, depending on your workflow. Avoid re-creating the map unnecessarily, and load tools like an <arcgis-legend> or <arcgis-layer-list>, only when needed. These strategies can dramatically reduce your widget’s initialization time.
Use Jimu, Calcite, and Map component libraries together
To show how these component systems can work together, listed below is an example using Jimu UI, Calcite, and Map components in one widget:
// A legend toggle panel using Jimu UI, Calcite and Map components
import { React, useState, type AllWidgetProps } from 'jimu-core'
import { JimuMapViewComponent, type JimuMapView } from 'jimu-arcgis'
import { Switch } from 'jimu-ui'
import { CalcitePanel } from 'calcite-components'
import 'arcgis-map-components'

const Widget = (props: AllWidgetProps<object>) => {
  const [visible, setVisible] = useState(true);
  const legendRef = React.useRef(null)
  const onActiveViewChange = (activeView: JimuMapView) => {
    if (!activeView || !legendRef.current) {
      return
    }
    legendRef.current.view = activeView.view
  }
  return (
    {/* Calcite Panel for the Jimu UI and Map components */}
    <calcite-panel heading="Map View">
      {/* Jimu UI Switch for toggling legend visibility */}
      <Switch checked={visible} onChange={() => setVisible(v => !v)} />
      {/* Initialize Legend component on active view change event */}
      <JimuMapViewComponent onActiveViewChange={onActiveViewChange}
                            useMapWidgetId={props.useMapWidgetIds[0]}>
      </JimuMapViewComponent>
      {/* Legend component displayed when visible */}
      {visible && <arcgis-legend ref={legendRef}></arcgis-legend>}
    </calcite-panel>
  );
}
export default Widget
This custom widget shows how you can use Jimu UI for interaction, Calcite for layout, and the Map component APIs for display—all with minimal overhead. To explore further, check out additional Experience Builder widget examples.
Keep styling consistent
Experience Builder already has a robust theming system. Instead of adding your own CSS, use Jimu UI’s emotion-based styling system so your widget matches the app theme automatically.
/* @jsx jsx */
import { jsx, css } from 'jimu-core'
const panelStyle = css`
  padding: 1rem;
  color: var(--dark);
`;
// Apply with the `css` prop:
<div css={panelStyle}>Your content here</div>
When using Calcite Components, rely on CSS custom properties rather than global overrides:
calcite-button {
  --calcite-color-brand: var(--primary-color);
}
These CSS custom properties also apply to Map components, allowing you to override styles globally or on individual components.
The Calcite Components design token reference provides examples for aligning your widget’s look and feel with Esri’s color, typography, and spacing standards.
When referencing Calcite web components in JSX or HTML, use the kebab-case naming convention, where words are separated by hyphens (-) and characters are lowercase. For instance, <calcite-button>, rather than CalciteButton.
Deployment tips
ArcGIS Experience Builder ships with specific versions of Jimu UI, Calcite, and Map components. If you import newer or mismatched versions, you may see console warnings or missing icons. Before upgrading, check the supported versions in the latest Experience Builder release notes.
Before deploying, it is recommended to profile your widget. For example, you can open Chrome DevTools, record a performance trace, and look for long scripting or paint times when interacting with your widget. Most performance issues include:
- Non-relevant imports
- Redundant map initialization
- Overuse of third-party dependencies
It is also recommended to test in both preview and production modes. Production builds use minified assets and optimized React behavior, which can change performance characteristics.
For TypeScript-based widgets, the default in Experience Builder, the same principles apply in your .tsx files in the ArcGIS Experience Builder Developer Edition widgets directory.
Conclusion
Custom widgets are one of the best parts of ArcGIS Experience Builder because they let you go beyond templates and build exactly what your app needs. The trick is to balance flexibility with performance.
By keeping imports modular, managing React state carefully, reusing map views, and styling through Experience Builder’s theme system, you can create widgets that look great and perform smoothly.
For more details, explore the official documentation for the libraries:
| Library | Purpose | Key Optimization |
| Jimu UI | React UI for Experience Builder | Import specific components (or advanced ones from jimu-ui/advanced) |
| Calcite Components | Esri’s design system comprised of web components | Lazy-load large components, use kebab-case |
| Map components | ArcGIS Maps SDK for JavaScript web components for maps, layers, and tools built with Calcite Components. | Reuse the same view instance, configure with item-id or basemap options |
Good widget performance isn’t just about speed, it’s about writing clean, optimized code that scales as your ArcGIS Experience Builder apps grow.
If you are new to ArcGIS development, you can get started by signing up for a free ArcGIS Location Platform account. Also, stay in the loop with the latest in developer technology by subscribing to the Esri Developer Newsletter.


Article Discussion: