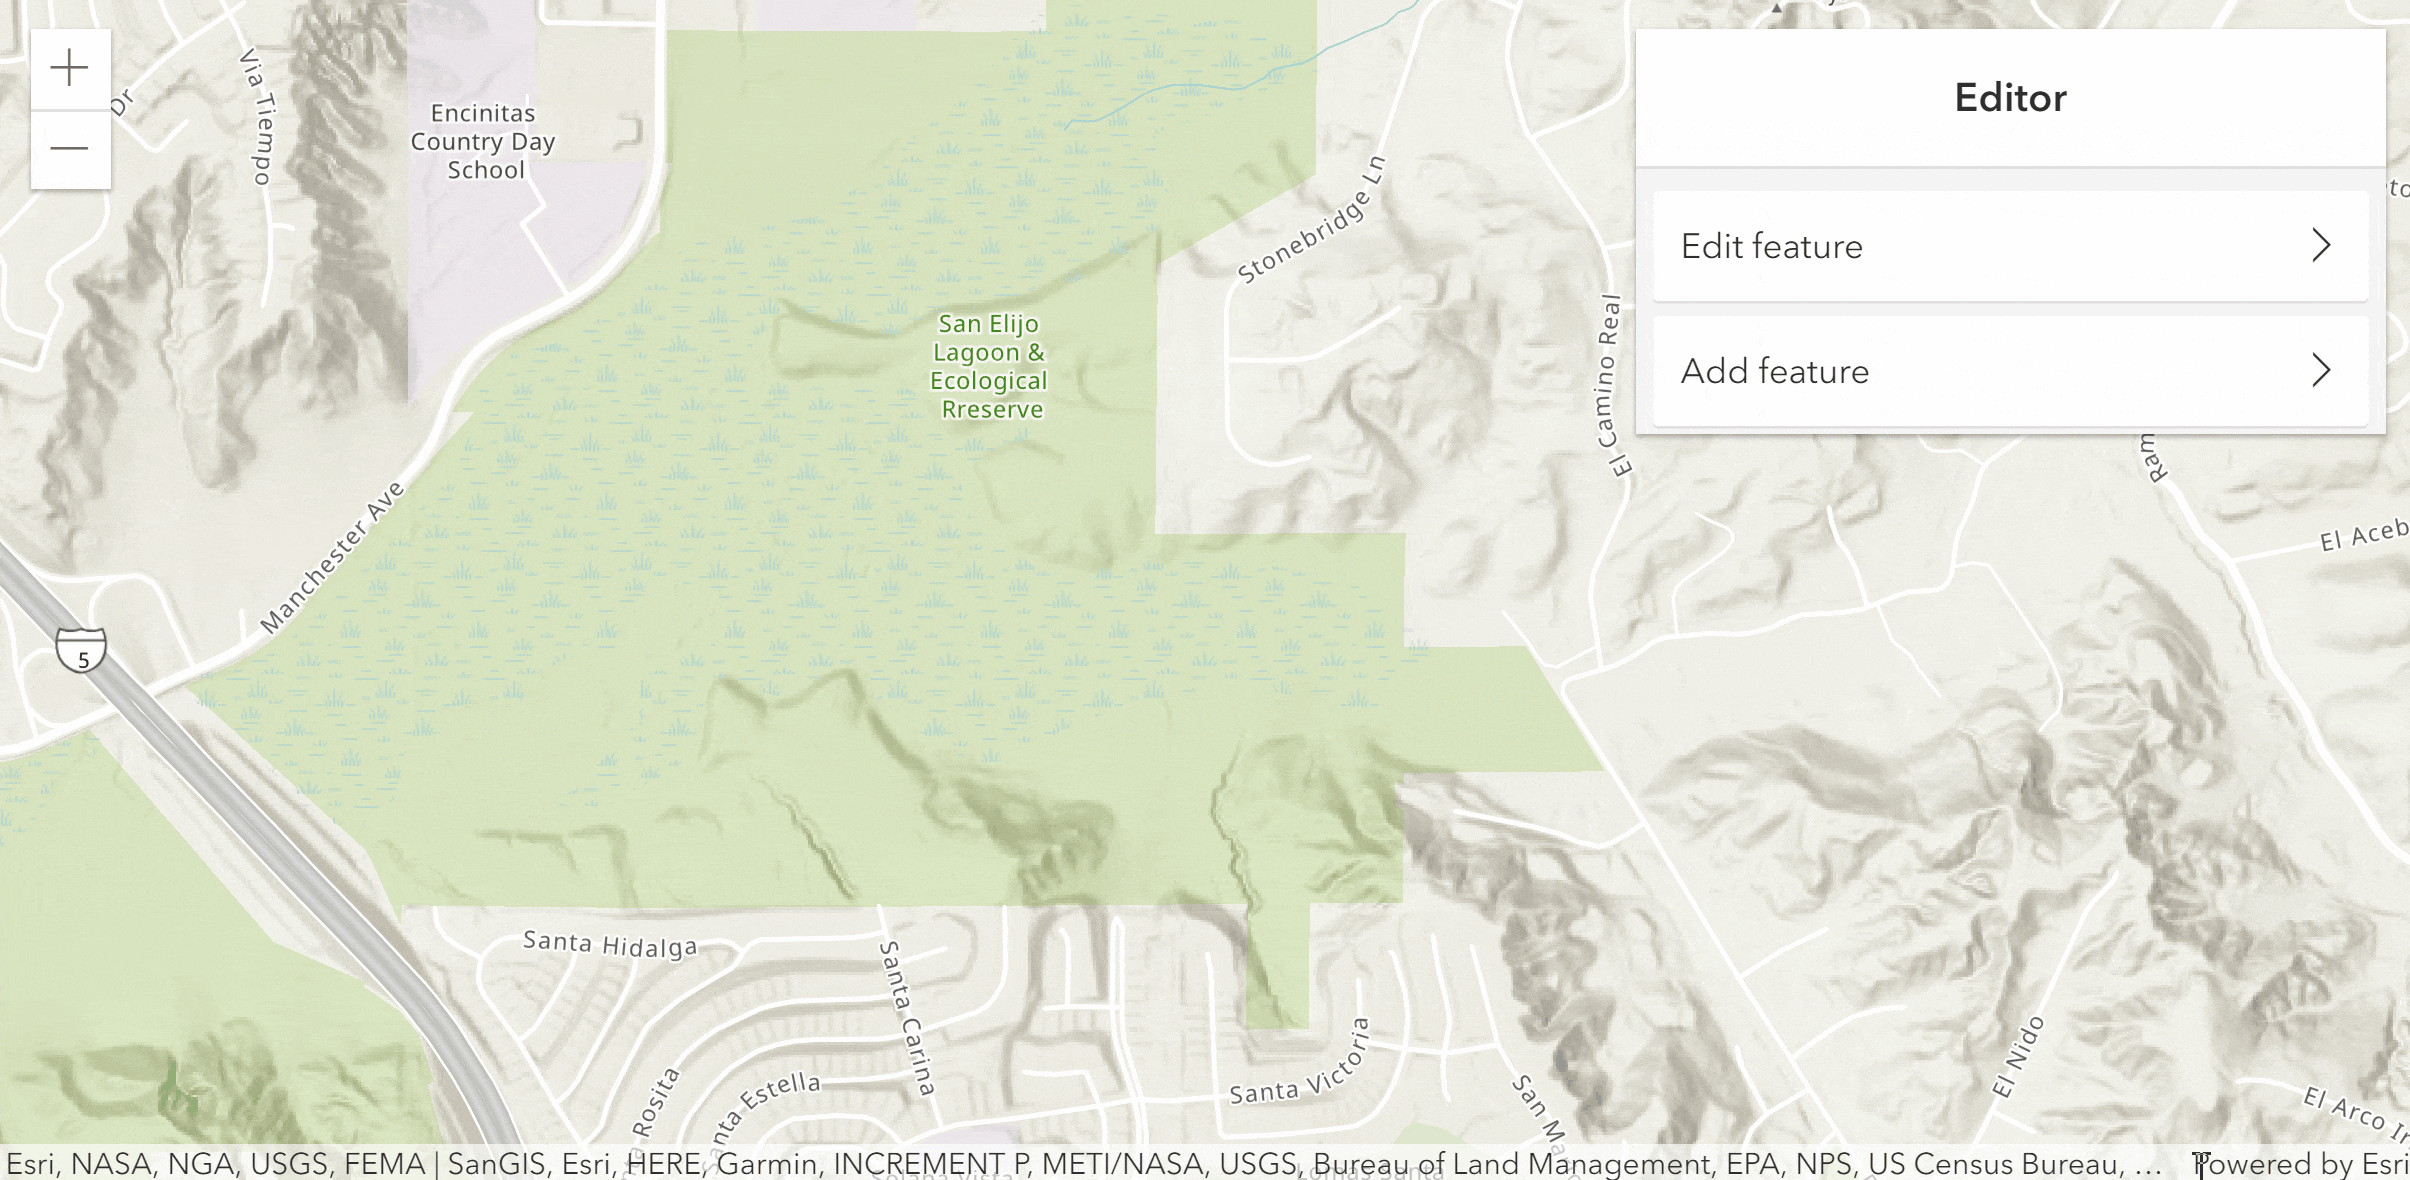
Do your users need to edit data via your web app? Web editing allows your organization, the public, or any group of users you deem appropriate to collaborate on data creation and updates from any device. The beauty of enabling editing workflows within your custom web app is that you, as the developer, can create any experience needed for your business.
As of version 4.11, ArcGIS API for JavaScript includes an Editor widget which enables the full workflow for creating and updating features with several configuration options that allow you to fine-tune the experience for your end users. The API also offers opportunities to fully customize editing workflows using the underlying business logic.
Engineering the Editor widget
You might be familiar with the 3.x series of the API and its version of the Editor widget. Like all widgets in the 4.x API, the Editor widget was designed using lessons learned from the 3.x widget, along with an updated, modernized approach. Here are a few of the guiding design principals:
- It must have a mobile-first design since web editing can take place from any device and screen size.
- It should provide simple editing workflows that maximize the end user’s productivity.
- From an architectural perspective, it must be easily configurable to mold appropriately to the developer’s requirements and follow the API’s widget development pattern which separates the business logic from the user interface (UI). Maintaining a clean separation between the underlying logic and the UI allows advanced developers to fully customize the presentation of the widget however they want or completely replace it – using their JavaScript library of choice – without having to rewrite the logic that takes care of the map interaction and underlying feature editing.
First thing’s first. Prepare your layers for editing
To simplify the code you need to write, and to take advantage of the various features of the JavaScript APIs editing experience, your services should to be properly configured. The API will use the definition of each editable feature layer to create the default edit UI (you can override some of the settings via code such as hiding some of the editable fields). There are a variety of considerations when it comes to preparing your layers for web editing, for example:
- Feature templates: Feature templates defined in the service contain all the information required to create new features in each feature layer. These include information such as the default attribute values with which a feature will be created, and the default symbol for the feature. The Editor widget displays all feature templates for editable layers and the user can browse, filter, and search to find the kind of feature they want to create.
- Subtypes and domains: When defining your features’ templates, it is good to use attribute domains and subtypes whenever appropriate. Attribute domains offer a way to enforce data integrity in your data model by restricting the input on any particular field to a list or range of valid values. By creating a domain and applying it to a field, you are limiting the choice of values available for that field. This decreases the possibility of entering invalid information while editing, therefore increasing the integrity of your data. Subtypes allow you to categorize a layer into a subset of features that share the same attributes. You can then apply domains and default values to the fields of each subtype.
- Security: Designing the security strategy of your services is an important step when setting up services. For example, you control what edits can be made to a layer (if any), by whom, and whether you want the layer to keep track of when and by whom edits are made on each feature in the layer. When using hosted feature layers, you can also take advantage of layer views which allow you to put constraints on a subset of the data. For example, you can spatially limit the features that are contained in the layer view, and only make the view editable (not the full layer), essentially creating an editing geofence.
Learn more about managing hosted feature layers in ArcGIS Online or ArcGIS Enterprise. Note that when authoring a feature service using ArcGIS Pro and publishing to ArcGIS Server, you have many of the same options as mentioned for hosted feature layers, as well as a whole host of capabilities at the database level.
Attribute editing bells and whistles
Have you ever filled out a form on a website that didn’t give you a tailored experience based on the input type? Or perhaps there were just too many unnecessary fields to fill out? The Editor widget aims to give you the ability to provide your end users with the most efficient attribute editing experience as possible. Some of the configuration options available to you are:
Configure which layers should be edited
The Editor widget automatically detects editable feature layers in the map by examining the feature service that each layer points to and will create the appropriate UI to allow users to edit each of those layers. However, you might be building a focused application that should only expose editing of a subset of the editable layers. This is achieved by configuring the widget with only the layers that you want to be included.
Limit the attributes displayed
Often times, your end users only need to update a few attributes out of a large collection of attributes. To provide a streamlined experience, you can configure the specific editable attributes so they don’t have to be burdened with some of the non-required fields. It is important to note that the purpose of this capability is to simplify the user experience, not to secure your data. If you have attributes that should not be edited from a security perspective, your service should be setup to not allow editing of those attributes. This way, someone can’t access your feature service’s REST endpoint directly and edit the secured fields.
Ensure valid input
Pre-configuring the acceptable values for a feature either by limiting the range or providing a list of possible values saves time and also supports accurate data entry. If your feature service’s attributes have attribute domains as described above, they will be detected by the Editor widget and will be enforced. If you’ve defined a set of possible values, they will appear in a drop-down menu.
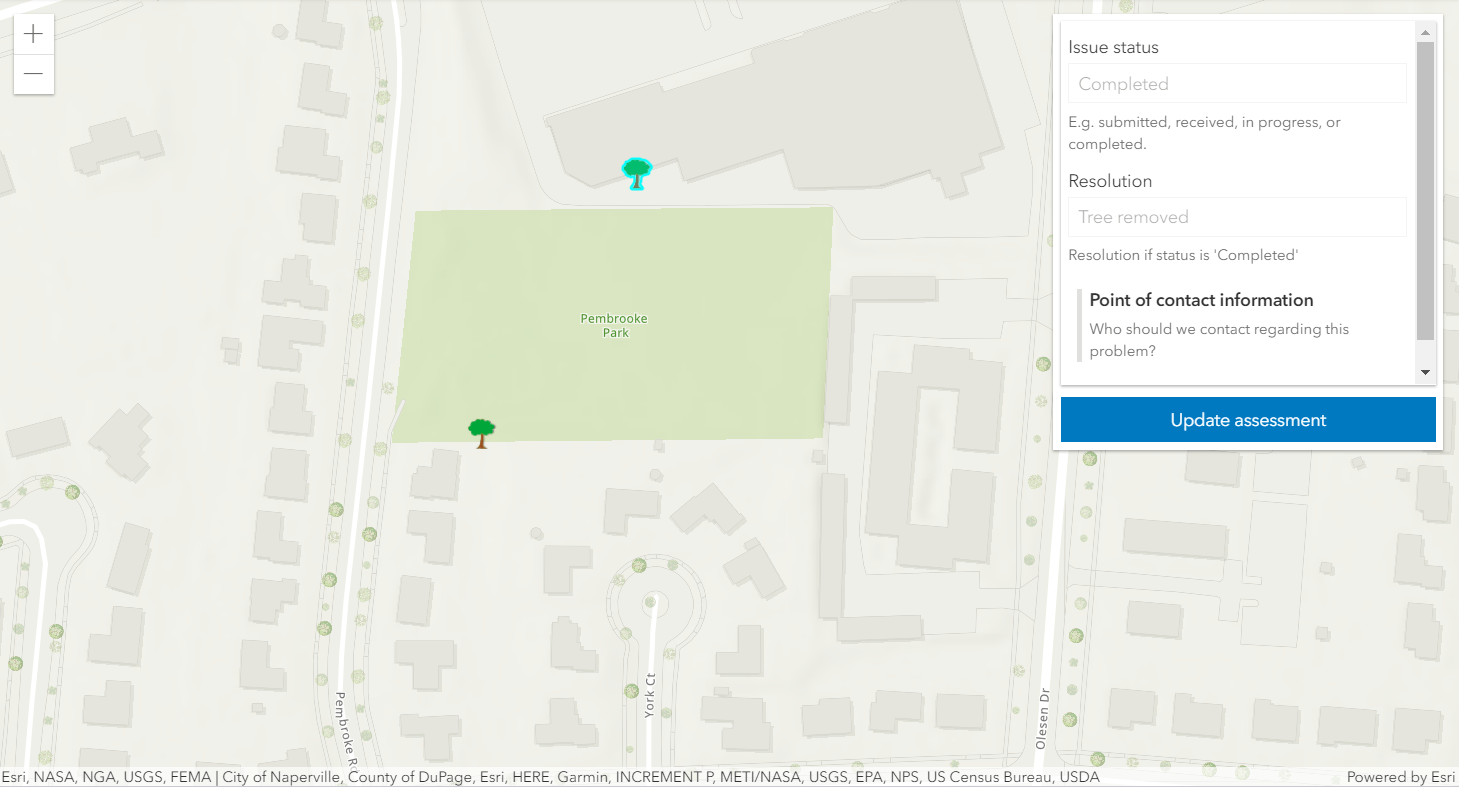
Set conditions on attributes for when they should be visible
Sometimes it only makes sense to edit an attribute or a group of attributes based on a particular condition. For example, if you are editing work orders, make the “resolution” attribute visible once the work order has a “completed” status. This is achieved by writing a visibility expression for the field, and after resolving to true it will be displayed for editing.
When you have to display lots of attributes
Sometimes you simply can’t avoid displaying a lot of attributes. You might want to visually group attributes so your users can easily find the one they want to edit. Even when there is a small collection of attributes, configuring them into logical groups can help put the attributes into context.
Add a deeper description
Field aliases are used to display a “pretty” label for field editing. However, it’s often useful to provide more of a description for each field or a group of fields so end users have more direction on what the field is or see an example value of what is expected.
Geometry editing: the basics and beyond
The 4.x editing tools allow you to create and update geometries in a very similar way to the 3.x version. As an enhancement only in 4.x, the user can undo and redo updates while the edit is in progress. So, for example, they can undo (or redo) the last vertex that they added while drawing the new geometry.

The end-to-end experience for creating and updating geometries is handled by the Editor widget, but you may want to customize it based on your editing workflow requirements. For example, you may want to display statistics about the geometry being drawn, such as the area of the polygon in progress. Under the hood, the Editor widget uses the sketch widget’s business logic (referred to SketchViewModel) to draw on the map. You can use SketchViewModel to capture the map interaction events needed for executing your custom code during the drawing process. Your custom code can use the client-side geometry engine for testing spatial relationships, calculating measurements, or any other common spatial operation. Because it’s performed client-side, the end user is given immediate feedback while they are drawing and can adjust as necessary.
What if you just want to draw on the map?
If your app requirements only consist of redlining (i.e., sketch on the map, and don’t persist changes), you can use the Sketch widget. The Sketch widget provides the common tools for drawing graphics on the graphics layer and are not persisted with a feature service. Since the graphics layer is unstructured, you can draw more than one type of geometry in the same layer, with different symbology.
What if you only care about editing attributes?
If you are only interested in editing attributes you can use the FeatureForm widget which has all of the same aspects as described above for attribute editing. That is because the Editor widget actually incorporates the FeatureForm widget into its UI. Note: if you use this widget, you will have to handle calling applyEdits on the feature layer.
Dive in deeper!
The ArcGIS API 4.x for JavaScript has been growing its editing capabilities over several releases. Now with the Editor widget you can implement a tailored editing experience with a low amount of effort via configuration or customize it to your heart’s content.
Get familiar with the APIs editing capabilities by exploring the samples, or watch a recent technical session, Web Editing with the ArcGIS API for JavaScript. There will also be a technical session at the 2019 Esri User Conference in July:
Editing with the ArcGIS API for JavaScript
Tuesday, July 9th: 1:00 pm – 2:00 pm, SDCC – Room 05 B
Wednesday, July 10th: 4:00 pm – 5:00 pm, SDCC – Room 16 A
Happy editing!


Commenting is not enabled for this article.