Update 5/27/2020: This blog post will provide you with an overview of the common steps needed to complete a map in ArcGIS Pro. If you want to try this process with a hands-on example, I recommend this tutorial: Make a River Map.
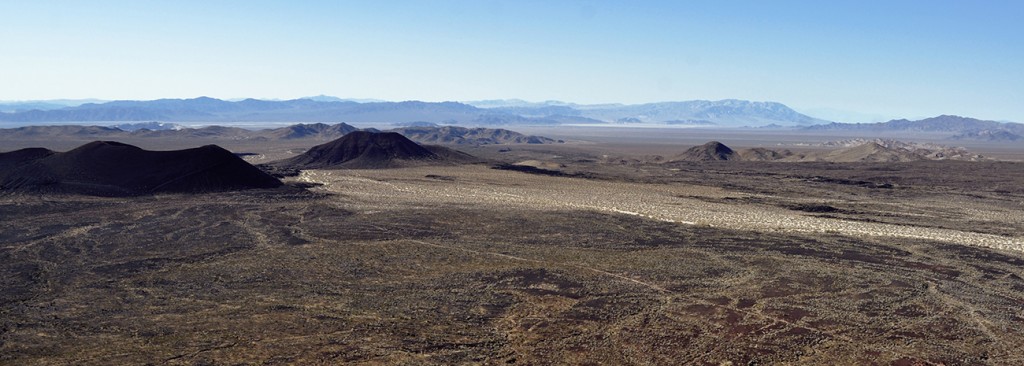
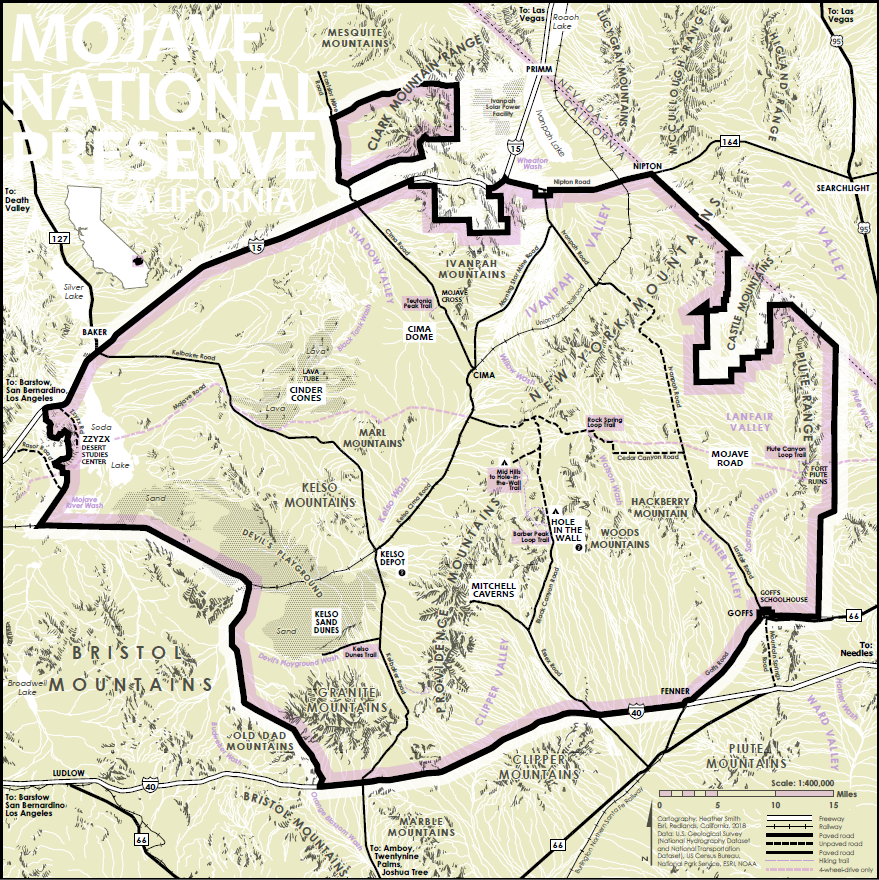
Recently I made a map of my favorite park: the Mojave National Preserve, a huge desert park in California. It’s a fantastic place that you should all visit.
It struck me that every time I make a map, I make the same time-consuming mistakes. These generally have to do with not preparing the project properly before I begin, resulting in messy duplicate geodatabases everywhere, annotation that was created at different scales and a general indecision about where the edge of the map should be. I thought it might be nice to have a suggested order of operations to prevent future pitfalls. And then I thought it would be nice to share it with all of you.
This tutorial uses the example of my map of the Mojave to outline a process for making one of your own, from data hunting all the way down to printing. It uses ArcGIS Pro, and does not go into detail about how to accomplish every single step, but instead gives an overview of the steps you might take. The screenshots provide hints, but ArcGIS Pro Help provides true help.
STEP ONE: PREPARE
Do not neglect this step. Trust me. Making decisions up front about scale and extent will make the rest of your map-making so much easier.
- Hunt for data. If you are mapping somewhere in the United states, you can start here, but just look, don’t download yet.
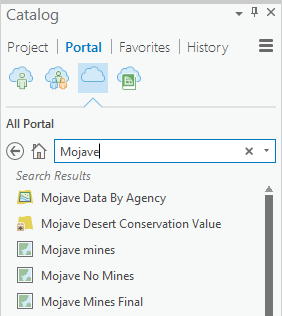
- You can also search for data on ArcGIS Online using the Catalog pane:
- Decide where you are mapping. Think about what kind of extent and scale you want. Then make a new map in ArcGIS Pro.
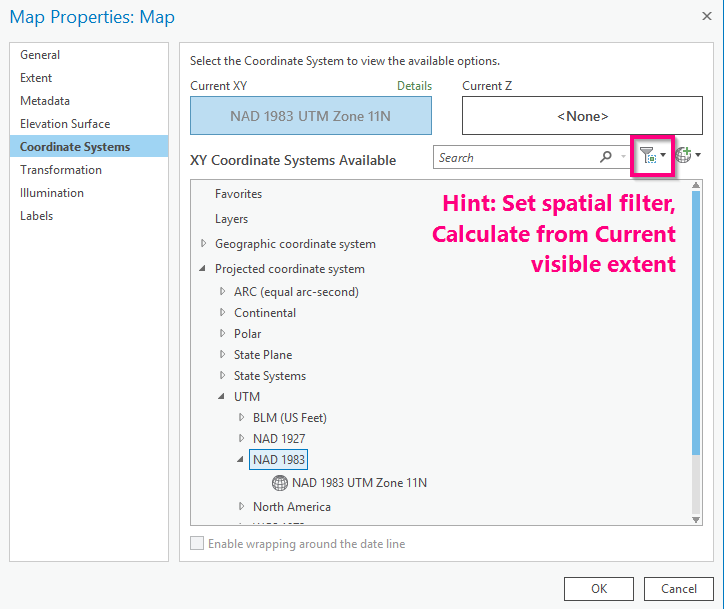
- Set an appropriate coordinate system. If you’re unsure of which one to use, refer to the UTM grid and choose the zone that applies to your area.
- Make a new layout with your desired dimensions. If you want to print your map consider what paper sizes you have access to.
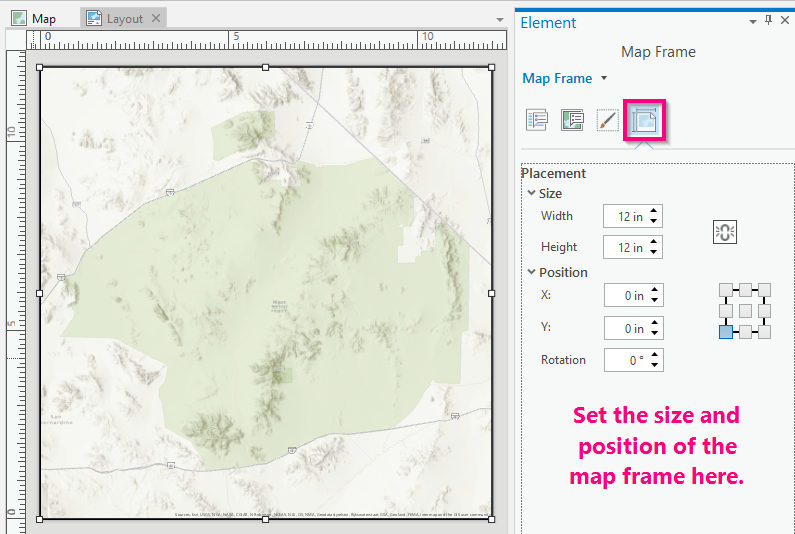
- Add the empty map to the layout and set its size and position.
- Activate the map and zoom and pan until you’ve found the perfect scale and extent. You can rotate too if you want.
- If you want a round number for a scale, adjust it in the scale control at the bottom of the window.
- Once you’ve settled on a scale, open Map Properties and apply it as the Reference Scale.
- Make a bookmark so you can return to this exact position later.
- Insert a layer template.
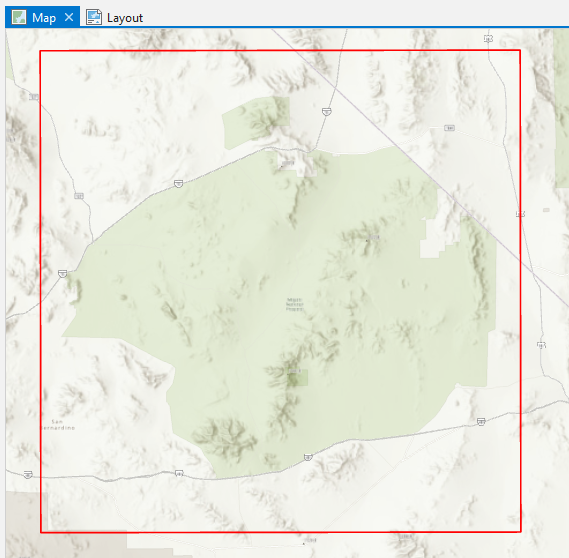
- Create features using one of the polygon templates, and trace the outline of your map frame. This is so you can reference where the edge of your map is later when you’re not in layout view.
- Save your edits and close activation of the map.
- Now download the data. The reason you waited to do this part is because many topographic data repositories (like the USGS) require you to decide which map sheets you want to download. Now that you know your extent you can download only the ones you need instead of just guessing.
- Write down the source credit information for your data, and links to where you can find it again later.
STEP TWO: MAP
Now that you’ve got all the pieces in place, you are ready to actually make a map.
- Add the data.
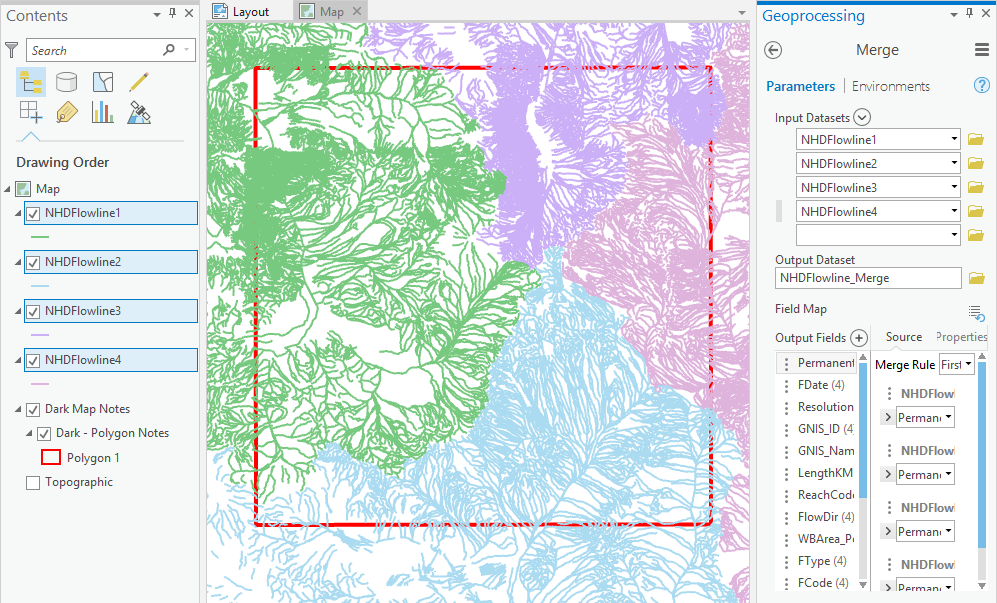
- If you have multiple map sheets, merge like datasets together into a single layer.
- Decide which layers you want to keep and which are just cluttering up your map.
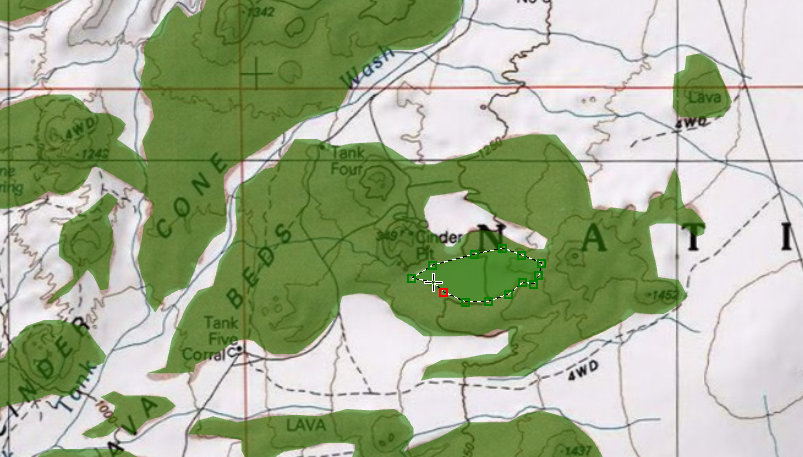
- Need more layers? Go out and hunt for them. Can’t find them? Try out some of the basemaps. Chances are either USA Topo Maps or Imagery will have the feature you’re looking for, and you can digitize it from there.
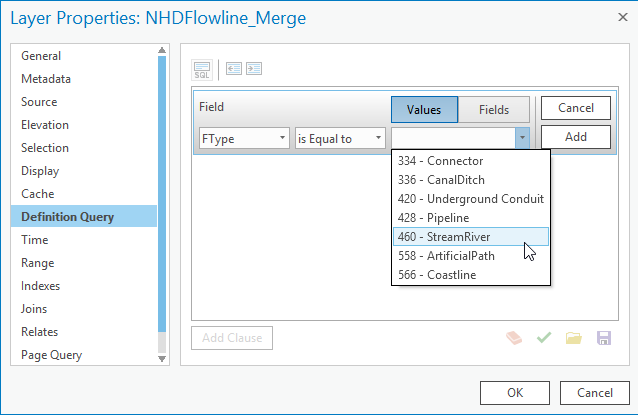
- Use definition queries to filter out whatever data you know you don’t want to show on your map.
- Make a new file geodatabase and export each of your layers into it. Give them new, simple names, like Rivers and Roads.
- Remove the old layers from your map, leaving only the new ones. The old ones are your raw, back-up data. The new ones you are free to edit.
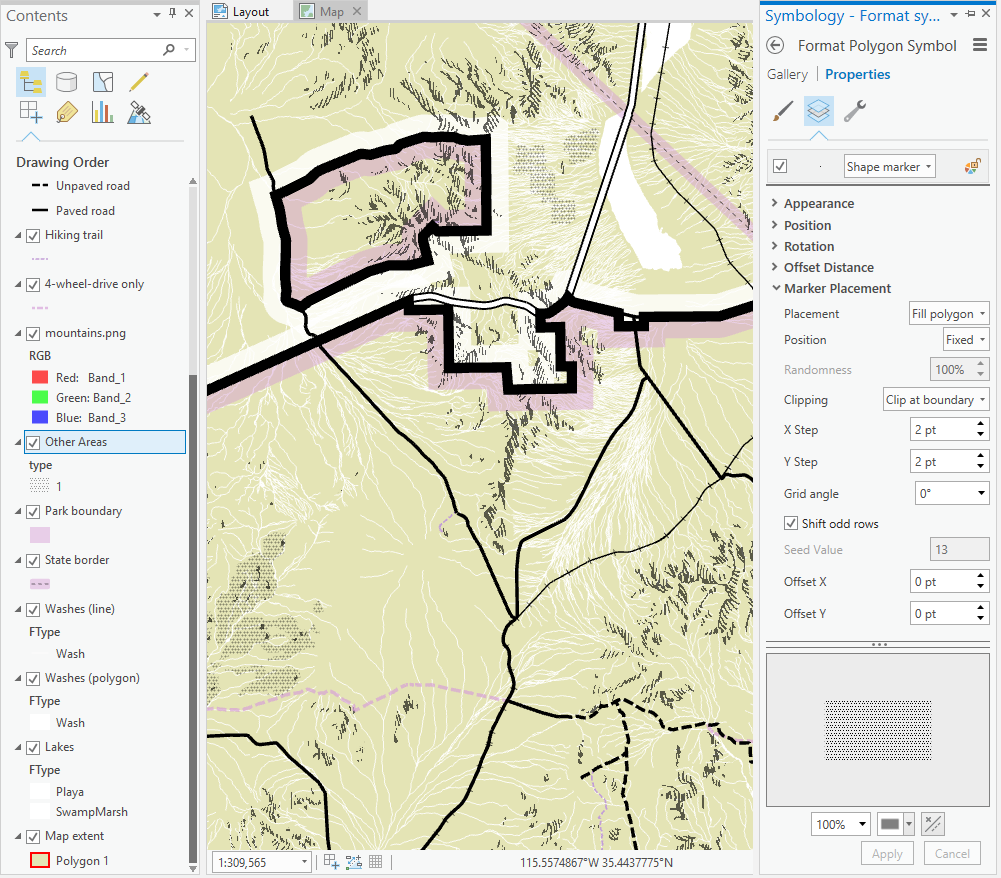
- Symbolize your data! This is the fun part, so make sure to have some fun.
- While you’re at it, you’ll probably want to edit some layers. Delete, reclassify, add and modify features. Try out some of the cartographic tools like Simplify line.
STEP THREE: LABEL
Good labels make a good map.
- Turn on labeling for the appropriate layers.
- Create a different label class for each style of text.
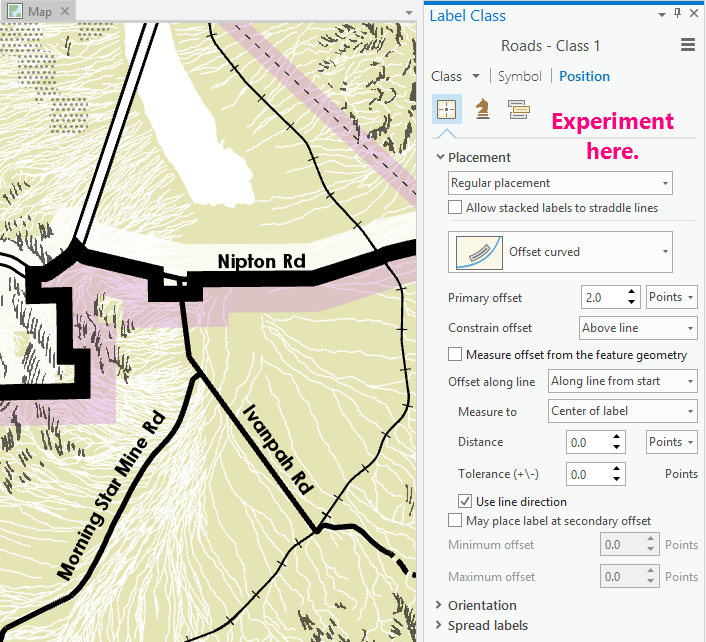
- Experiment with the labeling properties until they are as close as possible to your desired end result.
- Some features that you want to label (like mountain ranges) may not have a layer to label off of. For these, you can create point data and symbolize it with a transparent marker so only the label is visible.
- Convert labels to annotation.
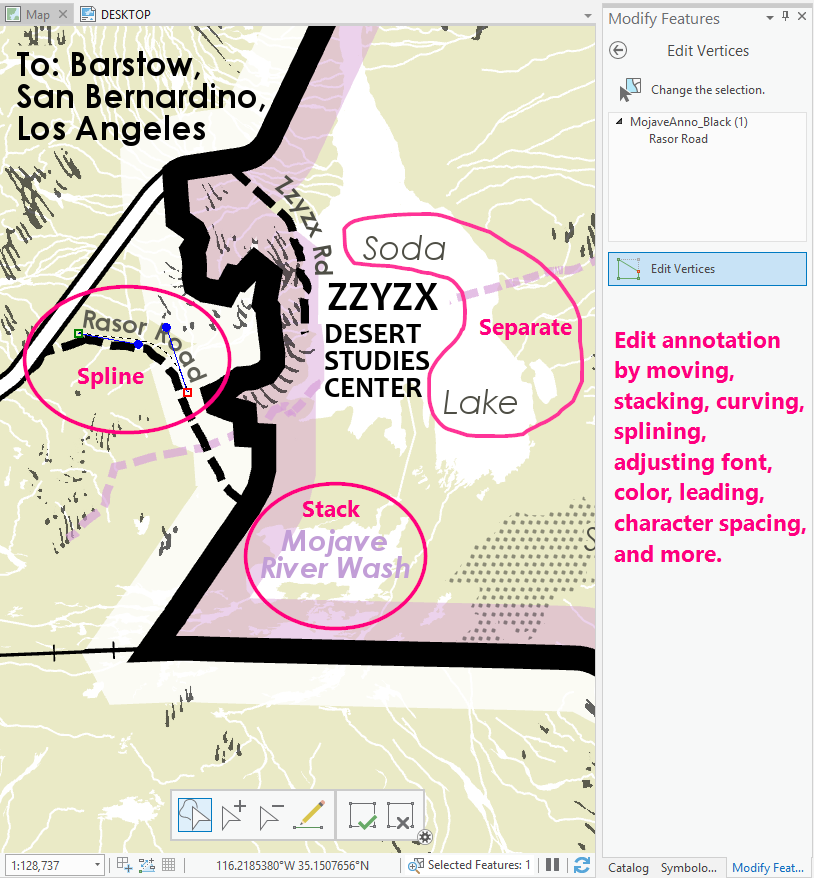
- Edit the annotation until it is perfect enough for your taste and/or patience.
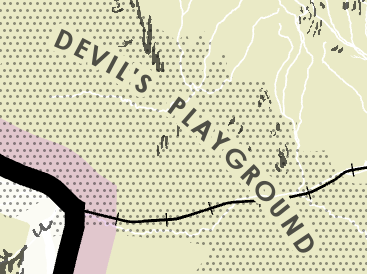
- If you’ve got the time, and you’re fairly certain that you’re not going to continue editing your annotation, make feature outline masks for some of the labels and use them to mask out other features that interfere with the text.
STEP FOUR: FINISH
It’s time to make a layout.
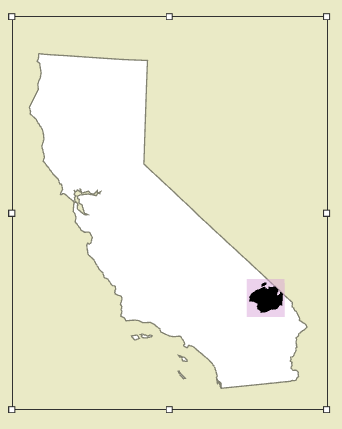
- Insert a new map. This will be your small key map.
- Choose an appropriate coordinate system. Don’t assume that UTM will suffice here.
- Add the key map to your layout.
- Size and scale it in the same way you did above for the main map. Apply the reference scale and bookmark too.
- Add the minimal possible data needed to explain to the map reader where in the world they are looking at.
- Symbolize and label as needed.
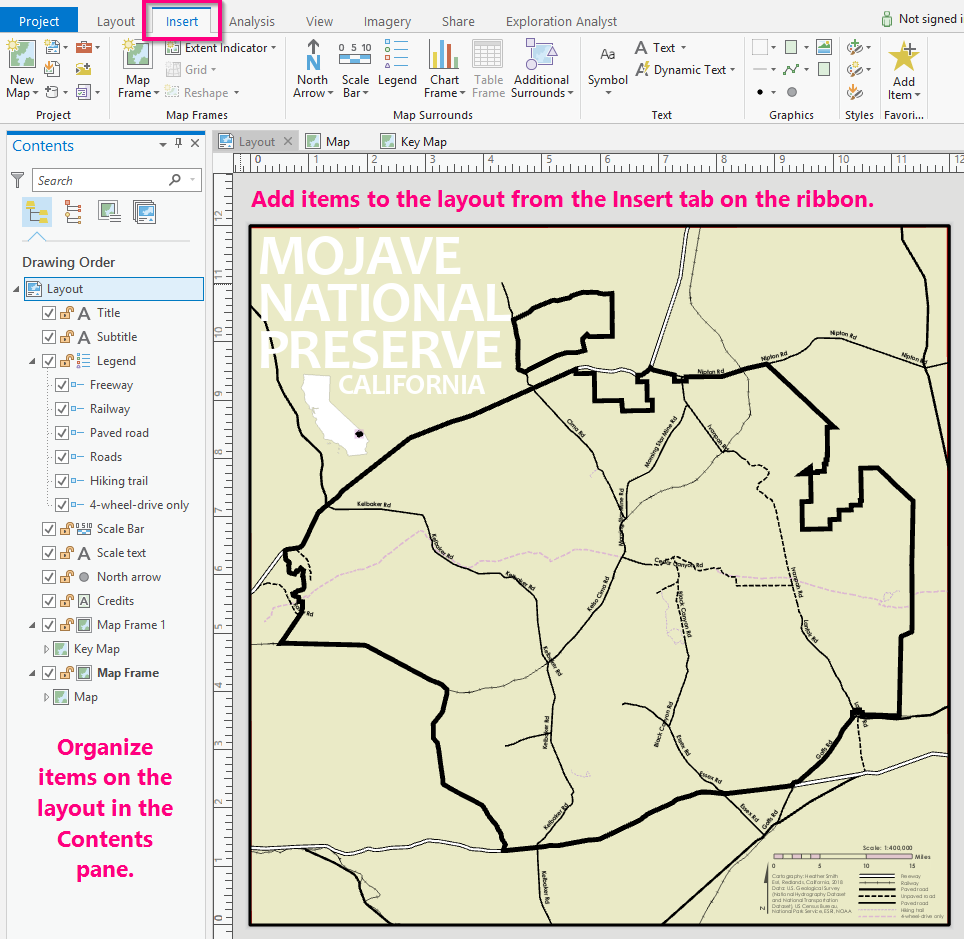
- Insert various items to your layout and style them. Some items you might consider include title, legend, scale bar, north arrow, grid or graticule, border, source credits, descriptive text, pictures, charts and graphs.
STEP FIVE: PROOF
You may think your map is finished, but a good proofreading will probably prove you wrong.
- Make sure all of the necessary layers are turned on.
- Share the layout by exporting it as a PDF at 300 dpi.
- Search for errors in the PDF. Fix the map. Export again. Repeat until you are satisfied.
- Print the PDF on paper.
- Find more errors on the paper. Fix the map. Export and print again. Repeat until you are satisfied.



Commenting is not enabled for this article.