I’ll never forget my first GIS job after college. I made a simple map showing project sites for the company CEO. Just before handing it in, I swapped the default circles representing the points for our company logo – he was floored. Until then, he’d only seen his data plotted in MATLAB, which is useful, but far from the kind of polished presentation we’re trained to deliver in GIS. That small change made a big impression and taught me an important lesson: presentation really matters.
Custom symbols and styles do more than just make maps look polished. They help tell a clearer story and reinforce a cohesive message. When stakeholders see their brand represented through icons, logos, colors, or fonts, it strengthens their connection to the data and makes the map feel like part of a larger, real-world experience. These visual elements build trust and familiarity, making maps more intuitive and easier to interpret. They also help create alignment with organizational branding, resulting in a consistent, professional look across your work. Sharing custom styles across your organization’s team members will support collaboration, visual consistency, and enhance the overall quality of your maps.
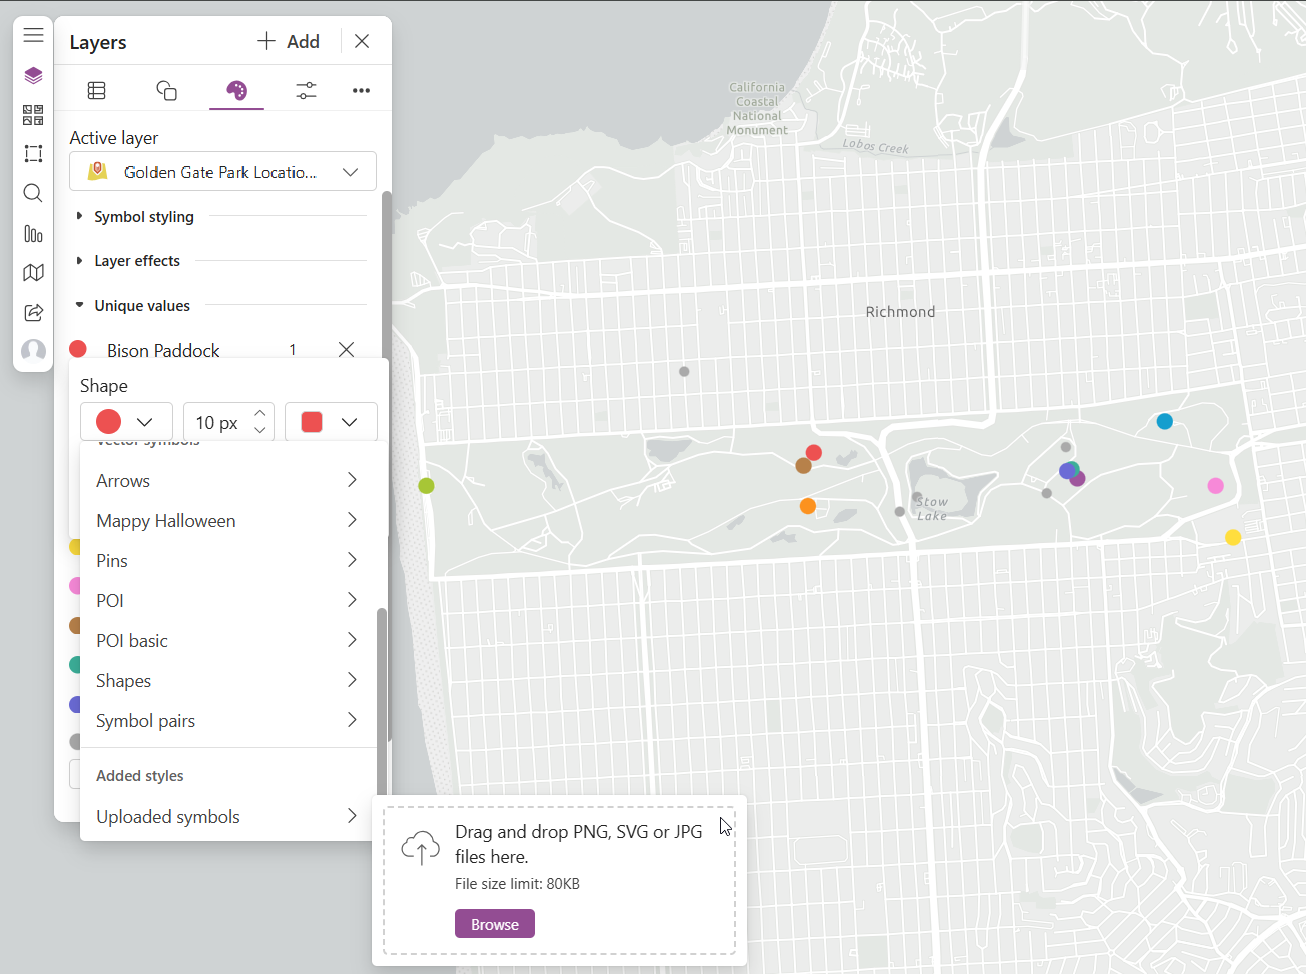
See the difference: Swipe below to compare Golden Gate Park points of interest shown with default shapes versus custom icons.
Resources to Customize and Style Maps in ArcGIS for Microsoft 365
Custom symbols and styles are now fully supported in ArcGIS for Microsoft 365, and there are a few ways to start using them right away—whether you’re working in SharePoint, Excel, or Power BI. While the resources below reference other Esri products like ArcGIS Online and ArcGIS Pro, we’ve included notes on how to adapt each workflow for your ArcGIS for Microsoft 365 projects.
1. Create a Style in ArcGIS Pro in Minutes– Watch a deeper dive into how to create and share your own custom style in ArcGIS Pro, including creating symbols, colors, label placements, and more, so you can apply it in your projects or in ArcGIS for Microsoft 365.
2. Use Published 2D Symbols in ArcGIS Online– Once you have created your custom style in ArcGIS Pro, you can then reference this blog which explains how to publish and share your web styles to your ArcGIS organization.
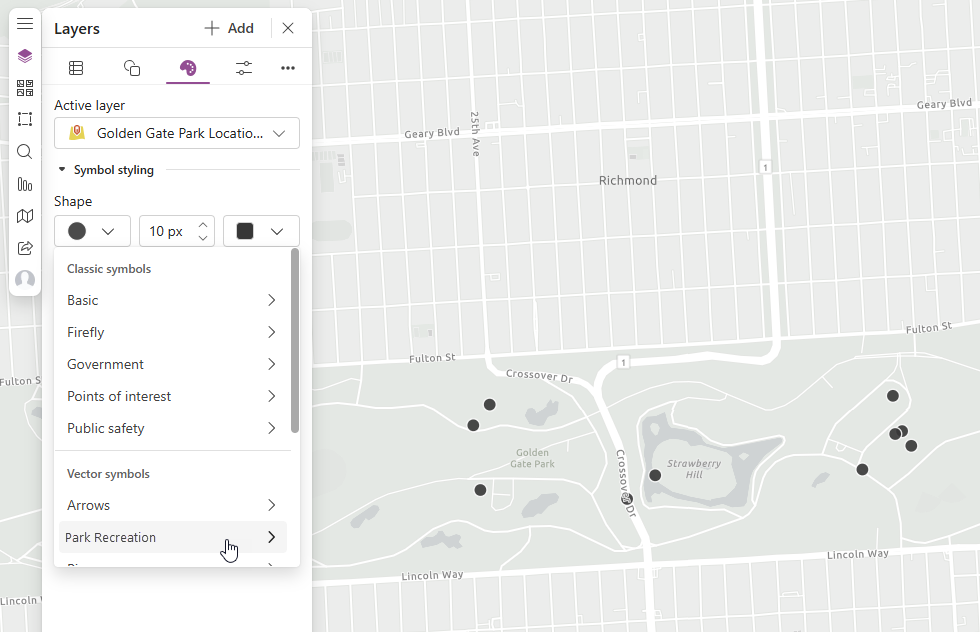
Once published, those same web styles can be accessed under the Style options > Symbol styling > Shape menu when an Active layer point feature is selected.

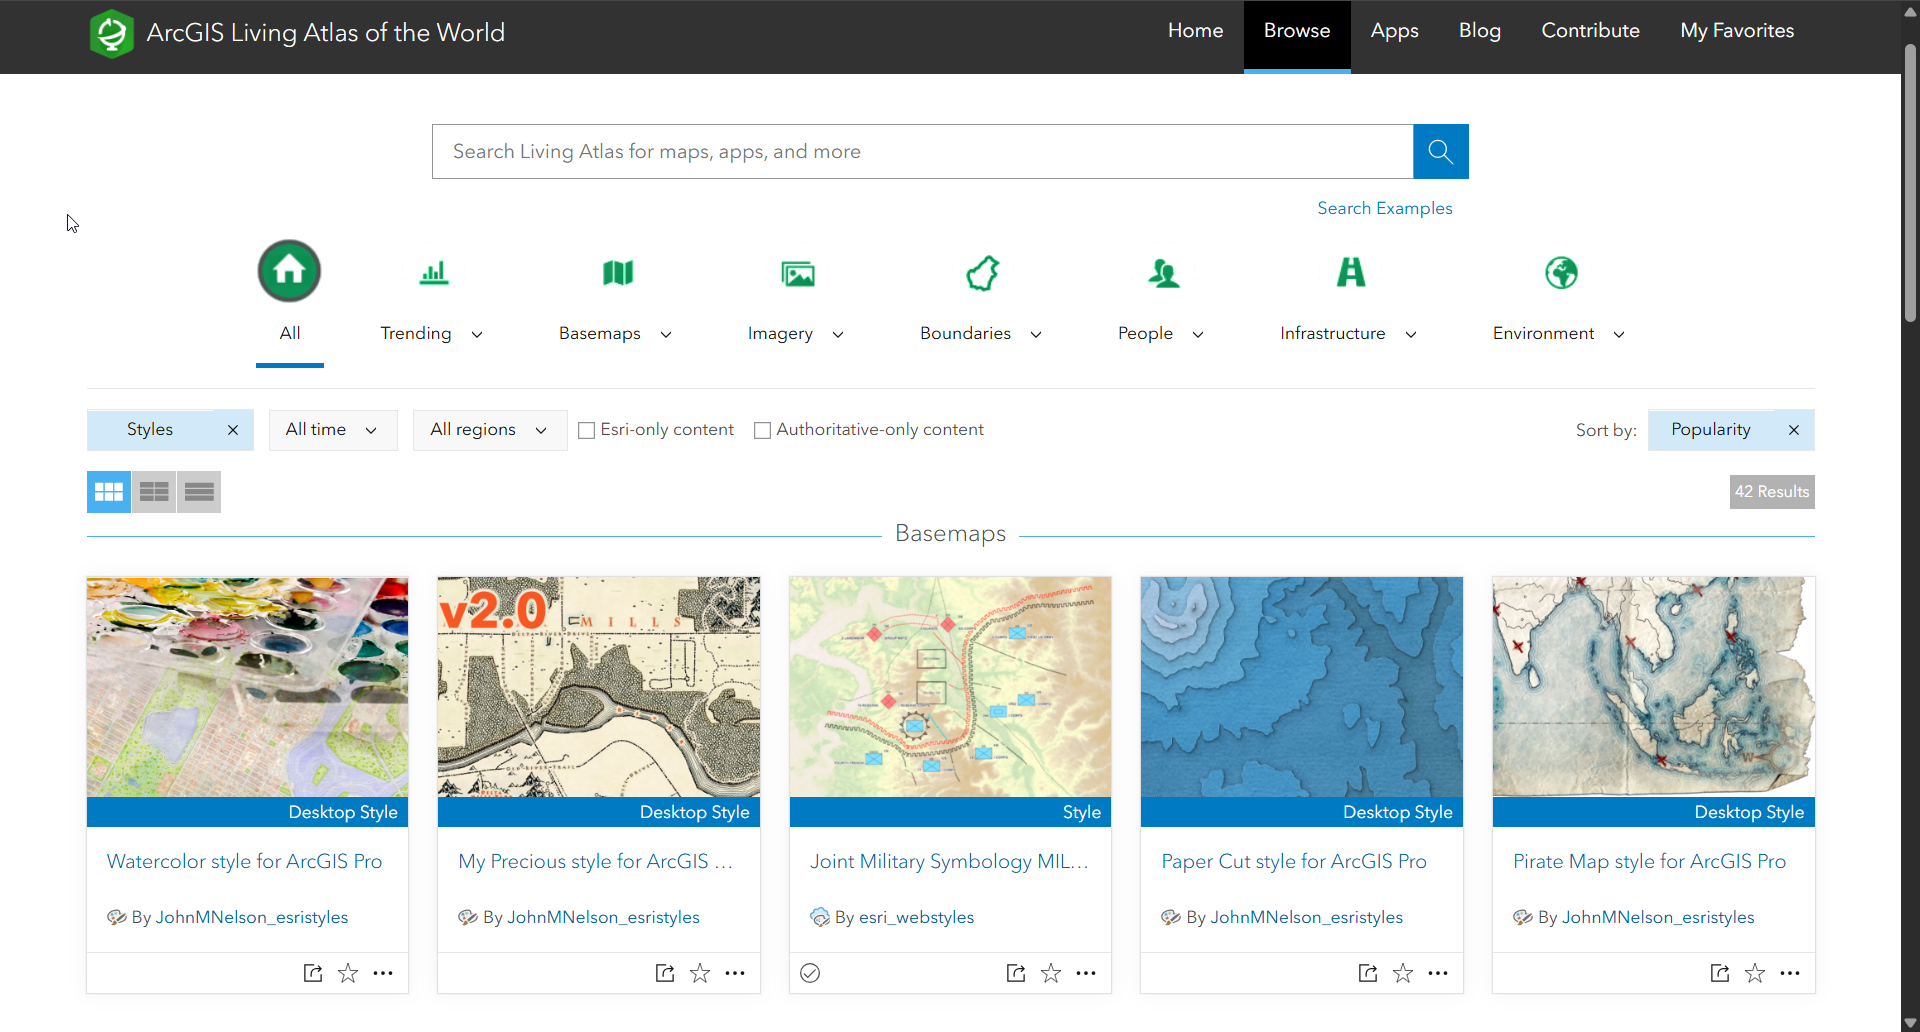
Additionally, you can browse and download even more fun curated styles in the ArcGIS Living Atlas of the World.

3. Upload Images to Style Point Symbols in Map Viewer– This guide shows how to upload custom images to point features in Map Viewer, and you will notice very similar steps apply when styling points in ArcGIS for Microsoft 365.
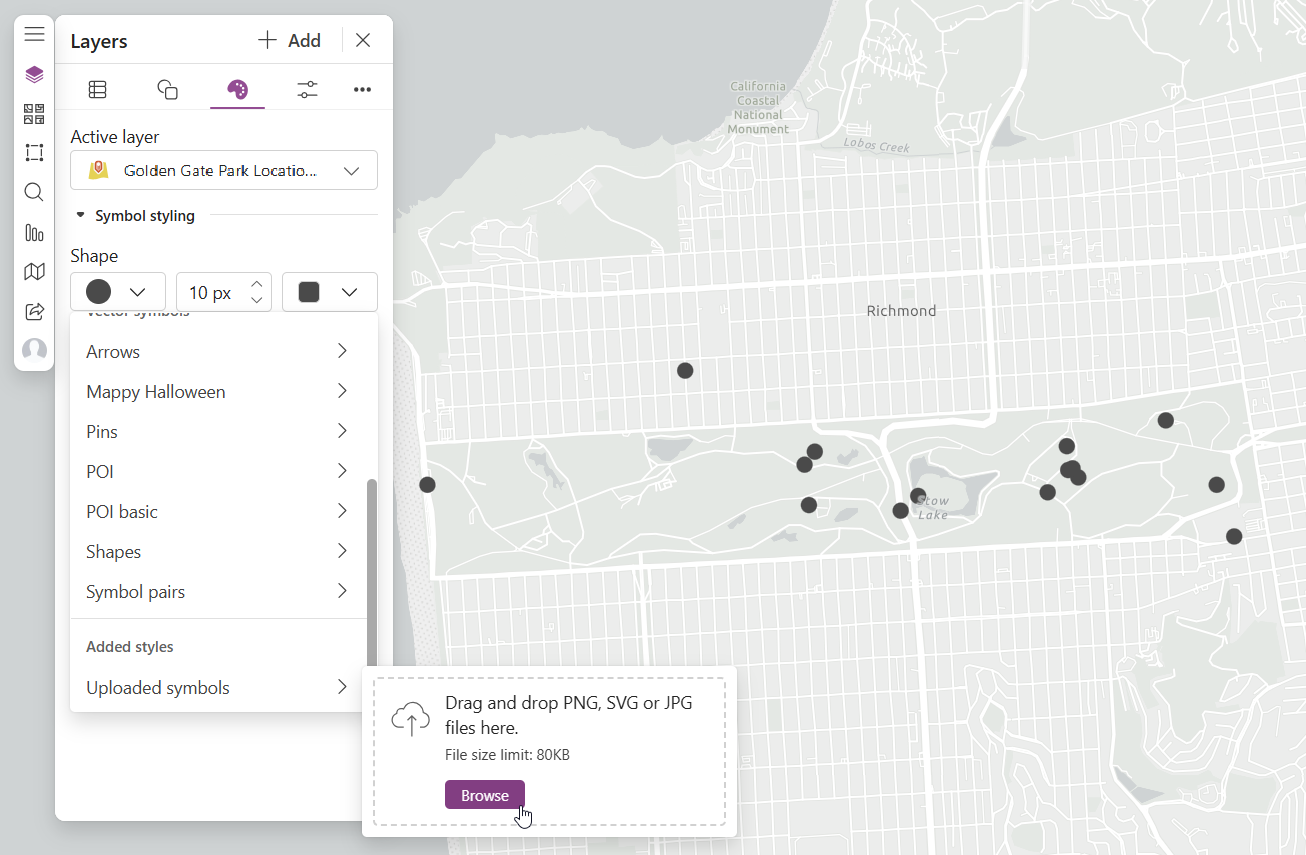
Once signed into your ArcGIS account, in the Style options > Symbol styling > Shape menu you will see a category at the bottom that says Uploaded Symbols. You can drag and drop or browse for files here. These symbols will be available to use on your local project.


4. Custom Graduated Symbols in ArcGIS Pro and ArcGIS Online– See another example of ditching the defaults and applying your own custom pictures to your map.
Note that the video demonstration shows example in both ArcGIS Pro and an older version of ArcGIS Online. Currently, in ArcGIS for Microsoft 365 products, only PNG, SVG, or JPG image formats are supported for custom symbols.
Conclusion
Custom map styles and symbols aren’t just a nice-to-have. They are a powerful way to make your data stand out, connect with your audience, and reflect your organization’s brand. Whether you are just getting started or looking to level up your maps in ArcGIS for Microsoft 365, these resources will help you go beyond the defaults.
Want to dive deeper? Explore our official documentation for even more tools and tips on layer styling.

Article Discussion: