GIS offers much more than just the ability to put the proverbial “dot on a map.” But sometimes, that’s all you need or want to do. Here’s a very simple way to accomplish just that, in a quick minute (far less time than it takes to read this post).
*
What’s a locator map?
While the precise definition of a locator map is elusive, for this post it’s a simple interactive map showing a location of interest (the dot). Often locator maps are embedded in websites to show a specific location. For example, you may want a map in a web page showing your business location, a meeting venue, a trail head, your state capitol, or where an event occurred.
*
The method behind the dot
What’s needed is simple; a dot on a map, perhaps with some additional information—like a title or description. And also a way to embed the map in a website. All of this can be easily accomplished using Search to create a map note (the dot), then saving and embedding the map.
When you search for an address, place, or coordinate, you can add the result to a new or existing map notes layer in your map. Map notes are saved with your map, and only you can edit them. The map note “dot” can include a simple title, or can be embellished to include descriptive text, images, links, and more. Map notes also include other useful graphic objects, such as polygons, lines, geometric shapes, text, and more.
*
How to make your locator map
Begin with a web map you are viewing in the map viewer, either one you have already authored, or a new web map. Then just follow the steps below.
Step 1. Enter the location you want to find in the search box. Choose the correct location from the list of matches, or click the search button.

Step 2. From the Search result, click Add to Map Notes. You can add the location to a new map notes layer, or an existing one if already present in your map.
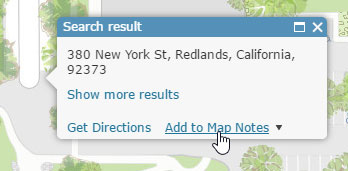
The location will be added to a map notes layer, and will display on your map using the search string as the title.
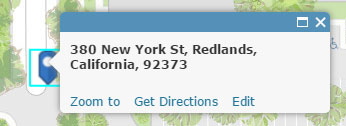
Note the options in the pop-up to zoom to the location, get directions, or edit.
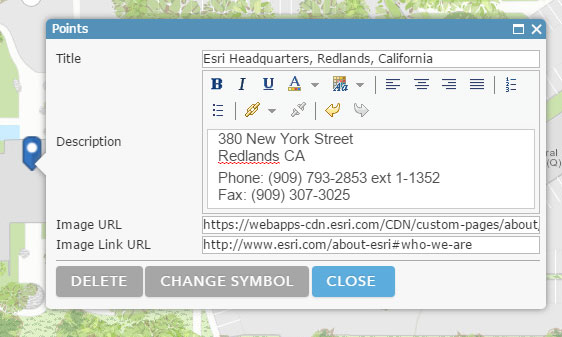
Step 3. (optional) Click Edit if you want to move the marker, change the symbol, change the title, or add a description and links. Map Notes are are saved with your map, so only you can edit them.
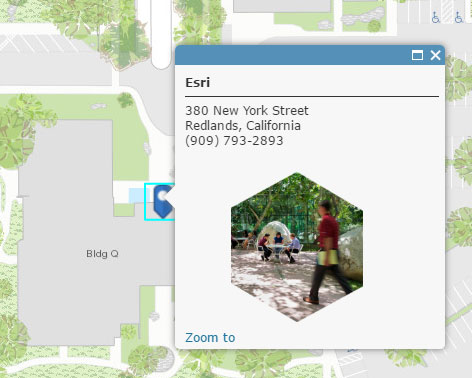
The result:
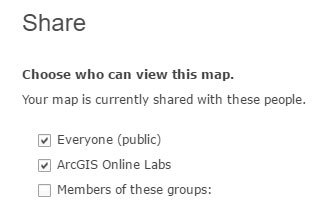
Step 4. Save the map, and share it publicly (Everyone).
Step 5. Click Embed In Website to configure how you want the embedded map to look, and to generate the HTML to copy and paste to your website.

A. Choose the size of your map.
Tip: Keep Allow responsive sizing checked to ensure your map remains in the same aspect ratio when embedding into a responsively designed website.
B. Choose Map Options. You’ll want to keep your locator map simple, but you can also add extras like a home button, basemap toggle, and more.
Tip: Keep Disable scroll zoom checked to prevent scroll from zooming the map, instead of scrolling the web page. Viewers can still navigate the map by panning, or clicking zoom in/out buttons.
C. When finished, click Copy to capture the HTML embed code, then paste the code into your web page.

Tip: To ensure you don’t inadvertently delete the web map used for your locator, set delete protection on the map. See How to prevent accidental deletion.
*
For more information
This post was originally published on January 20, 2017, and has been updated.

Article Discussion: