The Public Information template was originally created to serve the disaster and emergency response GIS community. Esri’s Disaster Response Program uses this template to map wildfires, hurricanes, severe weather conditions, flooding, and earthquakes. For example, here’s a map that shows current weather warnings, integrating real-time feeds.
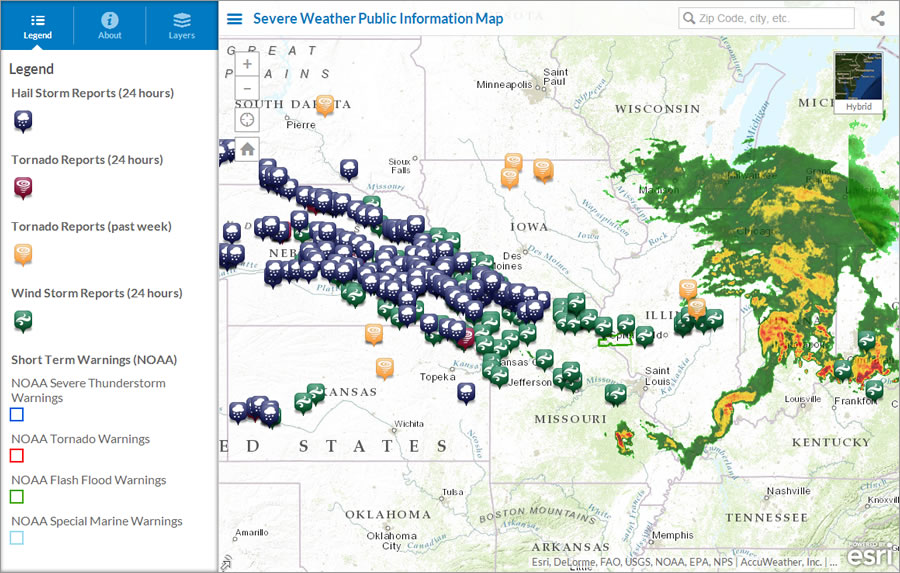
The Public Information template was recently redesigned and added to the ArcGIS Online web application template gallery, making it easier than ever to use. This configurable application is particularly useful for delivering your maps along with media feeds from Instagram, Flickr, Twitter, and Webcams.travel.
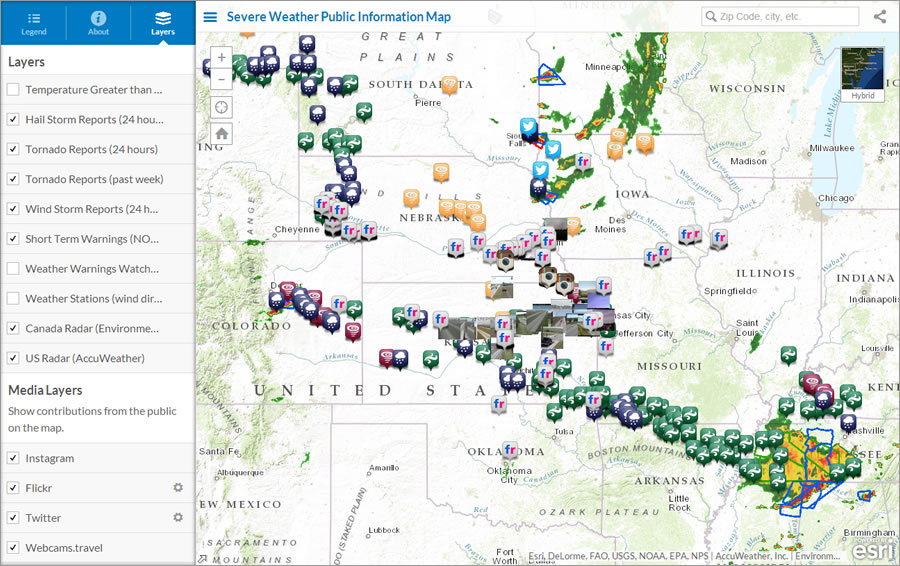
You can add a summary about your map and drive users to areas of interest using map notes and bookmarks. Layers can be turned on or off, and some social media layers can be configured. You also can search for a particular area and share your map extent with others by embedding the map in a web page or sharing the link. The result will look great and have a responsive design that will adapt to any device or window size.
You can find the template on the Make a Web Application gallery in ArcGIS Online.
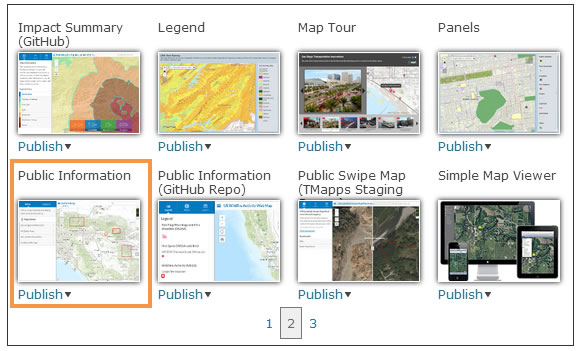
Here’s how to create your own application using the Public Information template.
Step One: Sign in using your ArcGIS organizational or free public account.
Step Two: Click Map in the map viewer and author a web map. Add the layers you want with configured pop-up windows, map notes, and bookmarks.
Step Three: Save your map and click Share to share it publicly or within your organization. Then click Make a Web Application.
Step Four: Select the Public Information template from the gallery, and click Publish. Fill in your title, tags, and summary and click Save & Publish.
Step Five: Next you will configure the application. Click View Item and then Configure App.
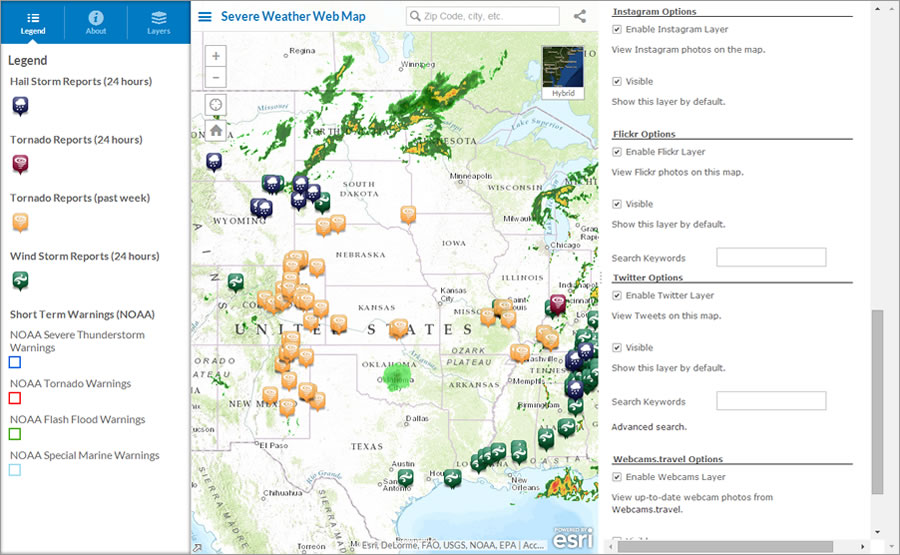
Step Six: Choose from a variety of options on the Configure panel. Enable the social media of your choice such as the Flickr, Twitter, and Webcams layers. For example, under Flickr Options, check enable Flickr layer and check visible and then click save so that Flickr images will appear on your map.
Step Seven: When you are done configuring the mapping app, click Share.
In addition to selecting options from the configuration panel, you can download the source code to modify it further and host it on your own site.
This template gives you the ability to combine your map with media, whether it’s about a disaster or displaying real-time Instagram and Twitter posts for a half marathon. Let your imagination run wild!
We welcome your feedback on the new template. Please send us your comments.
