Making Rasters More Manageable
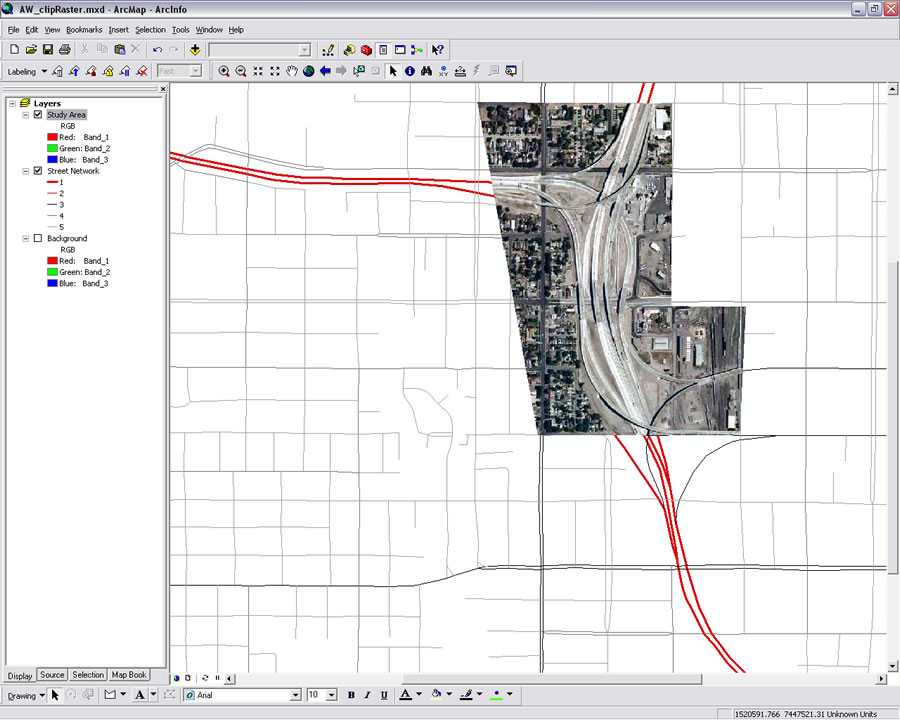 Clip a raster to any shape you create using ArcMap software's drawing tools. | |
 In the Export Raster Data dialog box, set parameters such as cell size, output file format, and spatial reference. |
English / Spanish
Make raster datasets more manageable by clipping rasters in ArcMap using a graphic you draw as a template. Draw any graphic shape and use that shape to clip out just the extent you want. Export this clipped raster as a BMP, GIF, GRID, IMAGINE, JPEG, JPEG 2000, PNG, or TIFF file. This functionality is very useful for quickly and easily defining a study area.
- Draw the graphic that you will use for clipping the raster using the tools on the ArcMap Drawing toolbar. Leave the graphic selected.
- To clip and export the raster dataset based on this graphic, right-click the raster layer in the table of contents. Choose Data > Export Data from the context menu.
- In the Export Raster Data dialog box, click the radio button next to Selected Graphics (Clipping). Set the Spatial Reference to either the Data Frame or the raster dataset.
If desired, check the Force RGB box to export the output raster as a three-band RGB raster dataset with the current renderer and specify a NoData value for the output. The default cell size is the dataset's original cell size.
Browse to the location to save the exported raster dataset, name it, and use a raster format. If the output location is a geodatabase, the output type will automatically be the correct geodatabase type.