A basemap provides the geographic context for the layers you want to display on a map. When you create a new map or scene in ArcGIS Online, you can choose the basemap you want from a basemap gallery. The default gallery contains a predefined set of basemaps from Esri and is based on the region you have set for your organization. However, if you have administrator privileges for your organization, you can change the set of basemaps for your organization by creating a custom basemap gallery.
A custom basemap gallery can be useful for a variety of reasons. Since the basemap determines the projection of the map, you can add basemaps that support your local projection standard. A custom gallery also provides flexibility. For example, rather than use Esri’s predefined ArcGIS Living Atlas of the World basemap collection, you can build your gallery by choosing basemaps from those available in the ArcGIS Living Atlas of the World that are most suitable for your organization. You can also author basemaps that meet your needs using unique layers published by your organization.
In this tip, you will learn to create a custom basemap gallery for your organization by doing the following:
1. Creating a group for your custom basemap gallery.
2. Choosing maps for your custom basemap gallery.
3. Adding basemaps you’ve chosen to the group.
4. Setting the group as your organization’s basemap gallery.
Follow the detailed steps below to create a custom basemap gallery.
Create a group for your basemaps
First, create a group that will contain the maps you want to use in your custom basemap gallery. The contents of this group will be shown in the basemap gallery for the Map Viewer or Scene Viewer.
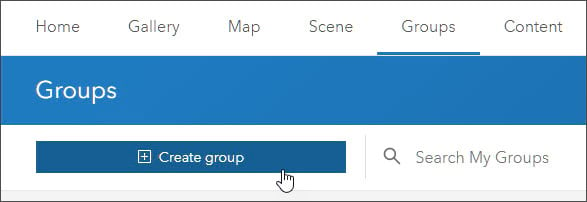
Step 1: Log in to your ArcGIS Online organization. From the Groups tab, click Create group.
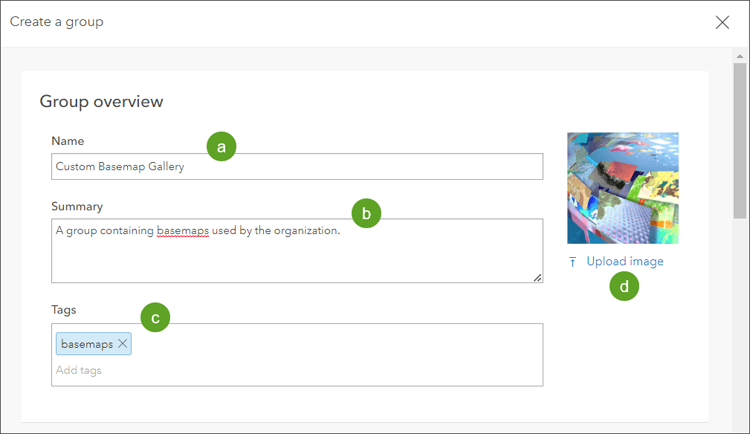
Step 2: Fill out the fields in the Group overview.
a. Add a group name.
b. Add a summary description for the group.
c. Add one or more tags.
d. Add a thumbnail for the group (optional, but recommended).
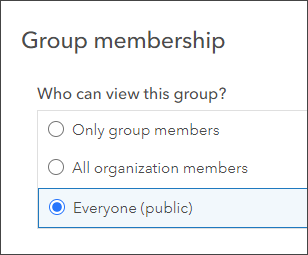
Leave the rest of the group settings as the default. Ensure that the group is viewable by Everyone (public) or by All organization members. Note that all maps in the group should be public.
Step 3: Click Save when finished.

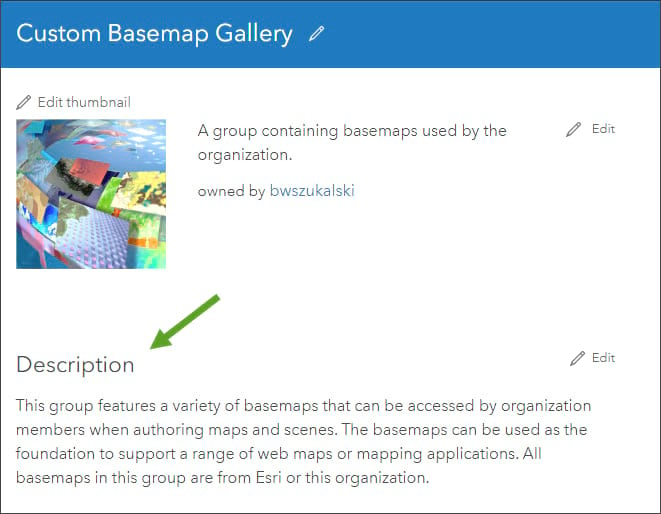
Tip: After the group has been created, it’s a best practice to complete the group description.
Choosing maps for your custom basemap gallery
Now that you have created a group for your custom basemap gallery, you can pick the maps you want to add to the group. Any map you add will become one of your basemap choices after you set this group as your organization’s basemap gallery.
You can add maps from the ArcGIS Living Atlas of the World, use existing maps in your organization, or choose publicly shared maps from outside your organization. To ensure basemaps don’t inadvertently disappear from your custom gallery, it’s a best practice to use ArcGIS Living Atlas maps or author and manage your maps for use as basemaps.
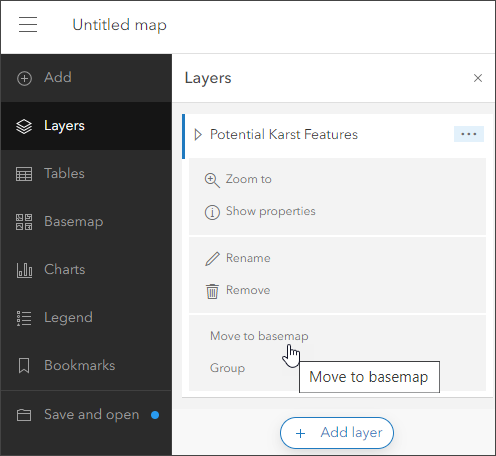
In addition to using basemaps from the Living Atlas, you can author maps specifically for use as basemaps. Note that operational layers (anything above the basemap layer group in Content) will not display when used as a basemap until you change that layer to a basemap. To do this, in a map containing the layer, navigate to the Layers pane, click the layer options (the three dots beside the layer name), and choose Move to basemap.
When finished, save the map, ensuring that the map and all layers are shared publicly.
Add maps to the group
Use the following steps to add a map to your basemap group:
Step 1: Open the item details page for the web map you want to add to your basemap group.
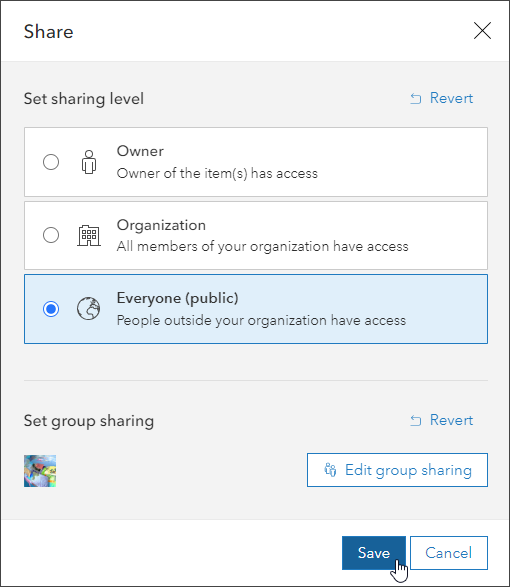
Step 2: Click Share.

Step 3: Click Edit group sharing.
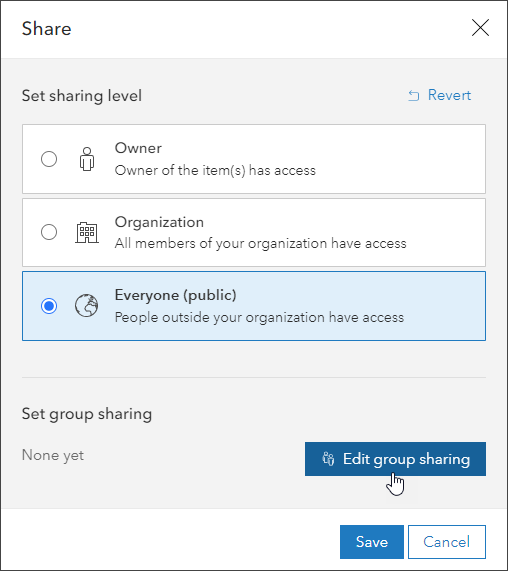
Step 4: Select your organization’s custom basemap group from the list of available groups. Click OK when finished. If you are adding a basemap from ArcGIS Living Atlas of the World to your custom gallery, sharing will already be set to Everyone. You only need to click Edit group sharing to add it to your custom gallery.
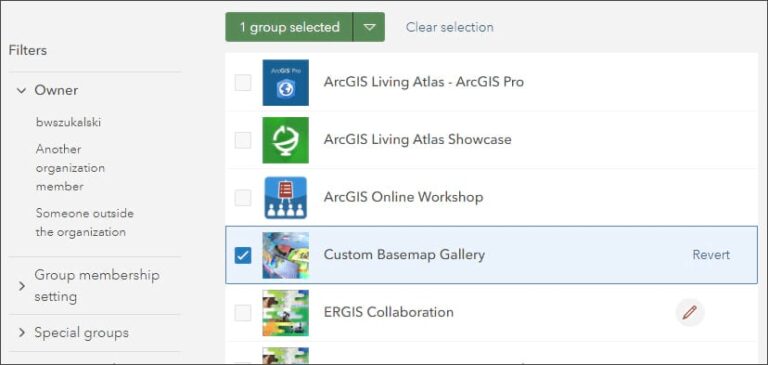
Step 5: Click Save. The map has been shared with your basemap gallery group.
Set the group as the basemap gallery
Now that you’ve collected the maps you want to use in a group, you can set the group as the Basemap gallery source for your organization. To enable your custom Basemap gallery, follow these steps:
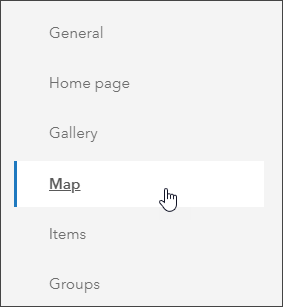
Step 1: Go to your organization’s Settings and open the Map tab.
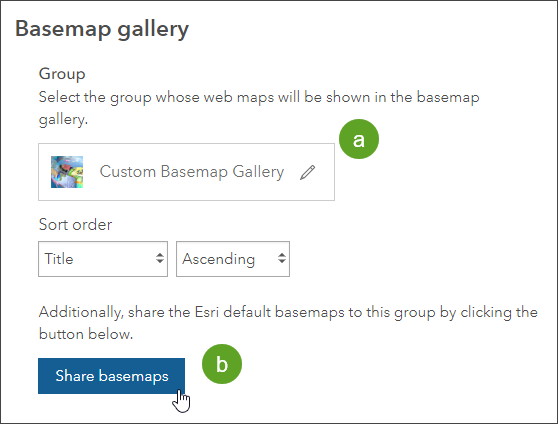
Step 2: In the Basemap gallery section, do the following.
a. Select your custom basemap gallery group from the drop-down list.
b. Click Share basemaps to add the default Esri basemaps to the group. This is optional, but if you only have a few custom basemaps in your custom gallery group, adding these will complete your gallery.
You’ve successfully created a custom basemap gallery, which will appear in all apps.
When making your basemaps, make sure that the maps and all layers are shared publicly. Set the delete protection to prevent accidental deletion of maps and layers.
More information
For more information, see the following ArcGIS Online help topics:
- Choose basemap
- Switch basemap
- Create groups
- Configure map
- Use ArcGIS Living Atlas to create a custom basemap gallery