Your organization’s home page serves as a gateway for your user community, which often includes members of the public as well as your organization.
Besides being a best practice, configuring a home page so that it’s modern and professional-looking reflects on your organization and the communities you serve. The home page provides helpful resources and content for organization members once they sign in. Your home page can also serve as a public destination, showcasing maps, apps, and other content to a broad audience.
But what do an anonymous public visitor and a member of your organization see and experience when they reach your site? Across the top of your home page, they will notice a set of tabs tailored for either anonymous visitors or signed-in members.
An anonymous (public) visitor will see the following tabs:

After signing in, a member of your organization will see this set of tabs:

You can configure two of these—Gallery and Groups—to display a specific collection of content. You will learn how to configure them in this ArcWatch tip. Configuring these tabs with good content is a step that’s often overlooked, but it’s is an important part of creating your overall home page experience. Administrators, by default, and other people with the appropriate privileges can configure these tabs.
Configure the Gallery
By default, the gallery displays all organization items. However, external visitors will only see publicly shared items. Rather than present a random collection of content, you can control what is presented by configuring the Gallery tab to display selected content managed in a group. To configure the gallery, follow these four steps.
Step 1: Create a group that will contain your gallery content. The group must be public, but content in the group can be a mix—some of it visible to the public and some to organization members only. Public visitors will only see the publicly shared content. Once you have created the group, share your content with the group to display in the gallery. For more information on creating groups, see Create Groups.
Next, you will configure the gallery to display the content of the group created in this step.
Step 2: On the organization Settings page, click the Gallery tab to view the current settings.
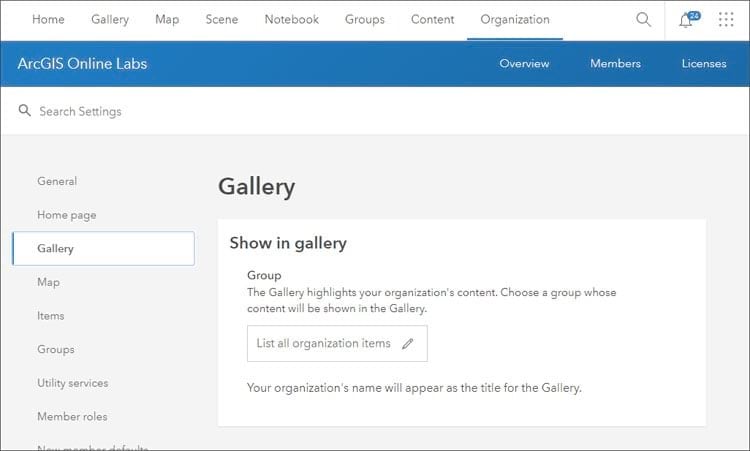
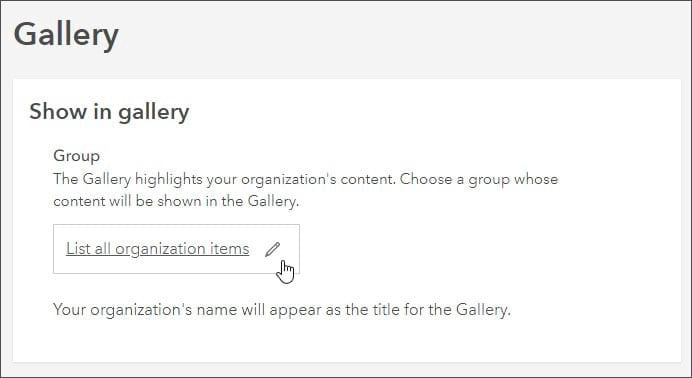
Step 3: Click the pencil to display a drop-down menu of available groups.
Step 4: Choose the group to populate the gallery from the drop-down menu.
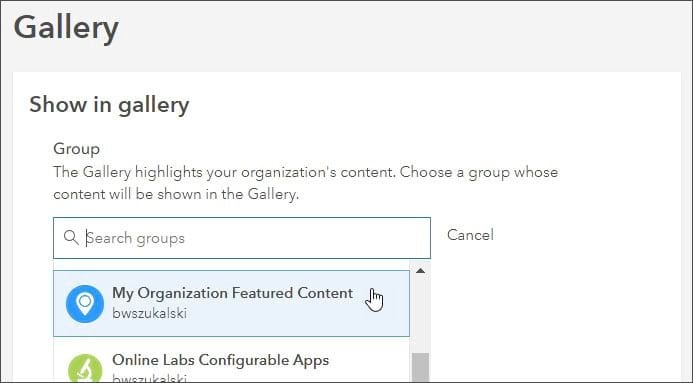
Once you select the group, you will receive a confirmation that the Gallery setting has been updated.

Configure Groups
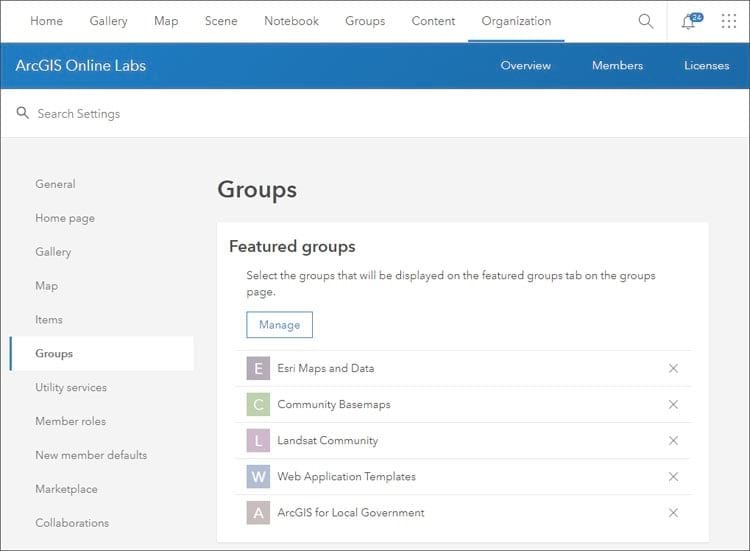
By default, the Groups tab displays a collection of groups selected by Esri. You can replace the defaults with your own groups or combine them. To configure the Groups tab, follow these steps.
Step 1: On the organization Settings page, click the Groups tab to view the current settings.
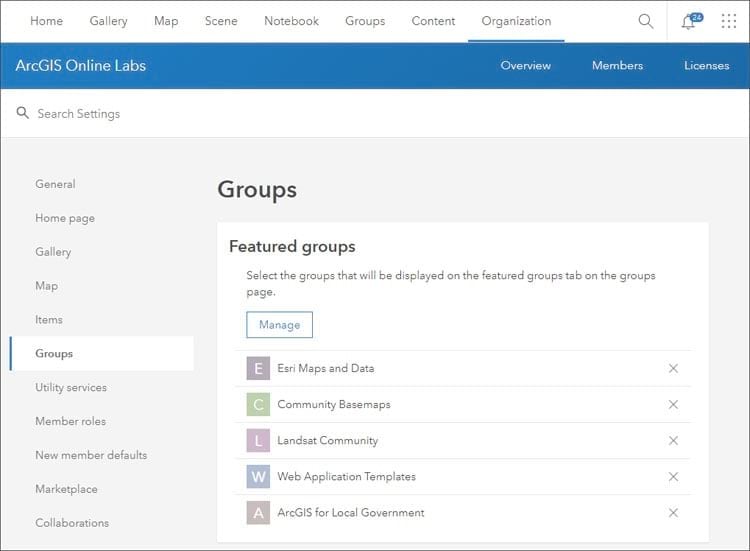
Step 2: To remove one or all of the default groups, click the X to the right of the group.
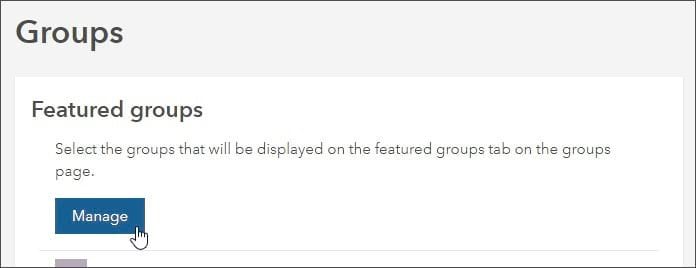
Step 3: To add your own groups, click Manage.
Then, select one or more from the list of all groups owned by members of your organization.
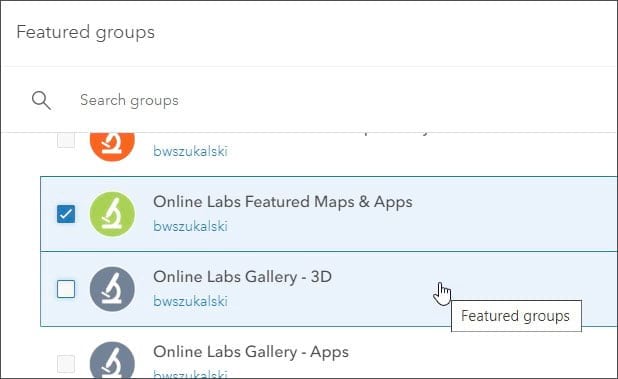
Click Save when finished. You will see a confirmation that the Groups setting has been updated.

The groups you have chosen will be displayed on the Groups tab for public visitors to your home page. After signing in, your organization’s members will see a collection of groups they own or are members of. The featured groups configured above will be available to members in Featured Groups on the Groups tab after they sign in.

Go the Extra Mile
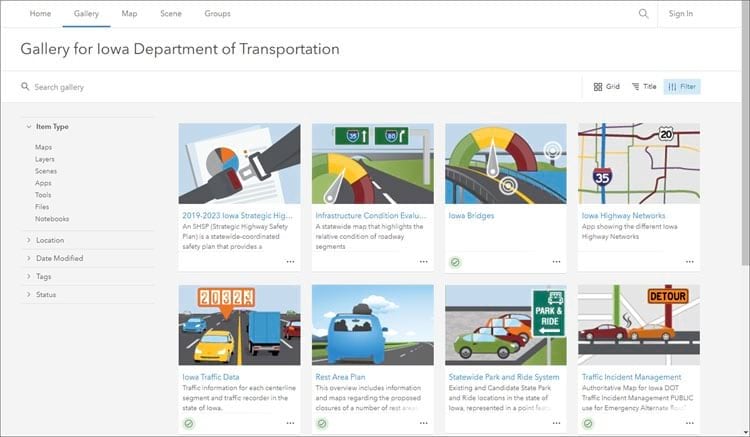
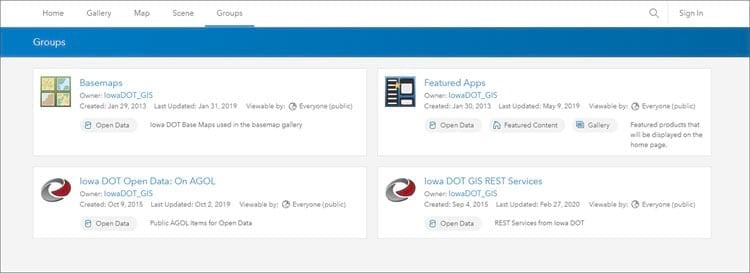
The Iowa Department of Transportation website’s home page follows best practices. Not only is the home page nicely designed, it also includes configured Gallery and Groups tabs as described above.
This is the organization’s home page:
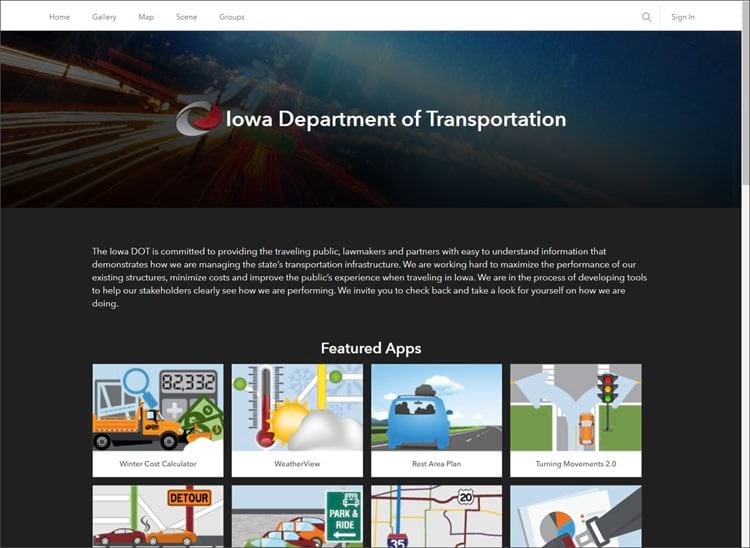
This is the organization’s Gallery tab:
This in the organization’s Groups tab:
With a few simple steps, you can configure your home page to provide a much better gallery and groups experience for both public visitors and organization members.
For more information, see the following:

