First impressions are important—whether it’s made during a job interview, a first meeting with a prospective client, or a visit to a company website. While we shouldn’t necessarily judge a book by its cover, people are visually oriented, and what we initially see—for example, a thumbnail of a map in ArcGIS Online—can affect what we expect from the content of the map itself.
And that leads to this question: Why include thumbnails like the ones below in your ArcGIS Online organization if you want your map to make a good first impression?
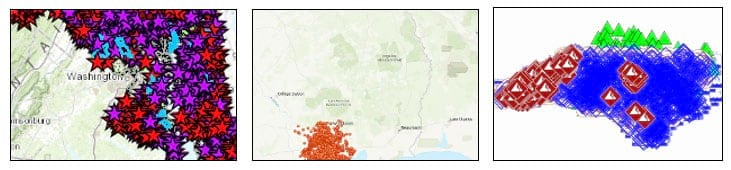
The thumbnails above are examples of publicly shared maps. While the maps behind them might be finely crafted examples of online mapping excellence, the first impression they give sets a lower expectation.
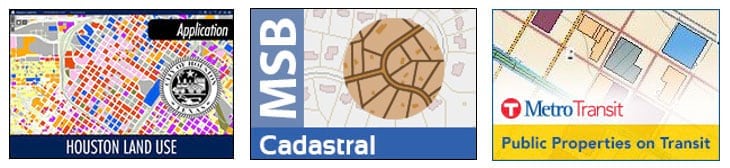
In contrast, the thumbnails below show professionalism and indicate that the maps they represent are authoritative, curated, and high quality.
Many of the maps created and shared using ArcGIS Online are made on behalf of city or local governments, a businesses, not-for-profits, educational institutions, or other types of organizations, so first impressions matter since it reflects on your organization.
Even if you don’t officially represent an organization, the work you do represents you professionally and reflects on your GIS department. So it’s important to put your best foot (or—in this case—best thumbnail) forward. This is especially true for top-tier content that you want to share with other departments, a public audience, or peer organizations. They will judge the book by the cover.
Change the Thumbnail
It’s easy to change your thumbnail in ArcGIS Online to accurately reflect the type and quality of the content you are sharing. A default thumbnail will be generated whenever you save an item, and the thumbnail that is created will depend on the item type (e.g., map, app, dashboard, or file).
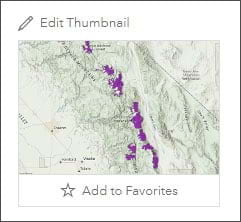
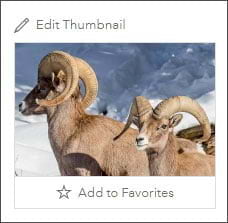
The example below shows a thumbnail of a map of Sierra Nevada bighorn sheep habitat. A default thumbnail was generated automatically, which in this case is adequate but far from ideal. Since the map will be shared with the public, let’s improve the quality of the thumbnail.
There are two ways to create a better thumbnail: make a thumbnail from the map or fashion your own custom thumbnail image and upload it. Both options are available when you click Edit Thumbnail on the item overview.
Create a Thumbnail from a Map
To create a better thumbnail using a map, follow these three steps.
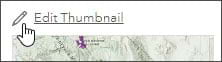
Step 1—Click Edit Thumbnail on the item overview.
Step 2—Click Create Thumbnail from map.

Step 3—Zoom and pan to adjust the map to create a better thumbnail. The basemap can also be changed. Click OK when finished.
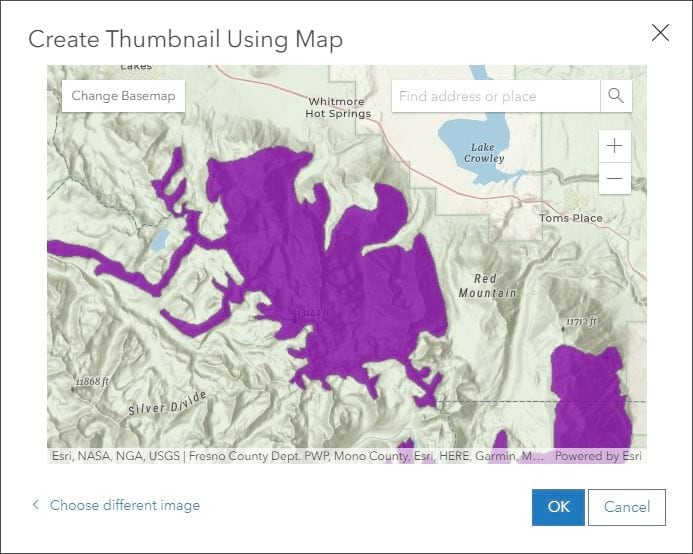
Your new and improved thumbnail now looks like this:

Create a Thumbnail by Uploading an Image
Another way to create a better thumbnail is to upload an image. You can use a photo or any graphic to create a more interesting and informative thumbnail. The image must be a minimum of 600 pixels x 400 pixels.
For best results, your image should be a PNG file.
To use an image, follow these five steps.
Step 1—Create a graphic, capture a photo, or otherwise obtain an image. It could be a photo from your camera or the web, or it could be anything you create in Photoshop, Paint, or other image editing programs.
Step 2—Click Edit Thumbnail on the item overview.

Step 3—Click Browse to upload an image.
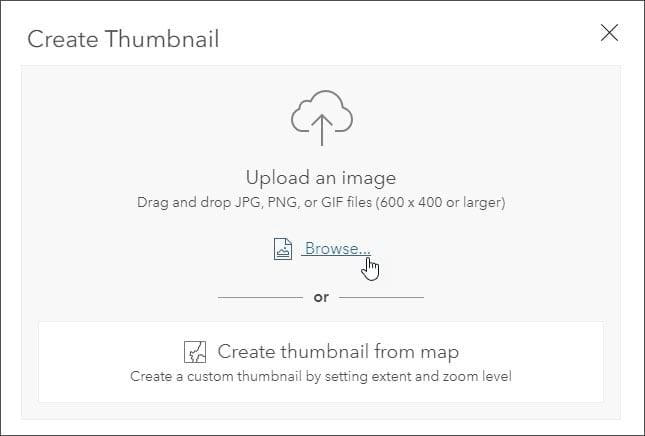
Step 4—Browse to find the image and open it.
Step 5—Adjust the zoom level and positioning of the image on the Create Thumbnail panel. Click OK when finished.
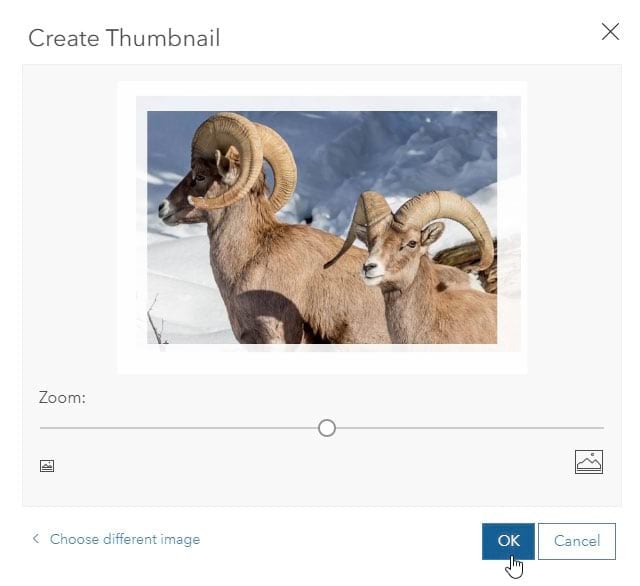
Below is the updated thumbnail, an improvement over the default.
For more information, read the following help topics: Item details and Add items.