Every map or scene has an audience. This tutorial shows you the tools necessary to create and share an easy and intuitive 3D presentation of your scene. Whether you are publishing research results or sharing hiking trails with the public, the tools for presenting scenes make your scene accessible to everyone.
This tutorial is the third in the Get started with Scene Viewer series. Check out the first two tutorials, Explore a scene and Create a scene, if you are new to Scene Viewer or want to complete them.
Requirement
- An ArcGIS organizational account with a publisher, facilitator, or administrator role (see options for software access)
Create Overview Slides
Three-dimensional navigation can sometimes pose a challenge for users. A good way to facilitate navigation in a web scene is to create slides. Slides are saved extents—specific viewpoints or states of a scene—that the user can use to quickly zoom in to an area or be guided through the important aspects of your scene.
You’ll be using the scene for Zurich that you created if you completed the Create a scene tutorial. (There’s also a scene available if you did not complete that tutorial.) Then, you will add some slides to it.
1. Sign in to your ArcGIS organizational account.
2. If you completed the Create a scene tutorial, go to the Content tab and open the Downtown Zurich scene that you made. Otherwise, use this scene to complete your work (and make sure you’re signed in to ArcGIS Online).
3. Explore the layers by panning across, zooming in to, and tilting the scene.
4. In the layers list, turn the visibility on and off to show/hide a particular layer in the scene.

5. In the upper-left corner of the scene, click the Initial view button, which appears as a home icon.
The scene returns to its original viewpoint showing an overview of the city.

Next, you’ll create some slides in the scene.
6. On the Designer toolbar, click the Slide Manager button.

The Slide Manager pane appears. Currently, there are no slides in the scene.
7. In the Slide Manager pane, click the arrow to see what aspects of the scene are stored in slides.

8. Click Capture slide.

A slide is added with a thumbnail and a default name.

The slide also appears at the bottom of the scene.

Note: If you don’t like the way a slide looks, you can recapture it from its options menu.
9. For Slide 1, click the title of the slide, then type “The Green Building in Central Zurich” and press Enter.

10. Click the options button (the three dots) and click Cover.

The Cover option will display the slide name and description in the center of the screen. You’ll create a presentation later in this tutorial.
Next, you’ll create a more detailed slide of the green building.
11. In the layers list, for the Zurich Green Building layer, click the Zoom to button.

The scene zooms in to the green building. You’ll adjust the view before capturing the slide.
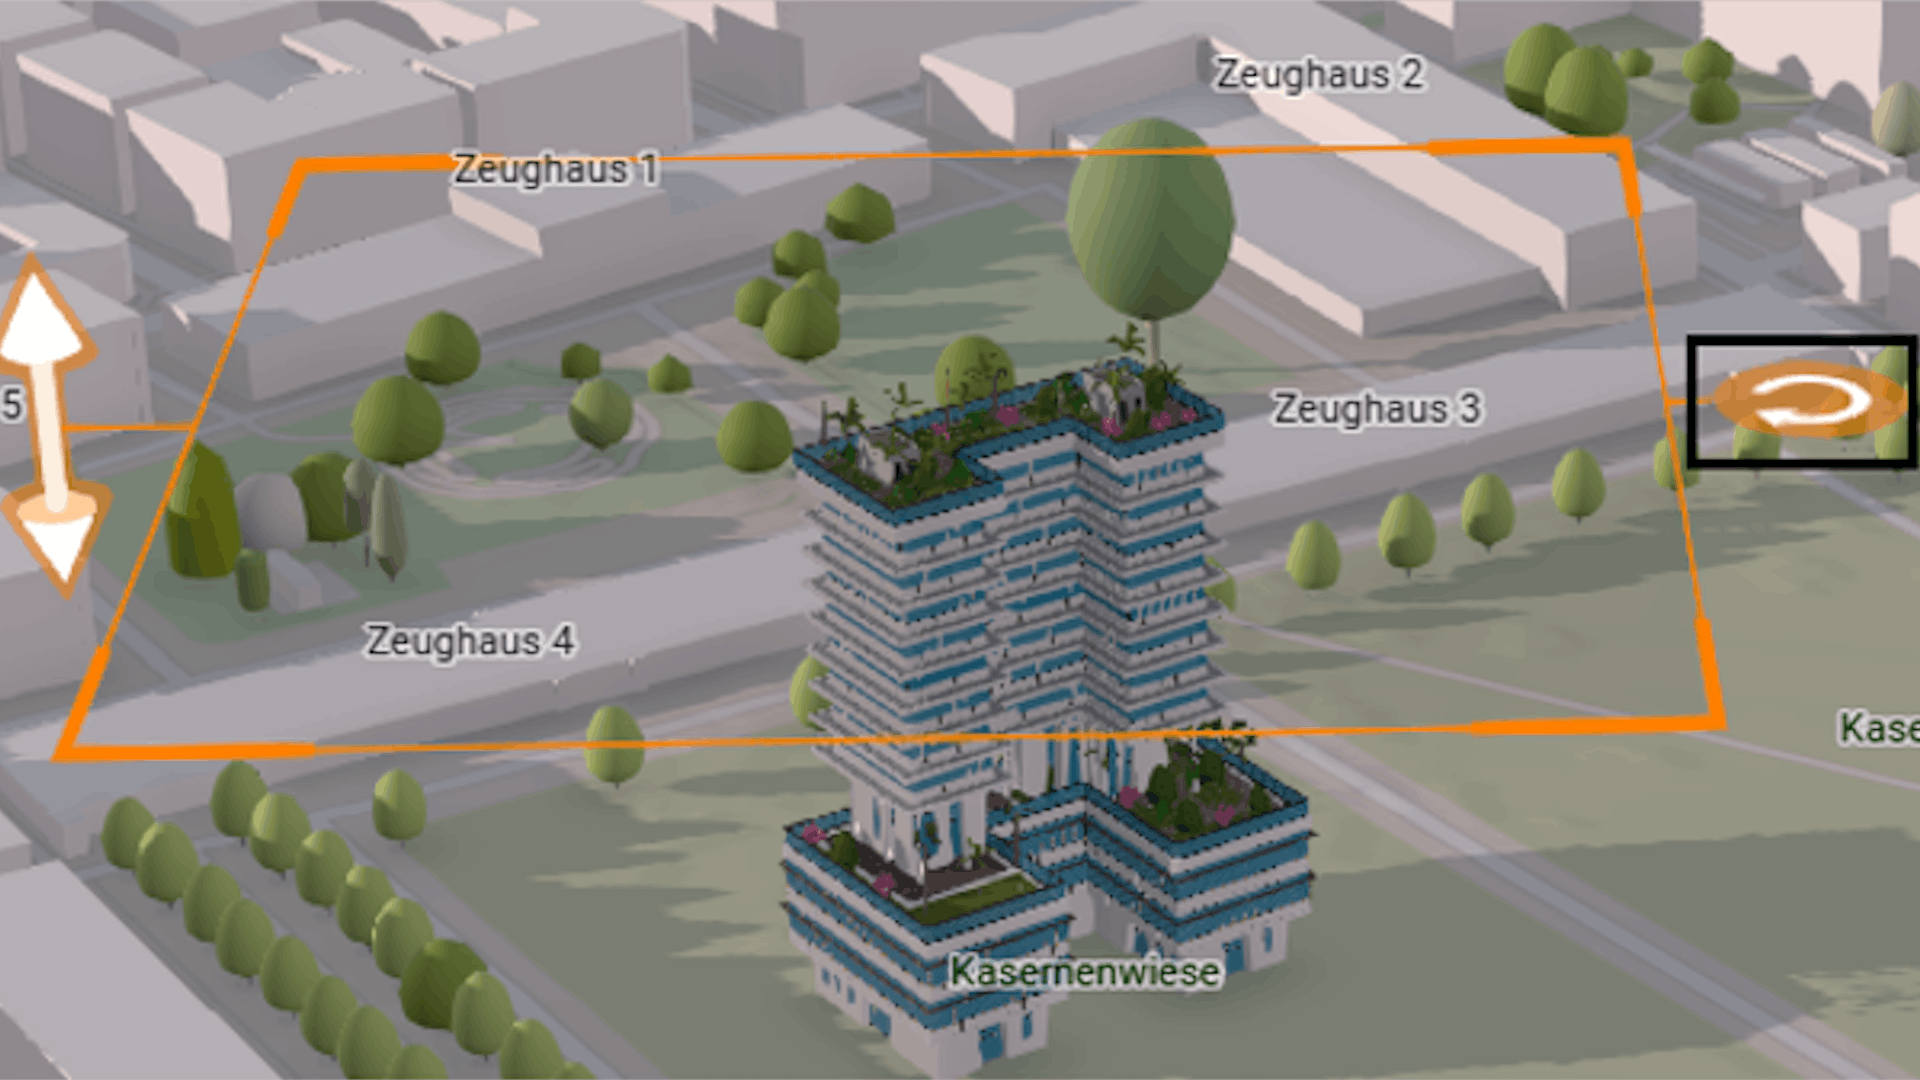
12. Zoom in to and pan across the scene to get a good view of the building and the surrounding areas.

13. On the toolbar in the upper-right corner of the scene, click the Daylight/Weather button.

14. Click the current time zone and choose UTC+1 (CET).

15. Adjust the time of day to 5:00 PM by moving the slider to the right.

The scene adjusts to show shadows for sunset lighting.

16. Close the Daylight/Weather window by clicking the X.
17. In the Slide Manager pane, click Capture slide.
18. Change the name Slide 2 to Green Building in Context.

Capture a Slice
Next, you’ll slice the building to show the inside layout. Slides can also be used to store certain tool states such as the time slider filter.
1. On the Scene Viewer toolbar on the right, click the wrench icon for Scene tools.
2. In the window that appears, click the Slice objects button. When you point to the scene, orange slice lines appear.

3. On the scene, point to the top of the green building so that a horizontal plane appears.

Note: If you see only a vertical plane, you must point to a horizontal part of the building to get the horizontal plane to appear.
4. Click to select this side for slicing.
The slice plane is placed. You can adjust the slice plane up and down to determine the best spot to place it on the building.
5. Adjust its size and rotation using the handles to align with the building.

Note: If you accidentally placed the slice plane vertically, click the New Slice button to remove the old plane and place a new one.
6. Use your mouse to slide the arrows down on the slice plane to move to the third floor.

Now you can see inside the building. Use the plus button to zoom in as needed.

Capturing slices makes it easy to explore inside features or, when available, underground data. Optionally, you can capture more slides containing more floors of the building.
7. In the Slide Manager pane on the left, click the Capture slide button.
The slide captured the extent of the scene and the slice as you have positioned it in the scene.
8. Change the slide’s name to the following: 3rd floor of the building.

You have captured three slides showing different extents and the inside of a building using the Slide objects tool. Along with capturing slides of slices, you can capture slides showing a legend, pop-up, or different weather conditions.
Save a Scene
Next, you’ll save the changes you’ve made to the scene and allow it to be viewed by other members of your organization. Once the scene is saved and shared, you can embed it into other apps.
1. On the Designer (dark) toolbar on the left, click Save. The Save scene window appears.

2. For Title, replace the current text by typing “City of Zurich”, then click the Save button.

Currently, the scene is only accessible to you, the owner. Change the sharing settings to let other members of your organization access it.
3. On the ribbon, click the scene name, City of Zurich. Click the View Item Details button. Another browser tab appears with the item details page of the scene.

4. Click the Share button on the right.

5. Choose Everyone (public) and click Save.

6. Close the tab of the item details page to return to Scene Viewer.
Create a Presentation
You have created several slides to highlight parts of the scene. Next, you’ll present those slides in presentation mode with a reduced user interface to emphasize the data in the scene.
1. On the top ribbon, click the Present button.

The scene enters presentation mode and shows a cover title, The Green Building in Central Zurich.
2. Point to the scene to show the toolbars.
3. In the lower-left corner, click the right arrow to go to the next slide.

The viewpoint changes to show the green building and its surrounding area. Also, the caption shows at the top of the screen.
4. Click the right arrow again to see the slide with the slice in the building.

5. At the bottom of the scene, click the Slide list button to see all the slides.

6. Click the first slide to return to the start of the presentation.
7. In the upper-left corner, click the Exit presentation button to leave the presentation.

The scene is back in authoring mode, which allows you to make other changes.
Share a Link to the Scene
Next, you’ll share a link to your scene.
1. On the top ribbon, click the Share button.

The Share window appears.
2. Check the box next to Open in presentation mode. Next to the URL, click Copy.

3. Open a new browser tab and paste the URL.
The scene appears in presentation mode.
You can share the scene while it’s out of presentation mode, but sharing a scene in presentation mode is recommended because it gives viewers a guided experience that focuses on the scene’s content and has a clutter-free user interface.
You can view this while it’s out of presentation mode:
A. Return to the browser tab that contains the scene in Scene Viewer.
B. Uncheck Open in presentation mode and click Copy to copy the URL.
C. Open a new browser tab and paste the URL. The scene appears out of presentation mode with all authoring tools available.
D. Close the tab and return to full Scene Viewer.
In this tutorial, you learned how to create slides to guide viewers through a scene. You included elements such as daylight settings, slide covers, and slices in your slides and saved them with the scene. Afterward, you presented the scene in presentation mode and learned what sharing options are available.
Acknowledgements
- The Zurich Trees and Zurich Buildings layers are provided by the Open Data Catalog provided by the City of Zurich and are shared under a Creative Commons CC Zero license.
- The Zurich Green Building layer was created by the Esri R&D Center in Zurich.
- Topographic map sources: Esri, TomTom, Garmin, FAO, NOAA, USGS, OpenStreetMap contributors, and the GIS user community
Visit the Esri tutorial gallery to explore additional topics and find other step-by-step workflows on a variety of products.