Since we started building basemaps for ArcGIS Online there have been two distinct types:
- The single layer, everything-at-once type, such as ‘Street’ and ‘Topographic’. Easy to work with, but labels and detail can get lost behind your content.
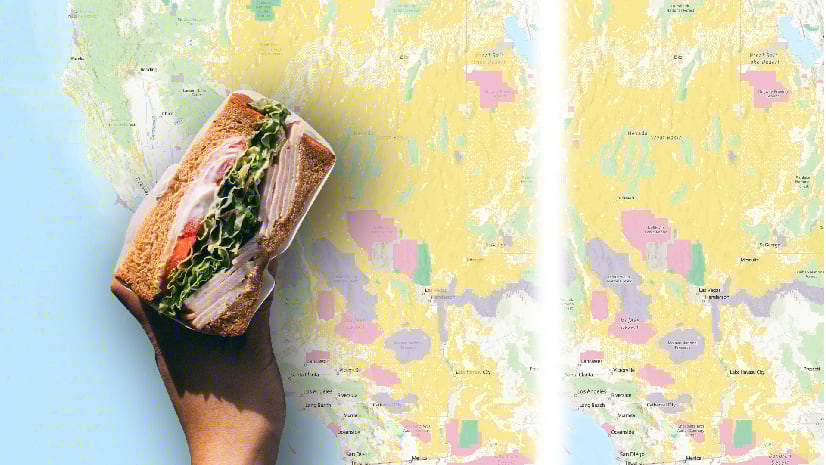
- The multi-layer ‘sandwich’ basemap with labels and some other detail in a reference layer that sits on top of your content. These include ’Light Gray Canvas’, ‘Human Geography’ and ‘Enhanced Contrast’ basemaps.

Occasionally we’ll be asked why we don’t have ‘Label’ layers for all our basemaps. The reasons are partly historical and partly logistical – Some people prefer the single layer approach, and with so many of them already in use it would be problematic to change the construction. Our ‘get-out’ clause is that you can always build these layers yourself using the Vector Tile Style Editor (VTSE).
It wasn’t easy though! It required a tedious search through all the basemap information to identify the label layers and switch them off… then do the reverse on another copy.
Things just got a whole lot simpler!
Create a Base Layer
- Open your preferred basemap into the VTSE, and save a copy as ‘Base’.
- In the Quick Editor, look for ‘Hide all labels’, then save.

It’s as easy as that!
Create a Label Layer
Unfortunately there is no ‘Hide other features’ option, but it doesn’t matter.
- Open another copy of your basemap into the VTSE and save it as ‘Label’ or ‘Reference’.
- Go to ‘Edit Layer Styles’, then use the ‘Visibility’ toggle to switch each group off (including the background). Usually there are between 5 and 10 groups. You should end up with an empty map.
- Go to ‘Quick Edit’, find ‘Show all labels’, then save. You should now have your separate ‘Base’ and ‘Reference’ layers.

Adding the new layers to a web map
To set your new basemap up:
- Open a new web map into Map Viewer
- Go to ‘Basemap/Current basemap’, then add your new layers.
- Remove the default (probably World Topographic/World Hillshade) basemap
- Drag the reference layer up into the ‘reference section.
- Edit the basemap name
- Save

You have ownership of this version of the basemap, and you won’t find it in the Gallery (If you have a custom gallery, you can add it).
Cleaning up
So it’s a simple process now, but don’t just accept the result. Our ‘single-layer basemaps were not designed with this approach in mind, so add some of your content to the web map and take a good look around. You may find that you want to adjust some of the fonts and haloes to give you a better finish.
It’s also time to finesse the layers. Do Road Shields go on the reference layer or stay with the Base layer? Is there other information that you would like to move from base to reference or vice versa? For this, you’ll need to go back to the VTSE, then get into the details in ‘Edit Layer Styles’.
*****
Here is a ‘sandwich’ version of the Navigation Basemap without any cleaning up. The whole process took me 5-10 minutes.

Thanks for the helpful article. One question, are you worried about doubling the data in each vector tile that is downloaded for both the base and reference layers? Or are these requests cached by the browser so that it only requests them once from the server?
Apologies for the delay in replying. We haven’t seen any serious performance issues with any of our basemaps that use this approach (Our ‘Human Geography’ and ‘Environment’ basemaps use three). Having said that it’s probably best to avoid building-up too many layers.
Andy S